How to Install Peel and Stick Backsplash: A Renter-Friendly Guide

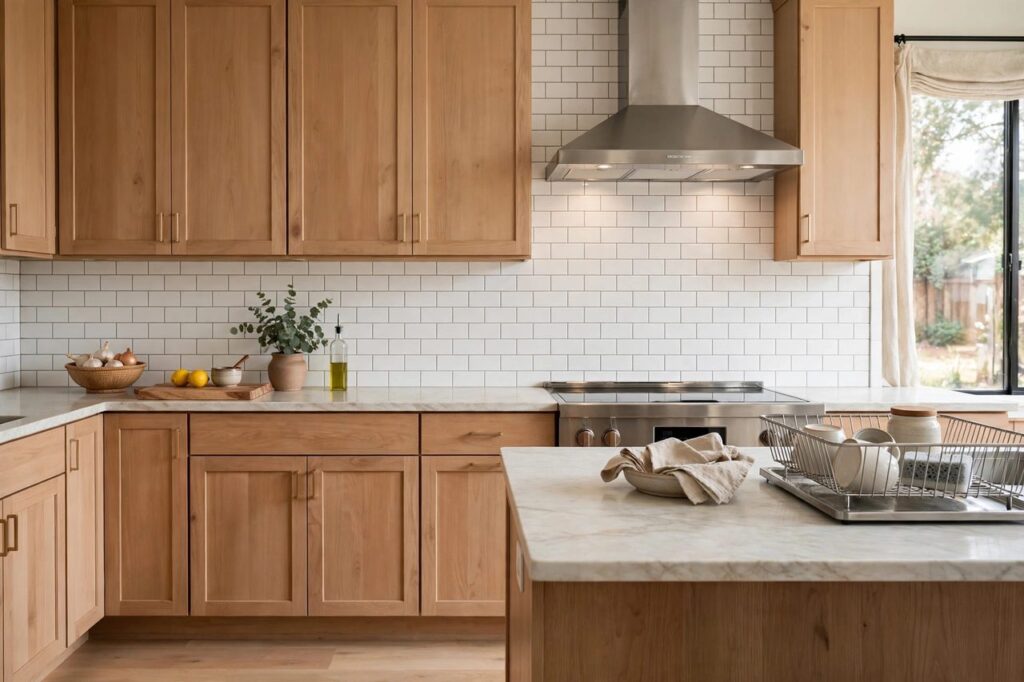
A backsplash transforms a kitchen more than almost any other single change, and peel-and-stick tile has made it a genuine weekend project. If you want to know how to install peel and stick backsplash tile that actually looks good a year later, the secret is all in the prep: clean walls, careful layout, and patient application. No thinset, no grout, no wet saw, and it’s renter-friendly since it comes off without destroying the wall. Here’s how to do it right.
Is Peel and Stick Right for Your Kitchen?
Peel-and-stick backsplash panels, usually vinyl or gel-based tiles that mimic ceramic, stone, or metal, are ideal for cosmetic upgrades. They handle normal kitchen splashes fine and wipe clean. Their limits: they’re not rated for the high heat directly behind a gas range’s open flame (check the product’s heat rating; most want several inches of clearance from direct flame), and they’re not a substitute for real tile in a shower. For a standard kitchen backsplash behind counters and around a stove with proper clearance, they perform well for years. They’re also the best option for renters, since quality panels remove cleanly with gentle heat from a hair dryer.
What You’ll Need
- Peel-and-stick backsplash panels (order 10 to 15% extra for cuts and mistakes)
- Degreasing cleaner (TSP substitute or a good kitchen degreaser)
- Utility knife with fresh blades and a metal straightedge
- Measuring tape and pencil
- Level
- Squeegee or plastic smoothing tool
- Hair dryer (for removal later, and for stubborn curves now)
- Painter’s tape
Step 1: Prep the Wall (The Step That Decides Everything)
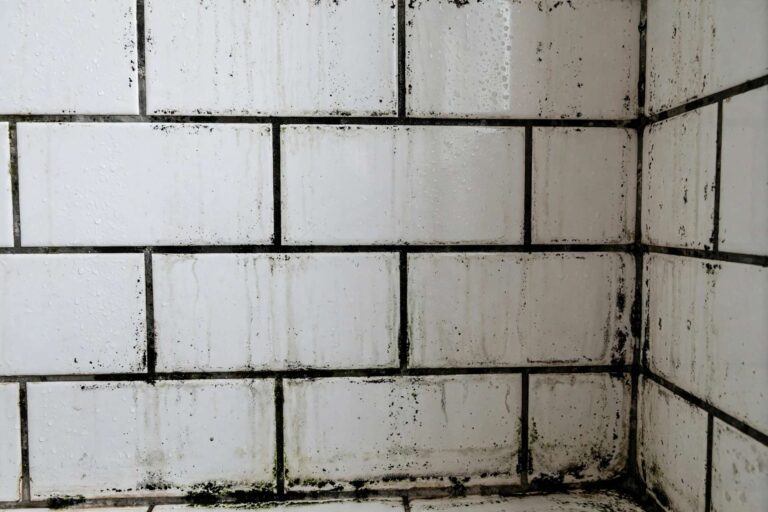
Peel-and-stick lives or dies on adhesion, and adhesion lives or dies on the surface. Kitchen walls are coated in invisible grease, and tile will not stick to grease. Wash the entire backsplash area with a degreasing cleaner, rinse, and let it dry completely. Fill any holes or deep texture with spackle and sand smooth; the panels telegraph every bump underneath. If the wall is freshly painted, wait the paint’s full cure time (often two weeks) before applying, or the tile may pull paint off when removed. Glossy or semi-gloss paint gives the best bond; flat paint is the worst.
Step 2: Plan Your Layout
Don’t just start in a corner and hope. Find the visual center of the backsplash run, usually the center of the range or sink, and plan outward so cuts land symmetrically at both ends. Dry-lay a few panels with painter’s tape to see how the pattern falls around outlets and at the edges. Decide where your horizontal starting line is: most people start at the countertop and work up, using the counter as a natural level line, but check with a level first since counters aren’t always perfectly straight.
For outlets, measure twice: mark the outlet’s position on the panel, cut the opening slightly small, and test-fit. Outlet covers hide the edges, so small imperfections disappear under the plate.
How to Install Peel and Stick Backsplash: Application
Step 1: Start at your baseline. Peel back just the top few inches of the backing paper and align the panel’s top edge to your level line. Don’t remove the whole backing at once; exposed adhesive grabs instantly and repositioning is limited.
Step 2: Smooth as you go. Press the exposed section firmly into place, then slowly peel the backing downward while smoothing with the squeegee from the center outward. This pushes air bubbles out ahead of the adhesive. Work slowly; speed is what causes bubbles and wrinkles.
Step 3: Overlap correctly. Most panels are designed to overlap slightly or butt edge-to-edge with a printed grout line that hides the seam. Follow the manufacturer’s pattern: overlapping in the wrong direction makes seams visible. Stagger joints like real tile for the most convincing look.
Step 4: Cut as you go. For end pieces and around outlets, measure, mark on the panel’s back, and cut with a sharp utility knife against the straightedge. Score firmly and snap, or cut through in one pass on a cutting mat. Dull blades tear the vinyl and ruin the edge, so change blades often.
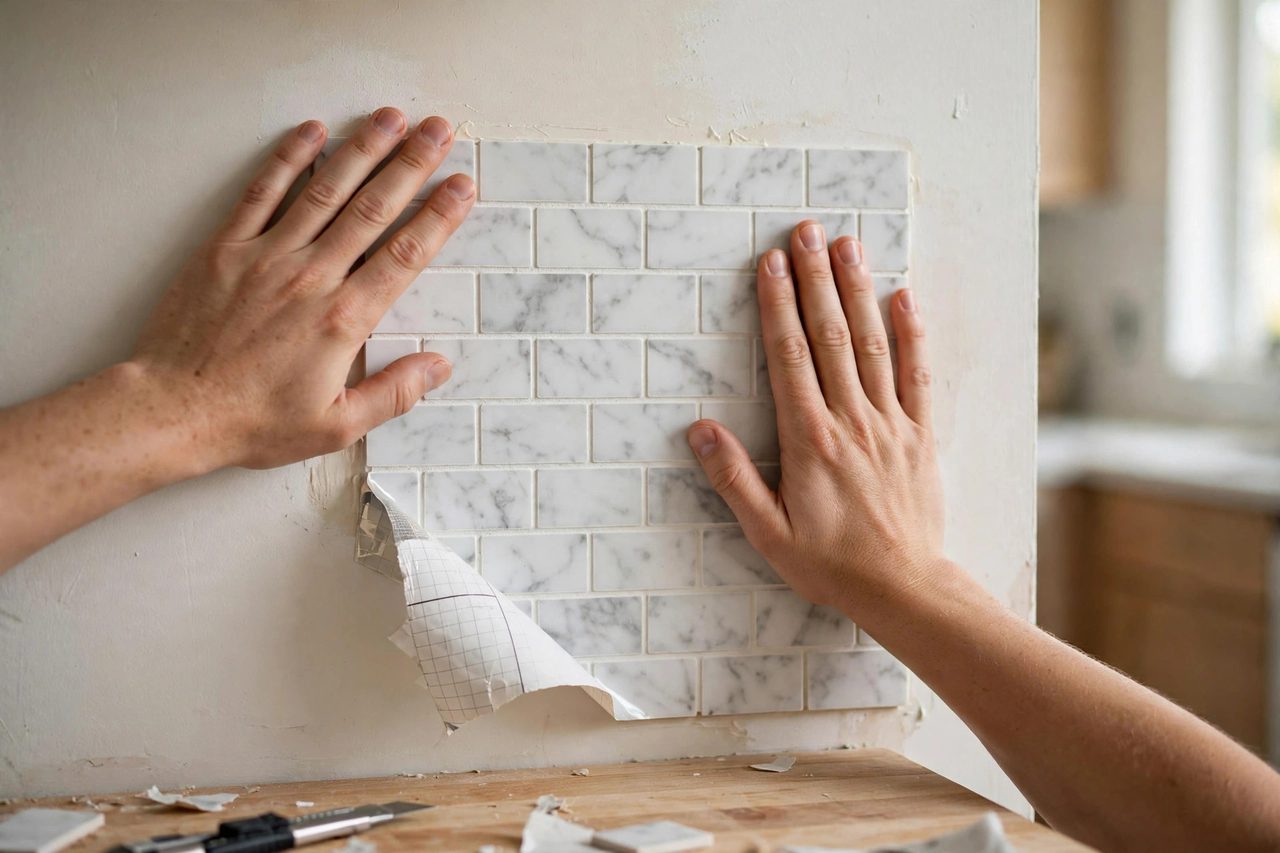
Step 5: Roll the whole wall. When every panel is up, go over the entire backsplash with the squeegee or a clean rolling pin, pressing firmly. This final pass seats the adhesive fully and is the difference between panels that last years and edges that curl in months.
Finishing Touches
Run a thin bead of clear silicone caulk along the seam where the backsplash meets the countertop; this keeps water from wicking behind the panels and gives a finished look. Reinstall outlet covers (you may need slightly longer screws since the panels add thickness). Step back and check the pattern alignment across the whole run; minor misalignments are much easier to fix in the first hour than the next day.
Care, Lifespan, and Removal
Clean with a damp cloth and mild soap; avoid abrasive scrubbers that dull the finish. Keep steam and sustained heat in mind behind the stove, and don’t install panels where they’ll sit in direct flame. Quality peel-and-stick lasts several years in a normal kitchen. When it’s time for a change, warm each panel with a hair dryer and peel slowly at a low angle; any residual adhesive comes off with warm soapy water or a citrus-based remover. Done patiently, the wall underneath survives intact, which is exactly why renters love this stuff.
Design Ideas That Look Expensive
Peel-and-stick has a reputation problem it doesn’t deserve; installed thoughtfully, guests won’t know it isn’t real tile. Subway patterns in white or soft gray are timeless and make small kitchens feel bigger. Herringbone layouts read as high-end and custom; they take more cutting, but the visual payoff is enormous. Moroccan and encaustic-look patterns add personality to neutral kitchens without the commitment of real patterned cement tile.
A few designer tricks elevate the result: run the backsplash all the way to the ceiling behind the range for a dramatic focal wall, use a contrasting pattern on the range wall and a quiet solid elsewhere, and keep the grout-line color consistent with your countertop veining. The single biggest upgrade is taking the tile to the ceiling or around the window; stopping at the standard 18-inch height is what makes backsplashes look builder-grade. Since the material is cheap and removable, this is the place to be braver than you would be with real tile.
Troubleshooting Common Problems
Bubbles: small ones can be pricked with a pin and smoothed flat; large ones mean the panel went down too fast, peel it back to the bubble and re-smooth. Edges curling: usually poor prep or cold adhesive; warm with a hair dryer, press firmly, and roll. If an edge won’t stay, a tiny dot of construction adhesive behind it solves it permanently. Pattern misalignment: step back frequently during installation; catching drift early lets you adjust the next panel instead of living with a wandering grout line. Panels not sticking at all: the wall is the problem, almost always grease or uncured paint; strip the panel, re-clean, and try again.
Peel and Stick vs. Real Tile: An Honest Comparison
Peel-and-stick has earned its place, but go in with clear eyes about the trade-offs. Cost: peel-and-stick runs a fraction of real tile installed, and the DIY savings are total since there’s no wet saw, thinset, or grout to buy. Time: a weekend versus the better part of a week for real tile with cure times. Skill: genuinely beginner-friendly, while real tile demands practice to look right.
Durability is where real tile wins: ceramic lasts decades, while peel-and-stick is a years-long solution, excellent but not permanent. Heat and moisture resistance favor real tile, especially behind ranges and in steamy kitchens. Resale value: real tile adds it, peel-and-stick is neutral to slightly positive as a cosmetic refresh. Reversibility is peel-and-stick’s superpower and the whole reason renters exist in this conversation.
The right choice depends on your situation. Renting, budget-tight, or testing a bold pattern before committing? Peel-and-stick, no contest. Doing a full kitchen renovation you plan to live with for fifteen years? Real tile earns its keep. Many homeowners do both in sequence: peel-and-stick now for instant gratification, real tile later when the renovation budget arrives.
Peel-and-stick backsplash succeeds or fails on wall prep: degrease thoroughly, smooth the surface, and let fresh paint cure. Plan the layout from the visual center outward, apply slowly with the squeegee pushing air out ahead of the adhesive, and cut outlet openings slightly small. Finish with a bead of caulk at the counter and a firm roll over the whole wall. For renters and budget renovators, it’s the highest-impact weekend project in the kitchen; for homeowners planning a full remodel later, it’s the perfect interim upgrade. Either way, guests will assume it’s real tile, and you don’t have to correct them.
Frequently Asked Questions About Peel and Stick Backsplash
Does peel and stick backsplash really stay up?
Yes, when the wall is properly degreased and prepped. Adhesion failures are almost always a prep problem, not a product problem. Clean, dry, smooth walls are the whole game.
Can I put peel and stick tile behind a gas stove?
Check the product’s heat rating first. Most peel-and-stick panels aren’t rated for direct flame exposure, so maintain the manufacturer’s recommended clearance behind open burners.
Is peel and stick backsplash renter-friendly?
Yes. Quality panels remove cleanly with gentle heat from a hair dryer and don’t damage the wall when removed patiently, making them one of the best renter upgrades.
Do I need to grout peel and stick tile?
No. The panels have printed or molded grout lines built in. Real grout won’t bond properly to the vinyl surface and isn’t needed.
How do I cut around outlets?
Measure the outlet position, mark it on the panel’s backing, and cut the opening slightly undersized with a sharp utility knife. The outlet cover plate hides the cut edges.
Can peel and stick backsplash go over existing tile?
Yes, if the existing tile is flat, clean, and firmly bonded; the panels adhere well to glossy ceramic. Deep grout lines may telegraph through, so skim them flush first or choose a thicker panel. It’s a favorite trick for updating dated tile without demolition.