How to Clean Grout Between Tiles (And Keep It Clean)

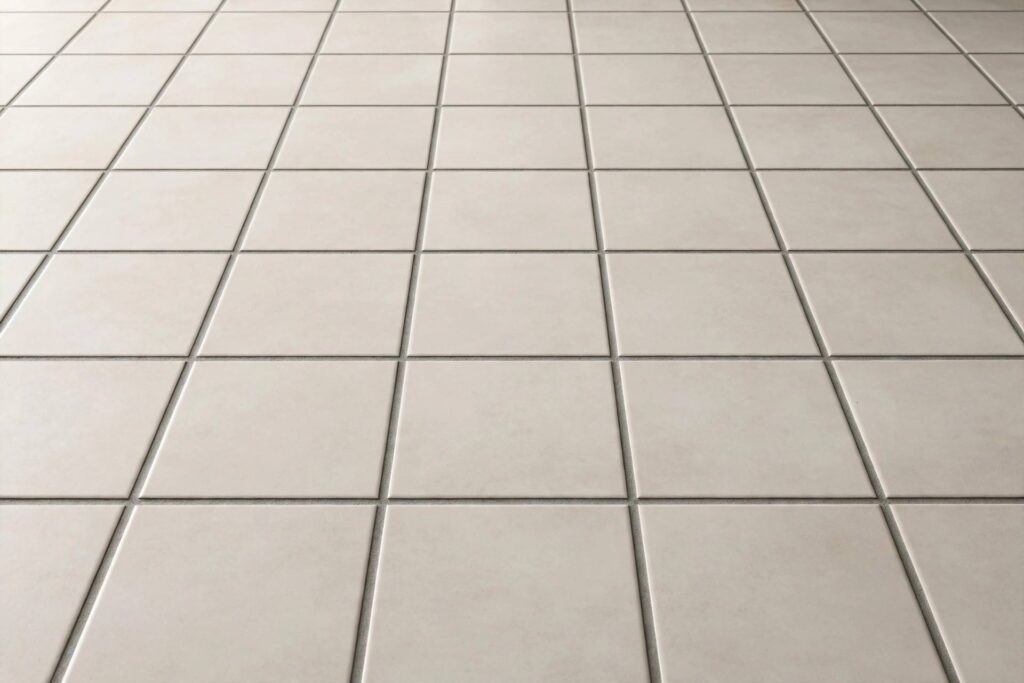
You can have beautiful tile, but if the grout lines are grey, dingy, and stained, the whole floor looks tired. Grout is porous — it soaks up dirt, soap scum, grease, and mildew like a sponge, and regular mopping just pushes the grime around. The good news: restoring grout is one of the most dramatic before-and-after transformations in home maintenance, and you can do it yourself in an afternoon with basic supplies. I’ve cleaned miles of grout lines in my time. Here’s the method that actually works, from gentlest to strongest. This guide shows how to clean grout between tiles with four methods — plus how to seal it so it stays clean.
Why Grout Gets Dirty (And Stays Dirty)
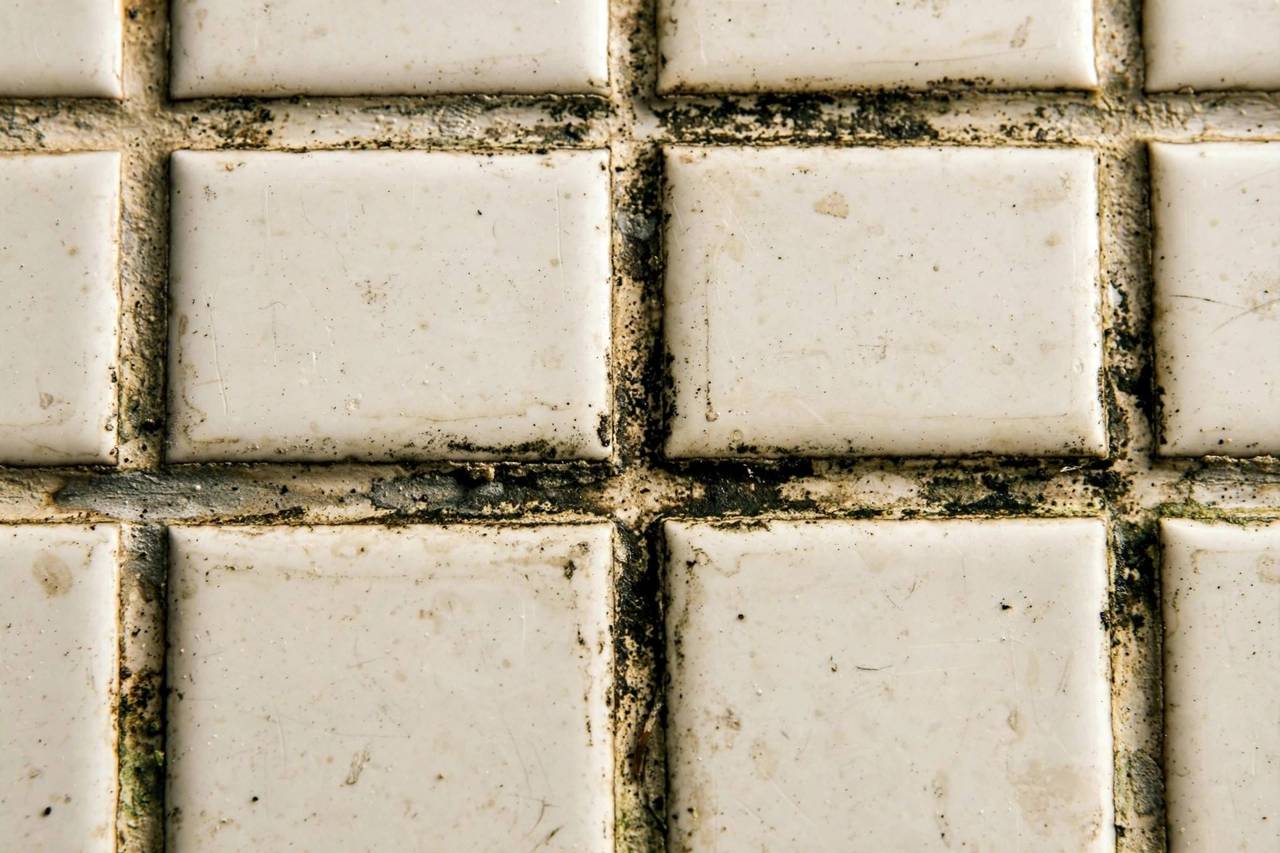
Grout is essentially cement — porous, rough-textured, and absorbent by nature. Every time you mop, dirty water settles into those pores. In bathrooms, soap scum and body oils add to the mix; in kitchens, it’s grease and food spills. Over time, the grout darkens as grime builds up layer by layer below the surface.
This is why mopping alone never fixes it: a mop glides over the tile surface but can’t extract what’s embedded in the grout’s pores. You need targeted cleaning that gets into the grout lines specifically. And once it’s clean, sealing is what keeps it that way — more on that at the end, because it’s the step everyone skips and regrets skipping.
What You’ll Need
- Stiff-bristled brush — a grout brush (narrow, with stiff bristles) is ideal; an old toothbrush works for small areas
- Baking soda
- White vinegar (for some methods) or hydrogen peroxide (3% solution from the pharmacy)
- Dish soap
- Spray bottle
- Bucket of clean water and rags/mop
- Rubber gloves
- Knee pads (your knees will thank you — trust me)
- Optional: oxygen bleach powder (sodium percarbonate, not chlorine bleach)
Start with the gentlest method and escalate only if needed. There’s no reason to bring out the heavy artillery for grout that just needs a good scrub.
How to Clean Grout Between Tiles, Method 1: Baking Soda Paste
For lightly to moderately dirty grout, this handles most jobs:
- Mix baking soda with a little water to form a thick paste (peanut-butter consistency).
- Apply the paste directly to the grout lines — an old toothbrush or your grout brush works as an applicator.
- Let it sit for 10-15 minutes. The mild alkalinity loosens surface grime.
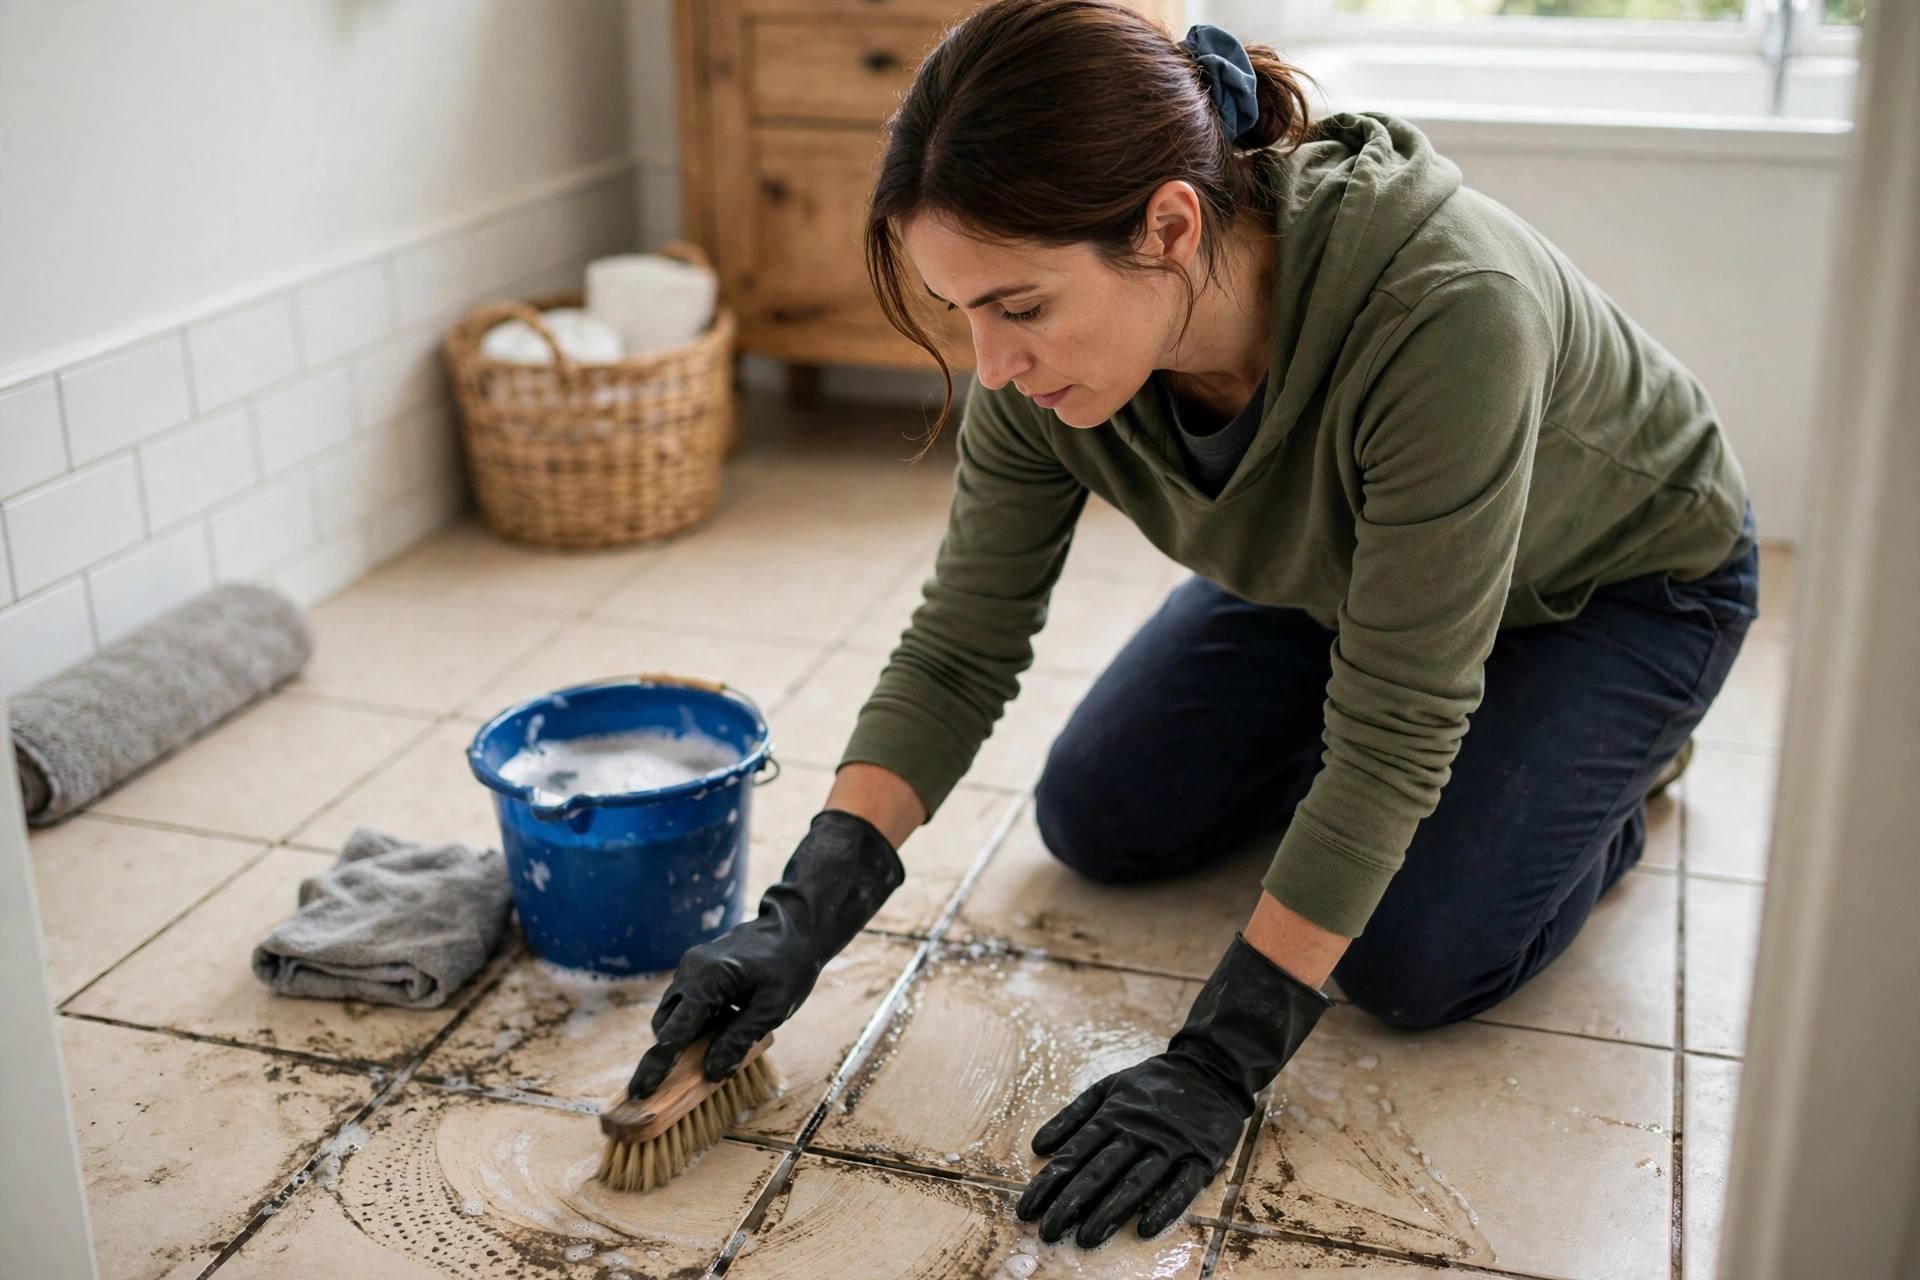
- Scrub vigorously along the grout lines with your brush, using short back-and-forth strokes.
- Wipe clean with a damp rag, rinsing frequently. Change your rinse water when it gets dirty — mopping with dirty water just redistributes grime.
For many kitchens and entryways, this is all you’ll ever need. The mechanical scrubbing does most of the work; the baking soda just gives it a boost.
Method 2: Baking Soda + Vinegar (The Fizzing Upgrade)
For grout that laughed at Method 1:
- Apply the baking soda paste to grout lines as above.
- Spray white vinegar over the paste. It’ll fizz — that’s the acid-base reaction working on the grime.
- Let it work for 5-10 minutes (don’t let it dry completely).
- Scrub thoroughly, then rinse clean with fresh water.
A word of caution: vinegar is acidic, and acid can etch natural stone tile (marble, travertine, limestone). If your tile is natural stone, skip the vinegar and use Method 3 instead. For ceramic and porcelain tile, vinegar is perfectly safe.
Method 3: Hydrogen Peroxide Paste (The Stain Fighter)
For stained, discolored grout — especially in bathrooms — hydrogen peroxide is the workhorse:
- Mix baking soda with 3% hydrogen peroxide (not water) into a paste.
- Apply to grout lines and let sit for 10-15 minutes.
- Scrub, then rinse thoroughly.
Hydrogen peroxide is a mild bleaching agent — effective on stains and mildew without the harshness of chlorine bleach. It’s also safer on colored grout than chlorine bleach, which can strip color unevenly. For tough mildew stains, you can apply straight hydrogen peroxide with a spray bottle, wait 10 minutes, scrub, and rinse.
Method 4: Oxygen Bleach (The Heavy Duty Option)
For grout that’s been neglected for years — the kind that’s gone from white to charcoal:
- Dissolve oxygen bleach powder (sodium percarbonate — sold as OxiClean and similar) in hot water per package directions.
- Pour or mop the solution onto the floor, making sure grout lines are saturated.
- Let it soak for 15-30 minutes. Don’t let it dry — reapply if needed.
- Scrub the grout lines, then rinse thoroughly with clean water.
Oxygen bleach is color-safe, breaks down into harmless byproducts, and is remarkably effective on deeply embedded grime. This is my go-to for restoration-level jobs. Note: this is NOT chlorine bleach — don’t substitute one for the other.
What About Chlorine Bleach and Steam Cleaners?
Chlorine bleach: I don’t recommend it for grout. It’s harsh, the fumes are unpleasant, it can discolor colored grout, and it doesn’t actually clean as well as people think — it whitens stains without removing the underlying grime. Oxygen bleach outperforms it for grout in almost every way.
Steam cleaners: genuinely effective — the high-temperature steam loosens grime beautifully, and the narrow nozzle targets grout lines precisely. If you already own one, use it. I wouldn’t buy one solely for grout, but it’s an excellent tool if you have it. Follow steaming with a wipe-down to remove the loosened dirt.
Commercial grout cleaners: many work well, but read the labels — some are just expensive versions of the DIY methods above, and acidic ones can damage natural stone. The homemade methods in this guide match or beat most store-bought options at a fraction of the cost.
Dealing With Mold and Mildew in Grout
Bathroom grout and mildew go together like toast and butter. For mildew specifically:
- Hydrogen peroxide (Method 3) kills mildew effectively — spray, wait 10 minutes, scrub, rinse.
- Improve ventilation: run the exhaust fan during and for 20+ minutes after showers. Most bathroom mildew is a ventilation problem wearing a cleaning disguise.
- Squeegee shower walls after use. Thirty seconds of squeegeeing removes the moisture mildew needs to grow.
- If grout is crumbling or mildew keeps returning in the same spot despite cleaning, the grout may be failing — regrouting that section is the real fix, not endless cleaning.
The Step Everyone Skips: Sealing Your Grout
Here’s the truth: if you clean your grout and don’t seal it, you’ll be doing this whole job again in six months. Grout sealer is a penetrating liquid that fills the grout’s pores, making it dramatically more stain-resistant. It’s the difference between a one-time restoration and a recurring chore.
How to seal:
- Wait until grout is completely clean and fully dry (24-48 hours after cleaning).
- Apply sealer with a small brush, applicator bottle, or aerosol — focus on grout lines, wiping excess off tile faces promptly.
- Apply two thin coats rather than one thick one, letting the first dry per product directions.
- Keep the floor dry for the curing period specified on the product (usually 24-72 hours).
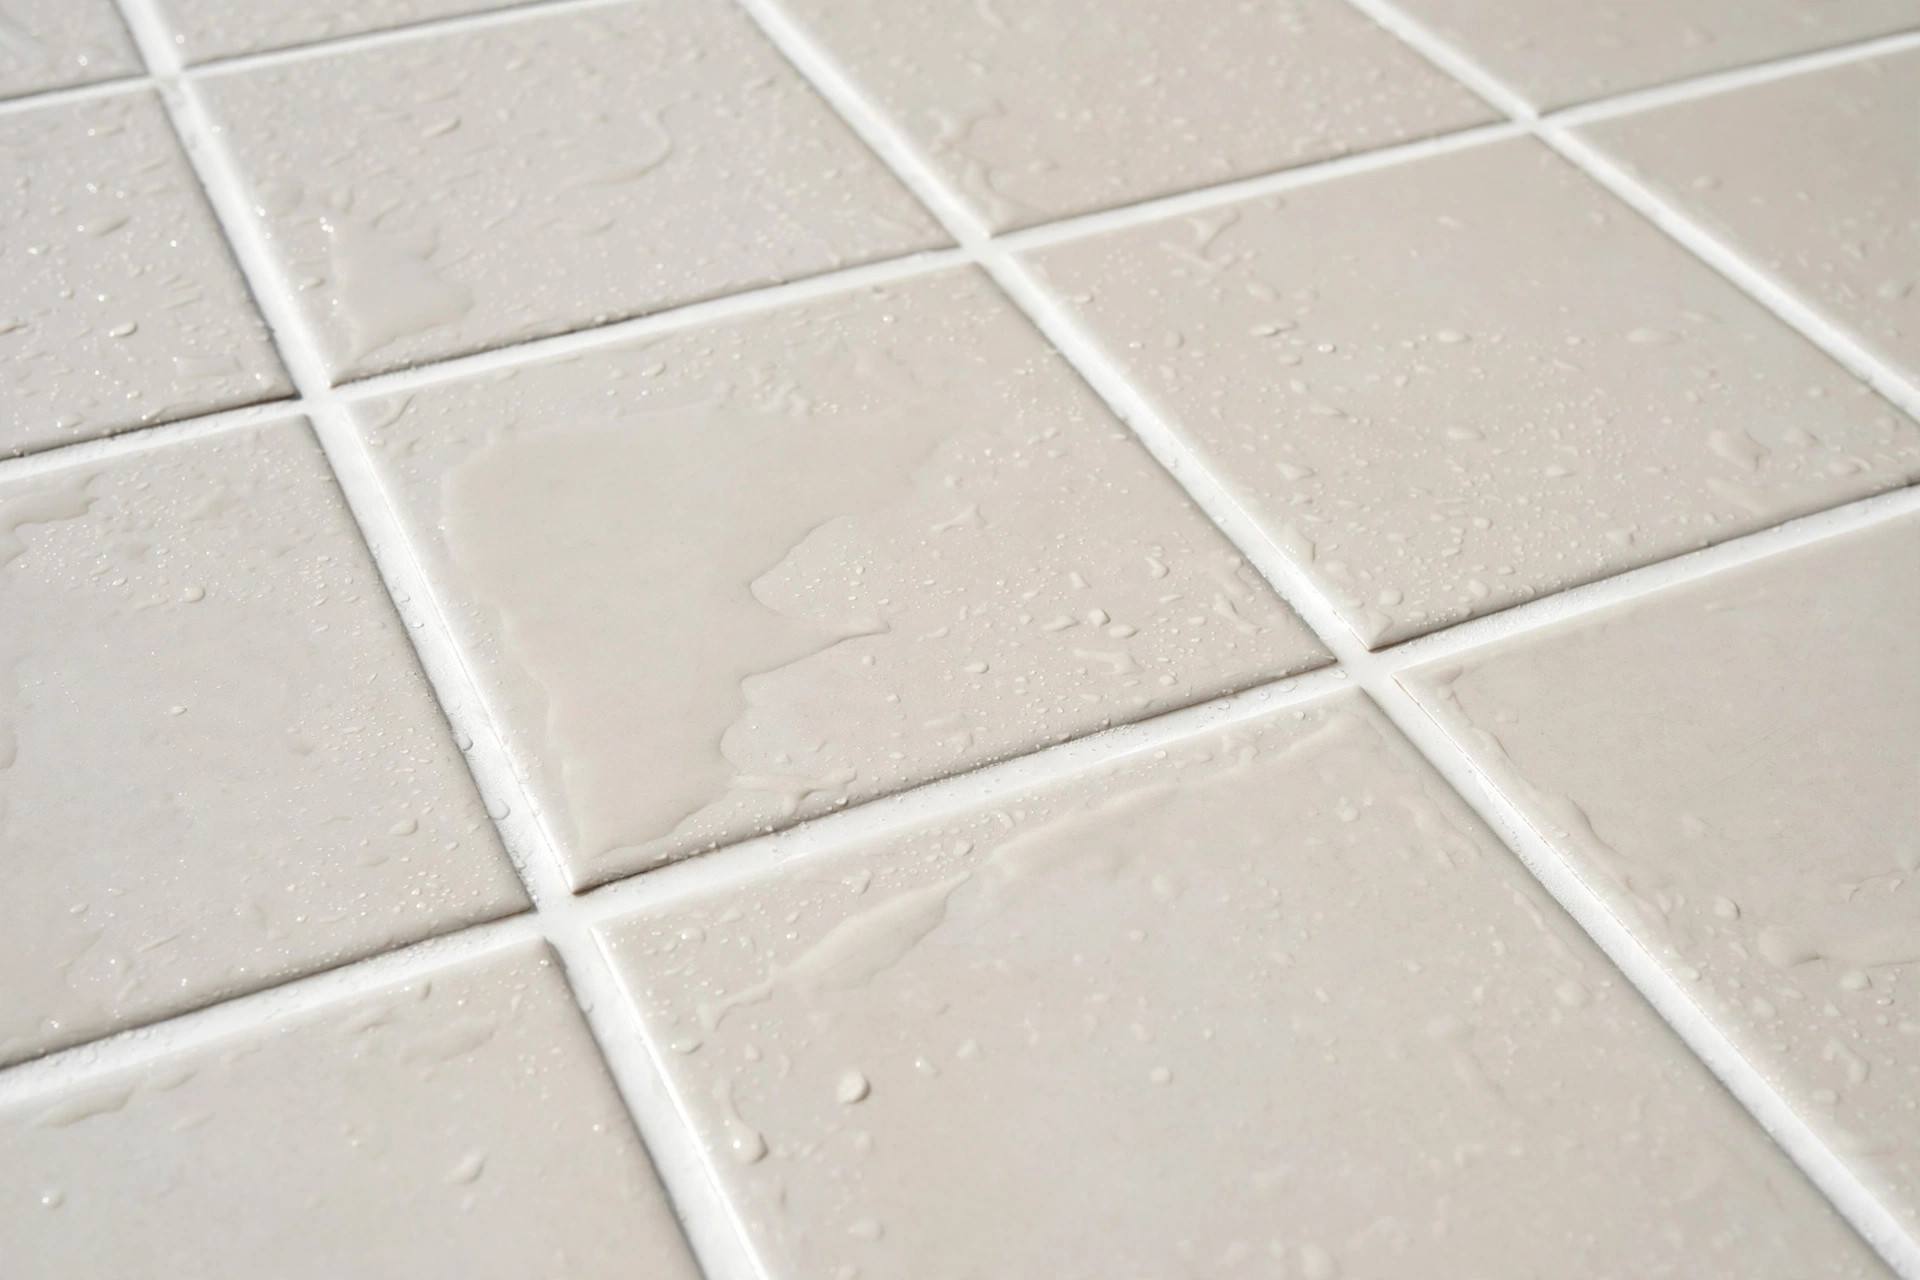
Choose a penetrating sealer (not a topical coating) for cement-based grout. Epoxy grout doesn’t need sealing — it’s inherently non-porous, which is why it’s popular in showers despite costing more upfront. Reseal every 1-2 years in wet areas, every 2-3 years elsewhere. The water-drop test tells you when: if water beads on the grout, the seal is good; if it soaks in darkening the grout, it’s time to reseal.
When Cleaning Isn’t Enough: Regrouting
Sometimes grout is beyond cleaning: it’s crumbling, cracked, deeply stained through its full depth, or missing in spots. In those cases, regrouting — removing the old grout and applying fresh — is the real answer. It’s more work (a grout saw or oscillating tool removes the old material, then you apply new grout like the original installation), but the result is literally a new floor surface in the grout lines.
Consider regrouting when: grout is physically deteriorating, stains persist through the full depth after deep cleaning, or you’re already renovating the space. For small areas, it’s a very manageable DIY job. For whole-house floors, it’s labor-intensive enough that many homeowners hire it out — and it’s still far cheaper than retiling.
Maintaining Clean Grout (The Easy Part)
- Mop with clean water. The number one grout maintenance rule: change your mop water frequently. Dirty mop water is how grout gets dirty in the first place.
- Use pH-neutral cleaners for regular mopping. Harsh acidic or alkaline cleaners degrade sealer over time.
- Wipe spills promptly — especially in kitchens. Fresh spills wipe up; dried spills stain.
- Ventilate bathrooms. Exhaust fan on during showers, squeegee after. Mildew prevention beats mildew removal.
- Spot-clean as needed. A quick baking-soda scrub on a stained section takes two minutes when caught early versus two hours when neglected.
Now you know how to clean grout between tiles. Clean grout transforms a room — it’s genuinely one of the highest visual-impact maintenance jobs you can do. An afternoon of work, a few dollars in supplies, and your tile looks new again. Then seal it, maintain it simply, and enjoy not thinking about grout for a long, long time.
FAQ
What’s the best homemade grout cleaner?
A paste of baking soda and hydrogen peroxide is the most effective DIY grout cleaner for most situations — it combines mild abrasion with stain-fighting bleaching action. For light dirt, baking soda and water with vigorous scrubbing is enough. For severe grime, oxygen bleach dissolved in hot water is the heavy-duty homemade option.
Can I use vinegar on grout?
On ceramic and porcelain tile, yes — vinegar is safe and effective. But never use vinegar (or any acid) on natural stone tile like marble, travertine, or limestone, as it etches the stone surface. When in doubt about your tile type, skip the vinegar and use hydrogen peroxide instead.
How often should I seal grout?
Every 1-2 years in wet areas (showers, bathroom floors) and every 2-3 years in dry areas. Test with the water-drop method: if water beads up, the seal is intact; if it soaks in and darkens the grout, it’s time to reseal.
Why does my grout get dirty again so fast after cleaning?
Almost always because it wasn’t sealed after cleaning — unsealed grout reabsorbs grime immediately. The other common cause is mopping with dirty water, which deposits grime right back into the pores you just cleaned. Seal the grout and mop with fresh water.
Is it better to clean grout or replace it?
Clean first — most discolored grout restores beautifully with the methods above. Regrout when the grout is physically failing (crumbling, cracked, missing), when stains penetrate the full depth and resist deep cleaning, or when you’re renovating anyway. Cleaning is an afternoon; regrouting is a project.
Keep Reading
- How to Clean Stainless Steel Appliances Without Streaks
- How to Clean Car Battery Terminals (Safely, in 20 Minutes)
- How to Clean Car Upholstery: Cloth and Leather (Mechanic’s Guide)