How to Hang Shelves Without Drilling (Renter-Friendly Methods)

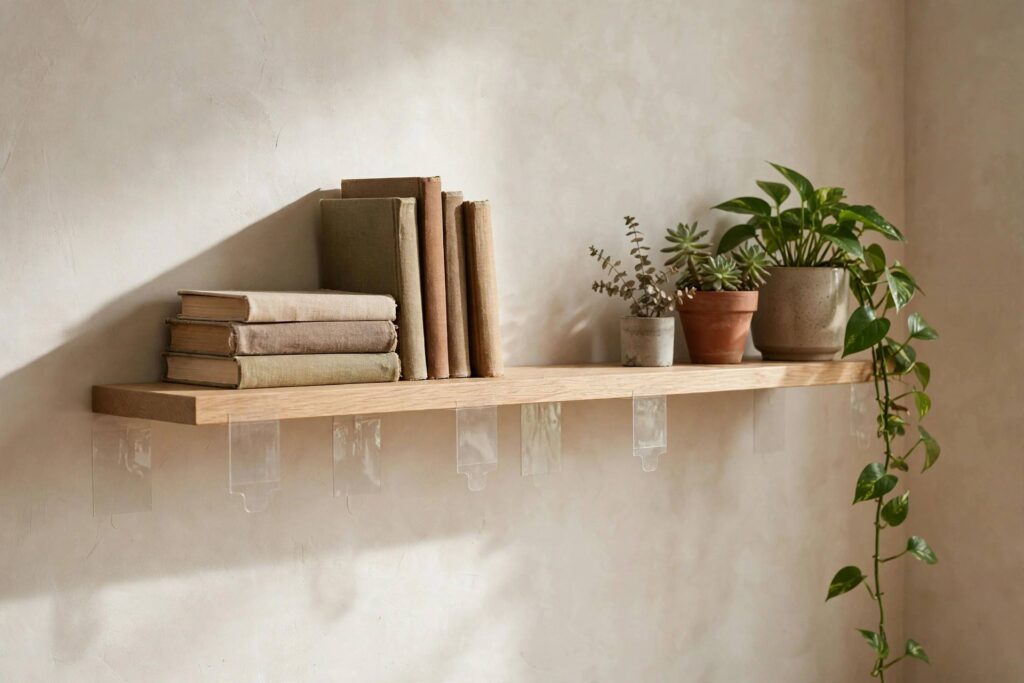
Renting? Living in a dorm? Got plaster walls you don’t want to destroy? Or maybe you just don’t own a drill and don’t want to buy one for a single shelf. Whatever your reason, learning how to hang shelves without drilling is genuinely useful — and the options are better than most people think.
I’ll be straight with you: no-drill methods won’t hold a shelf full of encyclopedias. But for books, plants, decor, spices, and everyday items, these methods work reliably — if you respect their weight limits. Here’s every method worth knowing, ranked by strength.
How to Hang Shelves Without Drilling: The Ground Rules
- Know your weight limits and respect them. Every no-drill method has a maximum load. Exceeding it doesn’t cause a gradual decline — it causes a sudden 2 AM crash. Stay well under the rated limit.
- Prep the surface properly. Clean the wall with rubbing alcohol and let it dry completely. Adhesives bond to clean surfaces; they fail on dusty, greasy, or textured ones.
- Respect cure times. Most adhesives need 24 hours (sometimes longer) to reach full strength. Hanging the shelf immediately is the #1 cause of failures.
- Consider your wall type. Smooth painted drywall, tile, glass, and metal are ideal for adhesives. Textured walls, brick, wallpaper, and fresh paint (less than 30 days cured) are problematic.
- Distribute weight wisely. Heavy items in the center and toward the wall; light items at the edges. Physics is undefeated.
Method 1: Adhesive Strip Shelves (Best All-Arounder)
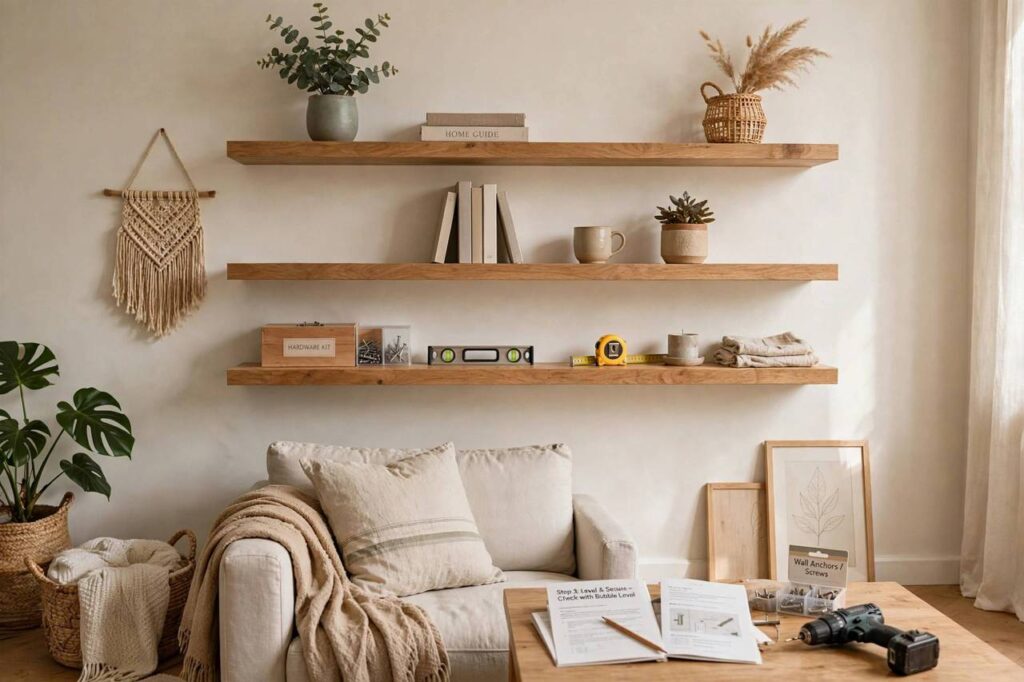
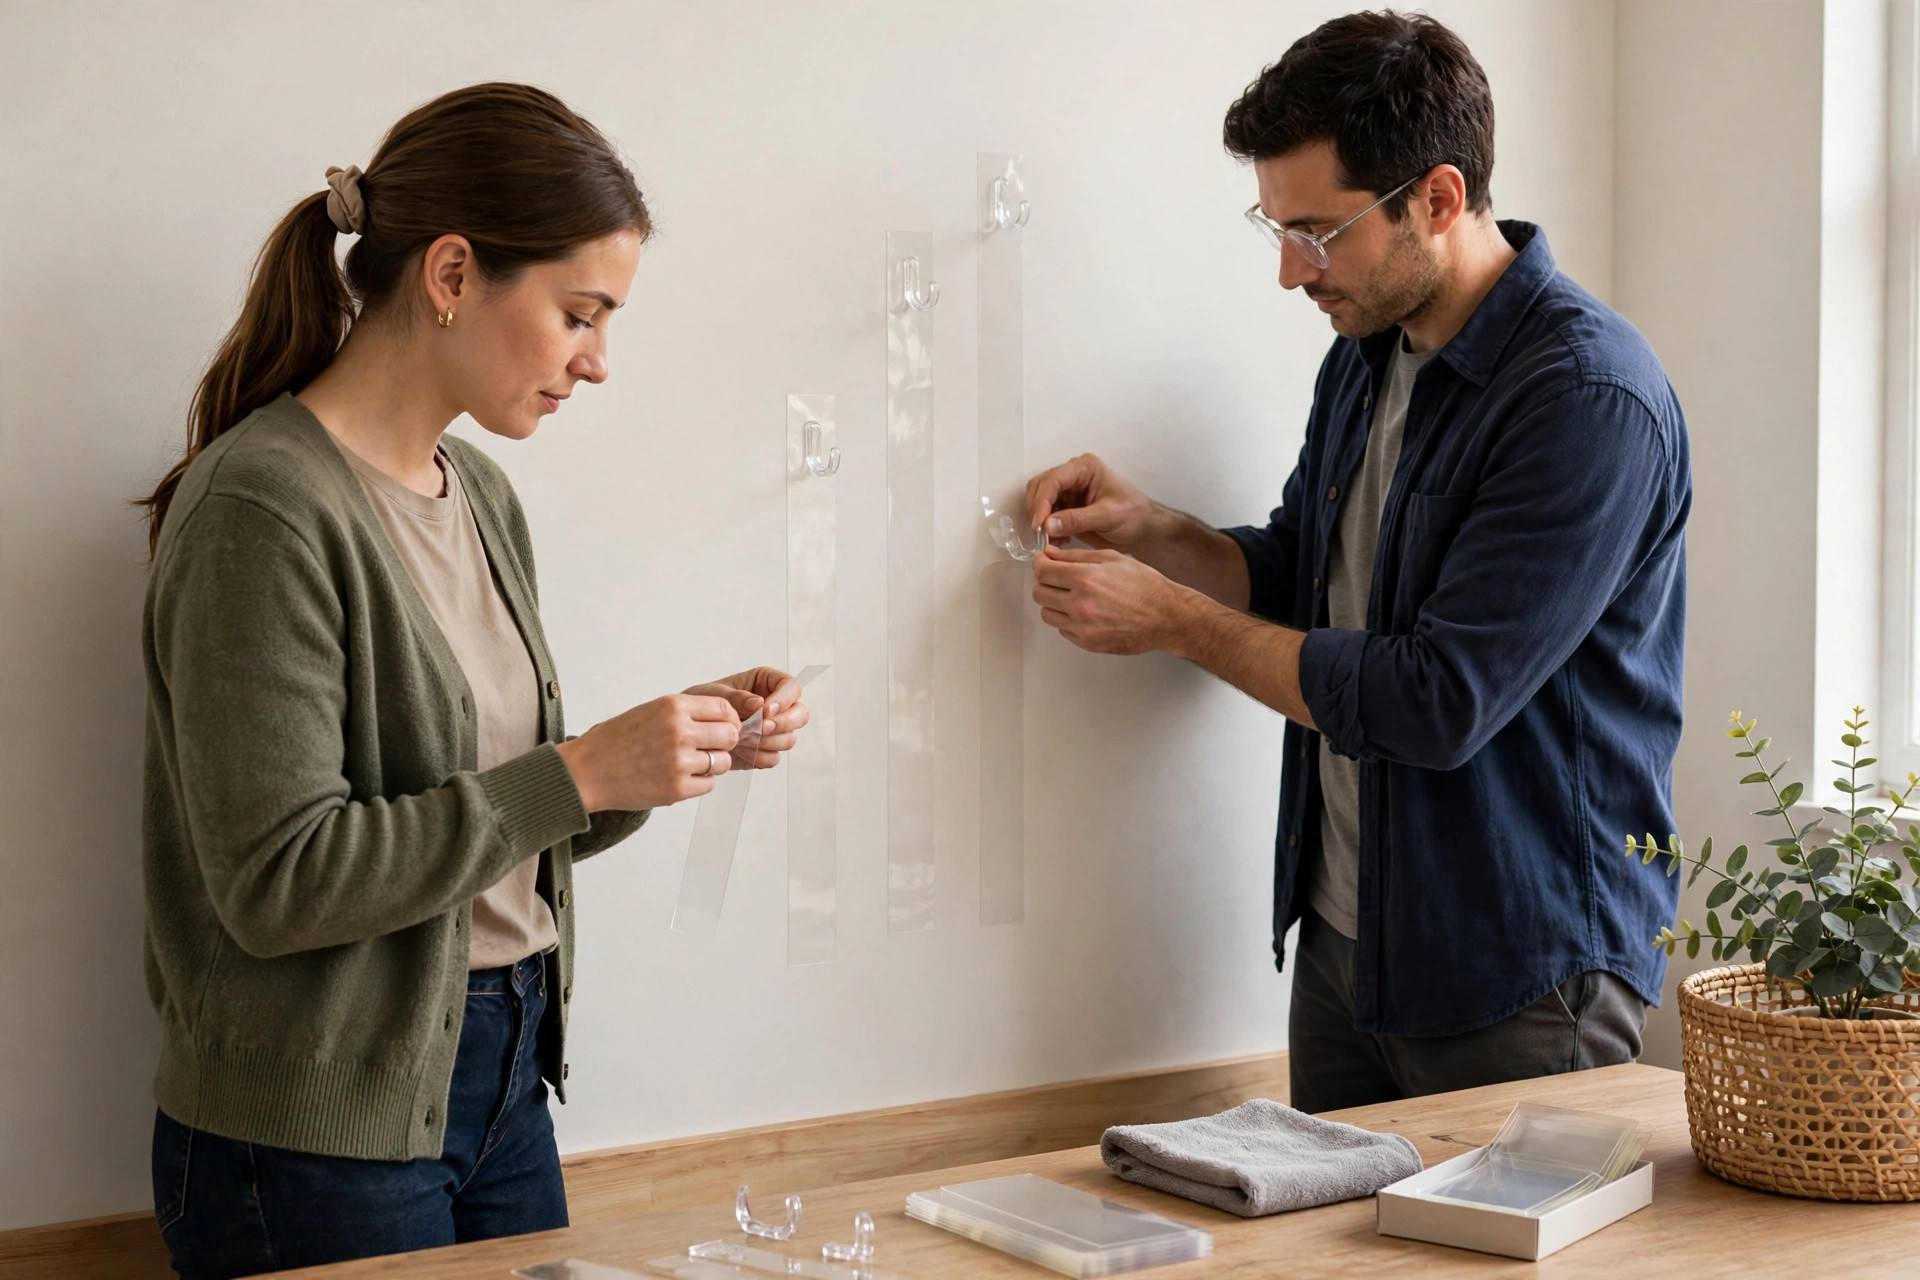
Heavy-duty adhesive strips (the kind rated for 10-16 lbs per set) bonded to small floating shelves or picture ledges are the most versatile no-drill option. This is my top recommendation for most people.
- Choose the right shelf. Lightweight floating shelves, small picture ledges, or narrow spice-rack-style shelves work best. Keep it under 24 inches wide for stability.
- Prep the wall. Clean with rubbing alcohol, dry completely. Mark your level line with painter’s tape.
- Apply strips to the shelf back. Use more strips than you think you need — distribute them across the full back surface. Follow the strip manufacturer’s instructions exactly (most require pressing firmly for 30 seconds).
- Mount and wait. Press the shelf to the wall firmly for 30-60 seconds. Then WAIT — 24 hours minimum before loading. I know it’s hard. Wait anyway.
- Load gradually. Start with lighter items, arranged with heavier things centered. Stay under the total weight rating with margin to spare.
Realistic capacity: 5-15 lbs total depending on strips and shelf size. Perfect for paperbacks, small plants, framed photos, spice jars, toiletries.
Method 2: Tension Rod Shelves (Surprisingly Strong)
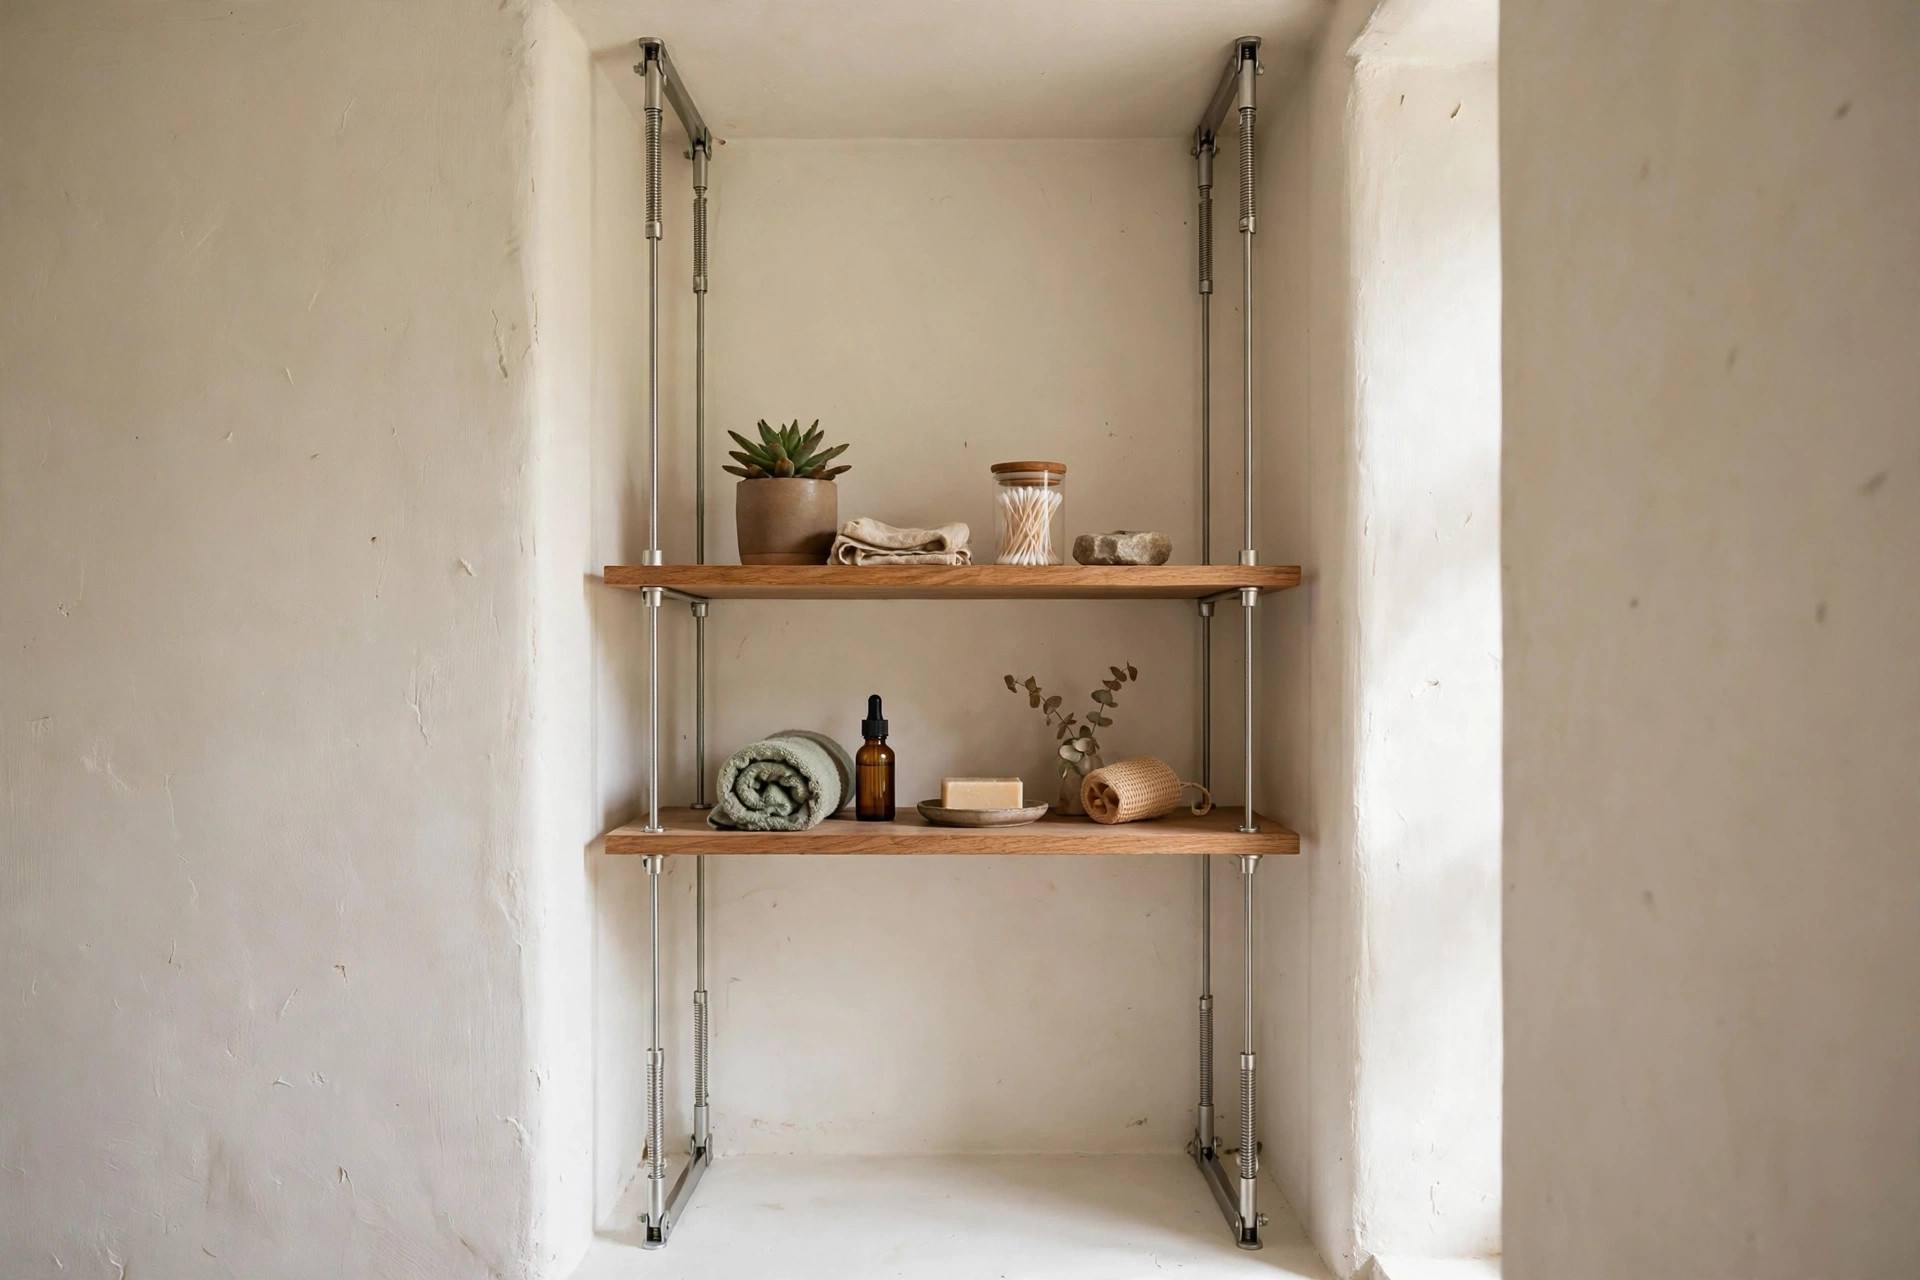
Spring-loaded tension rods wedged between two facing walls (or inside a cabinet, closet, or window frame) can support shelf boards laid across them. This is brilliant for:
- Under-sink storage: Tension rods inside the cabinet create instant shelving for cleaning supplies around the pipes.
- Closet organization: Rods across a closet alcove hold lightweight shelves for folded clothes or shoes.
- Window herb gardens: A tension rod across a window frame with small pots hung from S-hooks.
- Pantry gaps: Narrow gaps between appliances or walls become spice storage.
Use two rods per shelf for stability, and choose rods rated for the span — longer spans hold less weight. This method is genuinely strong for its simplicity because the physics of compression works in your favor.
Method 3: Freestanding and Leaning Shelves (Zero Wall Contact)
Sometimes the best no-drill shelf is no wall attachment at all:
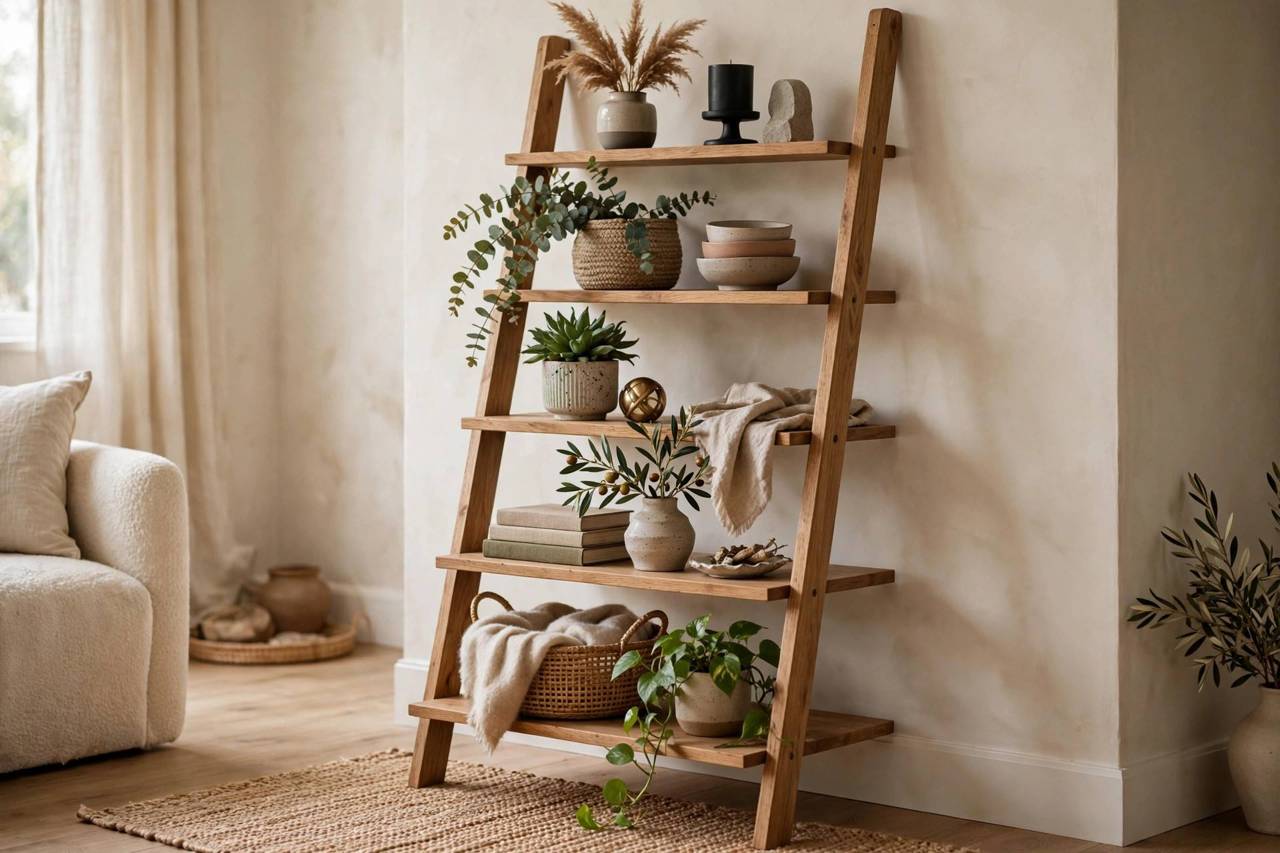
- Leaning ladder shelves: They rest against the wall at an angle, held by gravity and rubber feet. Surprisingly stable, great-looking, and they hold a respectable amount. The top usually has a small anti-tip strap option — use it if you have kids or earthquakes.
- Bookcases and étagères: A narrow bookcase gives you shelf space with zero wall interaction. Anchor to the wall with adhesive anti-tip straps for safety (these use small adhesive pads, not screws).
- Over-door shelving: Hooks over the door create instant storage on otherwise dead space — great for bathrooms and pantries.
- Freestanding corner shelves: Designed to tuck into corners, stable on their own footprint.
The trade-off is floor space — freestanding units occupy square footage that wall shelves don’t. In tiny rooms, wall-mounted adhesive options win. Where floor space allows, freestanding is the strongest and simplest answer.
Method 4: Adhesive Hooks + Boards (The DIY Hybrid)
For a custom look: mount heavy-duty adhesive hooks (the large utility-hook style, rated 7+ lbs each) to the wall in pairs, then rest a finished board across them like a mantel. Two pairs of hooks = a shelf.
- Use hooks with a flat top surface or add small adhesive bumpers to create a level resting surface.
- Choose a board with some weight to it — too light and it shifts; a solid wood board sits more securely.
- This works beautifully for entryway key shelves, bathroom toiletry ledges, and kitchen spice boards.
Method 5: Suction and Specialty Mounts (Bathroom Heroes)
For tile, glass, and other non-porous surfaces — especially bathrooms — heavy-duty suction mounts have gotten impressively good. Modern locking-suction shelves hold shower caddies, soap dishes, and bathroom organizers reliably on smooth tile.
Keys to success: the surface must be completely smooth (textured tile defeats suction), clean it thoroughly first, and press out all air when engaging the lock. Re-check the seal monthly — temperature changes can slowly break suction over time.
What About Heavy Items?
Let’s be honest about limits. No-drill methods top out around 15-20 lbs for the very best setups, and most are comfortable under 10 lbs. If you need to store heavy books, large collections, or anything valuable and breakable, you have three options:
- Go freestanding. A real bookcase on the floor holds hundreds of pounds with zero wall damage.
- Ask your landlord. Many landlords allow small screw holes (they’re easily filled at move-out) even when leases say “no drilling.” A polite ask with a promise to patch often works.
- Use French cleats with adhesive. The strongest adhesive approach — a French cleat distributes weight across a wide area. Still limited, but better than strips alone for medium loads.
Don’t be the person whose overloaded adhesive shelf crashes at 2 AM. Respect the limits and you’ll never have that story.
Removal: Getting Your Deposit Back
The whole point of no-drill is clean removal. For adhesive strips: pull the tab SLOWLY straight down along the wall (not outward) — the adhesive stretches and releases. Go slow; rushing tears paint. For suction mounts: release the lock and lift. For tension rods: twist to release tension and slide out.
If any adhesive residue remains, warm it with a hair dryer and roll it off with your fingers, then clean with a damp cloth. Done right, the wall looks untouched — which is exactly what your landlord wants to see.
Once your shelves are up and styled, they become part of what makes a space feel like home. If you’re working on a bedroom, pair your new shelves with the ideas in this guide on how to make your bedroom cozy — shelving plus soft textiles plus warm lighting is the whole formula.
Styling Your No-Drill Shelves
Getting shelves up is half the job — making them look good is the other half. A few styling principles that work especially well on no-drill shelves (which tend to be smaller and lighter-duty):
- The rule of thirds: Group items in odd numbers — threes and fives look intentional, twos and fours look like storage. Vary heights within each group.
- Mix textures: Wood, ceramic, glass, greenery, books, a framed photo — variety keeps small shelves interesting. All-books or all-decor looks flat.
- Leave breathing room: The biggest styling mistake is cramming every inch. Negative space makes shelves look curated instead of cluttered — and on adhesive-mounted shelves, less weight is also safer.
- Go vertical with small items: Stack books horizontally in small piles, stand a few upright with a bookend, lean art against the wall behind. Layering creates depth on shallow shelves.
- Add life: A small trailing plant (pothos is nearly unkillable) softens any shelf instantly. Faux plants work too — no judgment, especially on high shelves you’d never water.
- Rotate seasonally: Swap a few pieces with the seasons or holidays. It keeps the space feeling fresh without buying anything new — shop your own home first.
And remember the weight discipline: style with the scale in mind. That gorgeous ceramic vase might be better on the sturdy freestanding bookcase than on the adhesive-mounted picture ledge. Beauty and physics can coexist — they just need to respect each other.
No-Drill Shelving for Specific Rooms
- Bathroom: Suction-mounted corner shelves and over-toilet freestanding units. Everything needs to tolerate humidity — choose rust-proof materials and check suction monthly.
- Kitchen: Adhesive-mounted spice racks inside cabinet doors (hidden storage!), tension rods under sinks, magnetic knife strips (many mount with heavy-duty adhesive). Keep shelves away from the stove’s heat and grease zone.
- Bedroom: Adhesive picture ledges for books and art above the bed (keep them light!), leaning shelves for the corner, adhesive hooks inside closet doors for accessories.
- Home office: Adhesive cable-management trays under the desk, small floating shelves for reference books, pegboard hung with adhesive strips for supplies (keep it light).
- Kids’ rooms: Low freestanding cube storage they can reach, adhesive hooks at kid height for backpacks. And always use anti-tip protection — adhesive anti-tip straps on any freestanding furniture, no exceptions with little climbers around.
FAQ
How to hang shelves without drilling in a rental?
Heavy-duty adhesive strips on lightweight floating shelves are the best all-around renter method (5-15 lbs capacity). For heavier needs, use freestanding or leaning shelves that need no wall attachment at all. Always prep walls with rubbing alcohol and respect the 24-hour adhesive cure time.
How much weight can adhesive shelves hold?
Typically 5-15 lbs total depending on the strips, shelf size, and wall surface. Stay well under the rated limit, center heavy items, and remember: these are for books, decor, plants, and everyday items — not encyclopedias or heavy collections.
Will adhesive strips damage paint when removed?
Not if removed correctly — pull the tab slowly straight DOWN along the wall (not outward). Rushing or pulling outward tears paint. They work best on fully cured paint (30+ days old); fresh paint is more vulnerable.
Can you hang shelves on tile without drilling?
Yes — smooth tile is actually ideal for both heavy-duty adhesive strips and locking suction mounts. Clean the tile thoroughly first (grout haze and soap film kill adhesion), and avoid textured tile, which defeats both methods.
What’s the strongest way to hang a shelf without drilling?
A freestanding or leaning shelf unit — zero wall reliance, highest capacity. Among wall-mounted options, a French cleat installed with structural adhesive distributes weight best, followed by multiple heavy-duty adhesive strips on a small shelf. Tension rods between two walls are also surprisingly strong for their simplicity.
Keep Reading
- How to Hang Shelves on Drywall: A Beginner’s DIY Guide
- 21 Renter Friendly Decorating Ideas (No Drill, No Damage)