How to Clean Shower Grout Lines That Have Gone Black

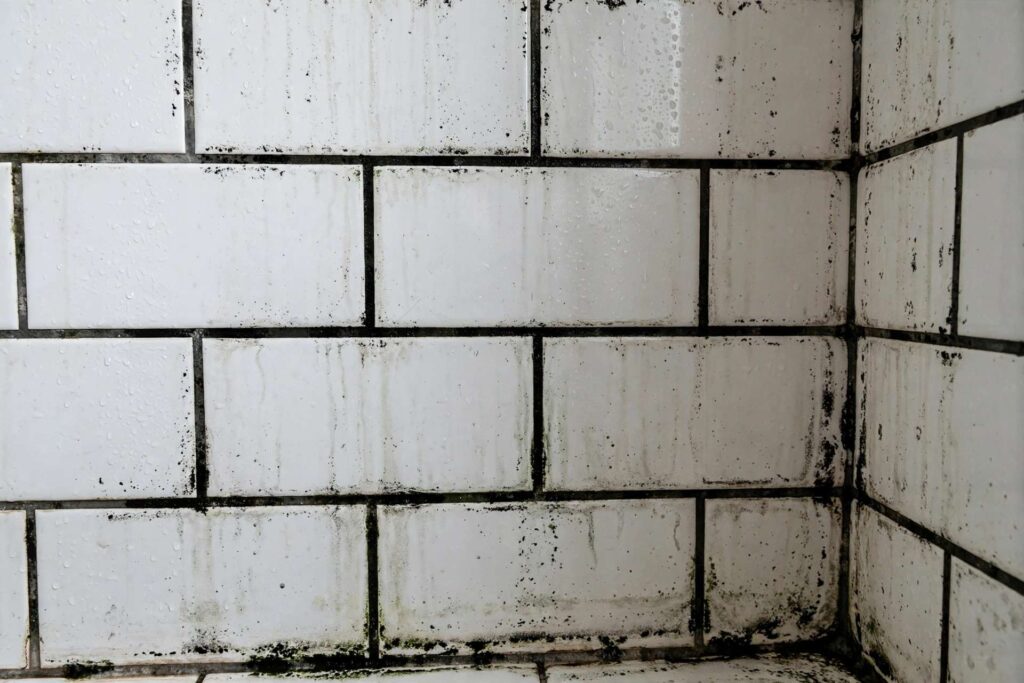
Every shower I have ever worked on ends up in the same place: the tile still looks fine, but the grout lines have gone gray, black, or that charming orange-pink color nobody asks for. Learning how to clean shower grout lines properly is less about finding a miracle product and more about understanding what you’re scrubbing off — soap scum, body oils, mineral deposits, and, in the worst cases, mildew that’s rooted itself in the porous grout. The good news: you can get grout shockingly close to its original color with basic supplies and some honest elbow grease.
I’m going to walk you through the method I use, in order of strength: start gentle, step up only if you need to, and finish with the sealing step that keeps it clean. I’ll also tell you what to keep away from your grout, because some of the most popular advice out there does more harm than good.
What You’re Actually Scrubbing Off
Grout is basically sand and cement, which means it’s porous — it drinks in whatever runs down the wall. Soap scum leaves a filmy gray layer. Hard water leaves mineral crusts, often white or greenish. And constant moisture lets mildew take hold, which is what turns grout lines black, especially in corners and along the tub edge where water sits.
Knowing which one you’re fighting changes the approach. Soap scum and minerals respond to gentle cleaners. Mildew needs something that actually kills it, not just bleaches the color out of it. And if the grout is crumbling or falling out in chunks, no cleaner will save it — that grout needs to be raked out and replaced, not scrubbed.
How to Clean Shower Grout Lines, Step by Step
Step 1: Start with hot water and a stiff brush
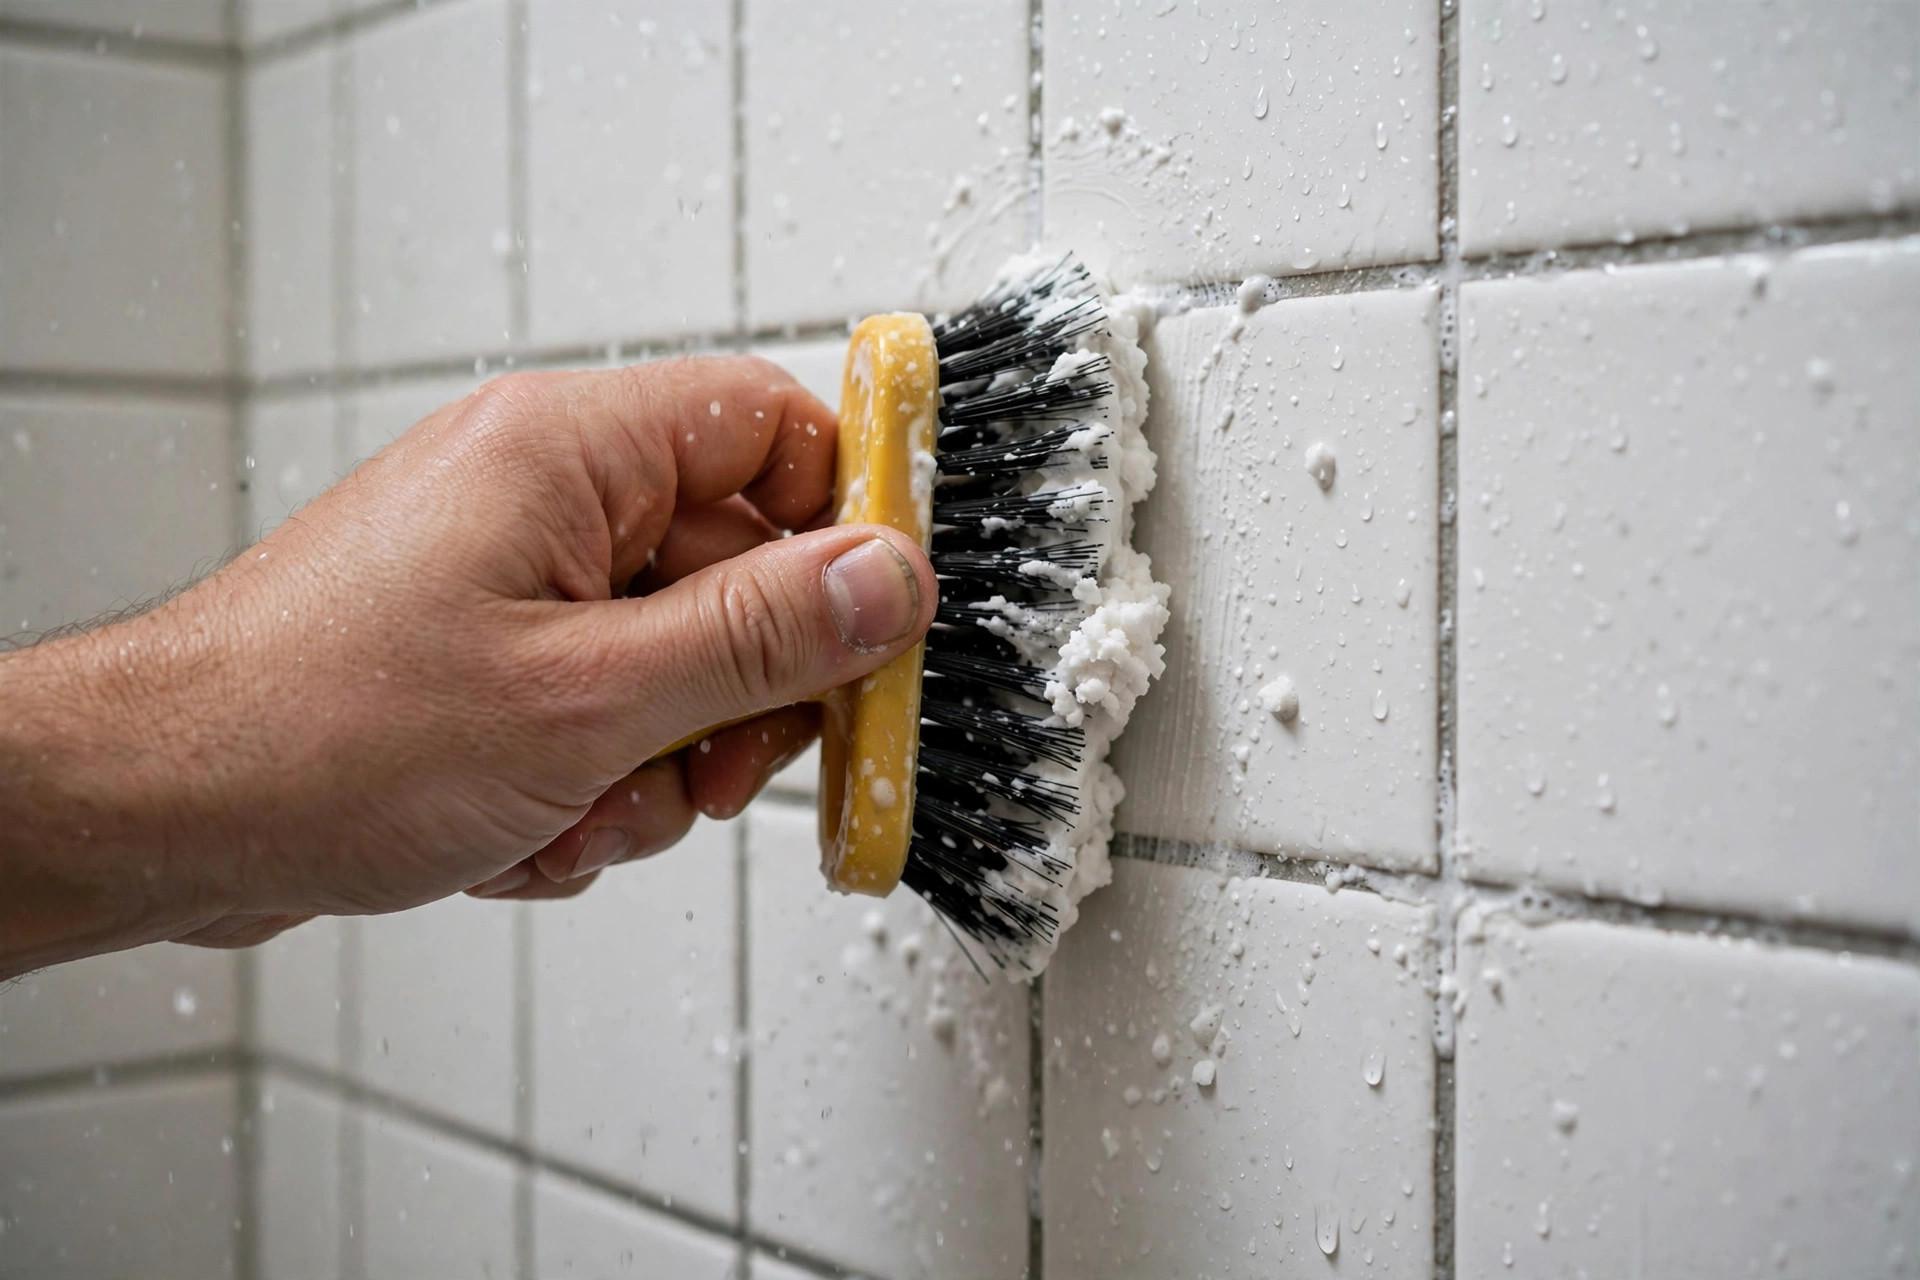
Before you reach for any product, hit the grout with the hottest water your shower makes and scrub with a stiff grout brush (the narrow kind, not a big sponge). You’d be surprised how much plain soap film comes off with heat and friction. This also tells you what you’re really dealing with — whatever doesn’t budge now is what needs the stronger stuff.
Step 2: Baking soda paste
Mix baking soda with just enough water to make a thick paste, smear it into the grout lines, and let it sit for ten to fifteen minutes. Then scrub with the grout brush. Baking soda is a mild abrasive, so it physically lifts grime without damaging the grout, and it’s safe for every type of tile.
Step 3: Oxygen bleach for the stubborn stuff
If the paste wasn’t enough, mix oxygen bleach powder (sodium percarbonate — the active ingredient in those “oxy” cleaners) with hot water per the label, apply it to the grout, and let it sit for fifteen to thirty minutes before scrubbing. This is the workhorse for deep-set staining and mildew, and unlike chlorine bleach it doesn’t just whiten the surface — it breaks down the organic gunk underneath.
Step 4: Deal with mildew properly
For black mildew spots that survived everything else, apply a mold-killing cleaner and give it real contact time — spray-and-wipe doesn’t kill anything. Let it sit the full time the label specifies, scrub, and rinse thoroughly. If mildew keeps coming back in the same spot, the problem is moisture: that area isn’t drying between showers, and no cleaner fixes that. A squeegee habit or better ventilation will do more than any product.
What to Keep Away From Your Grout
A few things people reach for that I wish they wouldn’t:
- Undiluted vinegar on natural stone. Vinegar is fine on ceramic tile, but on marble, travertine, or any natural stone it etches the surface. Know your tile before you spray acid on it.
- Wire brushes and harsh scouring pads. They chew up the grout surface, making it rougher and more porous — which means it gets dirty faster next time.
- Chlorine bleach as a first resort. It whitens mildew without killing the roots, so the black comes right back. Save it for sanitizing, not cleaning.
- Steam cleaners on a daily basis. Occasional steam cleaning is fine, but blasting grout with steam constantly can weaken it over time.
The Step Everyone Skips: Sealing
Here’s the truth about grout: cleaning it is the second half of the job. The first half is sealing it. Grout sealer soaks into the pores and makes the surface resist water and grime, which means your next cleaning is dramatically easier. Wait until the grout is fully dry (give it a day or two after cleaning), apply the sealer per the label, wipe the excess off the tile faces, and let it cure.
Reseal every year or two in a shower — it’s a twenty-minute job and it’s the difference between grout that stays light and grout that turns black again by spring. If water no longer beads on the grout, the sealer is gone.
Keeping It Clean Without a Monthly Deep Scrub
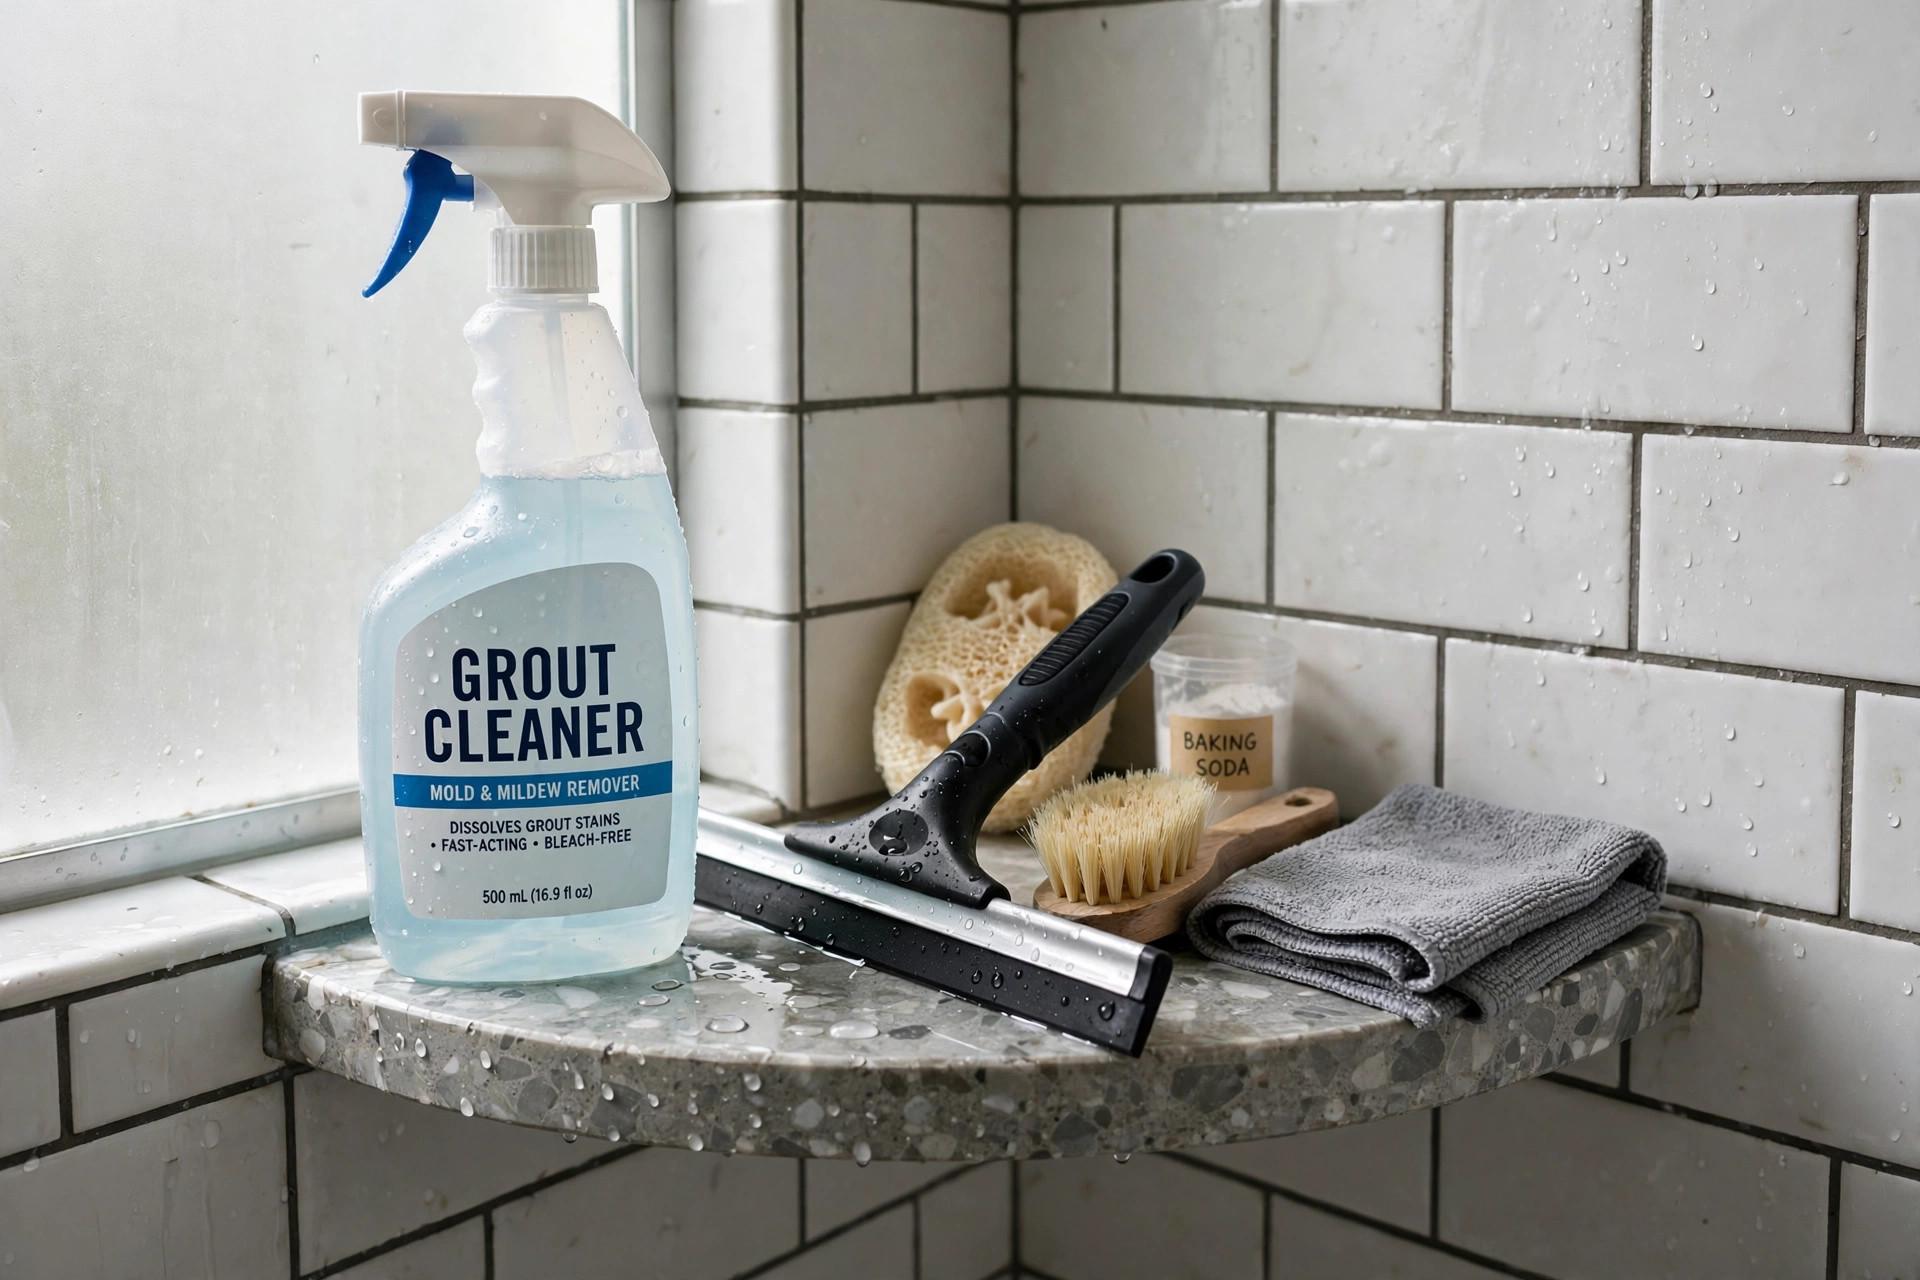
The people with the cleanest grout aren’t scrubbing harder — they’re preventing. Squeegee the walls after your shower; it takes thirty seconds and removes most of the water that feeds mildew. Run the bathroom fan for twenty minutes after showering (or crack a window). And switch to liquid body wash if you’re a bar-soap person, because bar soap is the single biggest contributor to soap scum.
Do those three things and your deep clean becomes a once- or twice-a-year job instead of a monthly battle.
Store-Bought vs. DIY Grout Cleaners: An Honest Take
The cleaning aisle wants you to believe there’s a miracle in a spray bottle. Here’s what the categories actually do, minus the marketing.
- Oxygen bleach powders (sodium percarbonate) are the best all-around choice for grout. They break down organic staining and kill mildew at the root, they’re color-safe, and they rinse clean. The only downside is they need dwell time — there’s no spray-and-wipe magic here.
- Chlorine bleach cleaners whiten fast, which is why people love them, but whitening isn’t cleaning. They bleach mildew white without killing the roots, so the black comes back. Useful as a sanitizer after real cleaning, misleading as the cleaning itself.
- Acidic cleaners (including vinegar-based and limescale removers) dissolve mineral deposits beautifully — genuinely the right tool for hard-water crust. But acids etch natural stone tile and can weaken grout with repeated use. Know your tile before you go acidic.
- Baking soda pastes and DIY mixes are fine mild abrasives for light soil. They’re cheap, safe for everything, and honestly effective on soap scum. They’re just not strong enough for deep-set staining or established mildew — that’s not a failure, it’s just their lane.
- “Miracle” grout pens and whiteners are cosmetic cover-ups, basically paint. They look great in photos for about a month. I’m not against them for a rental refresh, but don’t confuse them with cleaning.
My actual recommendation for most showers: oxygen bleach for the deep clean, baking soda paste for maintenance, and an acidic cleaner only if you have visible mineral crust on ceramic or porcelain tile. Three products, each doing the job it’s actually good at.
When Cleaning Isn’t Enough: Regrouting the Worst Joints
Sometimes grout is past saving — it’s crumbling, cracked through, or missing in chunks. Scrubbing won’t fix structural failure. Regrouting a shower sounds like a pro job, but for small areas it’s very doable.
Step 1: Rake out the old grout. Use a grout saw or an oscillating multi-tool with a grout blade to remove the failed grout to about two-thirds the depth of the joint. Wear a dust mask — grout dust is nasty stuff. Vacuum the joints clean; new grout won’t bond to dust.
Step 2: Apply new grout. Mix sanded grout (for wider joints) or unsanded (for narrow ones) to a peanut-butter consistency. Work it into the joints with a grout float held at an angle, pressing firmly so the joints fill completely — voids behind the grout are future failure points.
Step 3: Sponge and cure. After the grout firms up slightly (usually 15-30 minutes), wipe the tile faces with a damp — not wet — sponge, rinsing often. Too much water weakens the grout. Then let it cure: keep it dry for at least 24-48 hours, longer if the product says so. This is the hardest part — nobody wants to skip showers — but grout that cures properly lasts years longer.
Step 4: Seal it. Once fully cured, seal the new grout. You’re back to the maintenance routine from here, but now on grout that isn’t already half-dead.
Regrout when joints are crumbling or missing; clean when they’re just dirty. Knowing which situation you’re in saves you from scrubbing grout that needed replacing — or replacing grout that just needed scrubbing.
A Quick Note on Colored Grout
Everything above assumes standard light-colored grout, but dark or colored grout needs a gentler hand. Harsh cleaners — especially chlorine bleach and strong acids — can fade or blotch colored grout, leaving it looking worse than when you started. Stick with pH-neutral cleaners and baking soda paste for colored grout, test anything stronger in a hidden spot first (behind the toilet is the classic test area), and seal colored grout just like the light stuff. The sealer matters even more here, because replacing discolored colored grout means matching a color that may no longer be manufactured.
Epoxy grout is the exception to most grout worries: it’s essentially non-porous, resists staining dramatically better than cement grout, and rarely needs sealing. If you’re ever regrouting a shower from scratch, epoxy costs more and is fussier to install, but you’ll spend far less of your life scrubbing afterward. For existing cement grout, though, the clean-and-seal routine is your path.
FAQ: Cleaning Shower Grout
Why do my grout lines turn orange or pink?
That’s usually a bacteria called Serratia marcescens, which loves damp bathrooms and feeds on soap residue. It’s not dangerous for most healthy people, but it stains. Oxygen bleach and better drying between showers get rid of it.
Can I use a toothbrush instead of a grout brush?
You can, and for tight corners it’s actually ideal. But for whole walls, a proper grout brush — narrow, stiff bristles, usually with an angled head — will save your hands and cut the job time in half. They’re a few dollars and worth it.
My grout is cracked and falling out. Should I still clean it?
Clean it lightly, but plan to regrout. Cracked, missing grout lets water behind the tile, and that’s how you get real damage. Rake out the loose stuff, regrout the joints, seal it, and then clean normally.
How often should I deep-clean shower grout?
With a squeegee habit, good ventilation, and sealed grout, once or twice a year is plenty. Without those habits, you’ll be fighting it every couple of months. Prevention really is the whole game here.
Does grout colorant or grout paint work?
It works well as a refresh for stained-but-sound grout — it’s basically a pigmented sealer. Clean thoroughly first, apply per the instructions, and seal over it. It’s not a fix for crumbling grout, though.