How to Caramelize Onions: Low, Slow, and Worth Every Minute

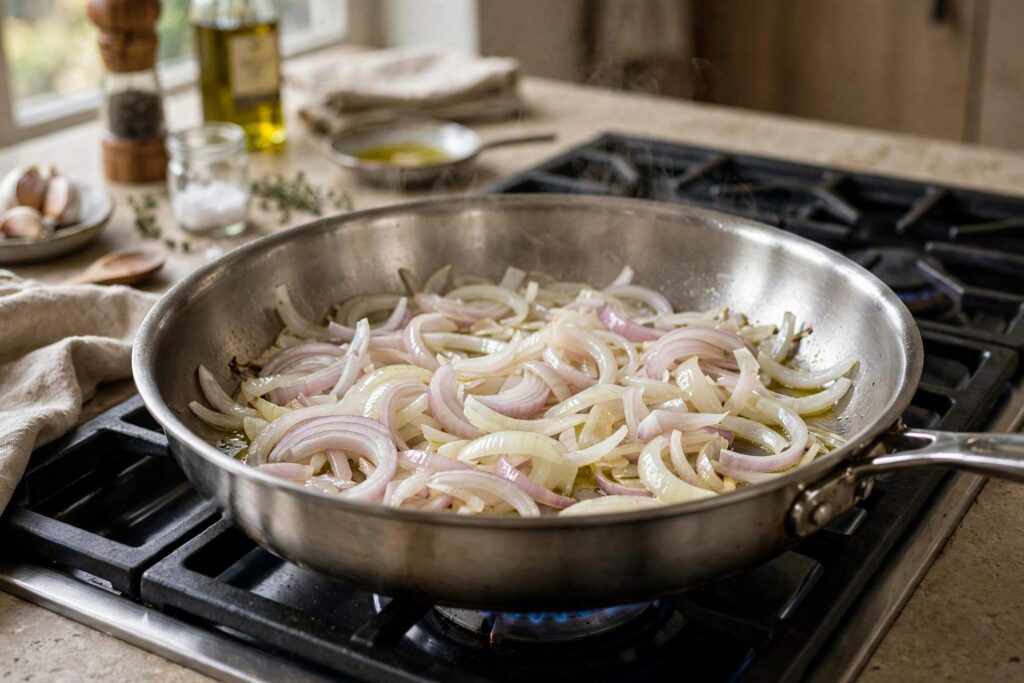
The first time I caramelized onions properly, I almost threw them out twice. At twenty minutes they looked pale and sad. At thirty-five they looked… still pale, honestly. But my grandmother had told me to trust the process, so I kept the heat low and kept stirring, and somewhere around the fifty-minute mark the whole pan turned the color of dark honey and the kitchen smelled like something from a restaurant I couldn’t afford. That’s the thing about learning how to caramelize onions: it’s not a recipe so much as a relationship with your stove. There are no shortcuts worth taking, but there is a method — and once you learn it, you’ll make them constantly.
In this guide, I’ll show you the low-and-slow method that actually works: which onions to buy, the pan that makes it easier, the heat level that matters more than anything, and the small tricks that take your onions from good to the kind people ask about. We’ll also cover what goes wrong and how to fix it.
How to Caramelize Onions: What “Caramelized” Actually Means
Let’s clear up the biggest misconception first: caramelizing onions is not the same as browning them quickly. True caramelization is the slow transformation of the onions’ natural sugars — through caramelization reactions and the Maillard reaction working together over gentle heat — into deep, complex sweetness. The sharp raw bite disappears entirely. What’s left is jammy, savory-sweet, and nothing like the onion you started with.
This is why every “caramelized onions in 10 minutes!” recipe is lying to you. What you get in ten minutes over high heat is sautéed onions with some browned edges — tasty, but a different thing. Real caramelization needs time for the sugars to break down gradually without the exterior burning. Plan for 45 minutes to an hour. Put on music. It’s worth it.
What You’ll Need
- Onions: yellow onions are the classic choice — the right balance of sugar and sulfur for deep flavor. Sweet onions (like Vidalia) caramelize faster and taste milder; red onions work but turn an odd grayish-purple that some people find unappealing. For a big batch, I use 3 to 4 large yellow onions.
- A wide, heavy pan: a large stainless steel or cast-iron skillet is ideal. Wide matters more than deep — the onions need surface area so moisture evaporates instead of steaming. A nonstick pan works, but you won’t get the fond (those browned bits on the bottom), which is flavor you’ll want.
- Fat: butter for richness, olive oil for a cleaner flavor, or a mix of both — my preference. About 2 tablespoons for 3-4 onions.
- Salt: added early, it draws out moisture and gets the process moving.
- Optional: a splash of water, broth, or wine for deglazing; a pinch of sugar only if your onions are particularly sharp (good onions don’t need it); a splash of balsamic or sherry vinegar at the end for brightness.
The Method: Low, Slow, and Patient
Step 1: Slice them right
Halve each onion through the root end, then slice into even half-moons about a quarter-inch thick. Even thickness matters — thin shreds will burn while thick chunks stay raw. Keep the root end intact while slicing if you can; it holds the layers together a bit longer. Don’t slice them paper-thin; they’ll vanish into nothing over the long cook.
Step 2: Start with gentle heat
Warm your fat in the wide pan over medium heat until the butter foams (if using), then add all the onions and toss to coat. They’ll mound up alarmingly high — don’t worry, they’ll collapse to a fraction of their volume. Sprinkle with salt, stir well, and then… lower the heat. You want a gentle sizzle, not an aggressive fry. If they’re browning in the first ten minutes, your heat is too high.
Step 3: Stir, wait, repeat
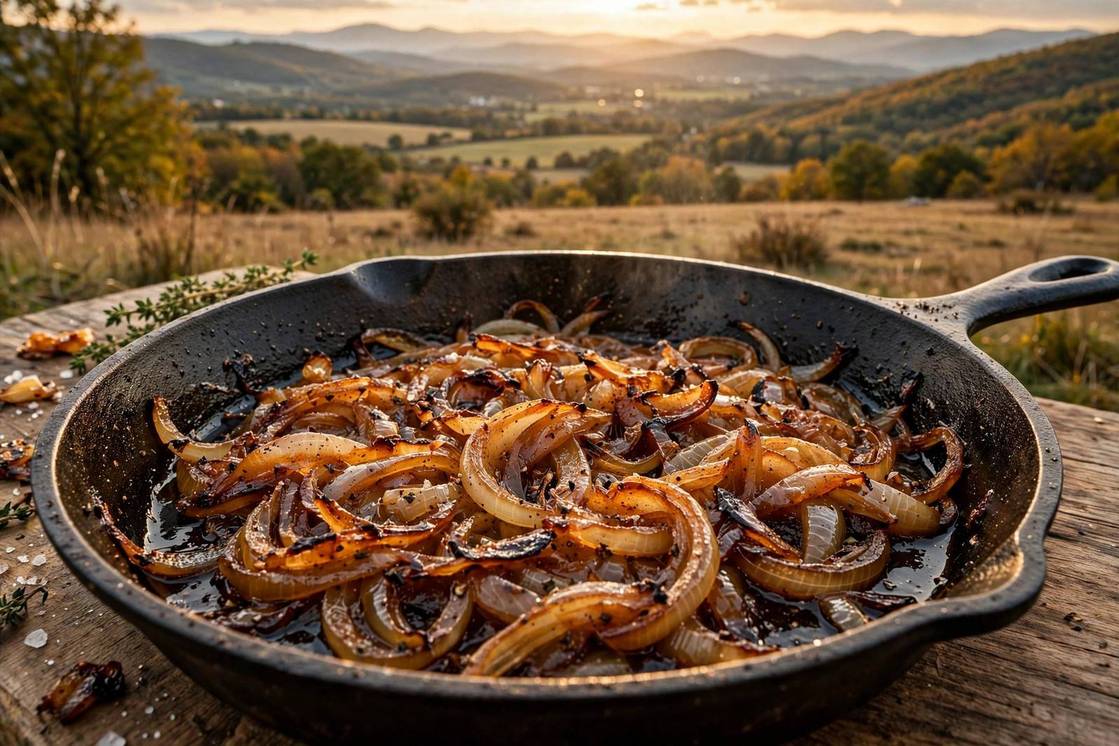
Here’s the whole technique: stir every few minutes, let them sit between stirs so they develop color, and keep the heat low. For the first 15-20 minutes, not much seems to happen — they soften, release water, and shrink. Around 25-30 minutes, they’ll turn golden. Around 40-50 minutes, they’ll deepen to amber and then to a rich mahogany brown, and the smell will tell you you’re close.
If browned bits (fond) build up on the pan bottom and start looking dark rather than golden, deglaze: splash in a tablespoon or two of water, wine, or broth and scrape it all up. That fond is concentrated flavor — you want it back in the onions, not burnt onto the pan.
Step 4: Know when they’re done
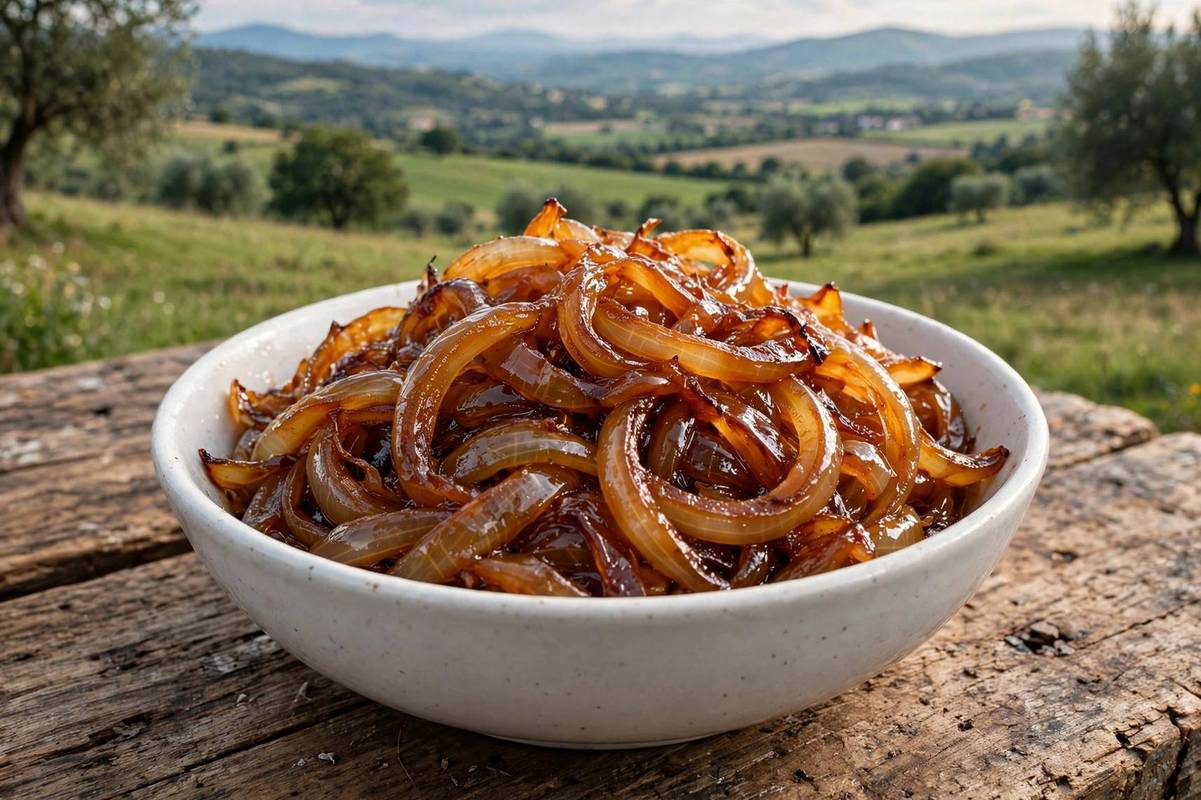
Done looks like this: deeply golden to dark amber, jammy and soft enough to spread, sweet with no raw bite left, reduced to roughly a quarter of their original volume. Taste one — it should be sweet, savory, and complex, with no sharpness. If you want them darker and more intense, give them another ten minutes. There’s a wide window of “done” between golden and deep brown; find the shade you love.
What Goes Wrong (and How to Fix It)
- They’re burning instead of caramelizing. Heat’s too high. Lower it, add a splash of water, stir more often. Burnt onions taste bitter and there’s no fixing truly burnt ones — but “dark” is not “burnt.” Taste before you despair.
- They’re steaming, not browning. The pan is crowded or the heat is too low to drive off moisture. Use a wider pan, cook in two batches, or raise the heat slightly. The onions should sizzle gently, not sit in liquid.
- They taste sweet but flat. They need salt (you probably under-salted) or acid. A tiny splash of vinegar or a squeeze of lemon at the end wakes everything up.
- Some bits are dark, some are pale. Uneven slicing or not enough stirring. Next time, slice more evenly; this time, just keep going — they’ll even out.
- They’re taking forever. They’re not. That’s just what it takes. But if you’re truly past an hour with pale onions, your heat is too low — nudge it up until you hear that gentle sizzle.
Storing and Using Your Onions
Caramelized onions keep beautifully: about a week in the fridge in a sealed container, or months in the freezer (freeze them in ice cube trays, then bag the cubes — perfect portion sizes for future cooking). A big Sunday batch means instant luxury all week.
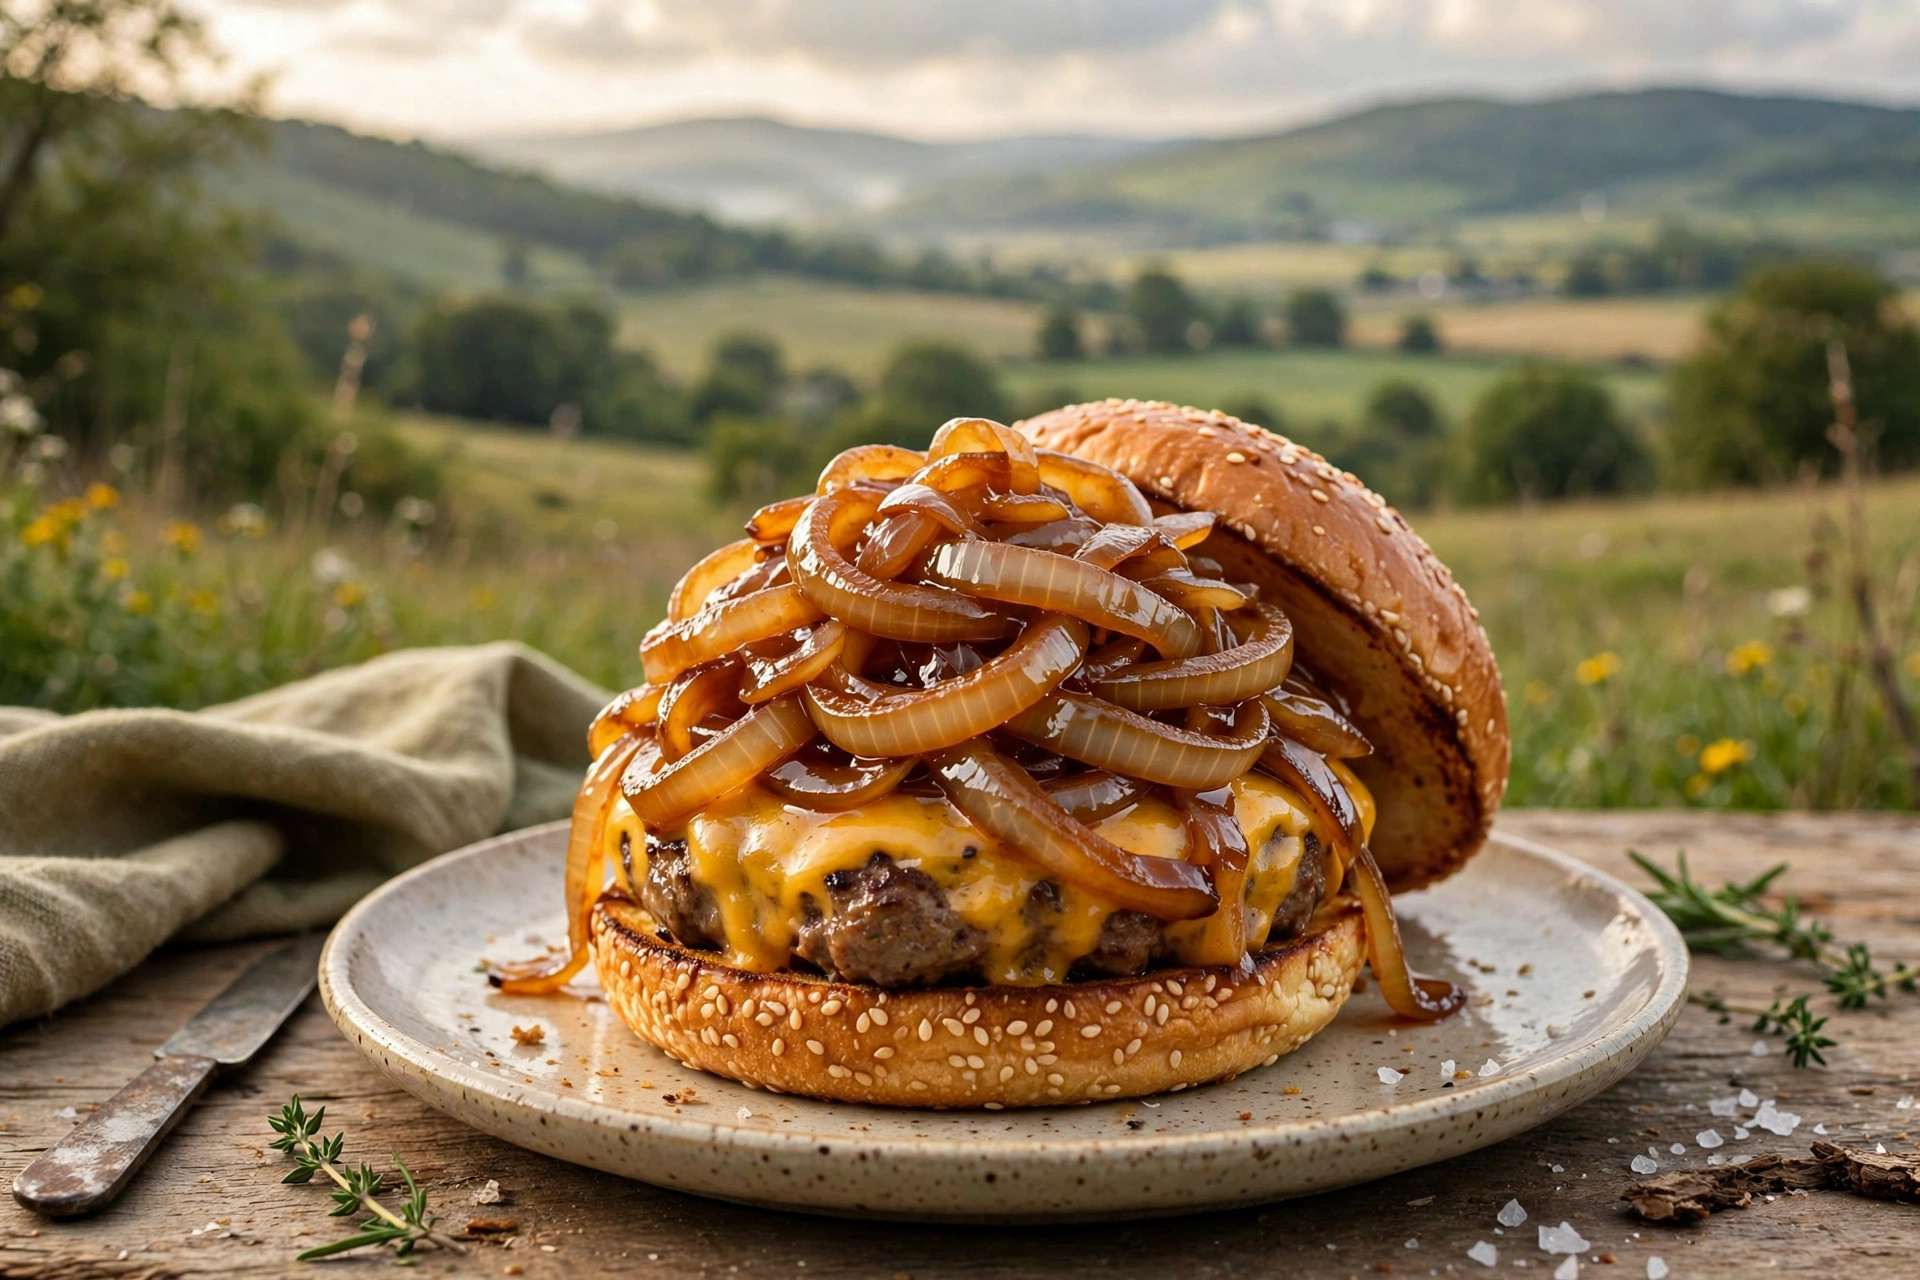
And what to do with them? Almost anything: piled on burgers and sausages, folded into omelets, spread on pizza instead of sauce, stirred into risotto, layered into grilled cheese, spooned over a good steak, or — my favorite — blended into the base of French onion soup. They also freeze well enough to make in bulk, which pairs nicely with a batch cooking routine if you like having building blocks ready in the freezer.
Five Fast Dinners Built on Caramelized Onions
Here’s where the batch pays off. With a container of caramelized onions in the fridge, these all come together fast:
- The 15-minute tart: store-bought puff pastry, a smear of mustard, a thick layer of caramelized onions, some grated Gruyère. Bake until golden. It tastes like a dinner party and takes almost no effort.
- Instant pasta sauce: toss hot pasta with caramelized onions, a knob of butter, parmesan, and a splash of pasta water. The onions melt into a silky, sweet sauce that tastes like it took hours.
- Next-level quesadillas: caramelized onions plus sharp cheddar in a tortilla, crisped in a dry pan. The sweetness against the sharp cheese is perfect.
- Shortcut French onion soup: the traditional soup starts with — you guessed it — caramelized onions. With yours already done, you’re twenty minutes from soup: add good beef or mushroom broth, simmer, top with toasted bread and melted cheese.
- Grain bowls: a scoop of caramelized onions over farro or rice with roasted vegetables and a fried egg turns a plain bowl into something craveable.
Caramelizing for a Crowd
When you need a truly large quantity — for a party, for holiday cooking, for a freezer stockpile — the stovetop method doesn’t scale well beyond one big pan. The oven method does: slice a big batch of onions, toss with oil and salt on large rimmed sheet pans (don’t crowd them), and roast at around 200°C (400°F), stirring every 15 minutes or so. They’ll take 45 minutes to an hour, and you’ll get deeply sweet, evenly cooked onions with a fraction of the active stirring.
The oven version browns slightly differently — a little more roasted, a little less jammy — but for large quantities it’s unbeatable, and the flavor is still excellent. Spread the work across two sheet pans rather than piling one high; airflow is what drives the browning. Cool completely before packing for the fridge or freezer, and label with the date — future you will be grateful.
FAQ: Caramelizing Onions
Which onions are best for caramelizing?
Yellow onions are the all-around best — good sugar content and deep flavor. Sweet onions caramelize faster but taste milder; red onions work flavor-wise but discolor. Avoid using only small shallots for a big batch; they’re delicious but expensive and fiddly at volume.
Do I need to add sugar?
No — onions contain plenty of natural sugar. Added sugar just makes them sweet in a flat, one-note way and can push them toward burning. The only exception is a tiny pinch if your onions are unusually sharp, and even then, salt and time usually do the job.
Can I caramelize onions in the oven or slow cooker?
Yes to both, with trade-offs. A slow cooker full of sliced onions on low for 8-10 hours gives you soft, sweet onions with zero attention — but less of the deep browned flavor, since the temperature stays low. The oven (around 200°C/400°F, stirred occasionally) works for huge batches but needs watching to avoid uneven browning. Stovetop remains the gold standard for flavor.
Why do my onions shrink so much?
Onions are mostly water — around 89% — and caramelizing drives most of it off. Expect 3-4 large onions to cook down to about a cup. Always start with more than you think you need.
Butter, oil, or both?
Both is my answer: butter for flavor, oil to raise the smoke point so the butter doesn’t brown too fast. If dairy-free, olive oil alone is excellent. Avoid high-smoke-point neutral oils only if you want maximum flavor — they work fine but add nothing.
How dark should they get?
Anywhere from golden-amber to deep mahogany is delicious — it’s personal taste. Golden is sweeter and milder; darker is more intense and complex. Just stop before black, which is bitter. When in doubt, taste: your mouth knows.