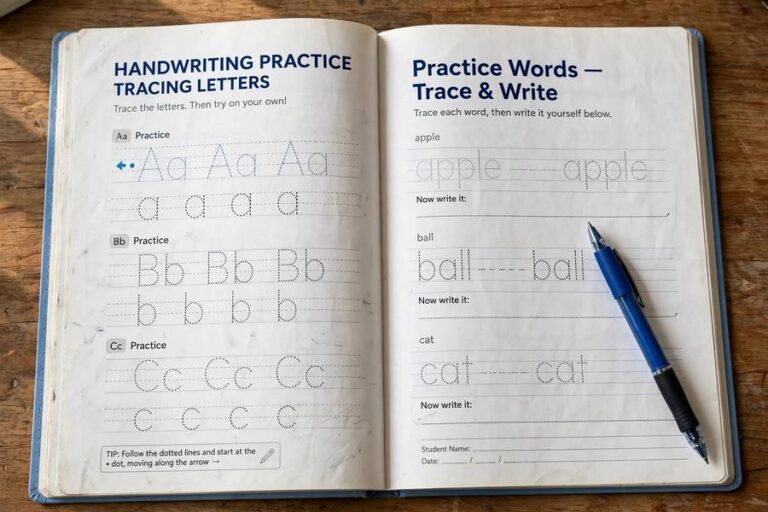
Handwriting Exercises for Beginners: A 4-Week Starter Plan

Improving your handwriting feels overwhelming because nobody tells you where to start — so most people just 'try to write neater' and quit in a week. I coach handwriting as a motor skill, which means it responds to the same principles as any physical training: warm up, drill fundamentals, progress gradually, and practice briefly but daily.
This is a complete beginner program: the warm-ups, the stroke drills, the letter families in the right order, and a four-week plan that takes fifteen minutes a day. Follow it and your writing will be visibly better in a month.
This plan assumes you are starting from average adult handwriting — readable but nothing special. If you can already write neatly, skip to week three.
In this guide:
- Warm-Ups: Prepare the Hand
- The Basic Strokes
- Letter Families in the Right Order
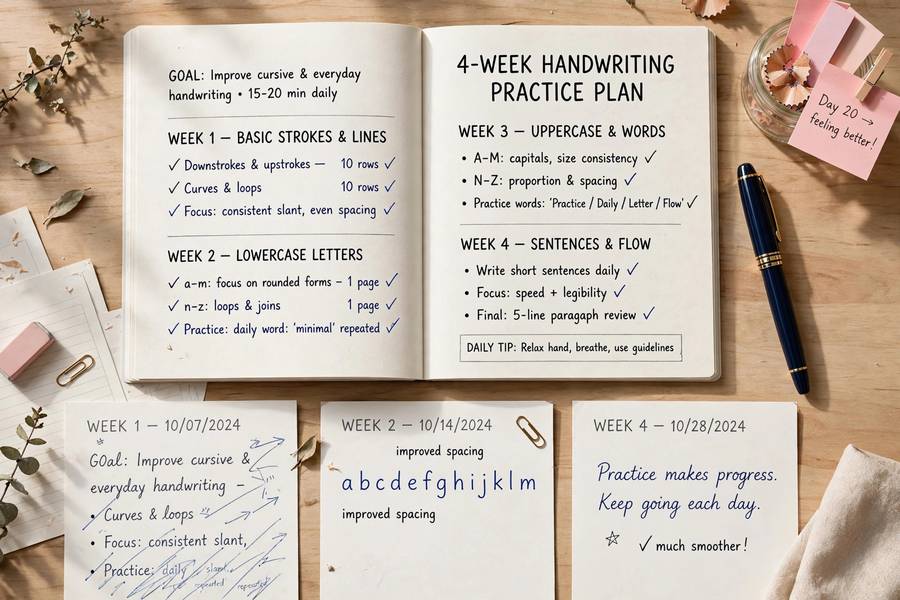
- The 4-Week Plan
- After the Four Weeks
- Fixing Your Worst Letters Specifically
Warm-Ups: Prepare the Hand
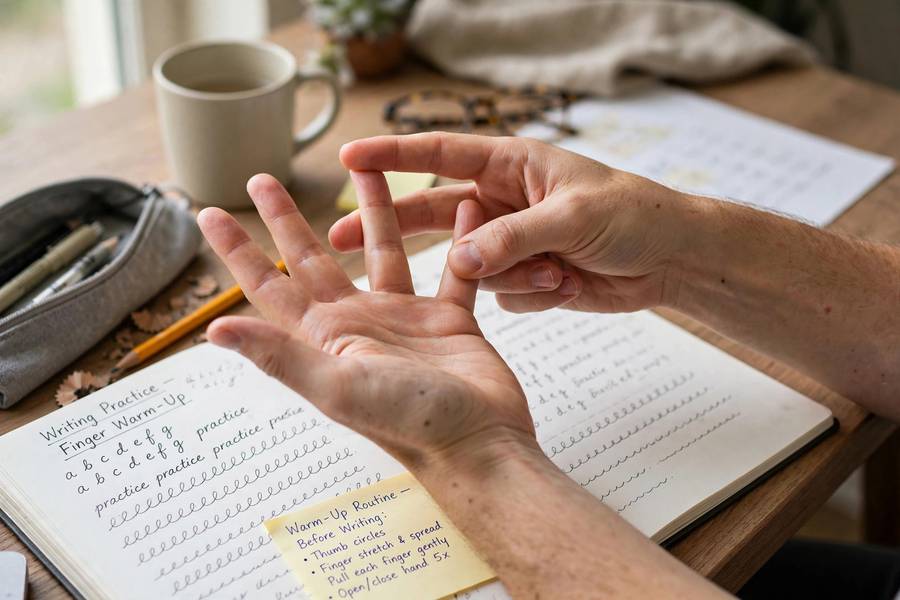
Hands need warming up like any athlete's muscles. Before each session, do two minutes of: finger stretches (spread wide, then fist, ten times), wrist circles in both directions, and 'air writing' — forming big letters in the air with your whole arm. This loosens the small muscles and shifts control from cramped fingers to the freer arm and wrist.
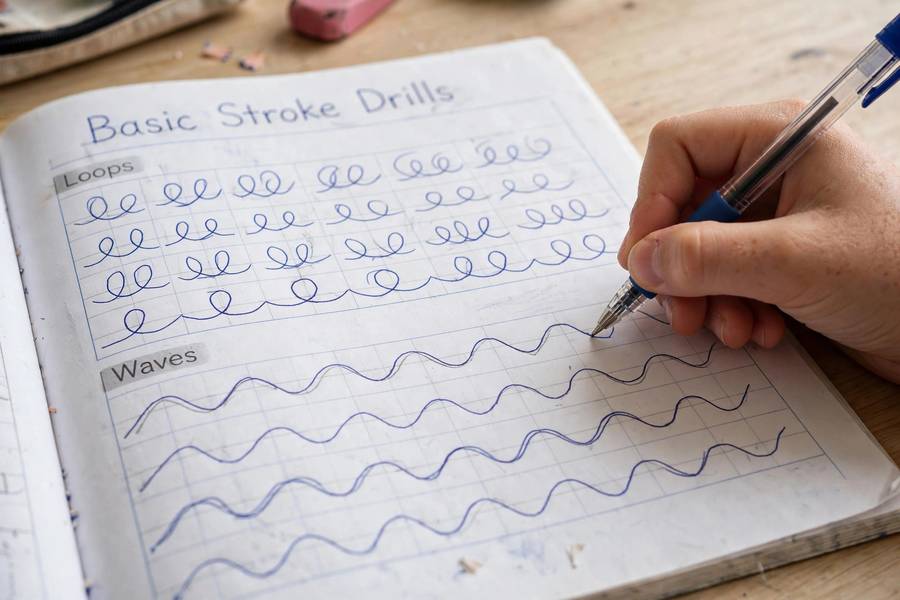
Then do pattern drills on paper: rows of loops, waves, zigzags, and circles, done slowly and rhythmically. These are not letters — they are the underlying movements letters are built from. Two lines of each, focusing on consistency of size and slant, trains the exact motor control handwriting needs.
Check your setup during warm-ups: paper angled slightly (right-handers tilt left, left-handers tilt right), relaxed tripod grip, wrist off the desk edge rather than dragging. Good mechanics practiced from day one prevent months of unlearning later.
The Basic Strokes
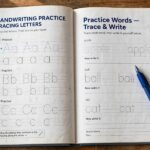
All letters reduce to a handful of strokes: the undercurve (u-shape), overcurve (n-shape), downstroke, upstroke, loop, and dot. Week one's core drill is rows of each stroke, slowly, aiming for identical size and slant. Boring? Yes. Effective? Enormously — these are the atoms of your alphabet.
Practice strokes at large size first — an inch tall — then gradually reduce to normal writing size over the week. Large movements train the arm; small movements too early recruit cramped finger muscles. This large-to-small progression is how calligraphers train, and it works for everyday writing too.
Count rhythm as you drill: 'one-two' for up-down strokes builds even timing, and even timing produces even letters. It feels silly; it works anyway. Rhythm is the hidden variable in neat handwriting.
Letter Families in the Right Order
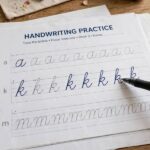
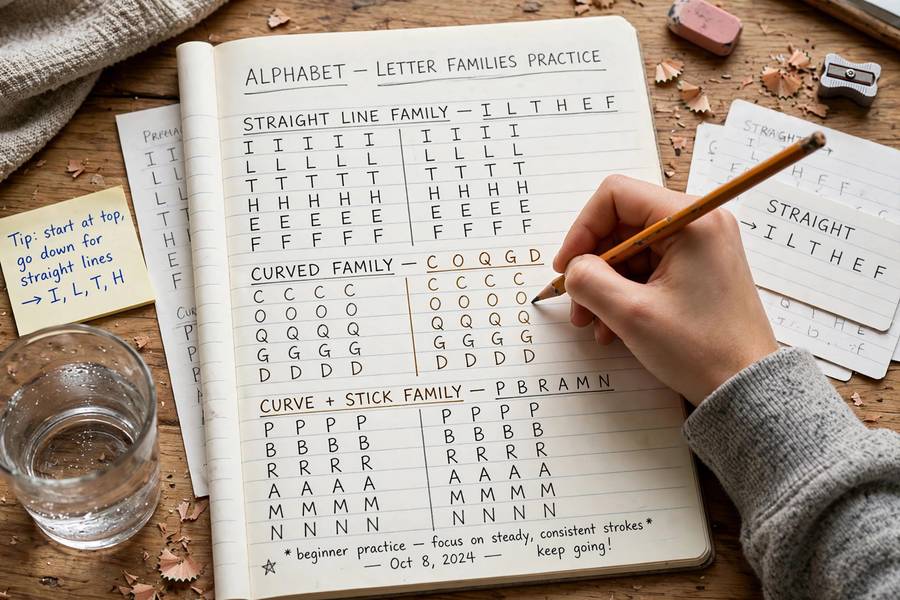
Do not practice the alphabet in order — practice by stroke family, so each new letter reuses mastered movements. Start with the undercurve family (i, u, w, t), then overcurve (n, m, v, x), then loops (e, l, h, b, f, k), then the mixed group (a, d, g, q, c, o, s, p, r, j, z). Each family takes two to three days.
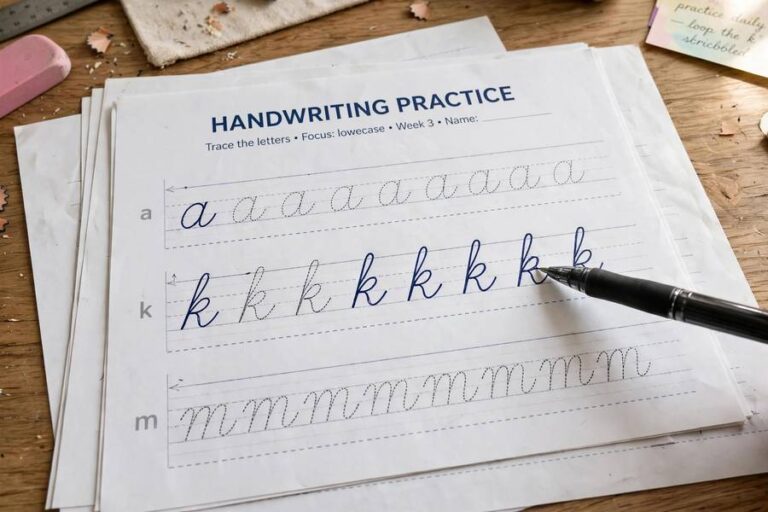
For each letter: trace it five times slowly, copy it ten times, then write it from memory in short words. The trace-copy-recall progression moves the form from eye to hand to memory — skipping straight to writing from memory is why most practice fails.
Focus on exit strokes — the little tails that connect letters. Consistent exit strokes are what make writing look 'joined up' and fluent even in print style. Practice letter pairs (th, in, er, an) to drill the transitions, which are harder than the letters themselves.
The 4-Week Plan
Week 1: strokes and setup. Daily: 2-minute warm-up, stroke rows (undercurve, overcurve, loops), setup check. Goal: consistent stroke size and slant. Do not touch letters yet — patience here pays all month.
Week 2: letter families. Two to three days per family using trace-copy-recall. End the week writing the full lowercase alphabet slowly, checking each letter against your best form. Goal: every letter recognizable and consistent.
Week 3: words and spacing. Practice common words, focusing on even spacing between letters and words — spacing inconsistency is the top readability killer. Copy pangrams and real sentences. Goal: neat words with uniform spacing. how to study for final exams
Week 4: sentences and speed. Write paragraphs from a book, starting slowly and gradually increasing to near-normal speed while maintaining form. Goal: everyday writing that is clearly, visibly better — not perfect, but transformed. what active recall is
After the Four Weeks
Maintain with five minutes of drills a few times weekly — skills fade without use, but maintenance is cheap once built. Keep one 'form check' habit: once a week, write a paragraph slowly and compare it to your week-four sample.
Apply deliberately: for one week, write everything — notes, lists, journal — at 80 percent speed focusing on form. This transfers drill skill to real writing, which does not happen automatically. Deliberate application weeks, repeated monthly, bridge the gap.
If you plateau, diagnose specifically: is it slant consistency? Spacing? Certain letters? Targeted drills on the specific weakness beat general practice every time. And consider an italic handwriting book next — many beginners find italic the natural graduation that makes their writing genuinely attractive.
Fixing Your Worst Letters Specifically
Generic alphabet practice wastes time on letters you already write fine. The efficient approach: write the full alphabet, circle your five worst letters, and drill only those for a week. Targeted practice on weak letters improves overall appearance faster than any amount of general practice — because readers judge handwriting by its worst letters. the best note-taking apps overall
Diagnose each bad letter specifically. Is the 'a' closing or left open? Does the 'r' look like an 'n'? Is the 'g' a blob? Vague 'my g is bad' does not guide practice; 'my g's lower loop is too small and unclosed' does. Write the diagnosis next to the letter — naming the flaw is half the fix.
For each target letter, do the exemplar drill: find a good model (from your practice book or a font you like), trace it ten times slowly, copy it twenty times, then write it in ten real words. One letter per day, five minutes. By week's end the letter is rebuilt — and rebuilt correctly, not just repeated hopefully.
Attack confusable pairs together: a/o, e/c, r/v, n/u, 1/7. Practice the pair side by side, exaggerating the distinguishing feature — close the 'a' firmly, cross the '7' deliberately. Readers misread pairs, not single letters, so pair drills directly target legibility.
Re-test monthly: rewrite the alphabet and compare to last month's. Letters you fixed stay fixed with brief maintenance; new worst letters emerge as your eye improves — which is progress, not failure. Your standards rising is the sound of skill developing.
Keep a 'letter hospital' page in your practice notebook: current patients, their diagnoses, and discharge dates. It sounds playful because it is — and playful practice is practiced practice.
One more beginner truth: your non-dominant hand will never match, and that is fine — but five minutes of non-dominant warm-up scribbles actually improves dominant-hand control. The cross-training effect is real, and it is a fun party trick while you are at it.
Photograph your practice monthly. The camera is brutally honest in a way the mirror is not — photos reveal slant drift and spacing issues your eye normalizes in person. Monthly photos turn invisible gradual improvement into visible proof.
When motivation dips — and it will around week three — shrink the session to five minutes rather than skipping. A tiny session preserves the habit; a skipped day starts the slide. Protect the streak, not the duration.
Join an online handwriting community and post monthly progress photos. Strangers' encouragement is surprisingly motivating, and seeing others' improvement timelines calibrates your expectations — most people improve at your pace, not faster. improve your handwriting with proven techniques
Try practicing with music at a steady tempo — the rhythm steadies your strokes the way a metronome steadies musicians. Baroque adagios are a classic choice; whatever keeps your hand moving evenly works.
When you hit your first plateau — usually week five or six — do not change everything. Plateaus are consolidation phases where the brain is automating what you drilled. Keep the routine, and the breakthrough follows within two weeks.
With 15 focused minutes daily following a structured plan, visible improvement in 4 weeks is typical. Full transformation takes 2 to 3 months of consistent practice.
Hand warm-ups, then basic stroke drills (undercurves, overcurves, loops) at large size, then letter families in stroke order — not alphabetical. Slow, rhythmic practice beats fast repetition.
Start with neat print or simple italic — the fundamentals (consistent size, slant, spacing) transfer to any style. Add cursive connections after the basics are solid.
Daily, 10 to 15 minutes. Motor skills consolidate between sessions, so frequency beats duration — five short sessions beat one long weekly session.
Usually rushing, tense grip, or practicing letters in alphabetical order instead of by stroke family. Slow down to half speed, relax the grip, and drill strokes before letters.
Yes — motor learning consolidates between sessions, so daily short practice outperforms weekly marathons. Consistency is the entire secret; duration is secondary.