Freestanding Handstand Tutorial: From Wall to Open Floor in 8 Phases

The first time I kicked up away from a wall, I fell flat on my back in front of about twelve people. I was 27, reasonably strong, and completely convinced that balance was something you were born with. It took me five months of stubborn practice to hold my first clean freestanding handstand, and I wasted at least two of those months on drills that did not carry over at all. This tutorial is the version I wish someone had handed me: eight phases, in order, each with a clear test before you move on. I have since coached more than sixty adults through this exact sequence, from a 19-year-old college athlete to a 54-year-old accountant. If you have not built the basics yet, start with my full how-to-do-a-handstand guide first, then come back here for the road from wall to open floor.
The Three Prerequisites (Do Not Skip These)
Every client who stalls at phase 5 skipped this part. Test yourself honestly before you touch the wall:
- A 30-second chest-to-wall hold. Walk your feet up the wall until your chest faces it and your body is straight. If your shoulders collapse before 30 seconds, your base is not ready.
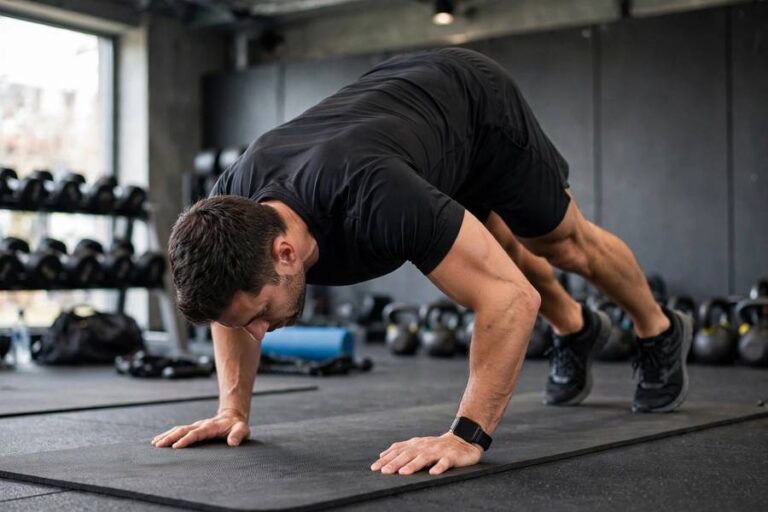
- Ten strict pike push-ups. Hands on the floor, hips high, lower your head to touch the floor between your hands. This is the minimum pushing strength for safe freestanding work. My shoulder strength work article covers the full progression.
- A 60-second hollow hold. Lie on your back, arms overhead, lower back pressed into the floor, shoulders and feet lifted. This is the body position of a straight handstand. If you cannot hold it, your line will banana.
Build these with three 15-minute sessions per week. Most people need two to four weeks. Boring? Yes. The reason most adults quit handstands is that they skip the boring part and spend six months falling over.
Phases 1-2: Build the Line on the Wall
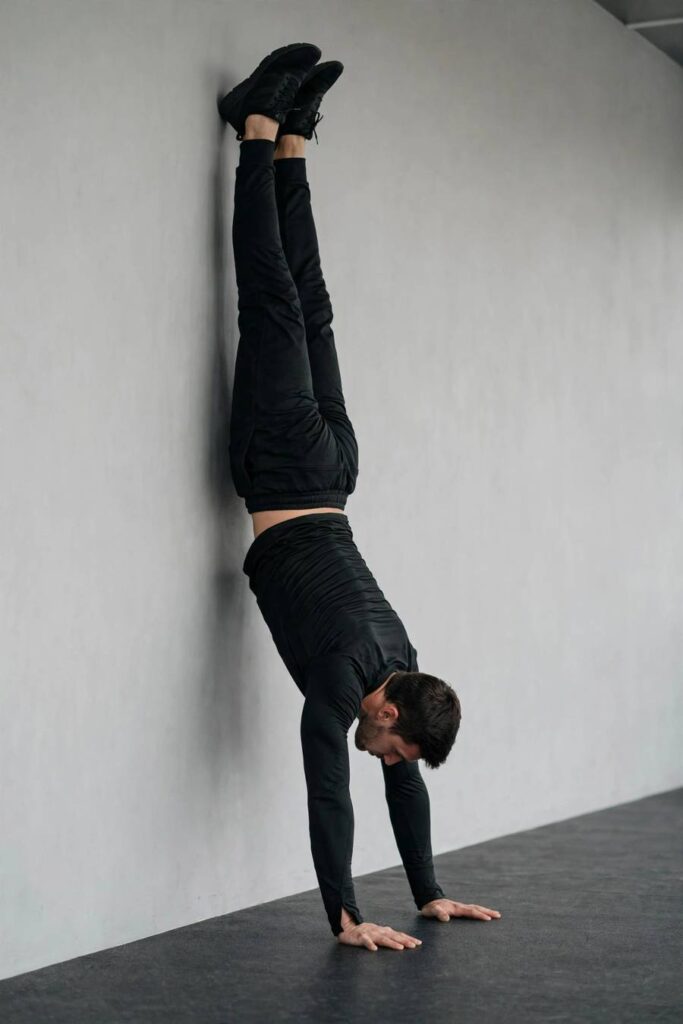
Phase 1 is the back-to-wall handstand: kick up gently so your heels tap the wall. Stay for 5 sets of 20 seconds, resting 60 seconds between sets. Your only job is a straight line: push the floor away so your shoulders are at your ears, squeeze your glutes, and point your toes. Film yourself from the side. If your lower back arches, you are not done with phase 1.
Phase 2 is the chest-to-wall hold, and it is the single most valuable drill in this tutorial. Walk your hands toward the wall until your chest nearly touches it, heels resting lightly on the wall. Work up to 3 sets of 30 seconds. This teaches the straight-line position without the fear factor, and it builds the shoulder endurance you will need later. Pass test: three 30-second holds with a flat back, breathing normally. Most of my clients spend three to five weeks across these two phases. That is normal.
Phases 3-4: The Kick-Up Without the Panic
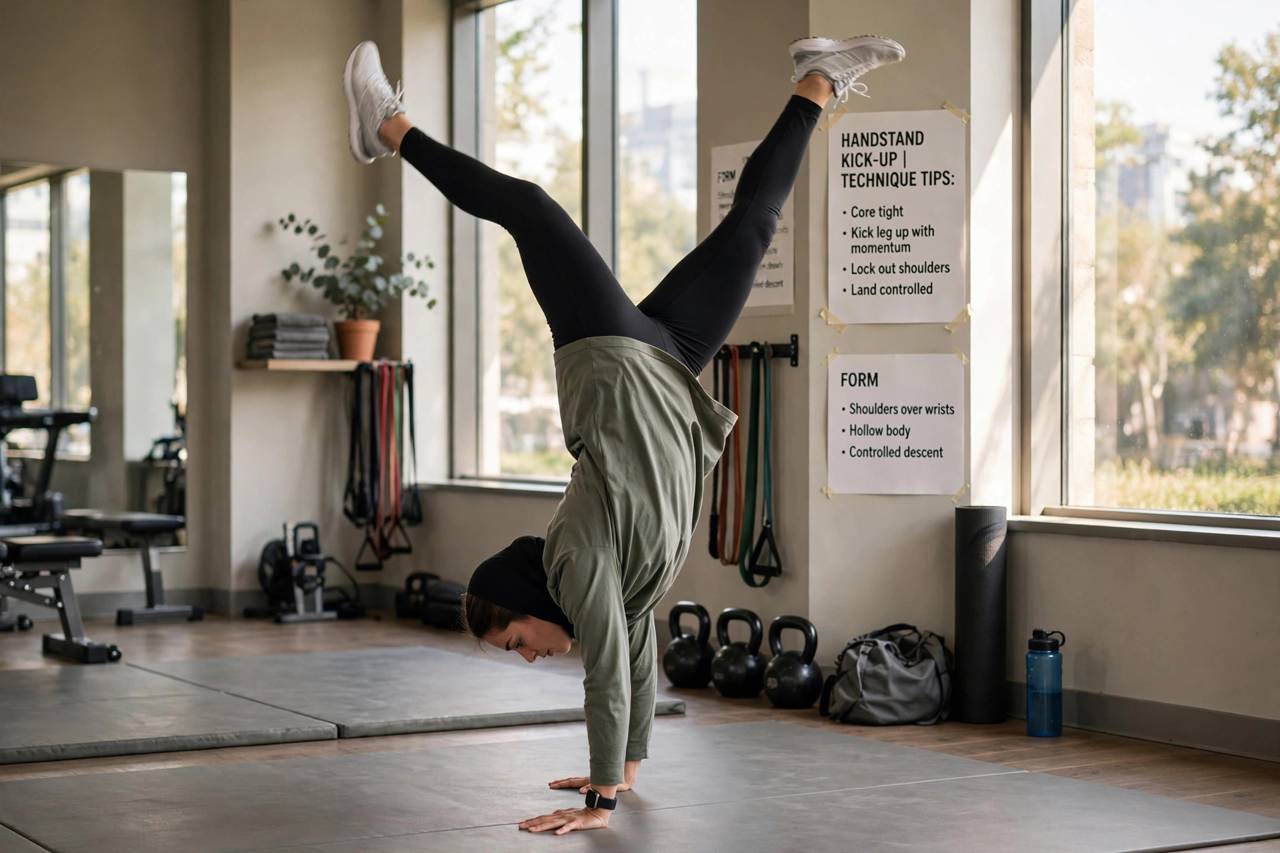
Phase 3 teaches the kick-up itself, still with the wall behind you. Stand facing away from the wall, about a long step out. Place your hands shoulder-width apart, fingers spread. Shift your weight over your hands and kick up with a straight leg, not a bent-knee scramble. The goal is to tap the wall lightly, not slam into it. Do 5 sets of 5 kick-ups, alternating the lead leg. If you are overshooting, you are kicking too hard; think “float,” not “launch.”
Phase 4 is the heel pull: kick up a touch too hard on purpose and pull your heels away from the wall for one second before they touch. This is your first taste of balance. When you can pull away and re-touch five times in a row without falling, you are ready to leave the wall. I have clients drill this for two weeks straight, and it pays off more than any other single exercise.
Phases 5-6: Leaving the Wall
Phase 5 moves the wall from a crutch to a safety net. Face away from the wall, about two long steps out, and kick up as before. Now you will balance for as long as you can; the wall only catches you if you overbalance. Your first “floats” will last one to three seconds. That is fine. A one-second float, repeated fifty times, teaches your nervous system more than a single lucky ten-second hold.
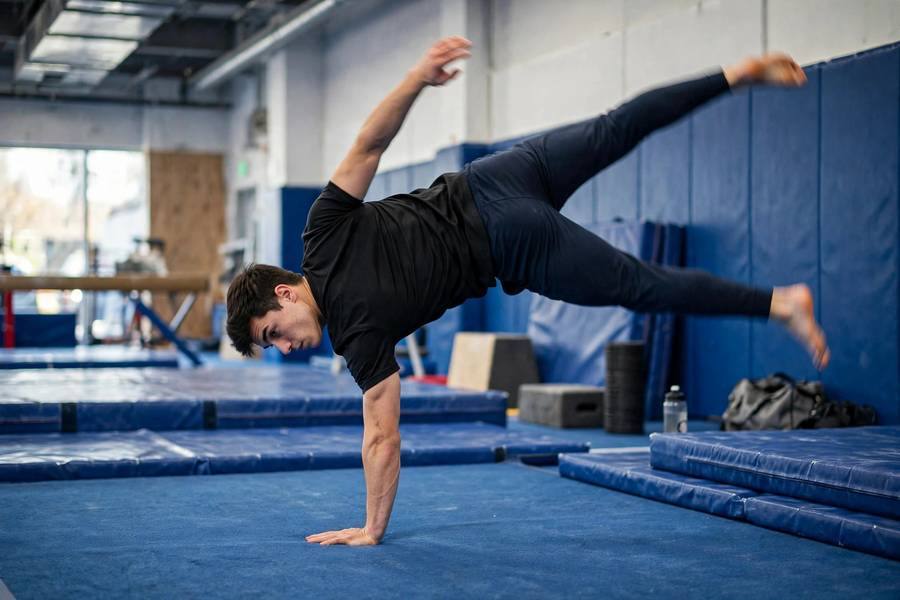
Phase 6 is the deliberate bail-out. Before you can trust yourself in open space, you must trust your exit. From a wall handstand, practice the cartwheel-out: shift your weight to one hand and step down sideways. Do twenty of these. Your body needs to believe the fall is boring. Pair this with the Turkish get-up once a week; the loaded shoulder stability carries over to handstand confidence more than people expect.
Phases 7-8: Open Floor
Phase 7 is your first open-floor practice. Find grass, a mat, or a carpeted room with nothing to hit. Kick up and float. Expect your holds to drop back to two or three seconds at first; the wall was doing more balance work for you than you realized. Practice in short bursts: 10 minutes, five days a week, always fresh, never after a heavy workout.
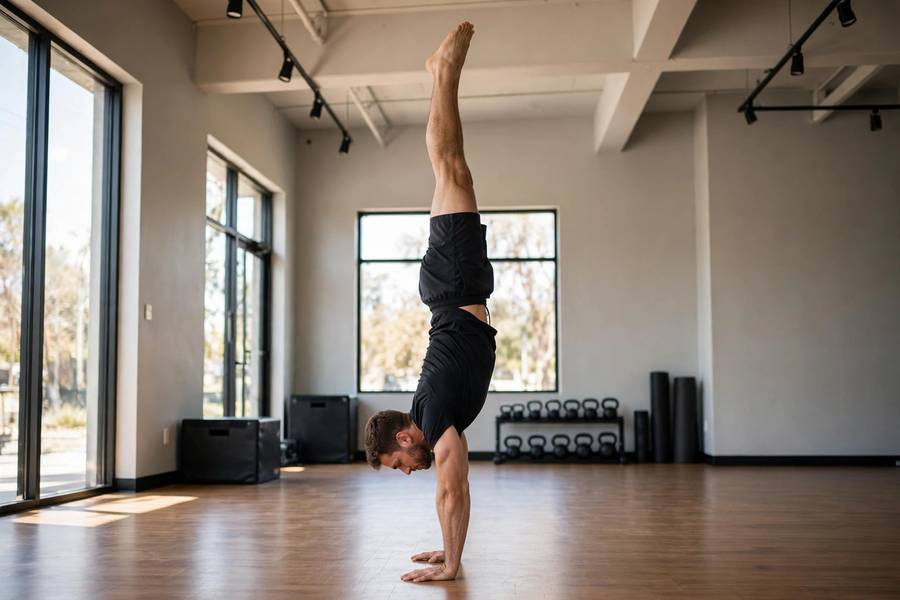
Phase 8 is consolidation. The pass test for a “learned” handstand in my coaching is a controlled 10-second freestanding hold, kicked up calmly, three times in a single session, with a clean cartwheel-out every time. From the first wall kick-up to this point takes most adults three to six months of consistent practice. Anyone who promises you a handstand in 30 days is selling something.
The Balance Toolkit: Fingers, Shoulders, Hips
When you are upside down, you steer with three things. Learn what each one does and you will stop flailing:
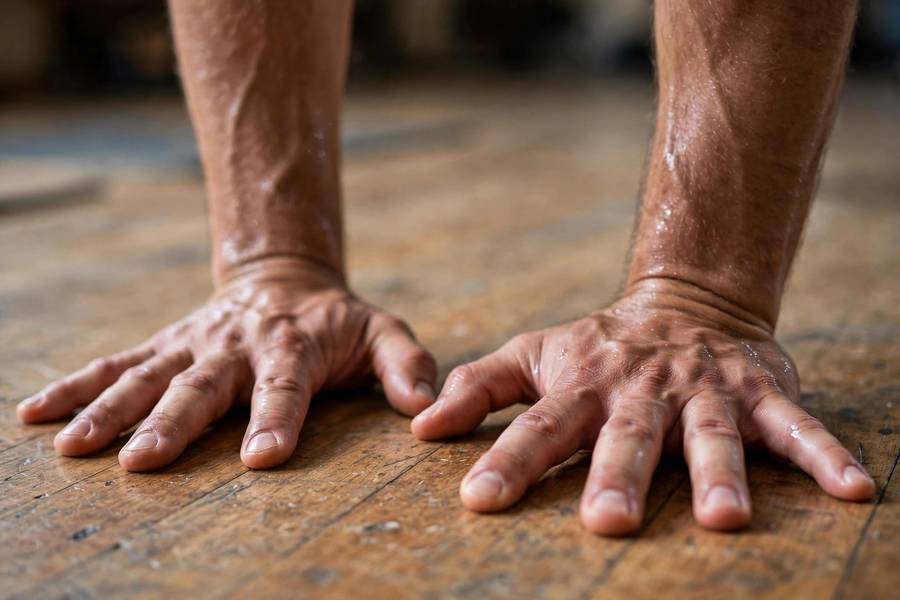
- Fingers: your fine steering. Press your fingertips into the floor to pull yourself back when you tip forward. Practice fingertip push-ups against a wall to wake them up.
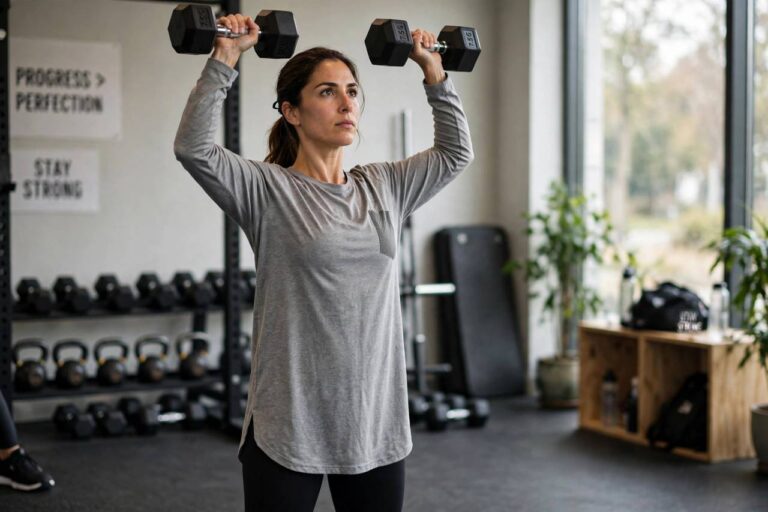
- Shoulders: your coarse steering. Push taller through your shoulders to shift weight. Weak shoulders mean a wobbly base; that is why shoulder strength work never stops being relevant.
- Hips: your trim. Slight pike or arch adjustments at the hips re-center your mass. Think of it as a ship’s rudder, not the engine.
Beginners try to steer with their legs, kicking and bicycling. That is like steering a car with the doors. Keep the legs quiet and let the hands and shoulders work.
Five Mistakes I Fix Every Week
1. The banana back. Arching at the lower back feels stable but it is a dead end; you cannot balance an arch. Fix it with hollow holds and by thinking “ribs down” on every wall hold.
2. Bent elbows. Even a soft bend multiplies the strength requirement. If your elbows bend, go back to pike push-ups until they do not.
3. Looking at the floor. Your head position controls your spine. Look at the floor between your hands, not at your feet. Craning to see your feet arches everything.
4. Practicing tired. Handstands are a skill, not a workout. Ten fresh minutes beat forty exhausted minutes. I schedule them before lifting, never after.
5. Skipping core strength work. The handstand is a full-body plank upside down. Two 10-minute core sessions a week, hollow holds included, is the minimum.
A Sample 12-Week Schedule
Weeks 1-3: prerequisites. Three sessions a week: pike push-ups (4×8), hollow holds (3x45s), wall plank holds (3x30s).
Weeks 4-6: phases 1-2. Four sessions a week, 15 minutes: back-to-wall holds building to chest-to-wall holds.
Weeks 7-9: phases 3-4. Five short sessions: kick-up practice and heel pulls, 5×5 kick-ups plus 3×8 heel pulls.
Weeks 10-12: phases 5-8. Five 10-minute sessions: floats off the wall, bail-out practice, then open-floor work on grass or mats.
That is roughly 60 focused sessions. Some people finish faster, some slower, and bodyweight matters less than consistency. The clients who get there are the ones who show up for ten minutes on the days they do not feel like it.
Frequently Asked Questions
You need baseline strength, not elite strength: ten strict pike push-ups, a 30-second chest-to-wall hold, and a 60-second hollow hold. If you have those, the rest is skill practice. Pure strength without technique will not hold you up, which is why strong lifters often struggle at first.
The cartwheel-out: shift your weight onto one hand and step down to the side. It becomes automatic after about twenty deliberate practices from a wall handstand. Until it feels boring, practice over grass or a mat with a spotter nearby.
Yes, with two adjustments: allow extra time for wrist conditioning, and practice bail-outs religiously because recovery from a bad fall is slower. I have coached clients in their fifties to clean 10-second holds. The timeline stretches to six to nine months, but the phases do not change.
Ten to fifteen minutes, five days a week, always when fresh. Handstand practice is motor learning, and the nervous system consolidates best with short, frequent, focused sessions. Forty tired minutes once a week barely moves the needle.
Learn the first open-floor phases on grass or a thick mat so falls are cheap. Move to a hard floor only once your cartwheel-out is automatic, because a hard floor gives better feedback through your hands and lets you hold longer once the skill is solid.