Wrist Stretches for Handstands: The 10-Minute Prep That Saves Wrists


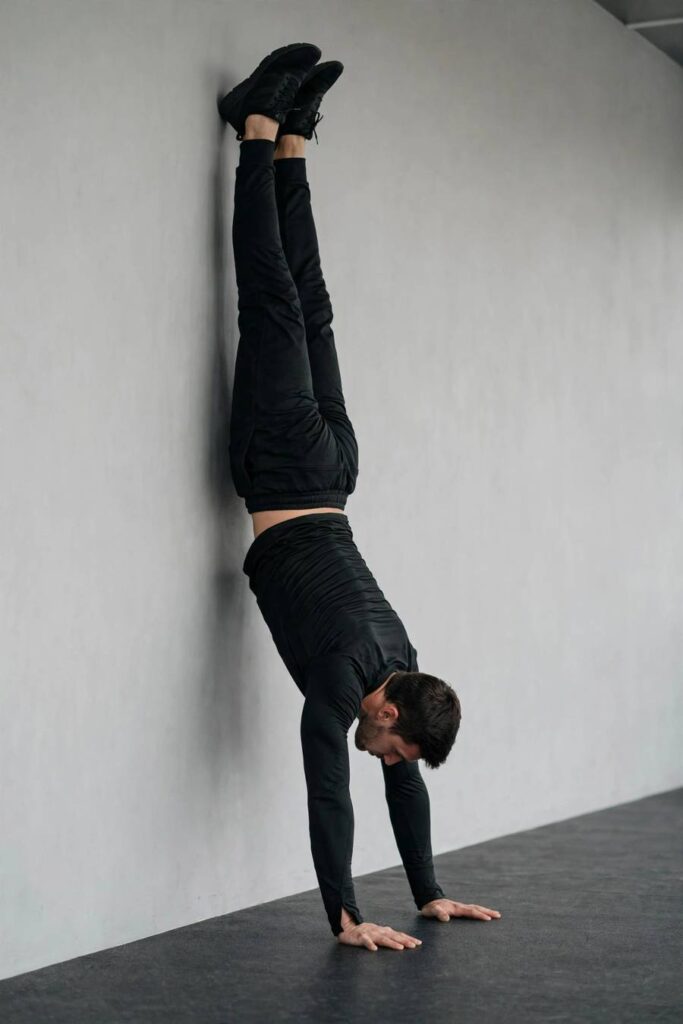
Every handstand beginner worries about falling on their head. Almost none worry about their wrists, and the wrists are what actually end most handstand journeys. I have watched more clients quit over aching wrists than over fear, weak shoulders, and bad balance combined. The wrist is a small, complex joint being asked to do a big, simple job: hold your entire bodyweight at an extreme angle, repeatedly. It can do it, but only if you prepare it like an athlete prepares any joint under load. This is the exact 10-minute wrist prep I give every client, plus the strengthening drills that turn fragile wrists into handstand-ready ones. Pair it with the technique in my how-to-do-a-handstand guide.
Why Wrists Are the Real Limiter
In a handstand, each wrist supports roughly half your bodyweight in nearly full extension, a position most adults never load in daily life. Typing, driving, and carrying groceries do not prepare a joint for 40kg of compressive load at 90 degrees. The tissues adapt, but they adapt slowly: tendons and ligaments remodel over 8 to 12 weeks, while your enthusiasm wants a handstand in 4. That gap is where injuries happen. The clients who sail through wrist conditioning share one trait: they did the boring prep from day one. The clients with chronic wrist pain share the opposite trait: they skipped it because stretching felt like it was not “real training.” It is the most real training in the program.
The 10-Minute Daily Wrist Routine
Do this before every handstand session and on rest days for the first month. Minutes 0-2: wrist circles, 10 slow rotations each direction per hand, making the biggest pain-free circles you can. Minutes 2-5: the four stretches below, 30 seconds each, two rounds. Minutes 5-8: the strengthening drills, one set each. Minutes 8-10: loaded wrist rocks in a tabletop position, rocking gently forward over your hands, 2 sets of 12, which bridges the gap between stretching and actual handstand loading. Ten minutes, every day, for the first month. After that, keep it as your pre-session warm-up permanently. I have done this routine before every handstand session for years; it takes less time than making coffee.
The 4 Key Stretches
1. Prayer stretch. Palms together in front of your chest, fingers up. Slowly lower your hands toward your waist while keeping palms pressed together. Hold 30 seconds where you feel a deep stretch. This targets wrist extension, the exact position of a handstand.
2. Reverse prayer. Backs of your hands together, fingers pointing down, then raise your hands toward your chest. Hold 30 seconds. This stretches the flexors on the palm side, which get brutally loaded during finger-pressure balance corrections.
3. Tabletop lean. On all fours, fingers pointing toward your knees, gently lean back until you feel the stretch across the wrists. Hold 30 seconds. This loads extension under bodyweight in a controlled way.
4. Finger extension stretch. Extend one arm, palm up, and gently pull your fingers back toward you with the other hand. Hold 30 seconds per hand. The finger flexors do enormous work in handstand balance; tight ones fatigue fast.
Stretch to mild tension, never pain. The goal is increased comfortable range over weeks, not forcing range today.
The 4 Strengthening Drills
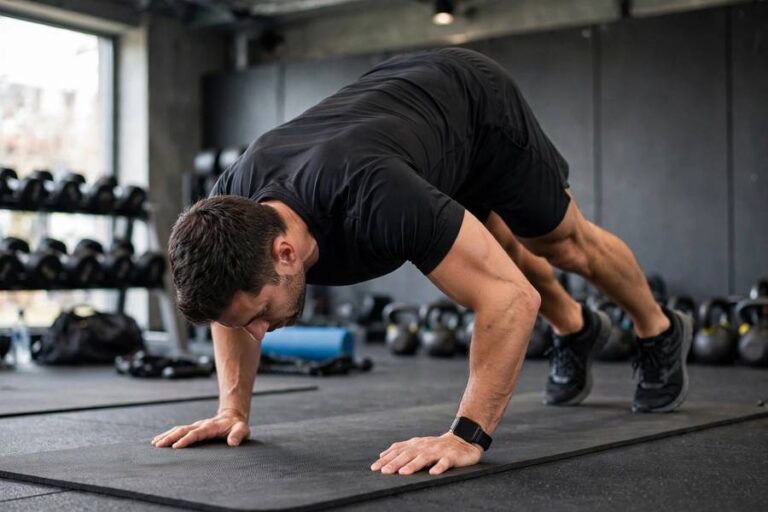
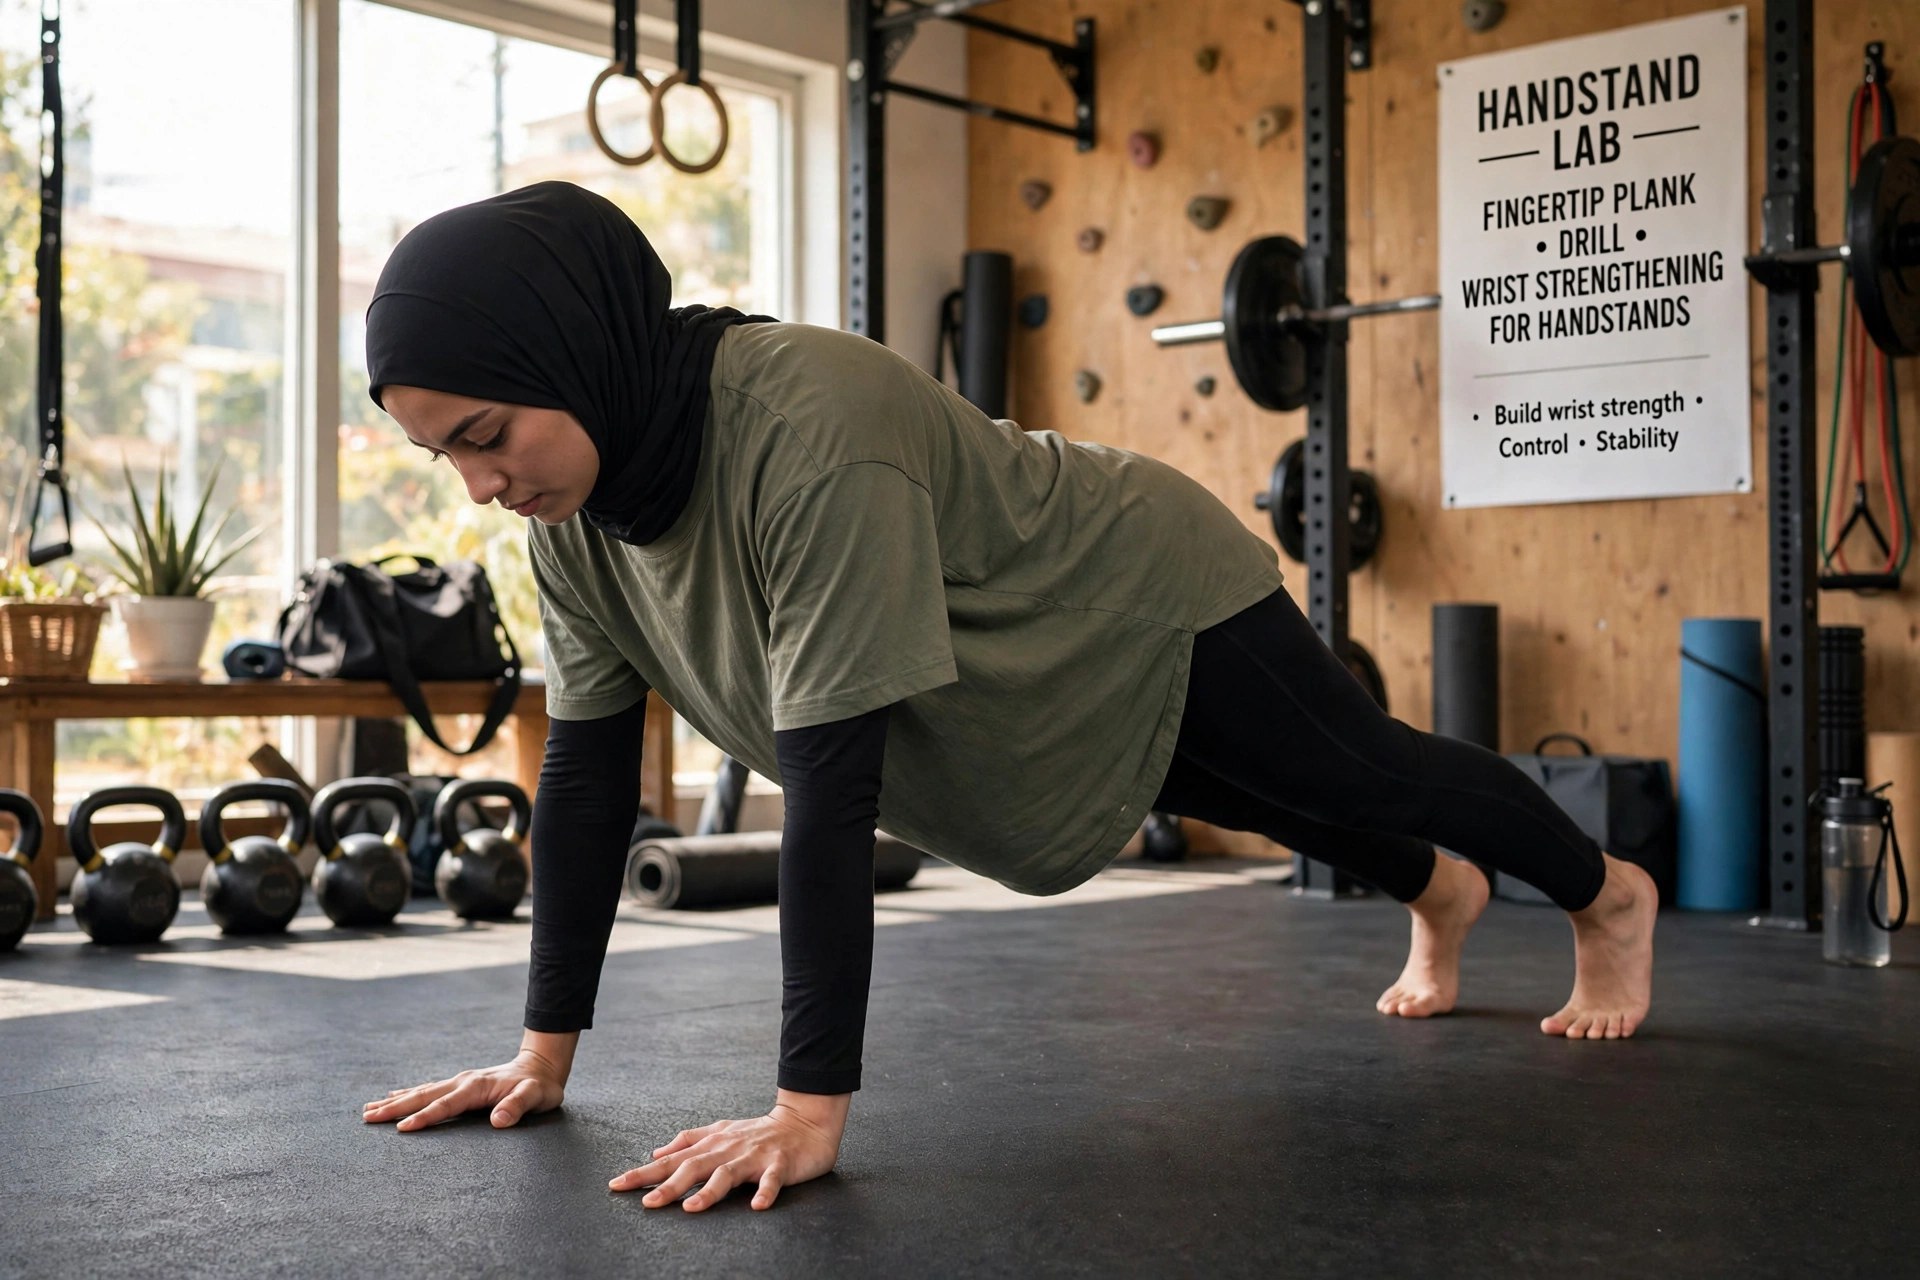
1. Fingertip planks: 3 sets of 20 seconds. Plank position up on your fingertips instead of flat palms. This is the single best wrist strengthener for handstands because it trains the fingers and wrist together under load.
2. Wrist push-ups on knees: 3 sets of 10. From a kneeling position, place the backs of your hands on the floor and do small push-ups. Start with tiny range; this is intense. Build over weeks.
3. Rice bucket digs: 2 minutes. Fill a bucket with rice, plunge your hands in, and open and close your fists against the resistance. Old-school grip training that builds the forearm musculature supporting the wrist. Sounds silly, works brilliantly.
4. Loaded carries: 3 sets of 40 meters. Farmer carries with heavy dumbbells build crushing grip and wrist stability. The Turkish get-up is the advanced version: overhead load through multiple positions, which is wrist stability under the most demanding conditions.
Pain Guide: Normal Ache vs Warning Signs
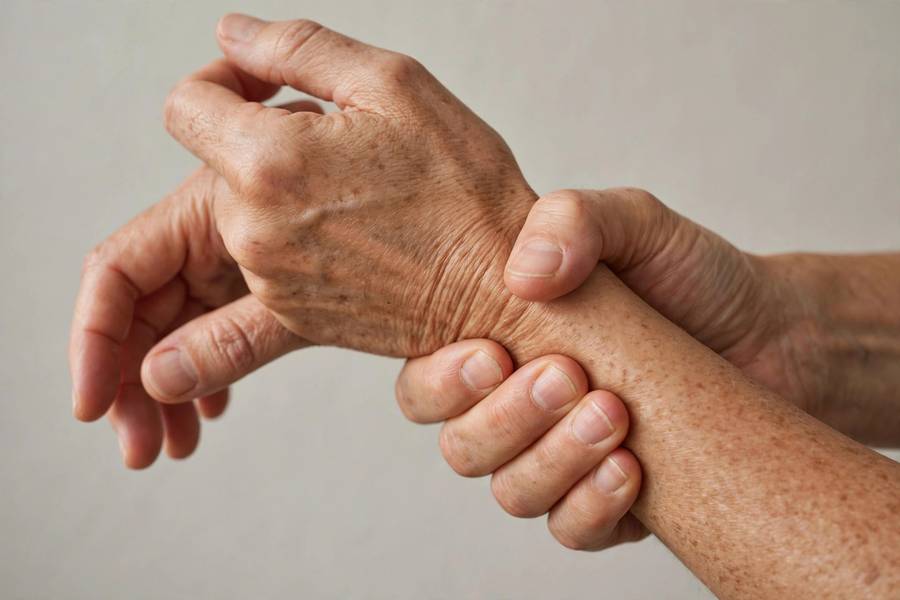
Normal: dull ache across the back of the wrist during the first two weeks, fading within an hour after practice. Mild stiffness the next morning that loosens in the warm-up. These are adaptation; keep going, keep the prep religious.
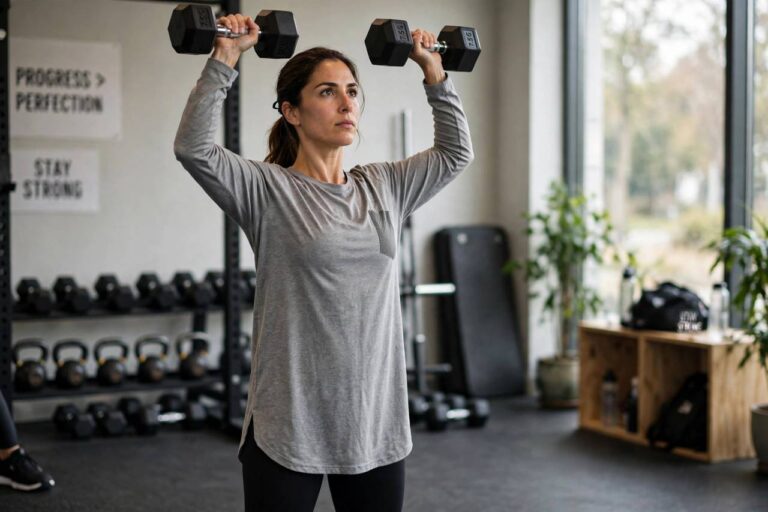
Warning signs: sharp or pinching pain, especially on the thumb side or with a clicking sensation. Pain that changes how you move or makes you avoid loading. Swelling. Numbness or tingling into the fingers. Any of these means stop handstand loading immediately and get assessed by a physiotherapist. I have seen clients train through warning signs for months and end up needing six months off; I have never seen anyone regret stopping early. The 24-hour rule applies: soreness that resolves in a day is fine, pain that lingers is not. When in doubt, rest it out and check your best shoulder exercises form too; dumping into the wrists instead of pushing tall through the shoulders is the most common mechanical cause of wrist pain.
Wrist Taping: When and How
Tape is a tool, not a crutch. Use it when your wrists are mildly irritated but cleared to train, or during high-volume weeks when you want extra support. The basic handstand tape job: two anchor strips around the wrist, then 3-4 figure-eight strips crossing the back of the hand and wrist, finishing with another anchor. It should feel supportive, not numb; if your fingers tingle, it is too tight. Tape for the session, remove after, and keep doing the prep routine; tape without conditioning just delays the inevitable. I tape clients coming back from minor wrist irritation for their first two weeks back, then wean them off as the prep routine rebuilds capacity. If you need tape every session indefinitely, something is wrong with your volume or your position, and the tape is hiding it. Fix the root cause.
Beyond Stretching: Load Management
Stretching without load management is like bailing water without fixing the leak. Cap handstand volume at 15 minutes per session for the first month, even if you feel fine; the tissues need time to adapt to loads they have never seen. Increase weekly volume by no more than 10 percent. Alternate hard and easy days: heavy wall holds one day, easy floats the next. And balance your pushing with pulling: how to do pull-ups twice a week builds the forearm and elbow structures that support the wrist from the other side. The wrist does not work in isolation; it is the middle link in a chain from fingers to shoulder, and the whole chain needs to be strong. Treat wrist care as a permanent part of handstand training, not a beginner phase you graduate from. Advanced practitioners with the healthiest wrists are the ones still doing the 10-minute routine years in.

Frequently Asked Questions
Expect 4 to 6 weeks of daily prep before your wrists feel comfortable under handstand loads, and 8 to 12 weeks for full tendon adaptation. The dull ache of the first two weeks is normal. If you are still in real pain at week 6, your volume is too high or your position is dumping load into the wrists.
Not as a beginner. Wraps mask the conditioning your wrists need and let you load tissues that are not ready. Build the base with the prep routine first. Advanced practitioners doing very high volume sometimes use light wraps for support, but they are a supplement to conditioned wrists, never a replacement.
Only with clearance from a physiotherapist who understands the demands. Old sprains and fractures often do fine with a longer conditioning phase, but the assessment has to come first. Start with the stretches only, add loading gradually, and stop at any warning sign.
They reduce wrist extension angle, which relieves pain, but they also bypass the conditioning your wrists need for floor handstands. Use them as a temporary tool while addressing the root cause with the prep routine, not as a permanent workaround. The goal is wrists that can handle the floor.
Almost always uneven weight distribution: most people load one hand more without realizing it. Film your wall holds from the front and watch which shoulder sits higher. Add single-arm fingertip planks on the weaker side and consciously even out your push. The asymmetry usually resolves within a month of targeted work.