Handstand Hold Tips: 9 Fixes for Longer, Quieter Holds

There is a specific kind of frustration that lives at the five-second handstand. You can kick up, you can hold the line, and then at second five everything wobbles and you come down. I know it well because I lived there for about two months, and I have coached at least thirty people out of it since. The fix is never “try harder.” It is nine small, specific corrections, and most people need only three of them. Work through this list like a diagnostic, not a workout. My main how-to-do-a-handstand guide covers the full technique; this article is the troubleshooting manual for the hold itself.
Tips 1-3: Your Hands and Fingers
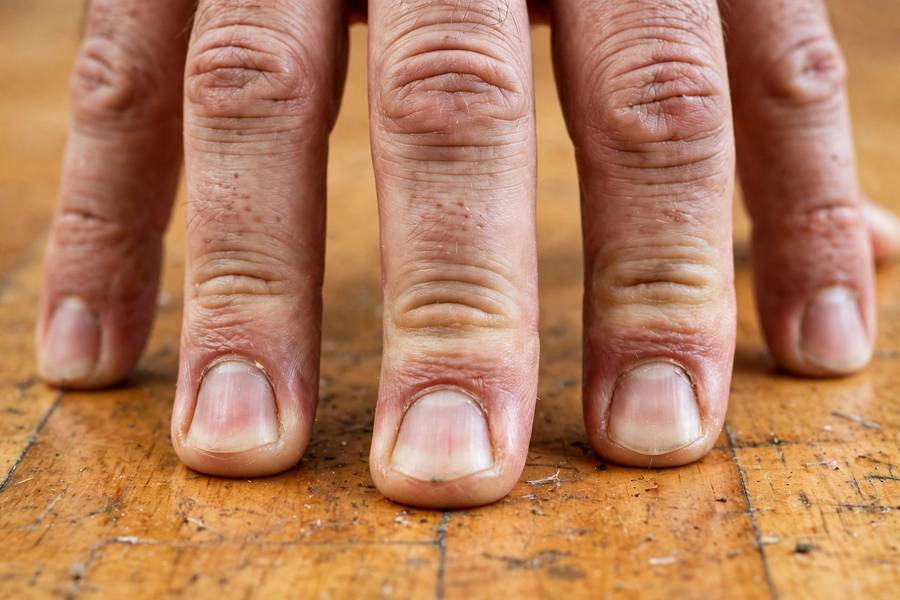
Tip 1: Spread your fingers and press them down. Beginners handstand on flat, passive palms. Your fingers are your fine steering: when you tip forward, press your fingertips into the floor like you are trying to leave fingerprints in concrete. Practice fingertip planks for 3 sets of 20 seconds to wake them up.
Tip 2: Grip the floor with your whole hand. Think of your palm as a suction cup. The heel of your hand is the brake for tipping backward; the fingers are the brake for tipping forward. A hand that is just lying on the floor cannot brake anything.
Tip 3: Shift weight into your knuckles, not your wrists. If your wrists ache after every session, you are dumping weight into the wrist joint. Push tall through the shoulders so the load sits over the knuckle line. This one change has fixed wrist pain for more of my clients than any stretch.
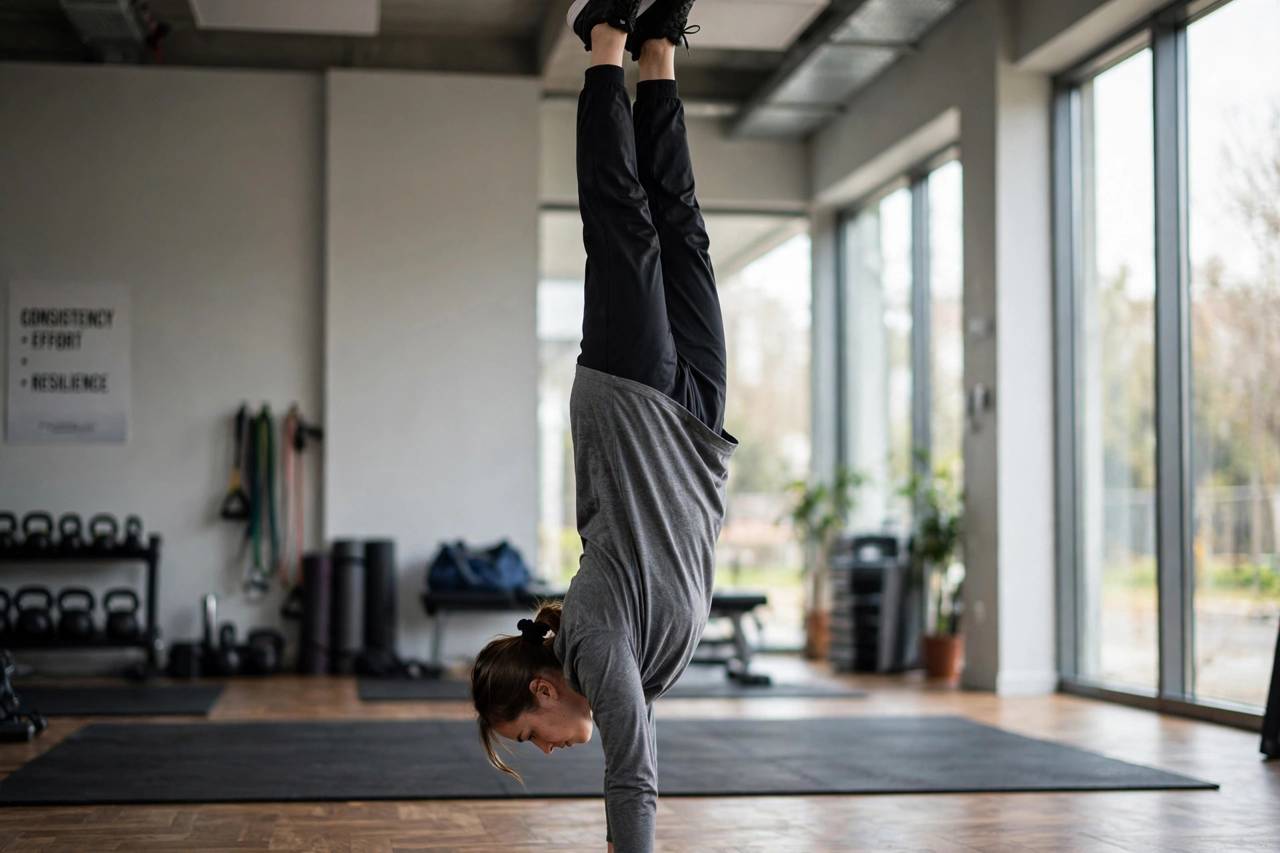
Tips 4-6: Your Body Position
Tip 4: Push taller, always. The cue is “grow an inch.” Every second of the hold, actively push the floor away. The moment you stop pushing, your shoulders sink, your base softens, and the wobble starts. Support this with regular shoulder exercises; tired shoulders cannot stay tall.
Tip 5: Stack ribs over hips. Film yourself from the side. If your ribs flare and your lower back arches, your center of mass is behind your hands and you will fight it the whole hold. The fix: exhale fully, pull your ribs down, and squeeze your glutes before you kick up. A straight line balances; a banana fights.
Tip 6: Lock your gaze. Look at one spot on the floor between your hands and do not move your eyes. Beginners look around, and every eye movement moves the head, and every head movement moves the spine. Pick the spot during your setup and treat it like a contract.
Tips 7-9: Your Practice Habits
Tip 7: Breathe like you mean it. Holding your breath spikes tension and caps your hold at about ten seconds. Practice slow nasal breathing in chest-to-wall holds until it is automatic. Then your freestanding holds get the same calm breathing for free.
Tip 8: Practice fresh or do not practice. A hold is a skill display, not a conditioning set. Ten minutes before your workout beats thirty minutes after it. I have clients do their handstand work first thing in the session, and hold times jump within two weeks.
Tip 9: Stop chasing the clock. Timing every hold makes you tense. Do one week of practice with no timer: kick up, hold until you come down, note roughly how it felt. Relaxed practice produces longer holds than anxious practice, and the timer can come back once the relaxation is grooved. This is the same principle behind how to build endurance in any skill: easy volume first, intensity later.
Three Drills That Add Seconds
Drill 1: Wall floats. Kick up to a back-to-wall handstand and pull your heels off for as long as you can, 8 reps. This is balance practice with a safety net, and it directly trains the finger corrections from tips 1 and 2.
Drill 2: The 3-second freeze. Kick up freestanding and freeze everything for exactly three seconds: no leg kicks, no bicycling, just fingers and shoulders working. When three seconds feels easy, go to five. This kills the flailing habit.
Drill 3: Loaded carries for shoulder stamina. The Turkish get-up guide is my favorite here: one get-up per side with a moderate kettlebell, 3 sets, twice a week. Rock-solid overhead stability shows up in your holds within a month.
What Kills a Hold Mid-Way
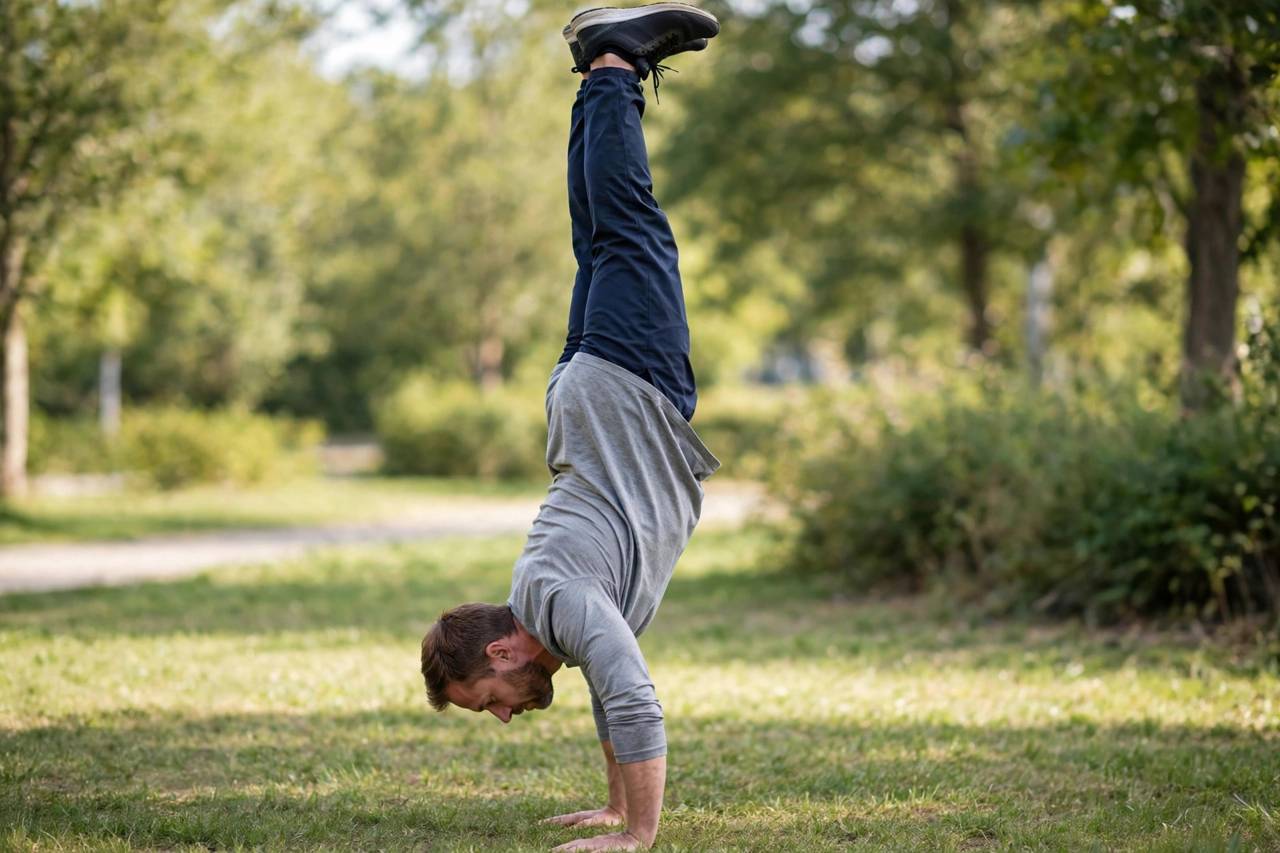
Most failed holds die from one of four killers, and you can diagnose yours by when the hold ends. Killer 1: the rushed entry. If you fall within two seconds, your kick-up was too aggressive and you never found balance. Slow the kick by twenty percent and think “place” instead of “throw.” Killer 2: the shoulder sink. If you feel strong for five seconds then melt, your shoulders are fatiguing because you stopped pushing tall. The fix is not stronger shoulders today; it is the cue. Reset the “grow an inch” push every three seconds like a mantra. Killer 3: the breath hold. If your face goes red and the hold caps at eight seconds, you are holding your breath. Exhale deliberately on the way up and the body relaxes into the balance. Killer 4: the leg panic. If your legs start bicycling, your brain has decided the hands cannot save it and is recruiting the legs. Freeze them with the 3-second freeze drill until the legs learn they are passengers. Identify your killer, drill its specific fix for one week, and retest. Holds do not improve by accident; they improve by removing the specific thing that ends them. Write down which killer got you after every session for a week, and the pattern will name itself.
The 30-Second Hold Test
Here is how I test whether a client’s hold is truly solid: kick up freestanding, hold 30 seconds, and have someone watch for three faults: bent elbows, arched back, or leg bicycling. Zero faults means the hold is real and ready to build on. One or more faults means you go back to the tips above and find which one you skipped. Most people “pass” this test on the third or fourth attempt over two weeks, because the test forces honesty about the exact fault. A quiet 30-second hold with no faults is rarer and more impressive than a wobbly 60-second one, and it is the foundation every advanced skill builds on.
The Two-Week Hold Builder Program
Apply the nine tips with this structure and most five-second holders reach ten to fifteen seconds in fourteen days. Days 1-3: 10 minutes of wall floats (8 reps), focusing only on tips 1-3, finger pressure and tall shoulders. Days 4-6: add the 3-second freeze drill, 10 freestanding attempts, focusing on tips 4-6, ribs down and locked gaze. Day 7: full rest. Days 8-10: combine: 5 wall floats as warm-up, then 12 minutes of freestanding holds, no timer, focusing on tip 7 breathing. Days 11-13: test days: three timed holds per session, aiming to beat your previous best by two seconds, applying tips 8-9 by staying relaxed. Day 14: rest, then film your 30-second hold test. The program works because it layers one correction at a time instead of asking your brain to fix nine things mid-handstand. Repeat the two weeks if needed; the second cycle usually adds more than the first because the corrections are now familiar.
Frequently Asked Questions
You are kicking up with too much force and your weight lands in front of your hands. Fix it with softer kick-ups and active fingertip pressure: press your fingers into the floor the instant you feel yourself tipping forward. Wall floats train exactly this correction.
Your weight is behind your hands, usually because of an arched back or under-kicked entry. Pull your ribs down, squeeze your glutes, and press through the heels of your hands to pull yourself back. If backward falls scare you, drill the cartwheel-out until it is automatic.
Ten clean seconds is a genuine beginner milestone. Thirty quiet seconds with no faults is solid intermediate. Sixty seconds is advanced and requires dedicated shoulder endurance work. Judge quality before duration: a straight, calm 20-second hold beats a wobbly 45-second one.
Point them. Pointed toes extend the straight line and keep the legs quiet, which reduces wobble. Flexed feet tend to come with bent knees and busy legs. It feels unnatural for two weeks, then it becomes the position.
They build shoulder and tricep endurance and serious wrist conditioning, but they are not a muscle-building tool compared to progressive overload work. Treat the hold as a skill; build the muscle with pressing exercises and let the hold display it.