How to Kick Up Into a Handstand Without Face-Planting


Watch a beginner kick up and you will see one of two disasters: the timid hop that goes nowhere, or the full-commitment launch that ends against the wall with a crash. Both come from the same misunderstanding: the kick-up is not a jump. It is a controlled transfer of weight from feet to hands, and the leg is just the delivery mechanism. I teach the kick-up as a separate skill with its own drills, because a clean entry makes everything after it easier: soft entries balance longer, and violent entries never do. This guide covers the stance, the weight transfer, and the drills that fix chronic over-kicking. The full technique context is in my how-to-do-a-handstand guide.
The Stance: Setting Up the Lunge
Start in a lunge, not standing straight. Dominant leg forward, knee bent about 90 degrees, back leg straight behind you, arms reaching overhead. Your hands will land roughly one long step in front of your front foot. The lunge matters because it pre-loads the weight transfer: you are already leaning forward, so the kick-up becomes a continuation of the lean rather than a sudden explosion from standing. Mark your hand spot with tape for the first two weeks. Consistency of setup produces consistency of entry; beginners who set up differently every rep get a different kick-up every rep and conclude the skill is random. It is not random. It is just unmeasured.
Hand Placement and the Weight Transfer
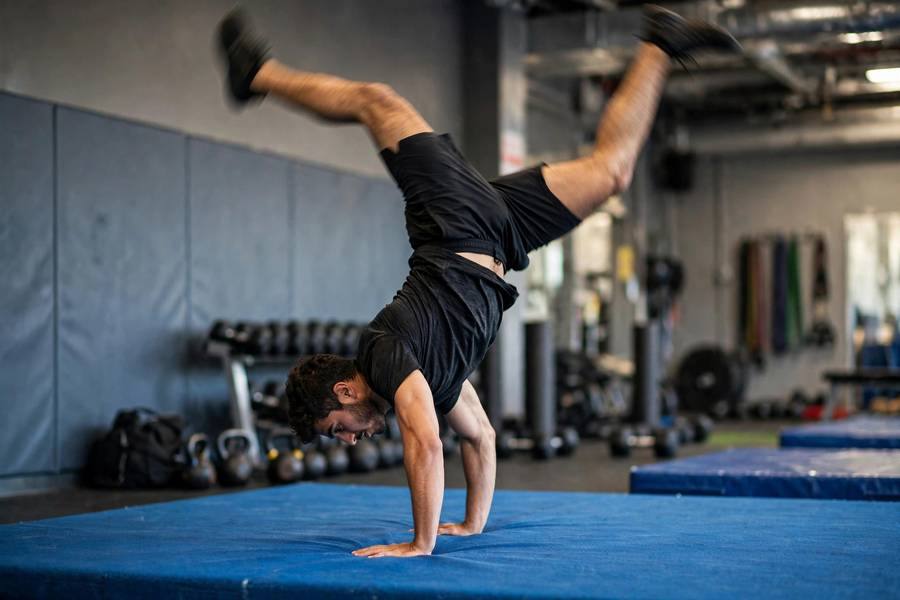
As you lean forward, place your hands shoulder-width apart, fingers spread, and actively shift your shoulders past your wrists before the back leg leaves the ground. This is the detail almost everyone misses: the weight must already be over the hands when the kick starts. If your shoulders are behind your hands at takeoff, no kick will save the entry; you will either under-kick or muscle it over with a violent leg swing. Think of it as falling forward onto your hands and letting the leg follow, rather than jumping up and hoping the hands catch you. Practice the weight shift alone first: lunge, hands down, shift shoulders over wrists, back leg lifts one inch. That one-inch lift, done smoothly, is 80 percent of a good kick-up.
The Kick Itself: Less Than You Think
The kicking leg should be straight, driven by the hip, with about 60 percent of the force beginners assume they need. Here is the test: kick up aiming to have your rising heel stop at the exact vertical, not blast through it. A good kick-up feels almost lazy; the leg floats up because the weight was already moving forward. Keep the bottom leg long for as long as possible, joining it to the top leg only near the vertical. Beginners who tuck or bend the kicking leg lose the lever and compensate with more force, which is the entire over-kicking problem in one sentence. Straight leg, hip drive, moderate force. Film it: a clean kick-up looks slow on video. If yours looks fast, it is too much.
Fixing Chronic Over-Kicking
Over-kickers share a profile: strong legs, aggressive personality, heels slamming the wall every rep. The fix is not “kick softer,” which is too vague to execute; it is three specific constraints. First, move your hands 6 inches closer to the wall so there is less distance to travel and less room to build speed. Second, kick up with the explicit goal of stopping the heel one inch short of the wall, and let the wall catch only the misses. Third, do 3 sets of 5 “float kick-ups” where success is defined as not touching the wall at all. Score it: count clean misses as wins. Within two weeks the nervous system recalibrates, because you have finally given it a measurable target instead of a vibe. I have fixed five-year over-kicking habits in fourteen days with this protocol.
Fixing Chronic Under-Kicking
Under-kickers are usually cautious, and the caution is rational: they have not grooved a bail-out yet. So step one is always the bail-out; drill the cartwheel-out until it is boring, and half the under-kicking vanishes on its own. Step two is the shoulder shift: under-kickers almost always keep their shoulders behind their hands at takeoff, so the kick has to do all the work. Exaggerate the forward shift until your nose is past your fingertips before the leg moves. Step three is donkey kicks, 3 sets of 10, to build confidence in explosive hip drive without the handstand commitment. Under-kicking is a confidence problem wearing a technique costume; fix the confidence with bail-outs and the technique with the shift, and the kick arrives.
Four Drills That Build a Clean Entry
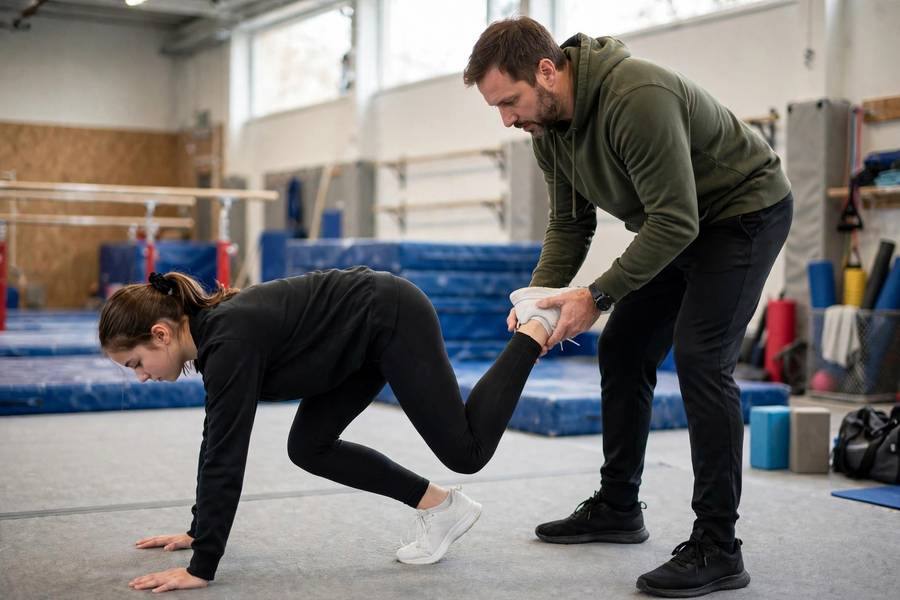
Drill 1: The one-inch lift. From the lunge, shift to hands and lift the back leg one inch, hold two seconds, lower. 3 sets of 8 per leg. This isolates the weight transfer.
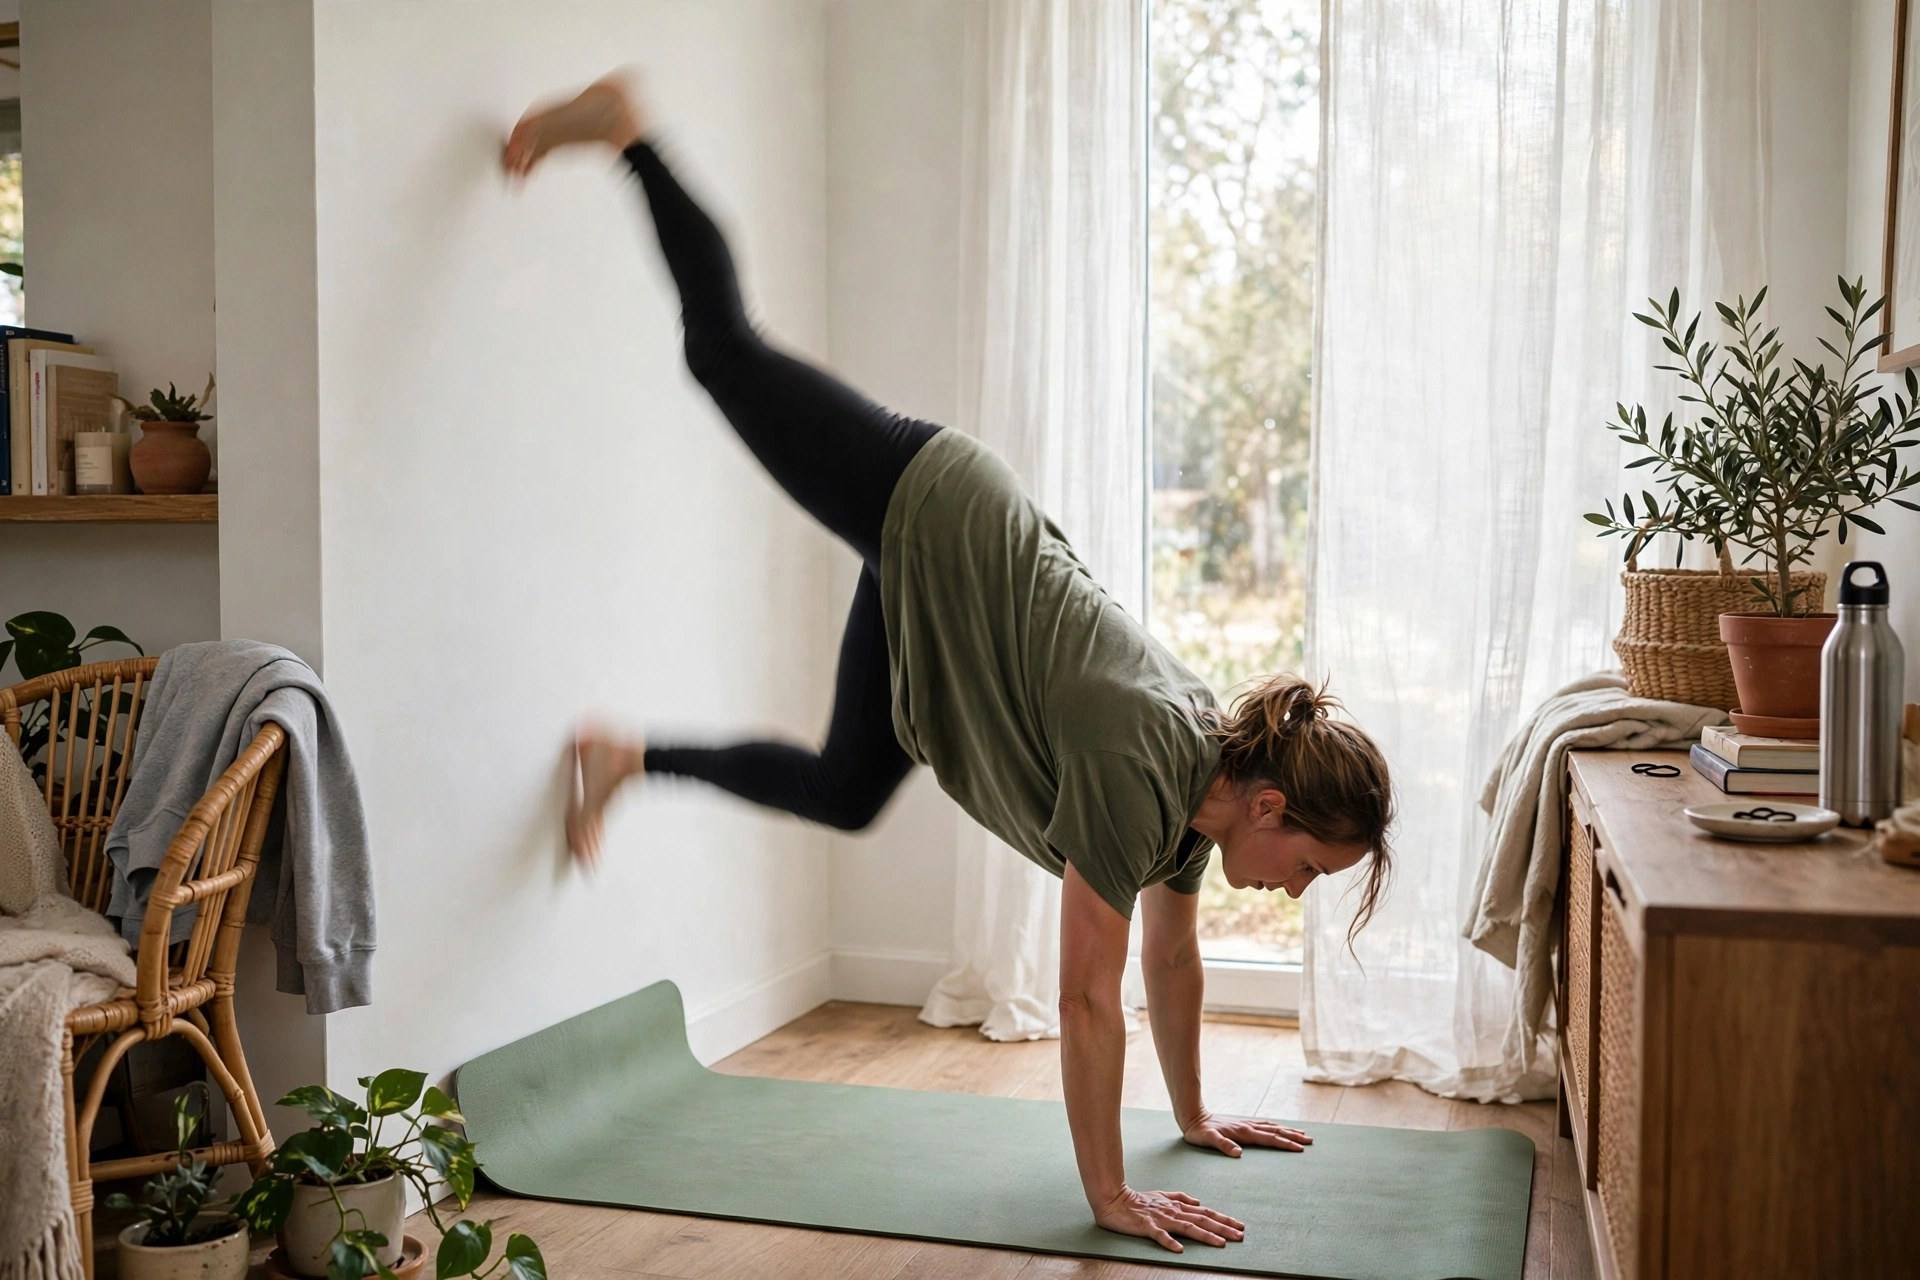
Drill 2: Wall taps. Kick up to back-to-wall aiming for the softest possible heel touch, like tapping a sleeping cat. 5 sets of 5. Teaches force modulation.
Drill 3: The split hold. Kick up and freeze in a split-leg handstand, one leg up, one leg down at 45 degrees, for 3 seconds. This is the emergency brake position; owning it means no kick-up can surprise you.
Drill 4: Eyes-closed setup. Set your lunge and hand placement, close your eyes, then kick up to the wall. This forces you to feel the weight shift instead of seeing it. Terrifying the first time, transformative by the fifth. Your core strength work supports all of these; a rigid midline transmits the hip drive instead of absorbing it.
Which Leg Goes Up First
Use your dominant leg as the kicking leg for the first three months; it has better coordination and you need every advantage early. After your kick-up is consistent, train the other leg for two weeks. Bilateral competence matters because real practice throws asymmetrical situations at you, and being one-legged in a skill is a limitation you will feel later. Switching legs will feel like starting over for about four sessions, then it clicks fast because the pattern is already in the nervous system. Also note: the kicking leg becomes the “top” leg in split holds, so this choice echoes through your later training. Pick dominant, then earn the other side. And keep your pulling work going with how to do pull-ups; the shoulder health pays off in every overhead entry.
Kick-Up Troubleshooting Checklist
Run this diagnostic whenever entries go wrong for more than a week. Heels slam the wall: shoulders behind hands at takeoff; exaggerate the forward shift, move hands 6 inches closer. Never reach vertical: bail-out fear or weak shift; drill cartwheel-outs, then the one-inch lift drill. One side always misses: asymmetrical setup; mark hand and foot positions with tape and check shoulder shift is even. Good some days, terrible others: fatigue; you are practicing tired. Move handstands to the start of the session or a fresh day. Was good, now regressing: usually overtraining or a skipped warm-up; take three full rest days and rebuild with easy wall taps. Fine against the wall, chaos in open space: normal; the wall was providing balance feedback you did not notice. Spend two weeks on grass doing float kick-ups with no hold goal, just soft entries and clean bail-outs. Work the checklist top to bottom; the first item that matches your symptom is almost always the fix. Re-run the checklist monthly even when things are going well; small drifts in setup are easier to catch early than to fix after they have grooved themselves into your pattern for six weeks.
Frequently Asked Questions
Because your shoulders are behind your hands at takeoff, so the leg has to do all the work. Shift your shoulders past your wrists before the leg moves, and the required force drops dramatically. Then use the float kick-up drill: define success as not touching the wall.
Straight, driven from the hip. A bent kicking leg shortens the lever and forces you to kick harder, which causes over-kicking. Keep it long until near the vertical, then join the legs.
About 12 inches for kick-up practice, giving room to kick without slamming. For chest-to-wall position work, walk in to 6 inches. Mark the spot with tape until the distance is automatic.
You can, on grass with a drilled bail-out, but the wall accelerates learning because it gives instant feedback on every entry: too hard and you feel the slam, too soft and you feel the miss. Learn the calibration against the wall, then take it outside.