One-Hand Shooting Form in Basketball: Building a Pure Stroke

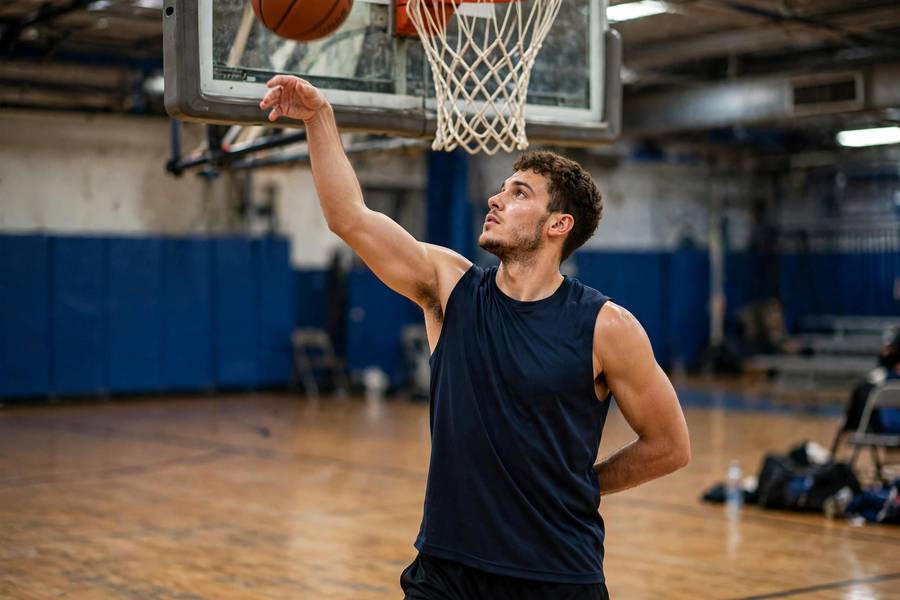
The most humbling drill in basketball takes thirty seconds to learn and months to master: stand three feet from the basket, tuck your guide hand behind your back, and shoot with one hand. The first time I did it as a player, I airballed. From three feet. In front of my entire team. It was the most useful embarrassment of my basketball life, because it showed me exactly what my guide hand had been hiding for years.
One-hand shooting form isn’t a trick or a warm-up gimmick — it’s the purest diagnostic and training tool in shooting development. The one hand shooting form basketball players neglect most is usually their own. This guide covers why it works, the exact setup and release, a 4-stage progression, and how to fold the guide hand back in without losing what you built. For the complete two-handed motion, see our guide to proper shooting form.
In this guide:
- Why Train With One Hand?
- The Setup: Hand, Wrist and Elbow
- The Release: Backspin and the Finger Roll
- The 4-Stage One-Hand Progression
- What One-Hand Shooting Exposes
- Common One-Hand Errors
- Bringing the Guide Hand Back
- Maintenance: Keeping the Stroke Pure
Why Train With One Hand?
Your guide hand is supposed to be a passive stabilizer. In reality, for most players, it’s an active saboteur — pushing, flicking, and steering the ball in ways you can’t feel. The shooting hand gets the blame for misses the guide hand caused. Remove the guide hand and three things happen:
- The truth comes out. Every flaw in your shooting-hand mechanics is suddenly visible — in the ball flight, the spin, and the feel. Nothing to hide behind.
- The release gets honest. With one hand, the ball only goes straight if your wrist, elbow, and follow-through are correct. The drill is self-correcting: bad mechanics produce obviously bad results.
- Touch develops fast. One-hand shooting forces softness — you can’t muscle the ball with one hand the way you can with two. Players develop fingertip control and backspin feel in weeks that takes months with two hands.
This is why every serious shooting coach on earth uses it. It’s not beginner stuff — it’s fundamental stuff, which is why pros still do it in warm-ups.
The Setup: Hand, Wrist and Elbow
Stand 3–4 feet from the basket, facing it squarely. The setup:
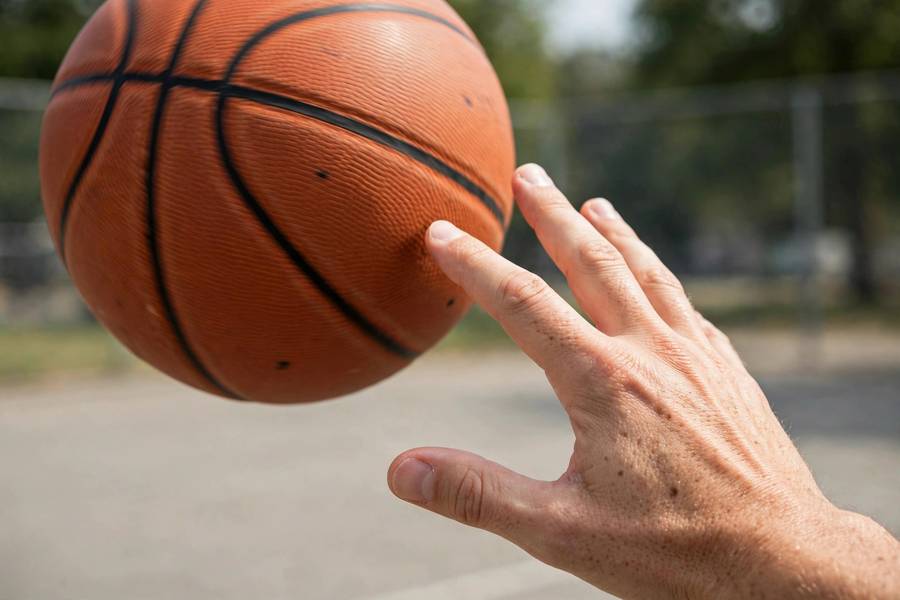
- Hand: ball rests on your fingertips and pads — not the palm. You should be able to slide a finger between your palm and the ball. Finger spread is comfortable, not splayed.
- Wrist: cocked back (loaded), ready to snap forward. The wrist is the engine of the release — a limp wrist produces a dead ball.
- Elbow: under the ball, forming a rough L-shape with your upper arm. Not flared out, not pinned in — under.
- Guide hand: behind your back or holding your shorts. Anywhere it can’t ‘help.’
- Eyes: locked on your rim target. This doesn’t change with one hand.
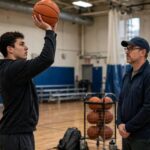
Start with the ball at forehead height — the classic ‘shot pocket to release’ shortened to just the release. As you improve, start lower (chest, then waist) to incorporate more of the full motion.
The Release: Backspin and the Finger Roll
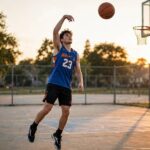
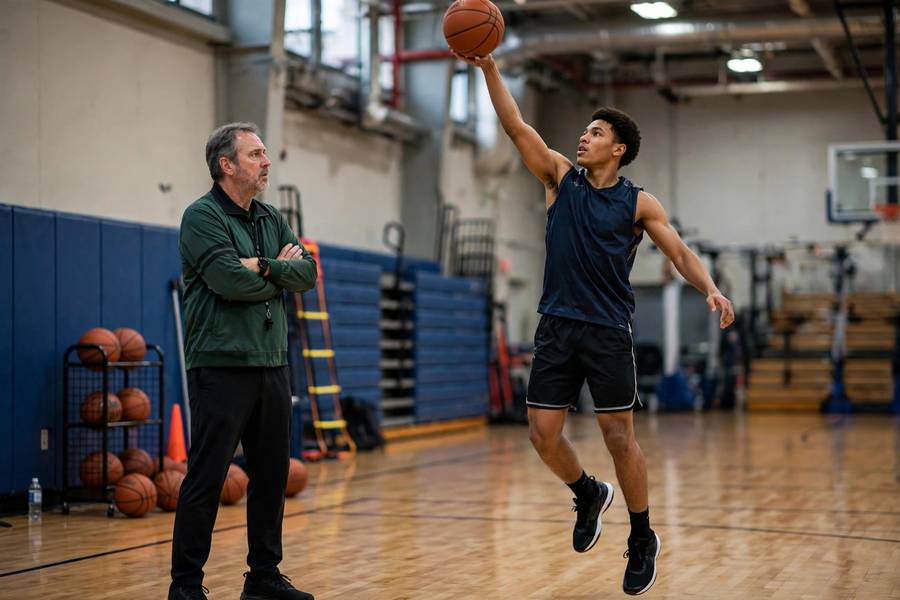
The one-hand release is beautifully simple: extend the elbow up, snap the wrist forward and down, and let the ball roll off your index and middle fingers last. The goals:
- Clean backspin. The ball should rotate backward symmetrically — no wobble, no sideways spin. Backspin is the fingerprint of a straight release; film it in slow motion and check.
- Soft touch. The ball floats, it doesn’t get thrown. Think ‘lift and lay’ rather than ‘push.’
- Full follow-through. Goose neck finish, fingers to the floor, hold it. Even (especially) from three feet.
The cue I give players: ‘paint the release.’ Imagine your fingertips painting a straight line up through the ball. If the line curves, your wrist turned. Simple, visual, effective.
The 4-Stage One-Hand Progression
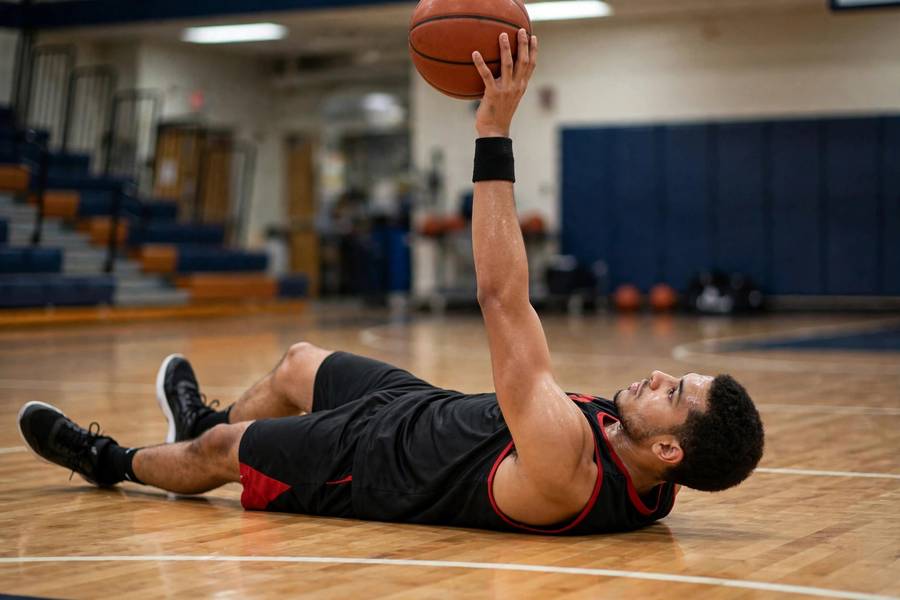
- Stage 1 — Lying down (days 1–3): lie on your back and shoot the ball straight up with one hand, catching it as it comes down. 50 reps. This isolates the wrist snap and finger release completely — no legs, no balance, just the hand. It looks silly. It works embarrassingly well.
- Stage 2 — Close form (weeks 1–2): 3–4 feet from the basket, 50 makes daily. Focus only on backspin and follow-through. Don’t move back until you can make 20 in a row with clean rotation.
- Stage 3 — Extended range (weeks 3–4): move to 8–10 feet, then the free-throw line. The legs join in now — but keep the upper-body motion identical. If the spin deteriorates with distance, you’re arming it; move back in.
- Stage 4 — Off the move (weeks 5+): one-hand shots off a 1-2 step, then off one dribble. This bridges the drill to real shooting — the release stays pure while the body moves.
Most players rush stage 2. Don’t. Two weeks of close one-hand shooting rebuilds neural pathways that years of two-handed habits buried. The boredom is the point — your nervous system learns through repetition, not novelty.
What One-Hand Shooting Exposes
After a week of honest one-hand work, players typically discover one of these:
- Sideways spin: your wrist is turning during release (often from a flared elbow upstream).
- No spin / knuckleball: you’re pushing with your palm instead of rolling off fingertips. Get the ball off your palm.
- Consistent left/right miss: elbow alignment issue — it’s not under the ball.
- Short everything: no wrist snap — you’re guiding the ball instead of releasing it. Exaggerate the snap.
- It feels impossible: your guide hand was doing most of the work. This is the most common discovery and the most valuable one.
Each exposure is a gift — it’s a flaw you can now fix deliberately instead of a mystery you shoot around. Write down what you find; it’s your personal fix list.
Common One-Hand Errors
- Cheating with the guide hand. It creeps back to ‘steady’ the ball. Behind the back means behind the back.
- Shooting too far too soon. Ego says 15 feet; the drill says 4 feet. Listen to the drill.
- Muscling it. One-hand shooting with tension defeats the purpose. If your forearm is straining, move closer and soften.
- Skipping the hold. The follow-through hold matters more with one hand, not less — it’s your only feedback mechanism.
- Doing it once. One session exposes; twenty sessions rebuild. This is a practice staple, not a one-time test.
Bringing the Guide Hand Back
The goal was never to shoot one-handed in games — it’s to rebuild the stroke, then reintroduce the guide hand as the passive partner it should be. The transition:
- Step 1: guide hand returns but hovers — fingertips lightly touching the ball’s side, zero pressure. Shoot 50 close reps feeling the shooting hand do 100% of the work.
- Step 2: the ‘fingers up’ cue — at release, guide-hand fingers point to the sky, thumb relaxed and uninvolved. Film from the front to verify.
- Step 3: full motion with the guide hand, but keep 20 one-hand reps in every warm-up permanently. The drill is maintenance now, not construction.
The test that it worked: shoot 10 one-handers and 10 two-handers from the same spot. The ball flight, spin, and feel should be nearly identical. If the two-handed shots spray while the one-handers are pure, the guide hand is still interfering — go back a step.
Maintenance: Keeping the Stroke Pure
Support it with wrist and forearm strength — the best arm exercises guide has the exact grip and wrist work that keeps a one-hand release crisp.
Keep one-hand form shooting in your warm-up forever — 20–30 reps before every session. It’s a five-minute insurance policy on your release. Pros do it; you should too. And when a slump hits (it will), the first diagnostic is always the same: go back to one hand, close range, and watch what the ball tells you. The answer is usually there within fifty reps. Combined with the leg strength that powers the full shot — see our strength training for runners for the lower-body programming — a pure release is the complete package.One-hand shooting form is a training method where you shoot with only your shooting hand (guide hand behind your back) from close range. It isolates your release mechanics, exposes guide-hand interference, and builds fingertip touch and clean backspin — it’s the purest shooting diagnostic in basketball.
To remove the guide hand’s hidden interference and rebuild a pure release. One-hand shooting exposes flaws (sideways spin, palm pushing, elbow misalignment) that two-handed shooting hides, and it develops the soft touch and backspin that define great shooters.
Start 3–4 feet from the basket and only extend when you can make 20 in a row with clean backspin. Progress to 8–10 feet, then the free-throw line over 3–4 weeks. Rushing distance defeats the purpose — the drill works through perfect close reps, not long ones.
Yes — it’s the standard fix. By removing the guide hand entirely for 2+ weeks of daily reps, you rebuild the shooting hand’s independent mechanics. When the guide hand returns (hovering, zero pressure), it stays passive because the shooting hand no longer needs its ‘help.’
Absolutely — even more strictly than two-handed. The held goose-neck finish is your primary feedback mechanism with one hand; dropping it removes the diagnostic value of the drill. Hold every rep for a full count.