Pull-Up Form Tips: 12 Coaching Cues for a Perfect Rep


Most pull-up advice stops at “just pull.” That’s like telling someone to “just swim.” The pull-up is a skill with a dozen moving parts — grip, scapular timing, elbow path, body tension, breathing — and each one is a lever you can pull to make reps easier and safer. I’ve spent fifteen years cueing this lift, and the difference between a coached rep and an uncoached rep is night and day: same person, same strength, 30 percent more reps and zero joint complaints.
These are the twelve cues I actually use with clients, organized by phase of the rep — setup, initiation, the pull, the top, and the lower. Master them in order and your pull-ups will look and feel like a different exercise.
Setup Cues (Before You Pull)
1. “Wrap the thumb, crush the bar”
Full grip — thumb wrapped around the bar, not floating alongside it. Then squeeze like you’re trying to leave fingerprints in the steel. Grip tension irradiates up the arm: a hard squeeze automatically tightens the forearms, biceps, and even the lats before the rep starts. Lifters who grip loosely pull loosely. This is the cheapest performance boost in the entire lift.
2. “Slightly wider than shoulders”
For the standard pull-up, your hands should be just outside shoulder width — roughly 6 to 8 inches wider than your shoulders total. Too narrow turns it into an arm exercise; too wide shortens the range and loads the shoulder joint badly. Find your width and mark it mentally: for most people it’s where the bar’s knurling changes or the bend begins. Consistency here matters — varying your width every session means you’re never grooving one pattern.
3. “Hollow the body”
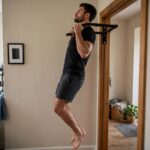
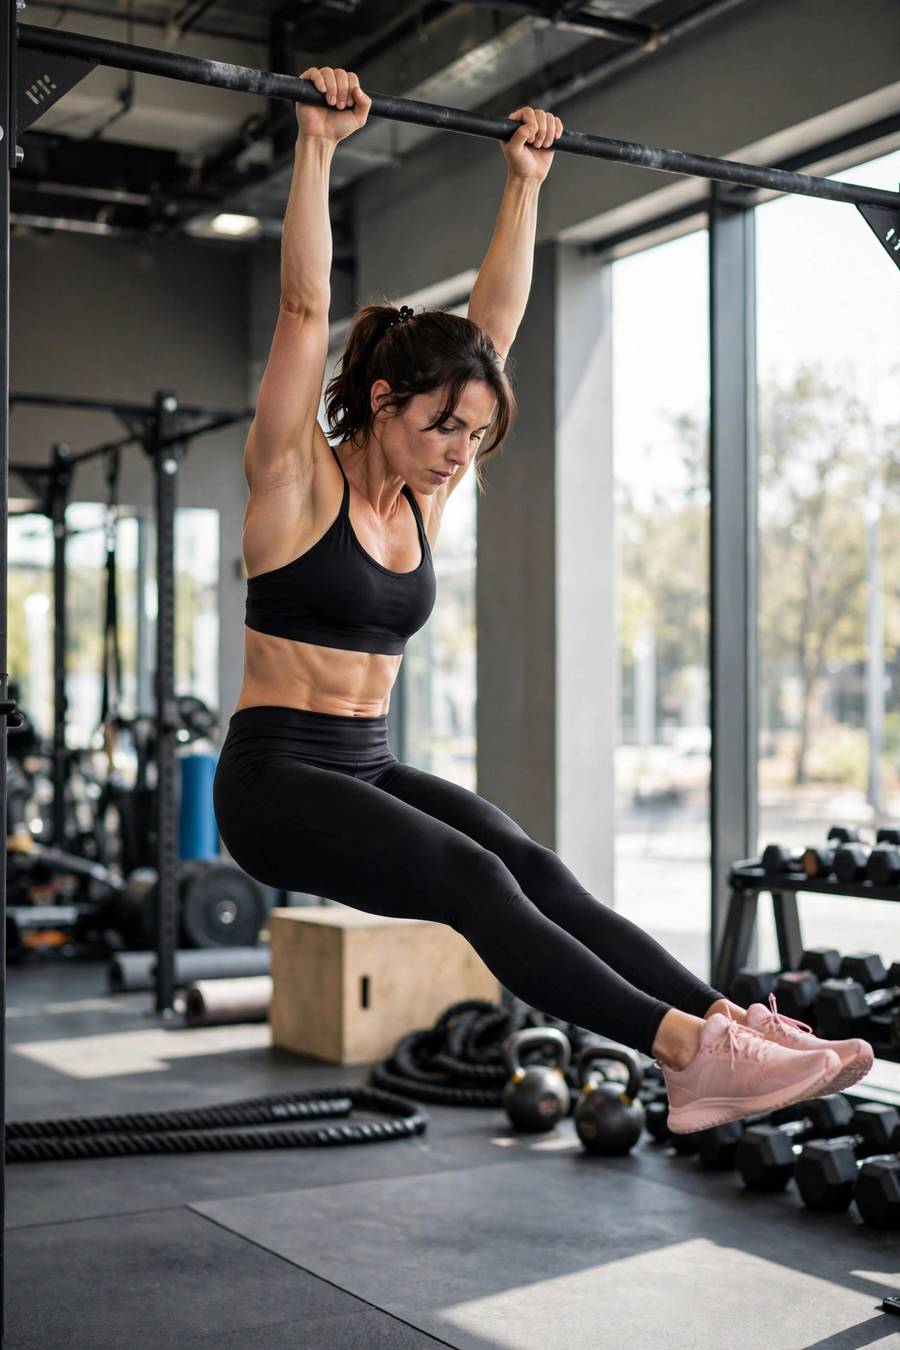
Before you pull, set your body position: ribs down, glutes squeezed, legs slightly in front of you with toes pointed. This is the hollow-body position from gymnastics, and it’s the foundation of every clean rep. A hollow body doesn’t swing, doesn’t arch, and transfers force directly from lats to bar. If your lower back arches and your legs drift behind you, you’re leaking power before the rep even starts. For the core strength behind this position, my plank form guide builds exactly the tension you need.
Initiation Cues (The First Two Inches)
4. “Shoulders away from ears”
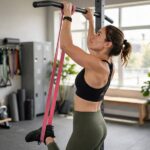
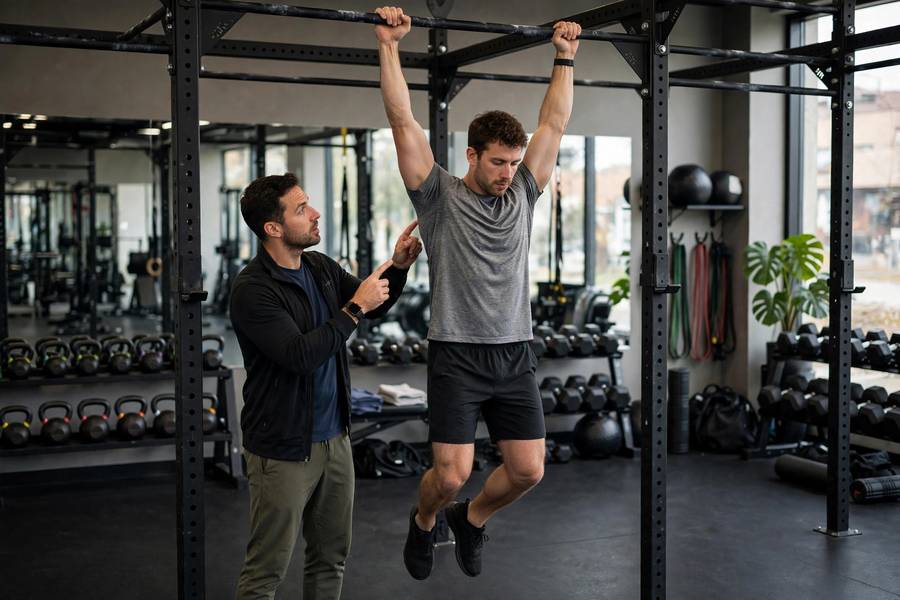
The single most important cue in this entire article. Before your elbows bend, pull your shoulder blades down and back — your torso will rise an inch or two from this alone. If your shoulders shrug up on the first pull, your upper traps are stealing the lats’ job, and every rep will feel heavier than it should. Practice this as scapular pull-ups until it’s automatic: hang, depress, hold two seconds, release. Ten reps of that drill before your work sets will rewire the pattern within weeks.
5. “Break the bar”
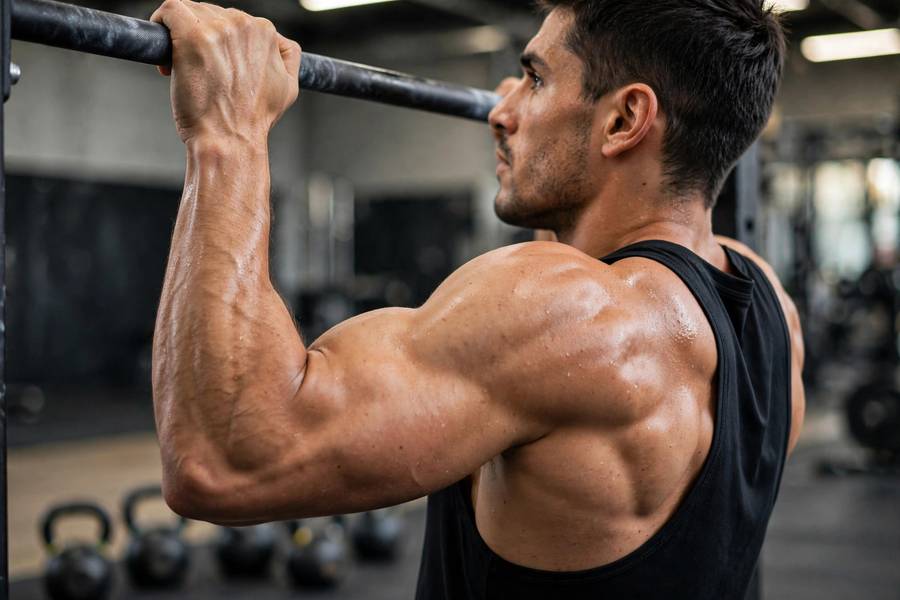
As you initiate, imagine trying to bend the bar downward in the middle — pulling the ends toward the floor. This external-rotation torque packs the shoulders into a stable position and fires the lats before the elbows even move. It’s subtle — nobody watching will see it — but you’ll feel your back engage in a way that “just pull” never produces. This cue alone fixes the “I can’t feel my lats” problem for most people.
Pull Cues (The Middle of the Rep)
6. “Elbows to ribs”
Don’t think about pulling your chin up — think about driving your elbows down and back into your ribcage. This keeps the focus on the prime movers (lats) instead of the finish line (chin), and it naturally produces the correct elbow path: down and slightly back, not flared out wide. Flared elbows turn the pull-up into a shoulder-impingement generator; elbows tracking toward the ribs keep the joint happy and the lats loaded.
7. “Chest to bar, not chin over”
Aiming your chest at the bar instead of your chin over it changes the top of the rep completely. Chin-chasers crane their necks and stop pulling the moment the chin clears; chest-aimers keep driving with the back through the full range and finish higher with better posture. The chin clears as a side effect of a complete pull, not as the goal of a neck exercise. If you’ve been getting neck soreness from pull-ups, this cue usually eliminates it.
8. “Squeeze the glutes the whole way”
Your lower body isn’t cargo — it’s part of the lift. Squeezed glutes and braced abs lock your torso into a rigid lever, which means every ounce of lat force goes into moving you up instead of swinging you around. The moment the glutes relax, the legs drift, the swing starts, and reps get harder for no reason. Glutes on from hang to lockout. Every rep.
Top Position Cues (Finishing the Rep)
9. “Pause and own it”
Hold the top for a full one-second count — chin over, chest up, lats squeezed. This does three things: it guarantees the rep was complete (no drive-by chin grazes), it builds isometric strength in the hardest position, and it kills any momentum before the lowering phase. Rushed tops are where half-reps are born. The pause is the difference between doing pull-ups and performing them.
10. “Look forward, not up”
Keep your eyes on the horizon or the bar — not craned up at the ceiling. Your head weighs about 11 pounds, and throwing it back shifts your center of mass and extends your cervical spine under load. Neutral neck, always. If you find yourself looking up to “help” the chin over, that’s information: your pull is finishing early, and you need more top-end strength work, not more neck extension.
Lowering Cues (The Half Everyone Skips)
11. “Three seconds down”
Lower over a full three-count, resisting gravity the entire way — especially through the last six inches, where everyone wants to just drop. The eccentric phase builds as much strength as the pull itself, and it’s where the shoulder stabilizers do their most important work. Dropping from the top is throwing away half the rep. Count it out: one-one-thousand, two-one-thousand, three-one-thousand, hang.
12. “Finish in an active hang”
Don’t just arrive at the bottom — arrive with tension. The rep ends in a dead hang with shoulders actively pulled down, body still, ready for the next rep. This active bottom is the launchpad for rep two: from here, the scapular initiation fires cleanly instead of from a slack, swinging start. A one-second pause in this position between reps also kills momentum, which means every rep is honest. If you’re new to structured strength training and want the programming principles behind all of this, my beginner’s lifting guide covers them.
Putting It All Together: The Perfect Rep
Here’s the full sequence as one continuous script. Read it, then go do it:
Grip the bar slightly wider than shoulders, thumbs wrapped, crush it. Set the hollow body — ribs down, glutes on, legs slightly forward. Hang still. Big breath in, brace. Shoulders away from ears — feel the torso rise an inch. Break the bar, elbows driving to ribs, chest rising toward the bar. Chin clears as your chest arrives — hold one second, lats squeezed, eyes forward. Three seconds down, resisting all the way. Arrive in an active hang, still and tight. Breathe. Repeat.
That’s a perfect rep. It takes about eight seconds. Most people’s “reps” take two — which tells you everything about why their numbers stall and their joints complain. Slow down, cue up, and watch what happens over the next month. Film a set now and another in four weeks; the difference will be visible. And when the form is dialed, the programming in my complete pull-up guide will take your numbers wherever you want them to go.
One last thing: cues are personal. These twelve are the ones that work for most people most of the time, but if “elbows to ribs” doesn’t click for you and “pull the bar to your chest” does, use that. The best cue is the one that produces the right movement. After your session, a proper cool-down keeps the shoulders and lats recovering well for the next one.
Frequently Asked Questions
Correct pull-up form: full grip slightly wider than shoulders, hollow body with glutes squeezed, initiate by pulling shoulder blades down before bending elbows, drive elbows to ribs, chest to bar with a one-second hold at top, and a controlled three-second lower to an active dead hang. No kipping, no swinging, no neck craning.
Either works as long as the body stays rigid — legs slightly in front with toes pointed (hollow position) or knees bent with ankles crossed. What matters is no swinging and no leg kick. Straight legs in a hollow position is the stricter standard; bent knees are fine if your bar is low. Pick one and stay consistent.
Depress your shoulder blades before bending your elbows, think “elbows to ribs” instead of “chin up,” and imagine breaking the bar apart. Most people who can’t feel their lats are initiating with their arms and shrugging — fixing the scapular initiation usually solves it within two weeks. Scapular pull-ups as a warm-up drill accelerate the learning.
Slow and controlled for building strength — roughly 1 second up, 1 second pause, 3 seconds down. Fast, explosive reps have a place in power training for advanced lifters, but rushing reps usually means cutting range of motion and dropping the eccentric, which is where much of the strength is built. Control first, speed later.
Swinging comes from a loose body — relaxed glutes, unbraced core, or starting each rep from momentum instead of stillness. Fix it by squeezing your glutes, bracing your abs in a hollow position, and pausing one second in the dead hang between reps. If swinging starts mid-set, that’s fatigue — end the set rather than collecting sloppy reps.
Twelve cues, one perfect rep. Don’t try to think about all of them at once — pick the two that address your weakest phase, drill them for two weeks, then add the next. Form is a skill, and skills are built one layer at a time.