How to Do Push-Ups Correctly: Form, Mistakes, Progress

The push-up is the most lied-about exercise in fitness. Everyone says they can do push-ups. Almost nobody does them correctly. I’m not being harsh — I’m being honest, because a bad push-up doesn’t just waste your time, it teaches your body the wrong pattern and eventually hurts your shoulders or lower back.
Here’s my promise: no miracle programs, no jargon, no “do 100 push-ups a day” nonsense. Just the form checklist, the six mistakes I see in every gym, and the progression ladder that takes you from zero to real push-ups. This is practical training advice for real life — the stuff that actually works.
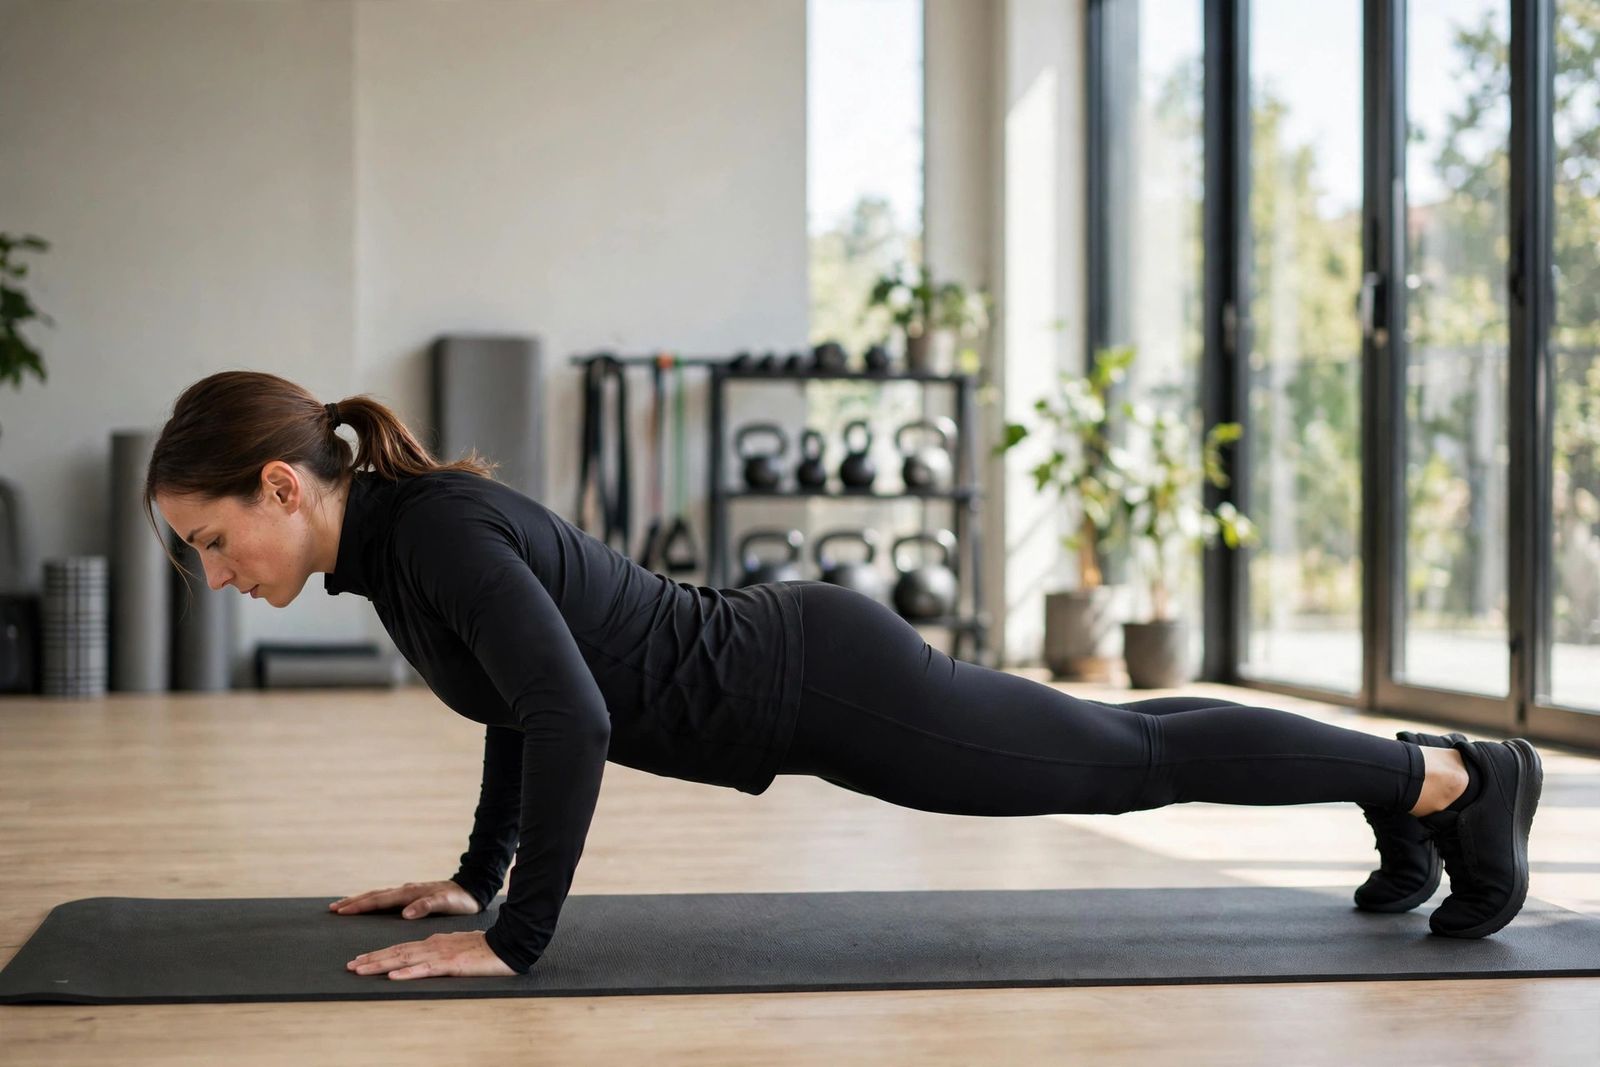
The Perfect Push-Up in 30 Seconds
Before the mistakes, the checklist. Set up like this:
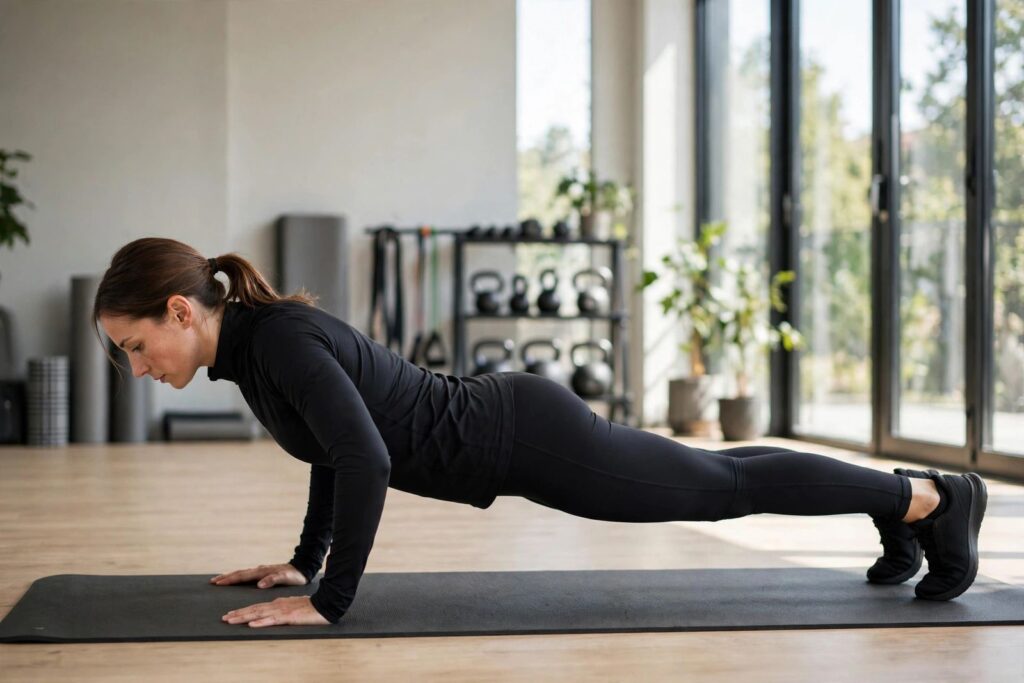
- Hands slightly wider than shoulders, fingers pointing toward your head (not flared out sideways)
- Legs hip-width apart, toes on the floor
- Body in one straight line from head to heels — squeeze your thighs and glutes like you’re a moving plank
- Lower your chest toward the floor with control, elbows tracking back (not flared wide)
- Press back up without letting your hips sag or pike
That’s it. Five points. If any one of them breaks during your set, the rep doesn’t count — you’re practicing the wrong thing. Film yourself from the side for one set if you can; what you feel and what you’re doing are often two different things, and the camera doesn’t lie. Now let’s talk about what usually breaks.
6 Mistakes Almost Everyone Makes (And the Fix)
Mistake 1: Hips Sagging (or Piking Up)
The classic. Your hips drop toward the floor (sagging) or stick up in the air (piking), and your “plank” becomes a hammock or a tent. The fix: squeeze your thighs and glutes hard before you start each rep. Think “moving plank” — your body is one rigid line that happens to bend at the elbows. If your hips sag, you’re not doing a push-up; you’re doing a back extension with extra steps.
Mistake 2: Elbows Flared Wide
Elbows pointing straight out to the sides — the “T” shape. This puts your shoulders in a vulnerable position and kills your pressing power. The fix: as you lower, rotate your elbows toward your feet. Think of making an arrow shape (roughly 45 degrees) rather than a T. Your shoulders will thank you immediately.
Mistake 3: Half Range of Motion
Bouncing through the top two inches of the movement. The chest never gets near the floor, the muscles never fully load, and the rep is cosmetic. The fix: lower your chest all the way toward the floor with control. Full range, every rep. Ten full push-ups beat thirty half-reps — and it’s not close.
Mistake 4: Holding Your Breath (and Craning Your Neck)
People either hold their breath through the whole set or crane their neck up to “look” at where they’re going, which jams the cervical spine. The fix: breathe consistently — exhale on the press, inhale on the way down — and keep your neck neutral, eyes on the floor a few inches ahead of your hands. Your head is part of the plank, not a periscope. (For more on this, the how-to-breathe-correctly-during-exercise guide covers the mechanics in detail.)
Mistake 5: Hands in the Wrong Place
Hands too far forward (toward your head) or too narrow, which turns the push-up into a shoulder grind. The fix: wrists stacked under shoulders, hands slightly wider than shoulder-width. Check it in a mirror or film one set — hand position errors are invisible from the inside.
Mistake 6: Fast, Sloppy Reps
Racing through reps with momentum doing half the work. The fix: slow the lowering phase down. Try 5–6 second negatives — take five full seconds to lower yourself, then press up. You’ll do fewer reps. They’ll count for triple. And here’s the mental shift: the lowering phase is the exercise. The press is just how you get back to the top.
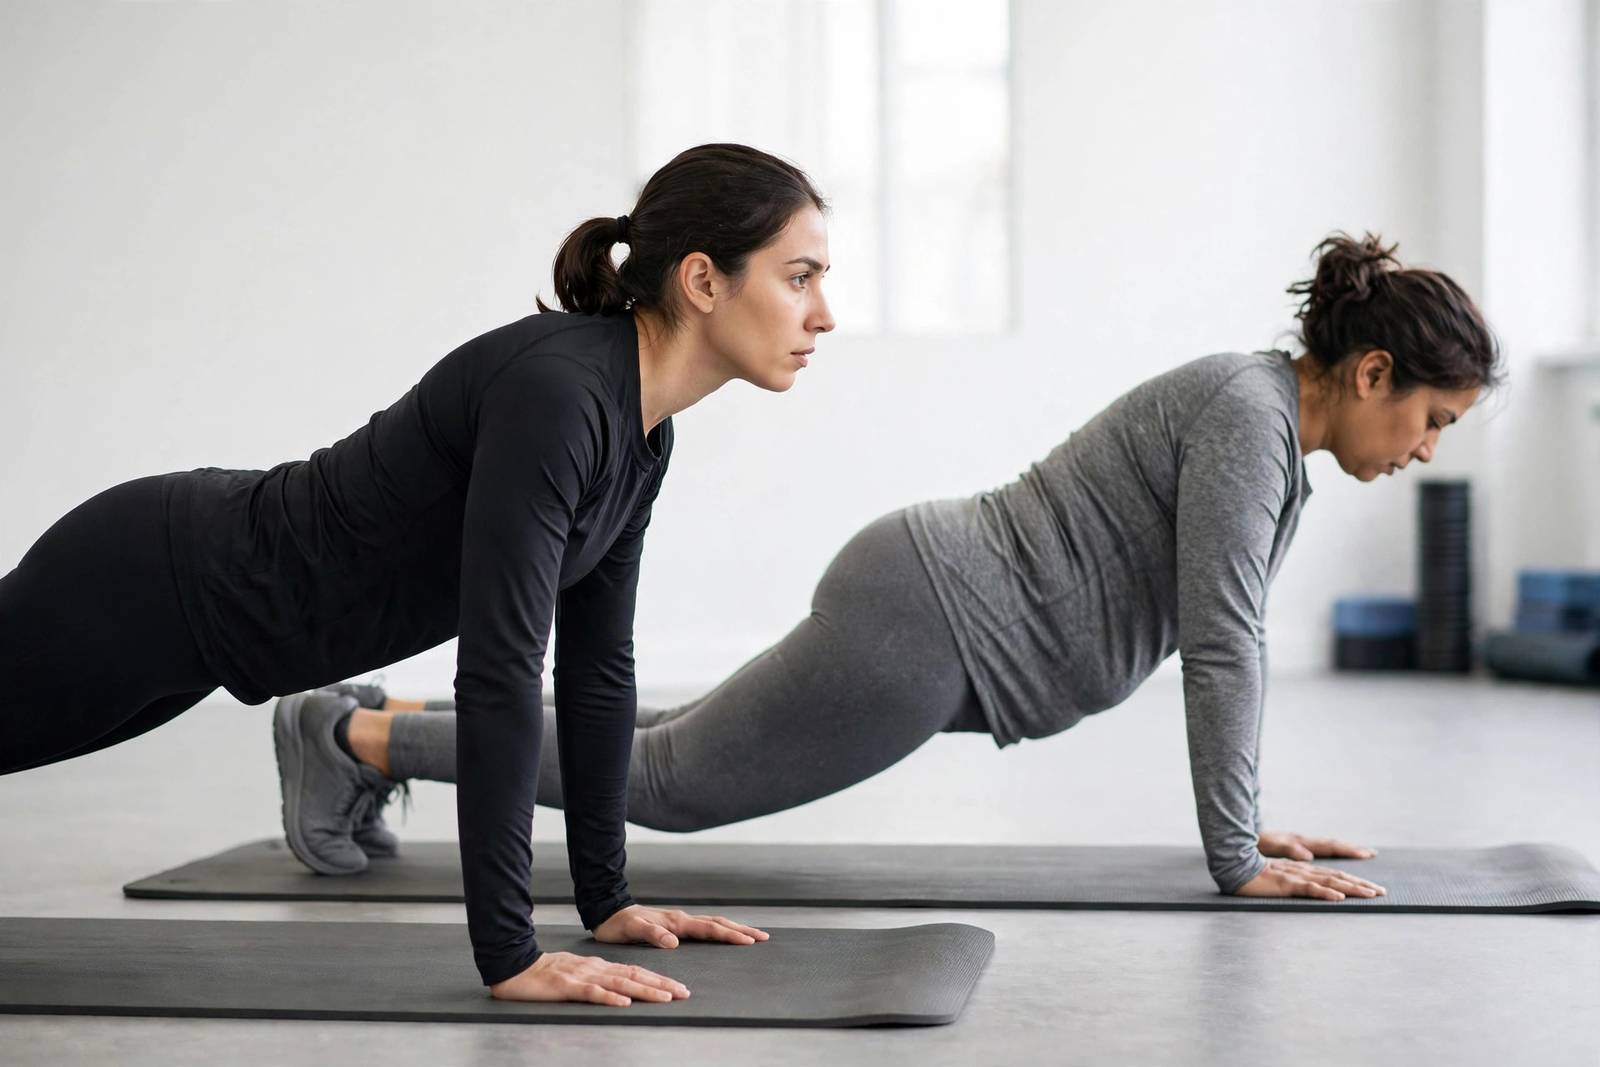
From Zero to Full Push-Ups: The Progression Ladder
Can’t do a full push-up yet? Good — that means you’re honest, and honesty is where progress starts. This ladder comes from ACE (American Council on Exercise) programming, and it’s built for real beginners. Spend 4–6 weeks on the foundation before chasing full push-ups.
Step 1–2: Build the Foundation
Quadruped holds: On hands and knees, brace your core and hold for 20–30 seconds, 3–4 reps. This teaches your shoulders and wrists to handle load without the full bodyweight.
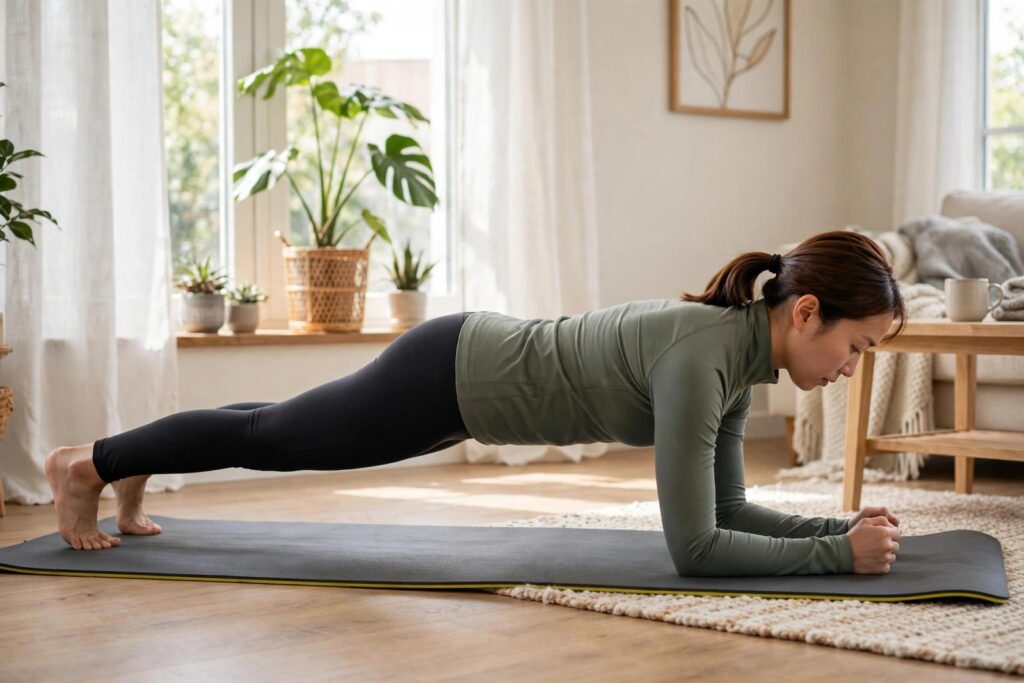
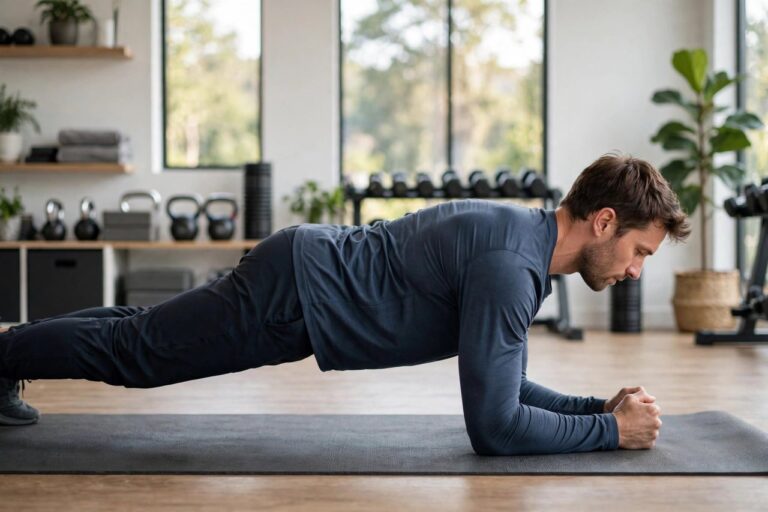
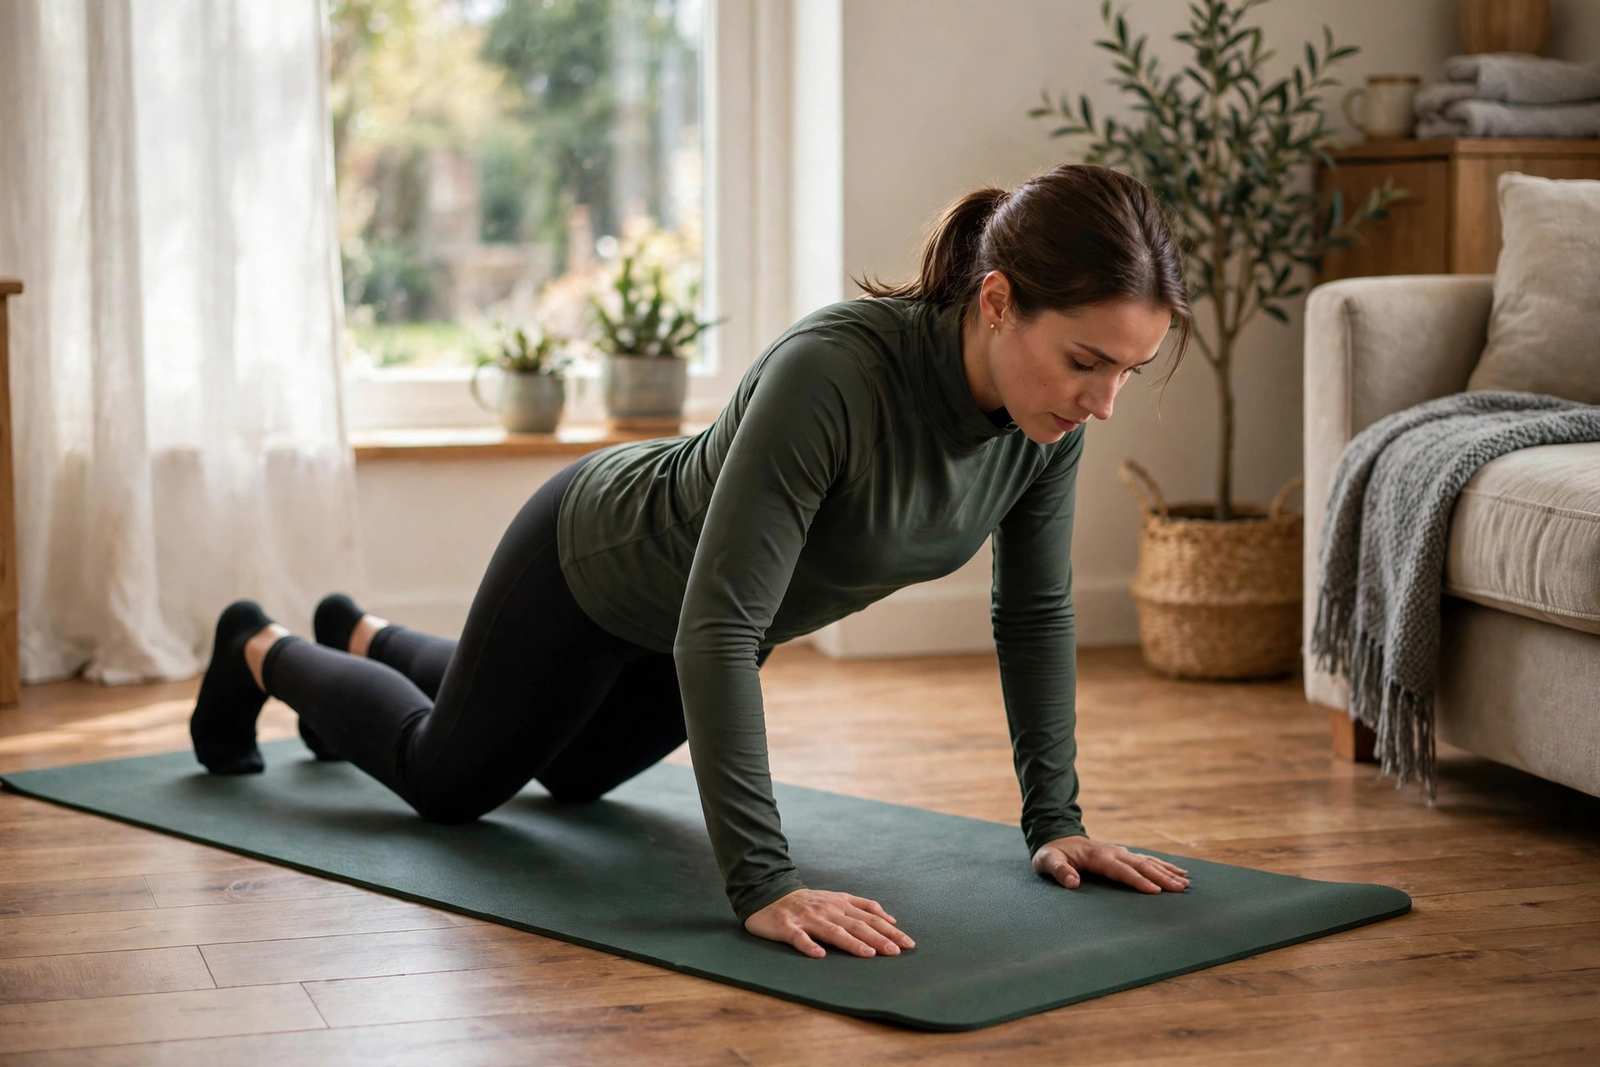
Modified high plank: Knees on the floor, body straight from knees to head. Hold 20 seconds, build to 45 seconds, for 3–4 sets. When you can hold 45 seconds with perfect form, your core is ready for the next step.
Step 3–4: Negatives, Then Full Push-Ups
Modified negative push-ups: From the knees, lower yourself over 5–6 seconds, then reset (don’t press up yet). Start with 2 sets of 6–8, resting about a minute between sets; build to 3–4 sets of 10–12. Rest 45–60 seconds after negative sets, 90 seconds between 4-set blocks. Spend 3–5 weeks here before attempting full range.
Full push-ups: Now press. Start with 2 sets of 5–6 full push-ups, 1 minute rest between sets. Build to 2 sets of 10–12. That’s a real, honest achievement — most people in most gyms can’t do two clean sets of twelve.
The whole ladder respects one rule: earn the next step. Don’t skip to full push-ups because you’re impatient. The foundation weeks are what make the full push-ups possible — and pain-free.
How to Know You’re Ready to Progress
The ladder gives you timeframes (4–6 weeks foundation, 3–5 weeks of negatives), but your body gives you better signals. Move up when:
- You can complete all prescribed sets and reps with perfect form — not “close enough” form, actual form. If the last two reps of every set break down, you’re not ready.
- The current step feels controlled, not maximal. You should finish each session feeling worked but not wrecked. If you’re grinding to survive the sets, stay put another week.
- No pain — muscle fatigue is fine; joint pain (wrists, shoulders, lower back) is a stop sign. Pain means something in the chain isn’t ready. Drop back a step, rebuild, and try again.
And the regression rule nobody talks about: it’s always okay to go back down. Had a bad week? Do modified push-ups for a session. Coming back from time off? Restart at negatives. The ladder works in both directions, and the people who progress fastest are the ones who aren’t too proud to step back when their form says so.
For the bigger bodyweight picture, best-bodyweight-exercises-at-home puts push-ups in a full routine, and the companion form guides — how-to-do-a-proper-push-up and how-to-do-push-ups — are there when you want a second angle on the same movement. And remember the promise from the top of this article: no miracle programs, no jargon. Just form, patience, and the ladder. It works if you work it — honestly. And six weeks from now, when you’re knocking out clean sets of ten, you’ll wonder why you ever thought push-ups were about strength. They were always about skill.
Frequently Asked Questions
Where should my hands go in a push-up?
Slightly wider than your shoulders, with wrists stacked underneath and fingers pointing toward your head. Hands too far forward or too narrow shifts the load onto your shoulders.
How many push-ups should I start with?
For full push-ups, start with 2 sets of 5–6 with a minute’s rest. For the modified (knees) version, start with 2 sets of 6–8 and build to 3–4 sets of 10–12 before attempting full push-ups.
Are push-ups on your knees “not real” push-ups?
No — the modified push-up is the correct starting point, not a consolation prize. ACE’s progression ladder starts there deliberately: build strength with good form first, then earn the full version.
Why does my lower back hurt during push-ups?
Your hips are sagging because your core and glutes aren’t engaged. Squeeze your thighs and glutes before each rep and think “moving plank” — one rigid line from head to heels.
Can I do push-ups every day?
Your muscles need recovery to adapt — training the same movement hard every day stalls progress and invites overuse issues. Follow a structured plan with rest days rather than daily max-outs. (Specific frequency guidance wasn’t in this article’s sources; a trainer can individualize it.)
Which muscles do push-ups work?
Chest, shoulders, and arms (triceps) as the prime movers — plus your core, glutes, and thighs as stabilizers. That’s why the “moving plank” cue matters: a push-up is a full-body exercise, not just an arm exercise.