Best Air Fryer Recipes for Beginners: 12 Easy Wins

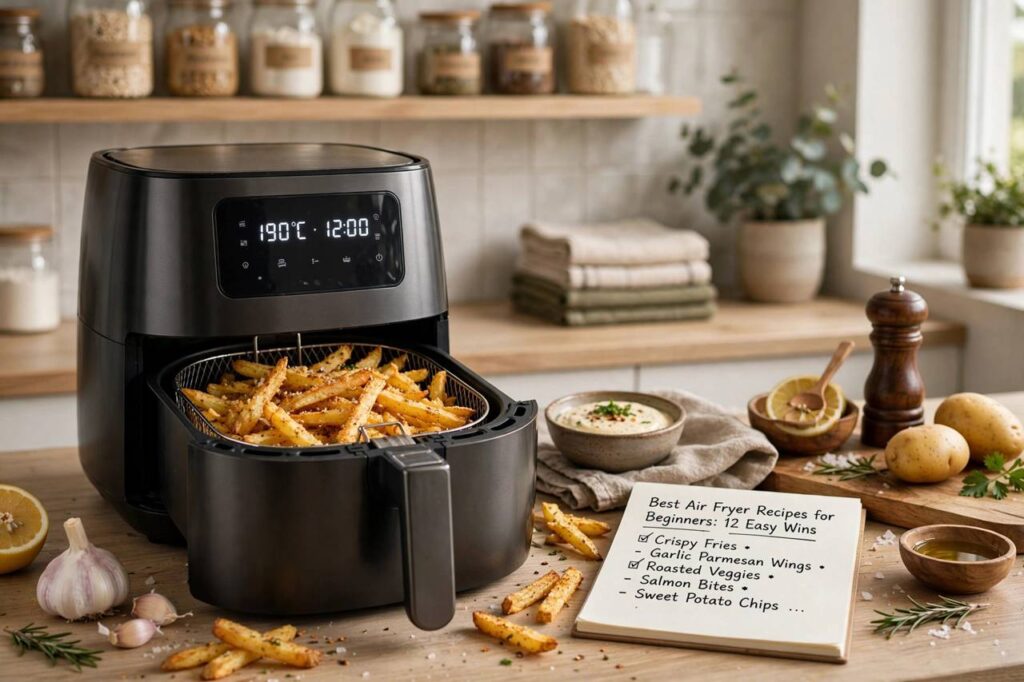
If you just unboxed an air fryer and it is sitting on your counter looking slightly intimidating, take a breath — you bought one of the most forgiving kitchen appliances ever made. The best air fryer recipes for beginners all share the same beautiful quality: they are hard to ruin. A little hot air, a little oil, and ingredients you already know turn into food that tastes like you tried much harder than you did.
I have cooked with mine almost daily for three years, through the experimental phase (do not air-fry leafy greens — they fly around and burn) to the confident phase where weeknight dinner practically makes itself. Below are the twelve recipes I recommend to every beginner, in the order I would learn them, plus the temperatures, timings, and mistakes that separate crispy success from sad, steamy disappointment.
First, How an Air Fryer Actually Works
An air fryer is essentially a small, powerful convection oven. A heating element and a fan circulate very hot air around your food at high speed, which crisps the outside while cooking the inside. That is the whole magic trick — there is no actual frying involved, despite the name.
Understanding this explains the three rules that govern every recipe below. Rule one: do not overcrowd the basket. Hot air needs to reach the food’s surface; pile things up and they steam instead of crisp. Cook in batches if you must — it is always worth it. Rule two: a little oil goes a long way. A light spray or a teaspoon tossed through is enough; the appliance does the crisping work. Rule three: shake or flip halfway. Most recipes improve dramatically from one mid-cook toss.
Every air fryer runs a little hot or cool, so treat the times below as starting points. Check a few minutes early the first time you make anything, and you will quickly learn your machine’s personality.
The Best Air Fryer Recipes for Beginners: Start Here
These first four are the training wheels — nearly impossible to mess up, and they teach you how your fryer behaves.
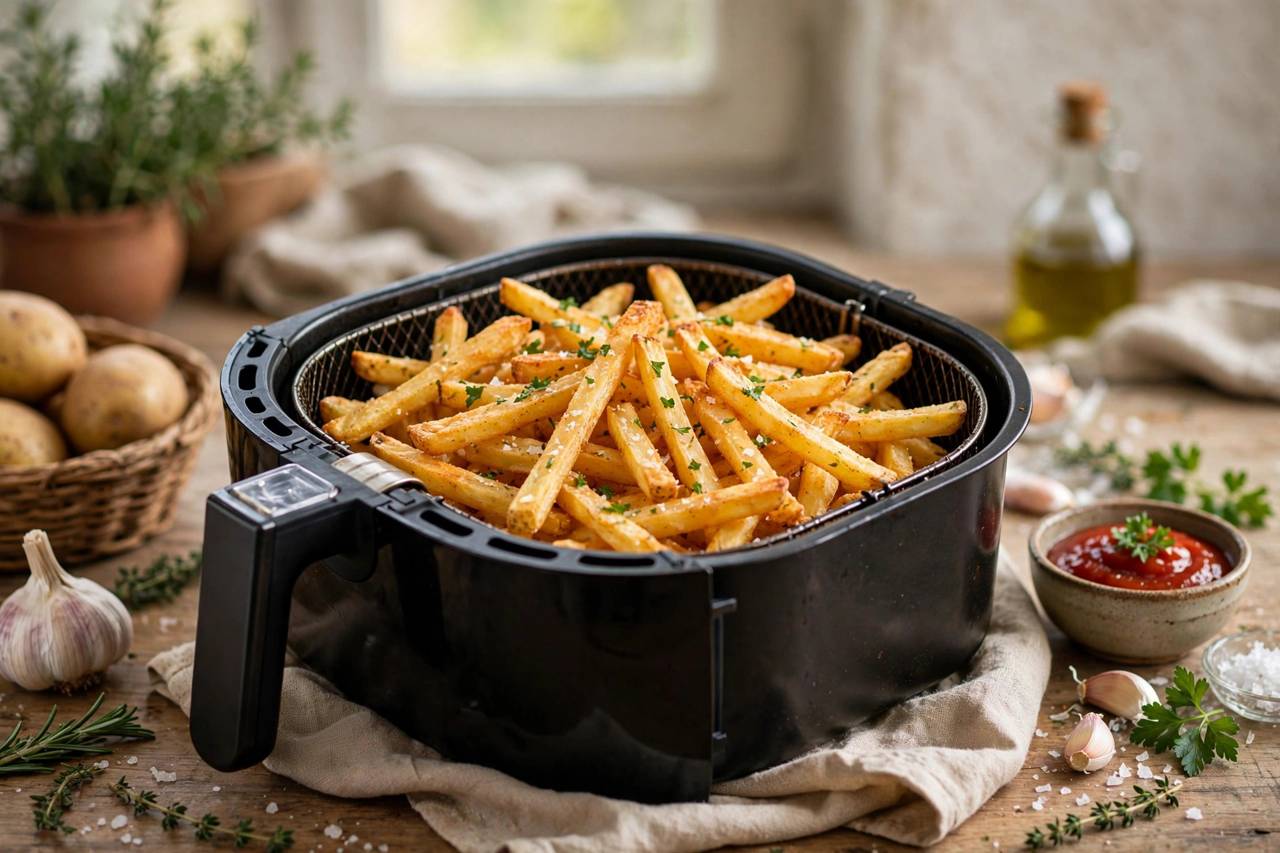
1. Crispy French Fries (25 minutes)
Cut potatoes into even sticks, soak them in cold water for 20 minutes (this removes starch and is the difference between good and great fries), dry them thoroughly, toss with a teaspoon of oil and salt, and cook at 200°C / 400°F for 20–25 minutes, shaking twice. The result genuinely rivals deep-fried.
2. Frozen Chicken Nuggets and Tenders (12 minutes)
The gateway recipe. Straight from freezer to basket, 200°C / 400°F, 10–12 minutes with a shake halfway. No oil needed. This is the recipe that convinces skeptics the appliance earns its counter space.
3. Roasted Broccoli (10 minutes)
Toss florets with a little oil, salt, and garlic powder. Cook at 190°C / 375°F for 8–10 minutes, shaking once. The edges char and caramelize into something even vegetable-skeptics devour. This technique works for cauliflower and Brussels sprouts too.
4. Garlic Bread (6 minutes)
Butter, minced garlic, and parsley on sliced bread or a halved baguette. Cook at 180°C / 350°F for 5–6 minutes. Faster than preheating an oven and somehow better — the top crisps while the middle stays soft.
Weeknight Mains Worth Learning Next
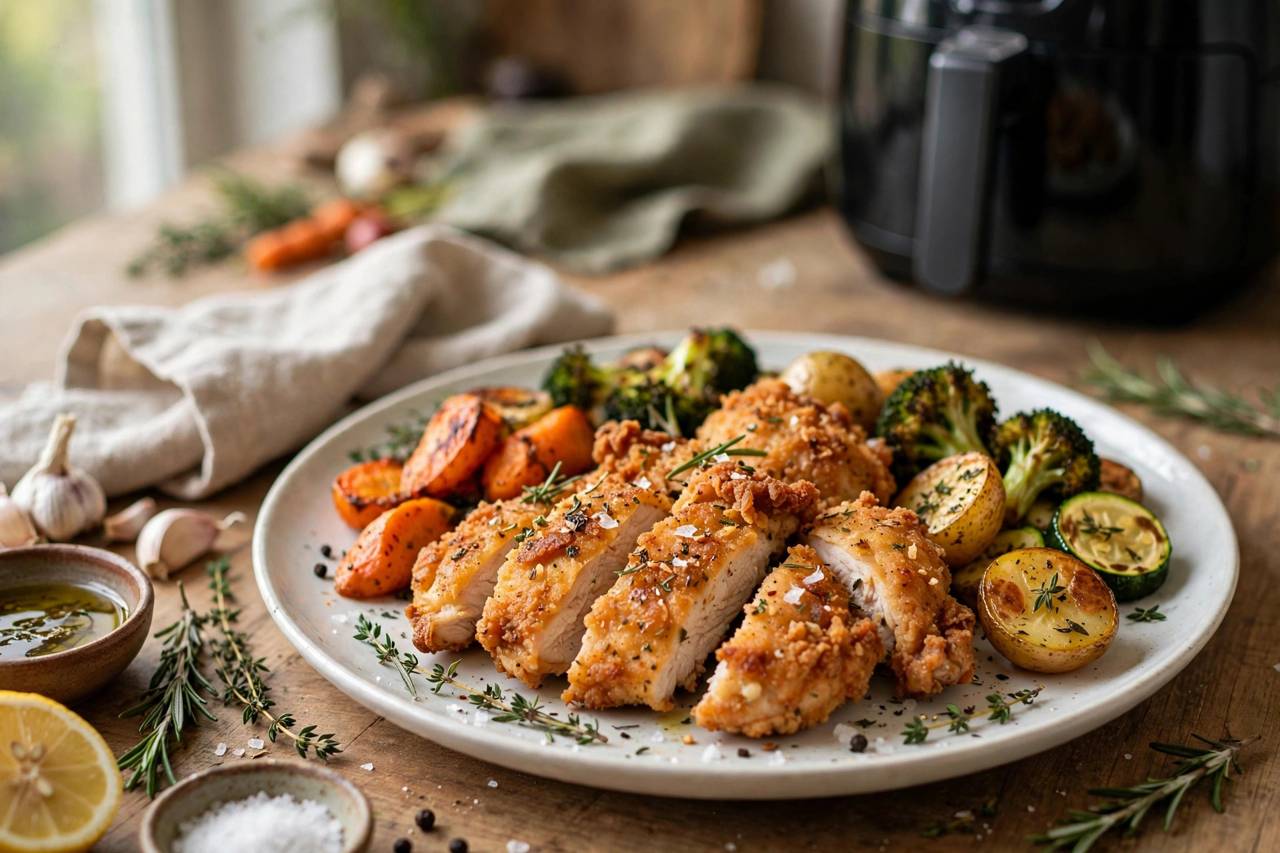
5. Chicken Breast, Juicy Every Time (18 minutes)
Pound breasts to even thickness — this is the step everyone skips and the reason chicken dries out. Season simply with salt, pepper, paprika, and a drizzle of oil. Cook at 190°C / 375°F for 16–18 minutes, flipping once. Rest five minutes before slicing. Even thickness plus resting equals juicy chicken.
6. Salmon Fillets (10 minutes)
Pat fillets dry, brush lightly with oil, season with salt, pepper, and lemon. Cook skin-side down at 200°C / 400°F for 7–10 minutes depending on thickness. The skin crisps beautifully and the flesh stays silky. This is a restaurant-quality dinner in ten minutes.
7. Pork Chops (14 minutes)
Choose bone-in chops about an inch thick for the best results. Season generously, cook at 200°C / 400°F for 12–14 minutes, flipping halfway. Let them rest before cutting in — the carryover heat finishes the job.
8. Crispy Tofu (15 minutes)
Press firm tofu well (water is the enemy of crispiness), cube it, toss with a teaspoon of oil, cornstarch, and soy sauce. Cook at 200°C / 400°F for 12–15 minutes, shaking twice. Golden, chewy-edged cubes that convert tofu skeptics.
Sides, Snacks, and Something Sweet
9. Sweet Potato Wedges (20 minutes)
Cut into even wedges, toss with oil, salt, and a pinch of smoked paprika. Cook at 200°C / 400°F for 18–20 minutes, shaking twice. Crispy edges, creamy centers — the natural sugars caramelize wonderfully.
10. Mozzarella Sticks (8 minutes)
Freeze them first — this is non-negotiable, or the cheese escapes before the coating crisps. Cook from frozen at 200°C / 400°F for 6–8 minutes. Serve immediately while the cheese pulls.
11. Roasted Chickpeas (15 minutes)
Drain, rinse, and dry chickpeas thoroughly (a towel and some patience). Toss with oil and your favorite spices. Cook at 200°C / 400°F for 12–15 minutes, shaking often. They crisp as they cool — wait five minutes before judging.
12. Cinnamon Apple Chips (15 minutes)
Thinly slice apples, dust with cinnamon, and arrange in a single layer. Cook at 160°C / 320°F for 12–15 minutes, flipping once. A lower temperature is key here — it dehydrates rather than burns. Simple, sweet, and proof the fryer is not just for savory food.
Beginner Mistakes That Ruin Good Food
Overcrowding the basket. Worth repeating because it is the number one beginner error. Food needs air circulation; a single crowded batch cooks worse than two proper ones. When in doubt, cook less at once.
Skipping the preheat. Most fryers need 3–5 minutes to reach temperature. Food that starts in a cold fryer steams before it crisps. Build preheating into your routine the way you would with an oven.
Using too much oil. This is not deep frying — excess oil pools, smokes, and makes food greasy. A light coating is all you need; many frozen foods need none at all.
Not shaking or flipping. The heating element sits above the food, so the top crisps faster. One shake halfway through evens everything out and is the difference between good and great.
Cooking wet food. Moisture is the enemy of crispiness. Pat proteins dry, dry vegetables after washing, and never put dripping-wet batter in the basket — it slides off and burns on the bottom.
Forgetting it cooks fast. Air fryers cook noticeably faster than ovens. Set a timer for less than you think, check early, and add time if needed. You can always cook more; you cannot uncook.
Cleaning and Care: Keep It Working Like New
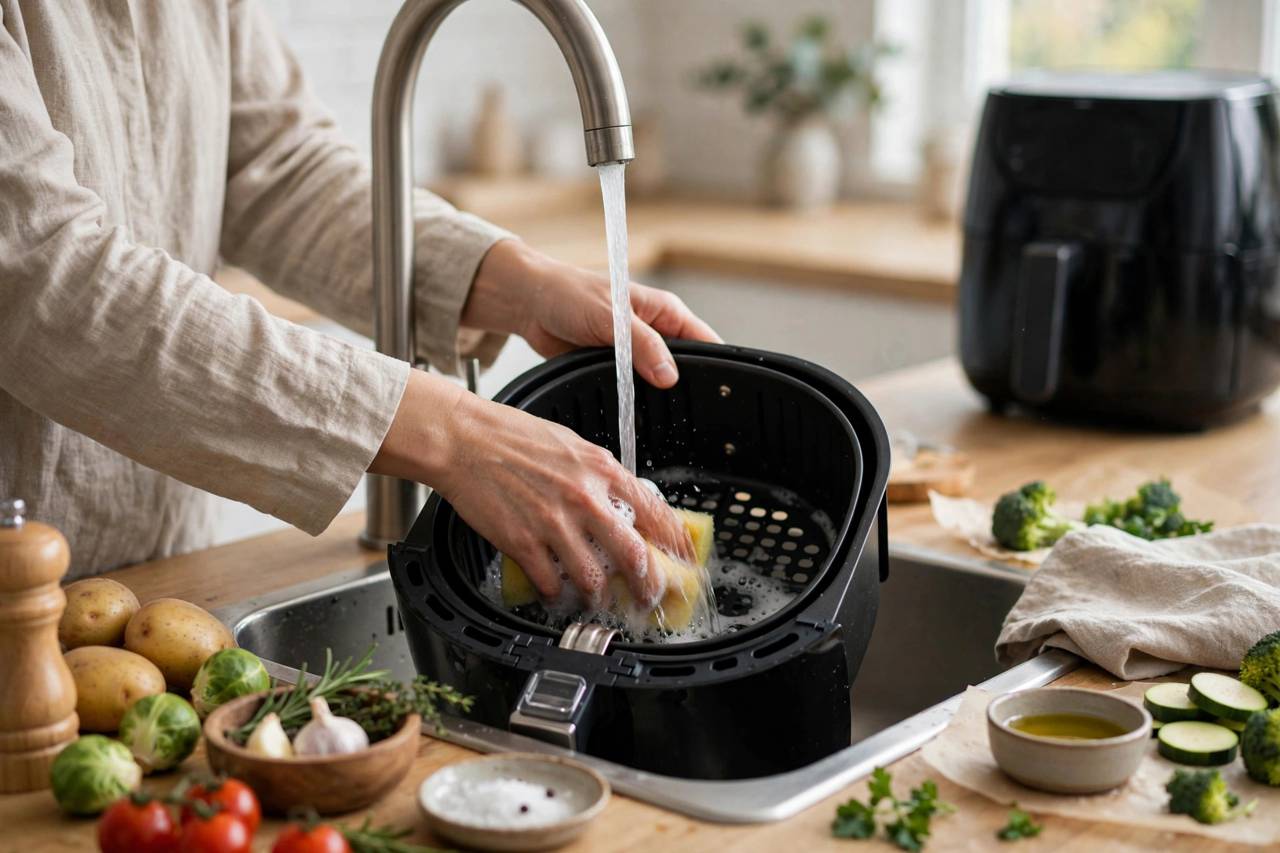
Clean the basket and tray after every use — stuck-on food from yesterday becomes smoke today. Most baskets are nonstick and dishwasher-safe, but hand washing with a soft sponge extends the coating’s life significantly. Never use metal utensils or abrasive scrubbers on nonstick surfaces.
Once a month, check the heating element area for grease buildup and wipe the exterior. If your fryer starts smoking, it is almost always old grease on the element or in the drip tray — a thorough clean fixes it. And always let the fryer cool before cleaning; the basket stays hot longer than you expect. A fryer that is cleaned regularly also lasts noticeably longer, since built-up grease is what eventually degrades both the nonstick coating and the heating performance.
Five Accessories Actually Worth Buying
You do not need a drawer of gadgets, but a few inexpensive additions genuinely improve the experience. A perforated parchment liner pack cuts cleanup dramatically and prevents sticking. A small oil sprayer (refillable, not aerosol) gives you the light, even coating that crispiness depends on. Silicone-tipped tongs let you flip and shake without scratching the nonstick basket.
A meat thermometer is the single best upgrade for a beginner cook — it removes all guesswork from chicken, pork, and fish, and it is the difference between safe, juicy meat and dry guesswork. Finally, a small wire rack that fits your basket lets you cook two layers at once for things like wings, effectively doubling capacity for the foods that need airflow most.
Skip the rest until you know your cooking patterns. Most accessory bundles include pieces you will never touch, and counter space is precious. Buy for the meals you actually make, not the ones you imagine making.
Frequently Asked Questions
Do I need to preheat an air fryer?
Yes — 3 to 5 minutes at your cooking temperature. Starting food in a cold fryer leads to steaming instead of crisping, especially for the first batch. Many newer models have a preheat setting that handles this automatically.
Can I put aluminum foil or parchment in an air fryer?
Yes, with care. Perforated parchment liners made for air fryers are ideal. If using foil, never cover the entire basket bottom (air must circulate), never put it in during preheating without food to weigh it down, and keep it away from the heating element.
Why is my air fryer food soggy instead of crispy?
The usual suspects: an overcrowded basket, wet food surfaces, too little heat, or no mid-cook shake. Fix the crowding first — it solves the problem most of the time. Patting food dry before cooking is the second biggest improvement.
Is air fryer cooking actually healthier?
It uses far less oil than deep frying, which reduces calories and fat in comparable dishes. But “healthier” still depends on what you cook — air-fried vegetables and fish are a different story from air-fried frozen snacks every night. The appliance is a tool; the ingredients decide the nutrition.
What should never go in an air fryer?
Wet batters (they drip and burn), leafy greens like spinach (they fly into the element), whole roasts too large for air circulation, and anything in containers not rated for high heat. Cheese needs a coating or container — loose cheese melts straight through the basket.
Can I reheat leftovers in an air fryer?
It is one of the best uses for it. Pizza, fries, fried chicken, and roasted vegetables all reheat far better in the air fryer than in a microwave, which tends to make them soggy. A few minutes at around 175°C / 350°F restores crispiness that the microwave destroys — just watch closely so nothing overcooks.