How to Recover Deleted Photos Without a Backup


Let me be straight with you: recovering deleted photos without any backup is the hardest scenario in photo recovery. I’m not going to promise miracles. But “hardest” doesn’t mean “impossible,” and there are more avenues than most people realize. I’ve seen photos recovered in this situation through trash folders people didn’t know existed, shared copies they’d forgotten about, and cloud accounts backing up silently in the background. The trick is being systematic — checking every possible copy before concluding the photos are gone.
This guide is your systematic checklist for the no-backup scenario: the hidden safety nets, the forgotten copies, the silent cloud backups, what recovery software can and can’t do, and the honest odds at each step. Work through it in order, and don’t skip steps because they “probably” don’t apply — the recoveries that surprise people are always in the step they almost skipped. For the complete recovery landscape including backup-based methods, see my full guide on how to recover deleted photos.
The First Rule: Stop Using the Device
When photos are deleted without a backup, the photo data often still exists on the storage — marked as free space, waiting to be overwritten. Every new photo you take, every app you install, every system update risks overwriting it permanently. So step zero is: minimize use of the device immediately.
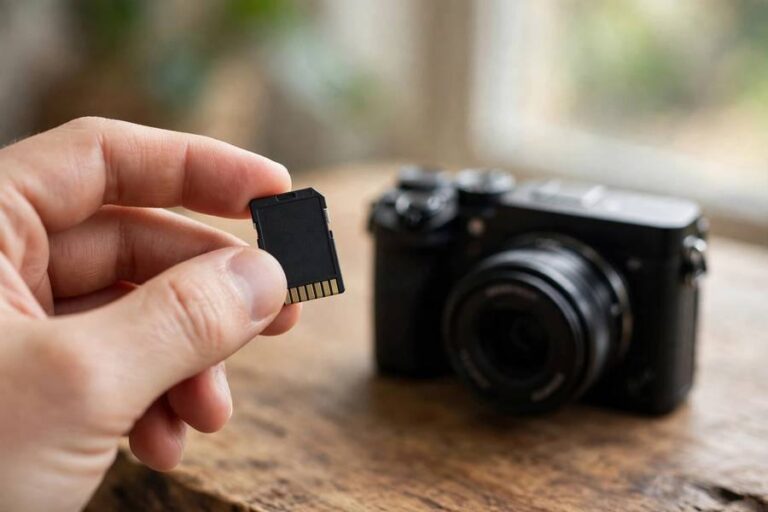
Put the phone on Wi-Fi, stop taking photos, don’t install new apps, and avoid large downloads. This doesn’t apply if your only hope is cloud copies (those are safe regardless), but until you’ve confirmed what exists where, gentle treatment costs nothing and preserves every option. If the photos were on a removable SD card, take the card out now and don’t put it back until you’re running recovery software from a computer.
This urgency fades once you’ve checked the trash and cloud options below — those copies are safe no matter what you do. The urgency applies specifically to raw data recovery from the storage itself, which is the last resort. But since you don’t yet know which methods will work, protect the last resort from the start.
Hidden Safety Nets You Might Not Know About
“No backup” often means “no backup I know about.” Before assuming the worst, check the safety nets that work automatically.
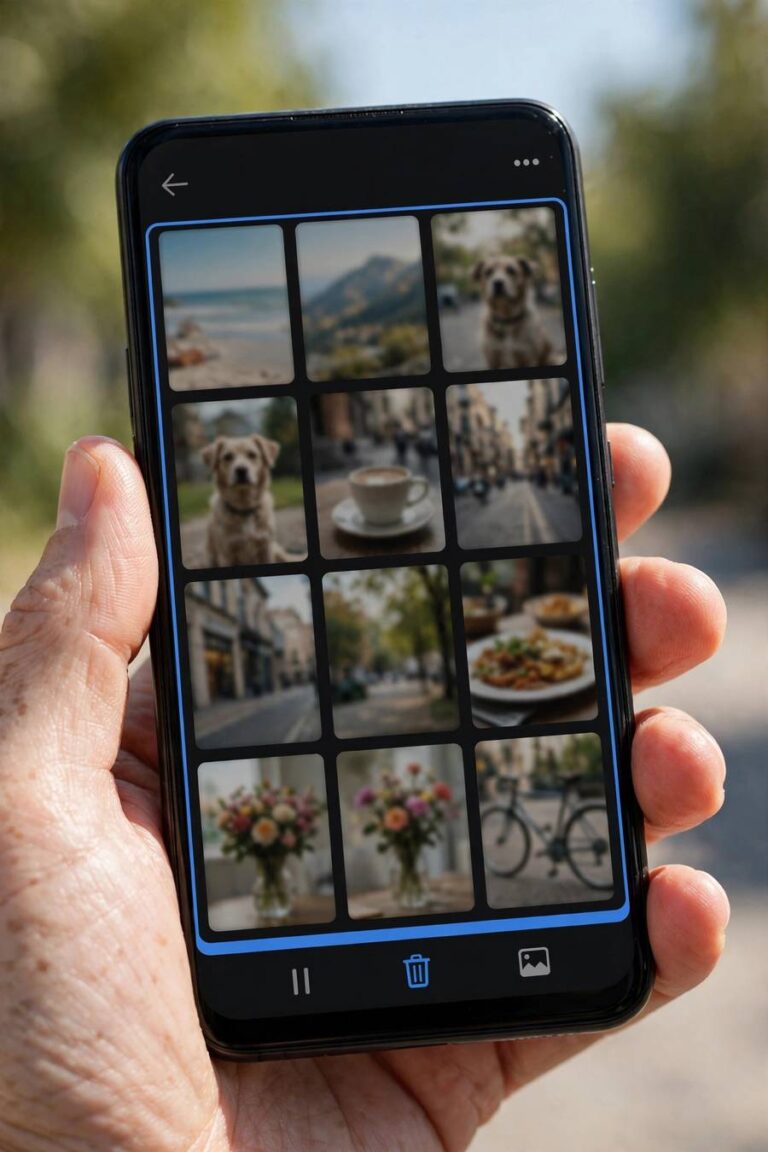
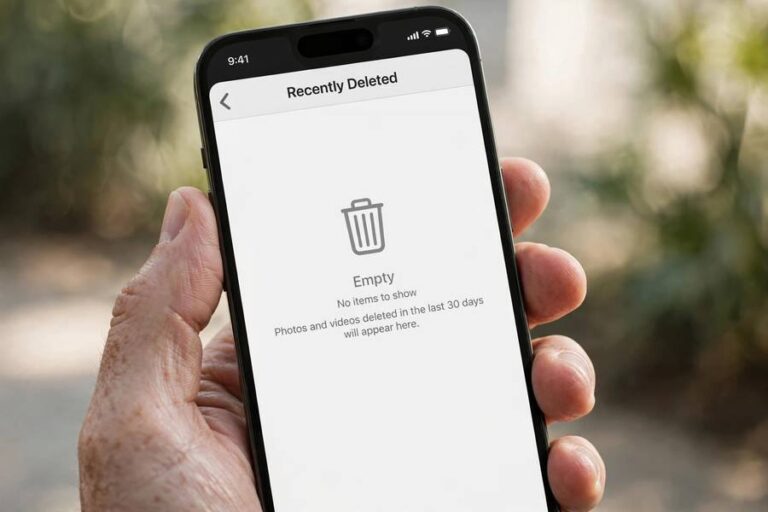
Check every trash folder: iPhone’s Recently Deleted album, Google Photos trash, your brand gallery app’s separate trash (Samsung’s Recycle Bin, Xiaomi’s Trash album), Windows Recycle Bin, Mac Trash and the Photos app’s Recently Deleted, and the trash in every cloud service you use. Deleted photos wait 30 days in these holding areas, and people routinely forget one of them exists.
Check recently deleted in apps, not just galleries. WhatsApp, Telegram, and other messaging apps have their own media storage. Photo editing apps sometimes keep originals. Cloud storage apps like Dropbox and OneDrive have their own trash with their own retention periods — Dropbox’s paid plans keep deleted files up to 180 days, which has rescued people who discovered losses months later.
The pattern I see: people check one trash, find it empty, and stop. Check them all. Each one is independent, and your photos only needed to land in one of them.

Silent Backups: The Cloud Copies You Forgot
Many phones back up photos without their owners fully realizing it. During initial setup, both iPhone and Android prompt you to enable cloud backup, and many people tap through. That forgotten “yes” might be saving you right now.
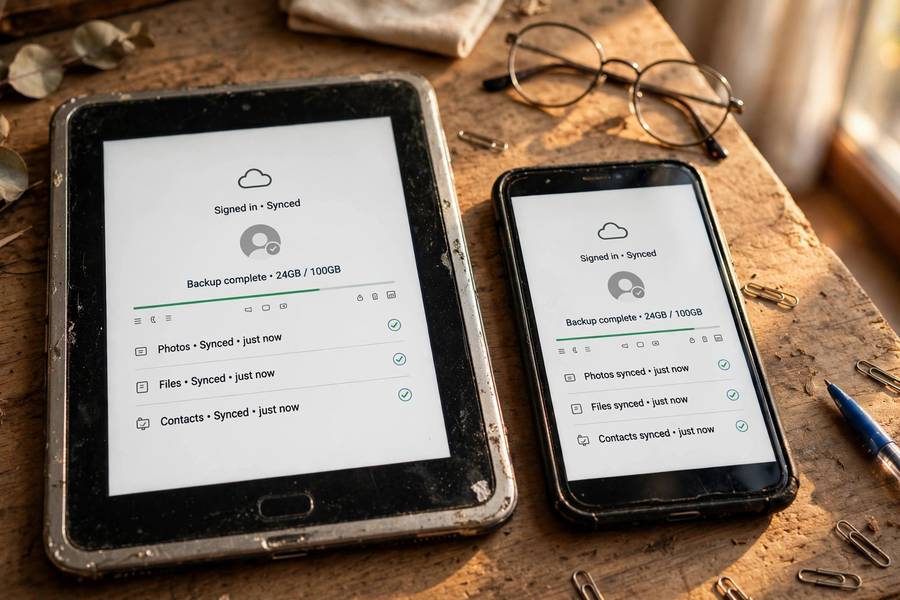
Check iCloud.com — sign in with your Apple ID and look at Photos. Even if you don’t remember enabling iCloud Photos, check. Check photos.google.com with every Google account you own — people often have two or three Google accounts and forget which one the phone used. Check Samsung Cloud if you have a Galaxy phone (Settings, Accounts and backup, Samsung Cloud). Check OneDrive, Dropbox, and Amazon Photos if you’ve ever installed them — any of them might have been quietly uploading.
Also check old devices. That previous phone in a drawer, an old tablet, a computer you synced with years ago — any of them might hold copies. Sign into the same accounts on those devices and look. I’ve recovered entire vacation albums from a two-year-old tablet that hadn’t been touched since the trip.
Understanding how computers handle your data helps here: your photos exist as files that get copied surprisingly often — to caches, to thumbnails, to synced folders. Each copy is a recovery opportunity.
Shared Copies: Messages, Social Media, and Email
This is the most underrated recovery method for the no-backup scenario, and it works remarkably often. Every time you shared a photo, a copy left your control — and deletions on your device don’t affect those copies.
Go through your messaging apps systematically. iMessage: open each relevant conversation, tap the contact name, browse the photos. WhatsApp: open the chat, tap the name, then Media, Links, and Docs. Telegram, Signal, Facebook Messenger, email — check sent folders and attachments. The copies in messages are often full quality, especially on iMessage and WhatsApp’s “HD” sends.
Check social media thoroughly: Facebook photos (including the “only me” privacy ones people forget), Instagram posts and stories archive, shared Google Photos albums, iCloud Shared Albums. Check your email sent folder for attachments — that photo you emailed to grandma is a permanent copy sitting in your sent mail.
And ask people. Text the friends and family you shared the photos with: “Hey, do you still have those photos I sent from the trip?” People keep photos they receive, and they’re almost always happy to send them back. Some of the most hopeless-seeming cases I’ve seen ended with a single text message and a zip file full of memories.
Other Devices with the Same Accounts
Your digital life spans multiple devices, and sync creates copies. Think through everywhere you’ve signed in.
A Mac or PC with iCloud Photos, Google Backup and Sync, or Dropbox installed may hold local copies of your photo library — real files on a real hard drive, independent of the cloud’s current state. If sync was paused or the computer was offline when the deletion happened, those local copies might still include the “deleted” photos. Check the Pictures folder, the cloud service’s local sync folder, and any external drives connected to that computer.
Tablets signed into the same Apple ID or Google account mirror your photo library — an iPad that hasn’t synced recently might still show the photos. Old phones, even factory-reset ones, are worth checking for SD cards left inside. And if you ever used a computer to import photos from your phone (even once, even years ago), those imported files are permanent independent copies — search the computer’s photo folders.
Recovery Software: Honest Capabilities and Limits
When all the copy-hunting fails, recovery software is the last technical resort. Here’s what it can honestly do in a no-backup situation.
For SD cards, USB drives, and computer hard drives: desktop recovery software can genuinely find deleted photo data via deep scanning, as long as it hasn’t been overwritten. This is the highest-probability software scenario — free tools handle it well, and the process is straightforward: connect the storage to a computer, deep scan, preview, restore to a different drive.
For phone internal storage: the odds are poor. Modern phones encrypt storage, and deleted encrypted data is effectively unrecoverable by software. Phone “recovery” apps can find cached thumbnails — small preview images, useful for identifying what was lost but not for recovering full photos. Desktop tools that claim to scan iPhones directly are marketing, not capability.
The rules that protect you: never pay before seeing previews of your actual photos, download only from official developer sites, never disable antivirus to install, and never grant a phone app permissions beyond storage access. If software finds nothing after a full deep scan, accept the result rather than buying progressively more expensive tools — they all hit the same physical limits.
SD Card vs. Internal Storage: Why It Matters Enormously
I want to emphasize this distinction because it determines your entire strategy. If your deleted photos were on a removable SD card, your chances are genuinely good — SD cards aren’t encrypted like phone storage, deleted data persists until overwritten, and desktop software recovers it reliably. Stop using the card, scan it from a computer, and expect positive results.
If the photos were on the phone’s internal storage with no backup and empty trash, your chances are poor. The encryption that protects your privacy also prevents recovery. Your realistic hopes are the copies: shared, messaged, emailed, synced to other devices, or sitting in a forgotten cloud account. Put your energy into copy-hunting, not into miracle software.
This asymmetry is also a lesson for the future. Photos on SD cards are both more vulnerable (cards fail) and more recoverable (unencrypted). Photos in cloud-backed internal storage are the safest of all. The worst combination — and the one to avoid — is important photos on internal storage with no backup at all. If that’s where you are now, let the discomfort motivate the ten-minute backup setup described at the end.
Professional Recovery: When It’s Worth the Cost
Professional data recovery labs are the final option. They have hardware tools that read storage chips directly, bypassing failed controllers — capabilities no software has. But they’re expensive (typically hundreds of dollars) and their success with modern encrypted phone storage is limited.
Consider a lab when: the photos are on a physically damaged SD card or drive (their best scenario), the photos have significant monetary value (a paid shoot), and software recovery found nothing. Don’t bother when: the photos were on encrypted phone internal storage with no backup — labs face the same encryption wall as software.
Choose carefully: reputable labs offer free evaluations and no-data-no-fee policies. They’ll tell you what’s recoverable before you pay. Avoid anyone demanding full payment upfront or refusing to explain their process. And get the evaluation before emotional commitment — a professional “these are unrecoverable” is painful but honest, and it lets you move on.
After the Recovery: Building Your Backup System
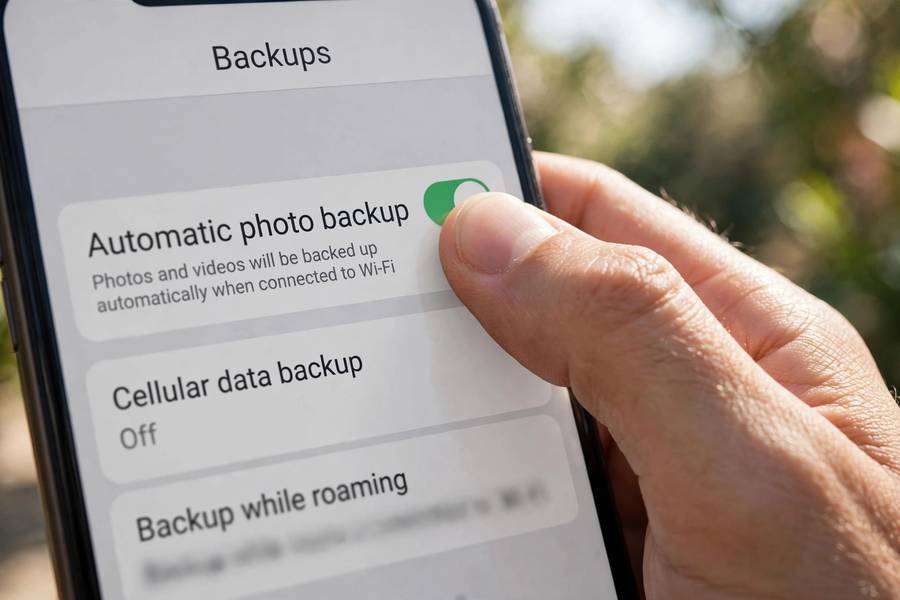
Whatever the outcome — recovered or not — the next step is the same: build the backup system that makes this scare the last one. It takes about ten minutes.
On iPhone: turn on iCloud Photos (Settings, your name, iCloud, Photos) and iCloud Backup, and make sure you have enough iCloud storage for both to actually run. The complete walkthrough is in my guide on how to back up an iPhone. On Android: turn on Google Photos backup (Photos app, profile picture, Backup) and your phone’s system backup — covered in how to back up an Android phone.
Add the second layer the 3-2-1 rule asks for: a periodic copy to a computer or external drive. Monthly is plenty. And verify occasionally — open your cloud library on a computer and confirm recent photos are there. A backup you’ve verified is protection; a backup you’ve assumed is a hope.
Frequently Asked Questions
Sometimes. Check all trash folders (they work without backup), look for forgotten cloud uploads at iCloud.com or photos.google.com, hunt for shared copies in messages and social media, and check other devices with the same accounts. For SD cards, desktop recovery software often works. For encrypted phone internal storage without backup, options are very limited.
Only through copies outside the phone: iCloud.com (if the deletion didn’t sync), messages and shared albums where you shared the photos, email attachments, and people you shared with. No software can recover deleted data from the iPhone’s encrypted internal storage itself — Apple’s encryption makes that impossible.
Stop using the device to avoid overwriting the deleted data, then systematically check: all trash folders, all cloud accounts (including ones you forgot), messaging apps, email, social media, and other devices. Work through every copy location before trying recovery software — copies are found far more often than raw data is recovered.
Barely. Without root, phone apps can’t deep-scan internal storage, and encryption blocks true recovery anyway. They can find cached thumbnails and browse existing backups, but that’s about it. For SD cards, desktop computer software is far more capable than any phone app.
Turn on automatic cloud backup (iCloud Photos on iPhone, Google Photos on Android), make sure you have enough cloud storage for it to run, add a periodic copy to a computer or external drive, and verify occasionally that backups are actually working. Ten minutes of setup prevents nearly every photo loss scenario.