How to Seal a Deck: Step-by-Step Stain and Protect Guide

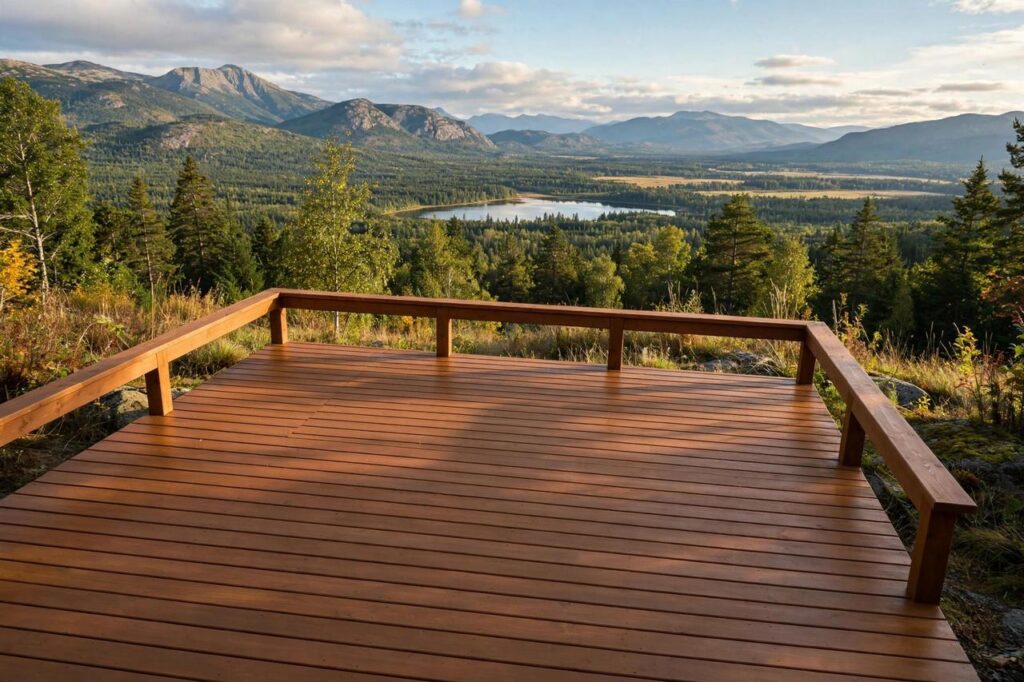
A deck left unprotected will tell on you within a couple of seasons: gray wood, splinters, cupped boards, and eventually rot. Knowing how to seal a deck properly is the single best maintenance investment you can make in it. Sealer blocks the moisture and UV that destroy wood, and a weekend of work every two to three years can double your deck’s life. Here’s the complete process, from testing whether your deck even needs it to the final coat.
Does Your Deck Actually Need Sealing?
Do the water test: sprinkle water on the boards. If it beads up, the existing sealer is still working and you can wait. If it soaks in and darkens the wood within seconds, it’s time. Most decks need resealing every two to three years, more often in harsh sun or wet climates. New pressure-treated lumber should weather for a few months before its first sealing so the treatment chemicals settle and the wood dries out; sealing soaking-wet new lumber traps moisture in.
Choose the Right Sealer or Stain
Deck sealers come in a few flavors, and the choice affects both looks and maintenance:
Clear water repellent: invisible protection, shows the natural wood. Least UV protection, shortest lifespan, needs reapplying most often.
Transparent stain/sealer: slight tint, shows grain clearly. Good balance of looks and protection for newer wood in good shape.
Semi-transparent stain: more color, still shows grain. The most popular choice: solid UV protection with a natural look, and it hides minor imperfections.
Solid-color stain: looks like paint but penetrates like stain. Best for older, weathered decks with cosmetic damage, but it will eventually peel like paint and needs more prep on recoat.
Oil-based vs. water-based: oil-based penetrates deeper and is more forgiving to apply, but has stronger fumes and longer dry times. Water-based cleans up with soap and water, dries fast, and is lower odor. Don’t apply one over the other without checking compatibility; when in doubt, strip or stick with what was there before.
What You’ll Need
- Deck cleaner (oxygenated bleach type is the safest all-rounder)
- Stiff-bristle brush or pressure washer (used carefully)
- Deck sealer/stain, enough for two coats
- Brush, roller, or pump sprayer plus back-brushing
- Painter’s tape and drop cloths for the house siding
- Sandpaper for rough spots
- Replacement screws for any popped nails
Step 1: Inspect and Repair
Walk the deck and fix problems before you seal over them. Replace rotted or split boards, drive popped nails or better, replace them with deck screws, and tighten any loose railings. Sand splintery spots and rough patches. Check the ledger board connection to the house and the joists underneath for soft spots; sealer won’t save structural rot. This is also the time to trim back bushes and vegetation touching the deck, which trap moisture.
Step 2: Clean Thoroughly
Sealer bonds to clean wood, not to dirt, mildew, and old flaking finish. Sweep the deck, then apply deck cleaner according to the label and scrub with a stiff brush. A pressure washer speeds this up, but keep it under about 1,500 PSI, hold the wand at least a foot away, and use a wide fan tip; too much pressure etches the wood and you’ll see the stripes under the sealer forever. Rinse thoroughly and let the deck dry completely, usually 48 hours of dry weather. Sealing damp wood is one of the most common causes of premature peeling.
Step 3: Pick Your Weather Window
Timing matters as much as technique. Seal when temperatures are between about 50 and 90 degrees Fahrenheit, with no rain forecast for at least 48 hours and no direct blazing midday sun on the boards (hot wood makes sealer dry too fast and lap marks show). Morning or late afternoon application is ideal. Check the product label; every sealer has its own temperature and humidity specs.
How to Seal a Deck: Application
Step 1: Protect surroundings. Tape off the house siding where it meets the deck and lay drop cloths over plants and concrete you don’t want stained.
Step 2: Start with railings and verticals. Do railings, balusters, and steps first, then the deck floor, so drips land on unfinished wood.
Step 3: Work board by board. Apply sealer to two or three boards at a time, working the full length of each board without stopping. Stopping mid-board creates lap marks where wet meets dry. Whether you brush, roll, or spray, back-brush every section: after spraying or rolling, immediately work the product into the wood with a brush. This is the step that separates pro-looking results from amateur ones.
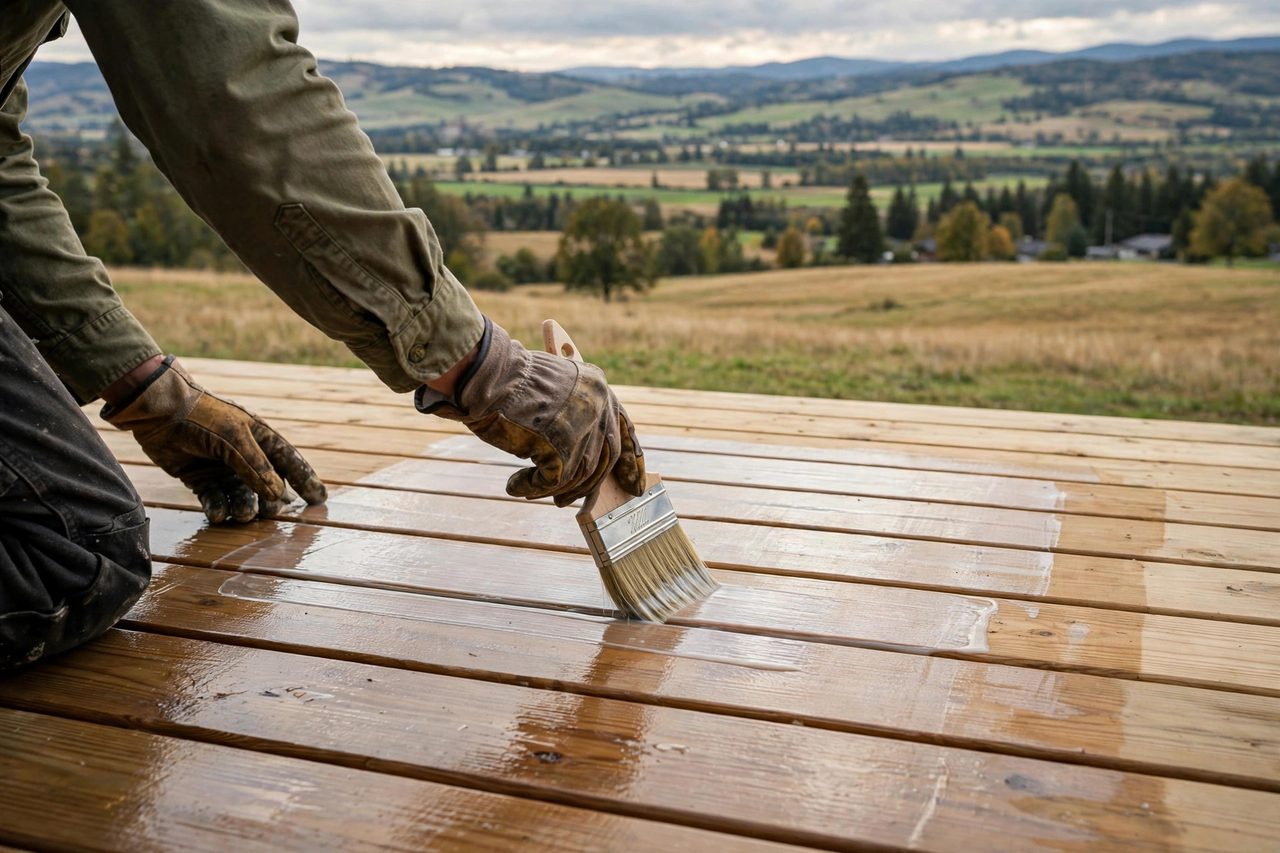
Step 4: Don’t over-apply. More is not better. Puddled sealer that doesn’t soak in will dry into a sticky, blotchy film. If you see puddling, brush it out into the surrounding boards.
Step 5: Apply the second coat. Most products want two coats. Apply the second coat while the first is still slightly tacky or after the label’s recoat window, usually 4 to 6 hours. Don’t wait days between coats unless the label says to.
Step 6: Let it cure. Keep foot traffic off for 24 to 48 hours and furniture off for several days. Full cure can take up to a week. Rushing this ruins an otherwise perfect job.
Maintaining the Finish
Between full reseals, spot maintenance extends the finish significantly. High-traffic paths and stair treads wear first; scuff-sand those areas and touch them up with a maintenance coat rather than waiting for the whole deck to fail the water test. Keep gutters and downspouts directing water away from the deck, since concentrated runoff erodes finish faster than rain alone. Move planters and furniture periodically; trapped moisture underneath creates perfect circles of premature wear that are visible for years. And after any harsh winter, inspect in spring for raised grain or cracked boards that need sanding before they become splinters. Ten minutes of seasonal attention routinely adds a full year to each sealing cycle.
Sweep regularly; trapped leaves and dirt hold moisture against the finish. Clean annually with deck cleaner to remove mildew before it eats into the coating. Recoat when the water test fails again, typically every two to three years. Maintenance coats are far easier than the first one because the prep is lighter. The decks that look terrible at year ten are the ones that got sealed once and never again.
Stain vs. Paint vs. Sealer: The Long-Term Trade-Off
Homeowners often ask whether they should stain, paint, or just seal, and the honest answer depends on the deck’s condition and how much maintenance you’ll actually do. Clear sealers protect without changing the look, but they offer the least UV defense and need the most frequent reapplication. Semi-transparent stains are the sweet spot for most decks: real UV protection, natural appearance, and recoats that don’t require stripping.
Solid stains hide a multitude of sins on older decks, but they behave like paint on recoat day: when they fail, they peel, and peeling means scraping and sanding before you can recoat. Exterior paint gives the most color options and the most uniform look, but it’s the highest-maintenance choice on a horizontal surface that takes foot traffic and standing water; expect peeling within a few years and a full strip for the redo. The rule of thumb: the more film a product builds on the surface, the more dramatic its failure mode. Penetrating stains fail gracefully by fading; film-forming products fail by peeling.
Deck Sealing Mistakes That Ruin the Job
Most deck-sealing failures aren’t product failures; they’re process failures, and they’re all avoidable. Sealing damp wood is the number one killer: moisture trapped under the finish causes peeling and blistering within months. The 48-hour dry rule after cleaning is non-negotiable. Applying in direct hot sun is number two: the sealer skins over before it penetrates, leaving a blotchy surface with lap marks everywhere you stopped and started.
Over-application creates a sticky film that never quite cures and attracts dirt; if it doesn’t soak in within the product’s stated time, you’re putting on too much. Skipping the cleaning step means sealing dirt and mildew into the wood, which then grows through the finish. Using interior products outdoors sounds obvious, but every year someone seals a deck with something meant for furniture. And ignoring the forecast: rain within 24 to 48 hours of application can wash partially cured sealer into a streaky mess. Check the sky, check the label, and give the job the weather window it deserves.
Deck sealing is maintenance, not magic: clean thoroughly, let the wood dry completely, pick a weather window, and apply board by board with back-brushing. The water test tells you when it’s time, and a maintenance coat every two to three years keeps the job easy forever. Most failures come from rushing, sealing damp wood, working in hot sun, or skipping the cleaning. Give the process the weekend it deserves and your deck will reward you with years of good looks and solid boards underfoot. Future you, not replacing rotted decking, says thanks.
Frequently Asked Questions About Sealing a Deck
How often should I seal my deck?
Every two to three years for most decks. Do the water test annually: if water soaks in instead of beading, it’s time to recoat.
Can I seal a deck in the rain or cold?
No. Apply between roughly 50 and 90 degrees with no rain forecast for 48 hours. Cold or wet conditions prevent proper curing and cause peeling.
Should I use a sprayer, roller, or brush?
All three work, but always back-brush after spraying or rolling to work the sealer into the wood grain. Back-brushing is what gives professional-looking, even results.
Can I seal over an old stain?
Yes if the old finish is sound and you use a compatible product. If the old finish is peeling badly, strip or sand it first. Don’t apply oil-based over water-based (or vice versa) without checking compatibility.
How long after sealing can I use my deck?
Keep foot traffic off for 24 to 48 hours and wait several days before replacing heavy furniture. Full cure takes up to a week depending on the product and weather.
How do I know if my deck stain is oil-based or water-based?
Check any leftover cans first. Without them, test in an inconspicuous spot: rubbing alcohol dissolves water-based finishes but not oil-based ones. Matching the existing type matters because the two don’t always bond well to each other.