How to Replace a Light Switch Safely: Step-by-Step

Learning how to replace a light switch is one of those DIY rites of passage — it’s a twenty-minute job that makes you feel like you can fix anything. And honestly? You nearly can, because the skills transfer to outlets, dimmers, and half the small electrical jobs in a house. But electricity doesn’t grade on a curve, so we’re doing this the right way: power verified off, wires handled like they matter, and a clear-eyed list of the situations where you put the screwdriver down and call an electrician. I’ve rewired half my own house over twenty years; this is exactly how I’d teach a neighbor.
Safety First: Non-Negotiable Rules
Read this section twice. Everything else is technique; this is survival:
- Kill the power at the breaker — not just the switch. Flip the breaker, then try the light to confirm it’s dead.
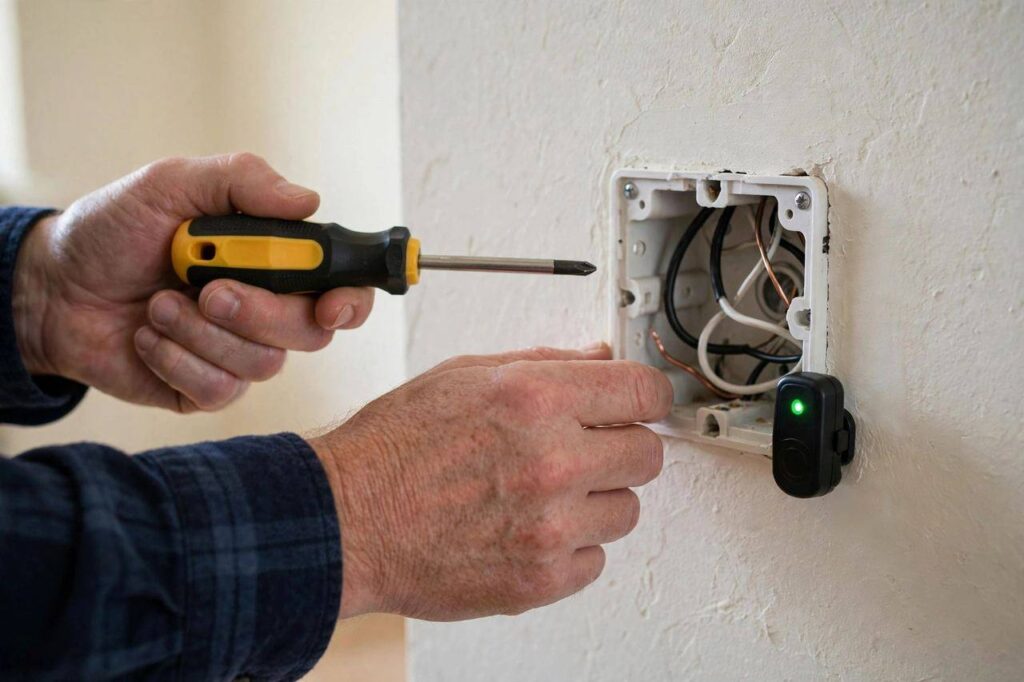
- Test before you touch. A non-contact voltage tester (about the price of a pizza) is mandatory. Test it on a known-live outlet first to confirm it works, then test every wire in the box.
- One hand when possible. Keeping one hand in your pocket while working reduces the chance of current crossing your chest. Old electrician’s habit; good habit.
- Never trust wire colors alone. Especially in older homes, colors lie. The tester is the truth.
- Dry hands, dry floor, good light. A headlamp beats holding a flashlight in your teeth.
If at any point you feel unsure — aluminum wiring, a box stuffed with mystery wires, anything sparking — stop. There’s no shame in calling a pro; there’s real danger in guessing.
Tools and Materials You’ll Need
- Replacement switch (match the type — see below)
- Non-contact voltage tester
- Flathead and Phillips screwdrivers (insulated handles)
- Wire strippers
- Wire nuts (usually included with the switch)
- Electrical tape
- Headlamp or work light
- Phone camera — for photographing the existing wiring before you touch it
That last item is the most underrated tool in electrical work. Take a photo of how the old switch is wired from two angles before disconnecting anything. Future-you will be grateful.
Single-Pole vs. 3-Way: Know Your Switch
Before buying a replacement, identify what you’re replacing:
- Single-pole: one switch controls the light. Two brass screws (plus a green ground screw). This is the common one — most rooms.
- 3-way: two switches control the same light (hallways, staircases). Three terminal screws plus ground, including one darker “common” screw. Buy a 3-way switch as the replacement.
- Dimmer: replaces a single-pole but needs to match your bulb type (LED dimmers differ from old incandescent ones — check the packaging).
When in doubt, take the old switch to the store and match it. The staff at any hardware store do this ten times a day.
How to Replace a Light Switch: Step by Step
1. Cut the power and verify
Flip the breaker for that circuit. Test the switch — light should be dead. Remove the cover plate, then hold your non-contact tester near each wire. No beep, no glow? Proceed.
2. Photograph and disconnect the old switch
Unscrew the switch from the box and gently pull it out. Photograph the wiring. Loosen the terminal screws and free the wires — or cut them if they’re backstabbed (pushed into holes in the back, a common shortcut). Note which wire went where: typically black (hot) wires on the brass screws, bare copper or green on the ground screw, white neutrals bundled in the back of the box.
3. Prep the wires
Straighten the wire ends and strip about 3/4 inch of insulation if needed. The copper should be clean and bright — dull or nicked wire gets trimmed back to fresh copper.
4. Connect the new switch
Loop each wire clockwise around its terminal screw (so tightening the screw pulls the loop tighter, not open) and tighten firmly. Better yet, use the screw-clamp terminals many modern switches have. Ground wire goes to the green screw — never skip the ground. Give each wire a gentle tug; nothing should move.
5. Tuck, mount, and test
Fold the wires accordion-style back into the box — don’t force or cram. Screw the switch to the box, attach the cover plate, restore power at the breaker, and flip the switch. Light on? You did it. If the breaker trips immediately, kill power and recheck: a bare wire is likely touching the box or another wire.
Replacing a 3-Way Switch: The Extra Step
The process is identical except for one critical detail: the common wire (on the dark-colored screw) must land on the common screw of the new switch. This is where that photo earns its keep. The two “traveler” wires are interchangeable with each other, but the common wire is not interchangeable with them. Get it wrong and the switches will behave strangely — one position works, the other doesn’t. If that happens, power off and swap the common to the right screw.
Troubleshooting a Dead Switch
Sometimes you’re replacing a switch because it stopped working. Quick diagnostics before you assume the switch is the culprit:
- Check the bulb first. Embarrassingly common. Try a known-good bulb.
- Check the breaker. A tripped breaker that won’t reset suggests a short — call an electrician.
- Test for power at the switch with your voltage tester (carefully, power on for this test only). Power in but light dead with a good bulb? The switch is likely bad. No power in? The problem is upstream — breaker, another switch, or wiring.
- Look for backstabbed connections. Wires pushed into back holes loosen over time and are the #1 cause of “the switch works if I wiggle it.” Replace with proper screw-terminal connections.
When to Call an Electrician Instead
DIY has limits, and electricity is where I draw mine firmly:
- Aluminum wiring (dull silver wires, common in homes built ~1965–1975). It needs special connectors and techniques — this is pro territory.
- No ground wire in the box and you want to install a metal switch or dimmer.
- Burn marks, melted insulation, or a burning smell. That’s not a switch problem; that’s a fire-risk problem.
- The box is overstuffed or wires are too short to work with safely.
- Anything involving the breaker panel itself beyond flipping a breaker. Panel work stays energized in places even with the main off.
Upgrading While You Replace: Smart Switches and Dimmers
Since you’re already in the box, consider whether the replacement should be an upgrade. A plain switch costs a few dollars; a smart switch costs more but adds remote control, scheduling, and voice control. The wiring is nearly identical — smart switches just need a neutral wire in the box to power their electronics. Many older homes don’t have neutrals in switch boxes (the white wires may be bundled in the back, unused — check). No neutral, no smart switch, unless you buy one of the newer no-neutral models designed for that exact situation.
Dimmers deserve a caution: match the dimmer to the bulb. Old dimmers designed for incandescent bulbs will make LEDs flicker, buzz, or die young. Buy an LED-rated dimmer, check the bulb manufacturer’s compatibility list if you’re picky, and respect the dimmer’s maximum wattage — overloading a dimmer is a genuine fire risk, not a theoretical one. And never put a dimmer on an outlet-controlled circuit or a switch controlling a fan motor unless it’s rated for motors; standard light dimmers and motors are a bad marriage.
DIY vs. Electrician: The Honest Cost Breakdown
A basic switch replacement is one of the cheapest DIY jobs in existence: a quality switch, a voltage tester if you don’t own one, and half an hour. An electrician doing the same single switch will charge a service-call minimum that dwarfs the parts cost — which is exactly why this job is worth learning.
The math flips when complications appear. Aluminum wiring remediation, adding a neutral, installing a three-way where none existed, or troubleshooting a dead circuit with no obvious cause — these are jobs where a pro’s hourly rate buys you safety and certainty that YouTube can’t. My rule after twenty years: DIY the like-for-like swap; hire the detective work. Knowing which category you’re in is the actual skill.
Label Your Breakers While You’re At It
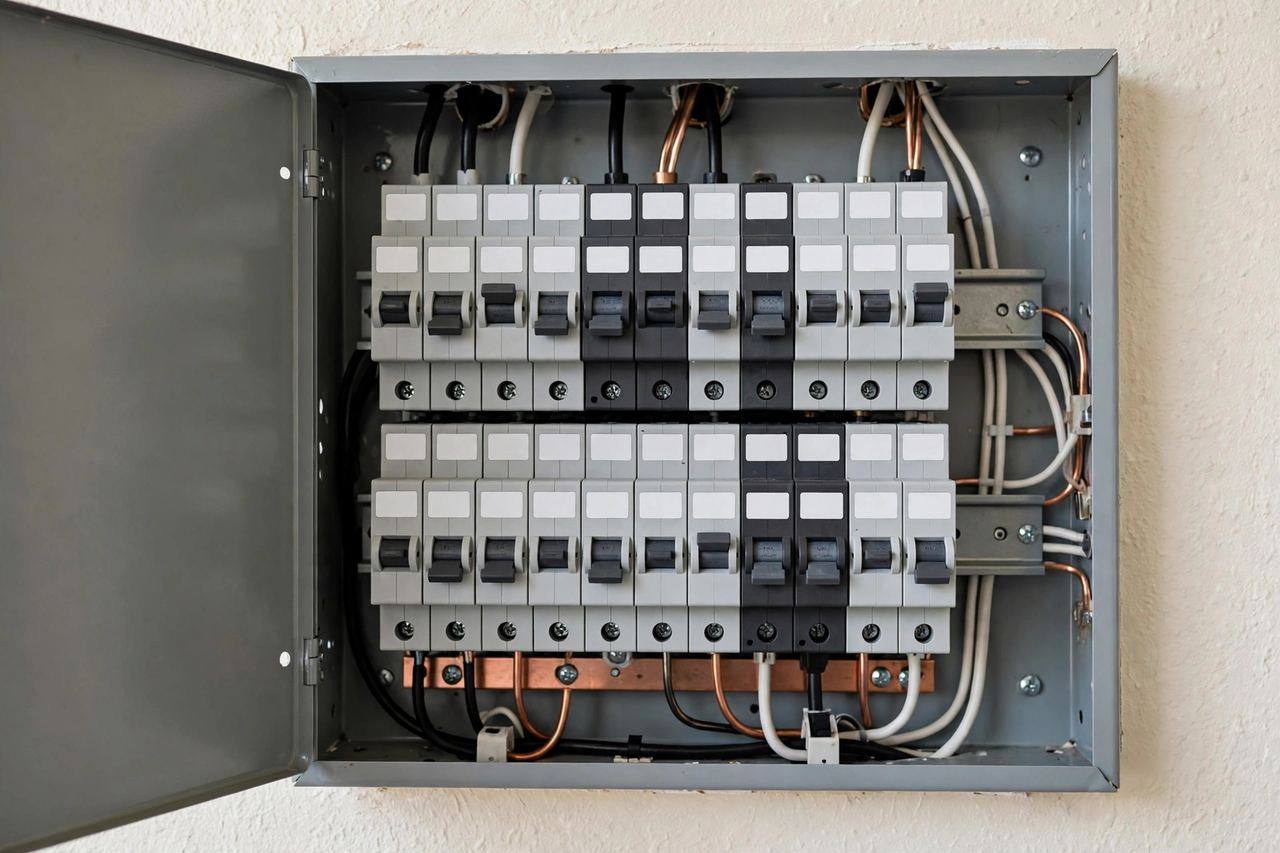
Here’s a free upgrade to do during this job: with the power off and the panel open, take the time to properly label every breaker. Most panels have cryptic scribbles from 1987 (\”plugs??\” is my personal favorite). Flip breakers one at a time, note what loses power, and write clear labels. Future-you — the one replacing the next switch, or killing power in a hurry — will be enormously grateful. A label maker is nice; masking tape and a marker work fine.
Frequently Asked Questions
Do I need to turn off the breaker to replace a light switch?
Yes — always. Turning off just the wall switch isn’t enough, because the wires feeding the switch may still be live. Flip the breaker, then verify with a non-contact voltage tester before touching anything.
Can I replace a light switch myself or do I need an electrician?
A straightforward single-pole or 3-way swap is a classic beginner DIY job in most places. Call an electrician for aluminum wiring, missing grounds, burn damage, or anything inside the breaker panel. When in doubt, local codes vary — a quick check of your area’s rules never hurts.
How do I know if my switch is single-pole or 3-way?
Count the switches controlling the light: one switch means single-pole; two switches (like at both ends of a hallway) means 3-way. You can also look at the old switch — two brass terminals means single-pole, three terminals (one dark “common”) means 3-way.
Why does my new light switch not work?
Most common causes: the breaker wasn’t restored, a wire came loose, or (on a 3-way) the common wire landed on the wrong screw. Kill the power and recheck each connection against your “before” photo.
Can I replace a regular switch with a dimmer?
Yes, but match the dimmer to your bulbs — LEDs need LED-rated dimmers, or you’ll get flickering and buzzing. Also confirm the dimmer’s wattage rating covers your total bulb load.
How long does it take to replace a light switch?
About 15–30 minutes for a standard single-pole once the power is off, including testing. Your first one will take longer — that’s normal. Speed comes with the fourth or fifth switch, not the first.