How to Clean Leather Shoes: A Step-by-Step Method

Learning how to clean leather shoes properly is one of those small adult skills that pays for itself many times over. A good pair of leather shoes can last a decade or more — or it can look tired in eighteen months. The difference is almost entirely maintenance. I ruined my first good pair of leather shoes through pure neglect, and I have been mildly obsessive about shoe care ever since. This is the complete method: what you need, what to do, and the mistakes that destroy leather.
Here is the encouraging news first: cleaning leather shoes is simple, cheap, and takes about fifteen minutes once you know the steps. You do not need expensive products or professional skills. You need a few basic supplies, a little patience, and the willingness to do it regularly instead of once a year in a panic.
How to Clean Leather Shoes: What You Will Need
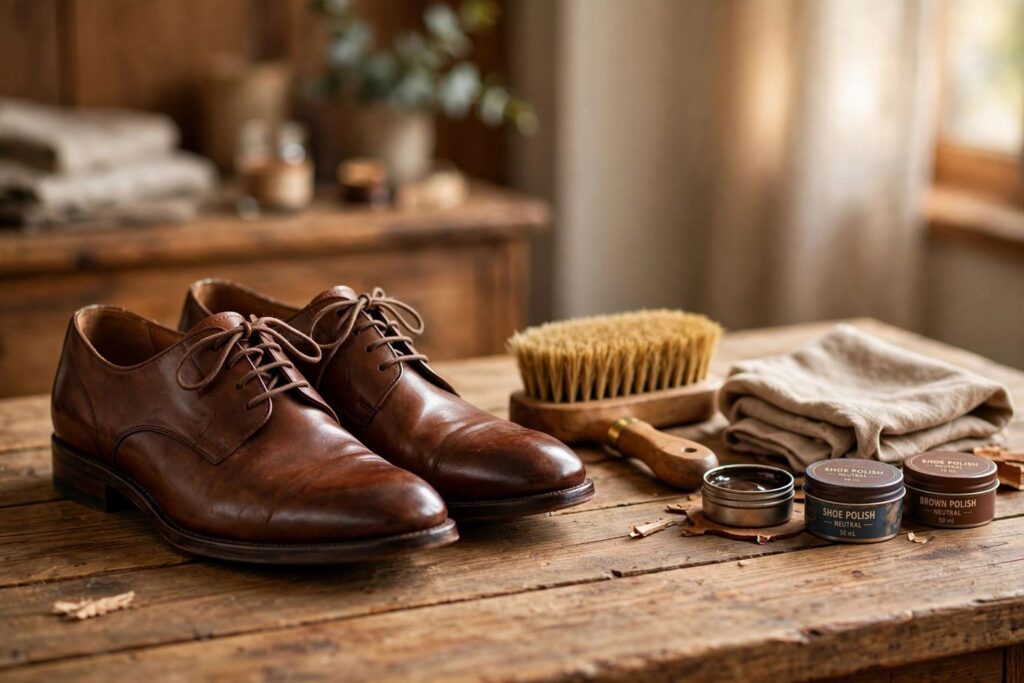
The basic kit is short: a soft horsehair brush (for dusting), a slightly stiffer brush or an old toothbrush (for welts and soles), two soft cloths (old cotton t-shirts are perfect), a leather cleaner or saddle soap, leather conditioner, shoe cream or polish in a matching color, and optionally a wax polish for a higher shine. A shoe tree — cedar is ideal — is the single best investment for keeping shoes’ shape between wears.
You do not need to buy everything at once. If you are starting from zero, get the brush, a cloth, and a conditioner. Those three handle 80 percent of shoe care. Add polish when you want them to look sharp, and add the rest as the habit sticks.
Step 1: Remove the Laces and Brush Off Dirt
Take the laces out — they trap dirt underneath and prevent you from cleaning the tongue properly. (Wash the laces separately in warm soapy water; you will be amazed at the difference.) Then brush the entire shoe with the soft horsehair brush, using short, brisk strokes. Get into the creases where the upper meets the sole, around the eyelets, and along the welt. This dry brushing removes surface dirt and grit that would otherwise get ground into the leather during cleaning.
Do not skip this step. Cleaning over dirt just makes mud, and mud pushed into leather pores is how shoes develop that permanently dingy look.
Step 2: Clean the Leather
Dampen one of your cloths — wrung out well, not dripping — and wipe down the shoes to remove remaining surface grime. For a deeper clean, apply a small amount of leather cleaner or saddle soap to the damp cloth and work it over the leather in small circles. Pay attention to stained or discolored areas, but be gentle; you are cleaning, not scrubbing.
For scuffs, try the cleaner first with a little extra patience — many surface scuffs lift with gentle, repeated wiping. For salt stains (the white crusty marks of winter), wipe with a cloth dampened with a mixture of equal parts water and white vinegar, then wipe again with plain water. Salt is corrosive to leather, so deal with it promptly rather than letting it sit.
Wipe off all cleaner residue with a clean damp cloth, then let the shoes air-dry at room temperature, away from direct heat. Never use a hairdryer or radiator — heat dries leather out and can cause cracking. Stuff the shoes loosely with newspaper or insert shoe trees to hold their shape while they dry.
Step 3: Condition the Leather
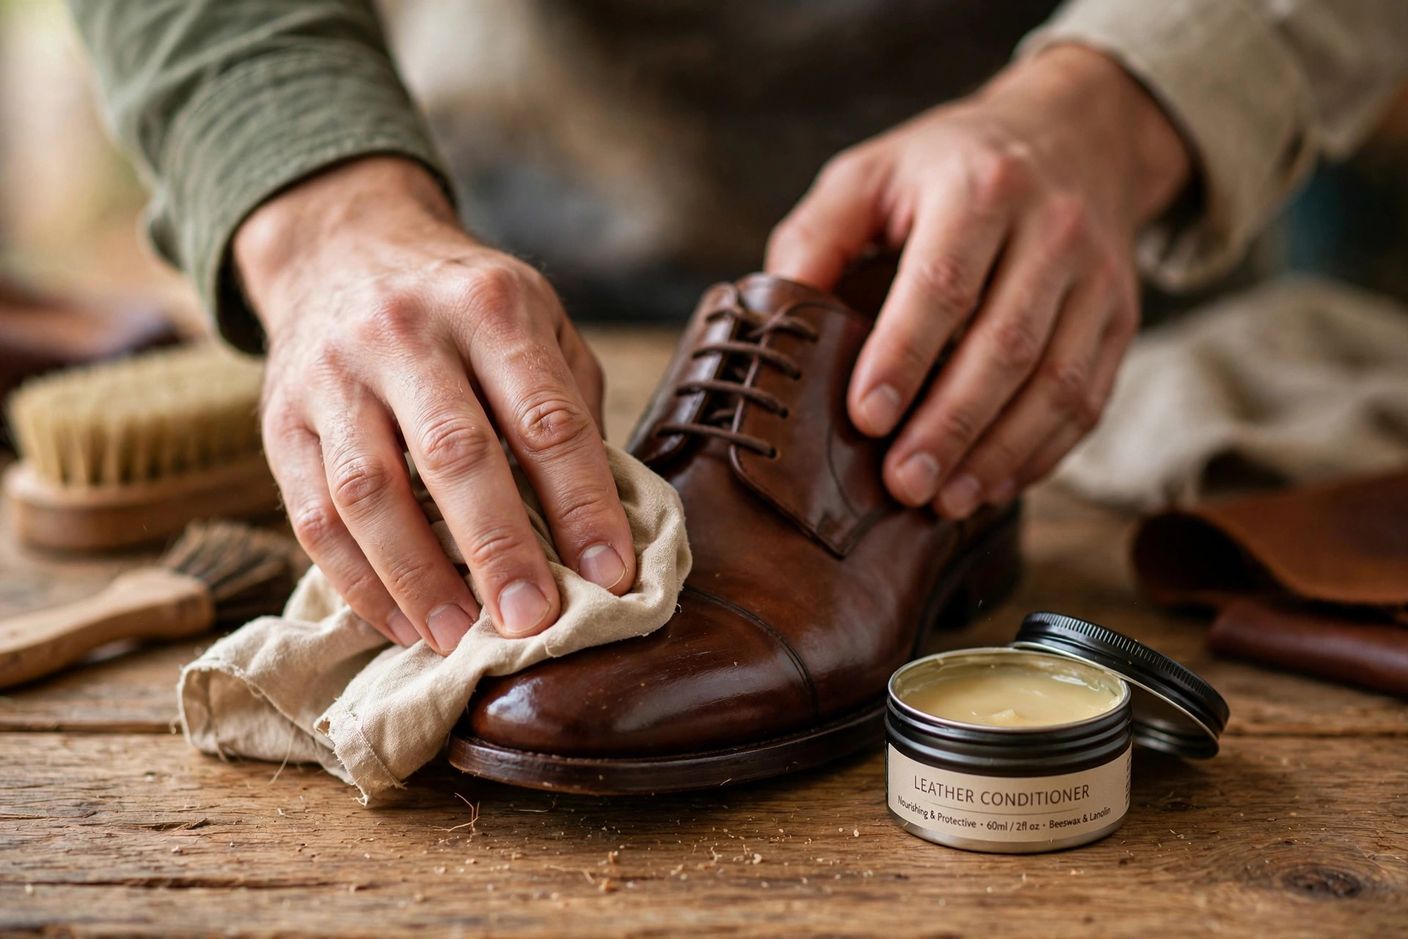
This is the step most people skip, and it is the most important one. Leather is skin, and cleaning strips its natural oils. Conditioner puts moisture back in, keeping the leather supple and preventing the dryness that leads to cracking. Apply a small amount of conditioner to a clean cloth and massage it into the leather in circular motions, covering the entire shoe including the tongue and the areas around the eyelets.
Less is more — a thin, even layer. Let it absorb for ten to fifteen minutes, then buff off any excess with a clean cloth. The leather should feel nourished, not greasy. If it feels greasy, you used too much; buff more firmly. Condition every few months for regularly worn shoes, or every time you do a full clean.
Step 4: Polish for Color and Protection
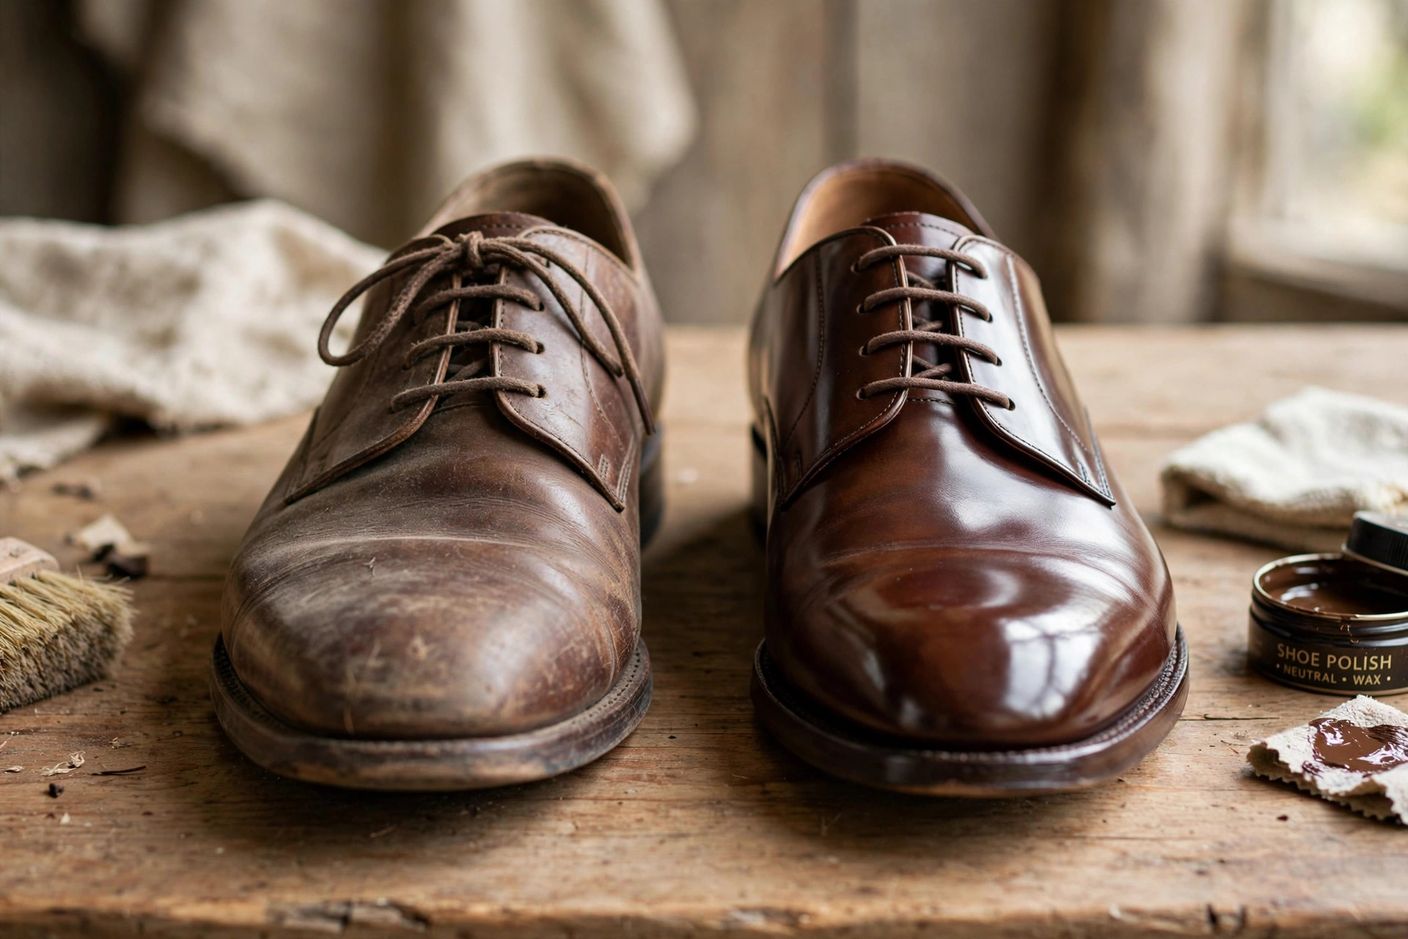
Polish does two jobs: it restores color to scuffed and faded areas, and it adds a protective layer against moisture and dirt. Choose a cream polish that matches your shoe color — when in doubt between two shades, go slightly darker rather than lighter. Apply a thin layer with a cloth or applicator brush, working it into the leather, then let it sit for a few minutes.
Buff vigorously with a clean brush or cloth until the shine comes up. This is the satisfying part — the transformation from dull to gleaming happens in the buffing. For dress shoes, a second thin layer of wax polish on the toe and heel, buffed to a mirror shine, gives the classic formal finish. For casual leather shoes, the cream polish alone is plenty.
Step 5: Protect and Maintain
Once the shoes are clean, conditioned, and polished, a water-protectant spray adds a final shield — especially valuable for shoes worn in rain or snow. Spray evenly from about six inches away, let dry, and you are done. Reapply the protectant every few weeks during wet seasons.
Between full cleanings, maintenance is minimal: brush after wearing, wipe off dirt promptly, and rest the shoes — leather needs a day off between wears to dry out fully from foot moisture. Rotating between two pairs does more for shoe longevity than any product. And always use shoe trees when the shoes are off; they absorb moisture and prevent the toe box from collapsing, which is where creasing starts.
How Often Should You Clean Leather Shoes?
It depends on wear. Daily-worn dress shoes: brush after each wear, wipe down weekly, full clean and condition monthly, polish as needed. Occasionally worn shoes: brush after each wear, full clean every few months. The visual cue is simple — when the leather looks dry, dull, or dirty, it is time. Do not wait for cracking; by the time leather cracks, the damage is permanent.
Think of it like skincare: a little consistent care beats an annual rescue operation. The fifteen-minute monthly routine will keep shoes looking better than a two-hour overhaul once a year.
Mistakes That Ruin Leather Shoes
Using household cleaners. Dish soap, all-purpose cleaners, and anything with bleach or harsh solvents strip leather’s oils and damage the finish. Use products made for leather.
Drying with heat. Radiators, hairdryers, and direct sun warp leather and cause cracking. Room temperature, always, with shoe trees inside.
Over-conditioning. More conditioner is not more care. Excess conditioner saturates the leather, weakens it, and attracts dirt. Thin layers, buffed well.
Polishing dirty shoes. Polish over dirt seals the dirt in. Always clean before you polish — the order matters.
Wearing them every day without rest. Leather absorbs foot moisture and needs 24 hours to dry fully. Daily wear without rotation is the fastest route to premature aging, and no product compensates for it.
Ignoring the soles. The uppers get all the attention, but worn-down heels and soles change how you walk and stress the shoe’s structure. Get heels re-soled when they wear down — it is cheap, and it extends the shoe’s life enormously.
Dealing With Specific Problems
Water stains: Let the shoe dry completely, then clean and condition the entire shoe evenly — spot-treating often leaves a visible boundary. Even conditioning blends the stain away.
Deep scuffs: Clean first, then apply cream polish in the shoe’s color, building thin layers. For scuffs through the finish, a matching leather dye or a cobbler’s touch may be needed — know when to hand it to a professional.
Mold or mildew: Wipe with a cloth dampened with diluted white vinegar, dry thoroughly, then clean and condition. Store shoes in a ventilated area — sealed plastic traps the moisture that feeds mold.
Odor: Shoe trees help, but persistent odor needs addressing at the source: washable insoles, foot powder, and never wearing the same pair two days running. Cedar shoe trees have mild natural deodorizing properties.
When to See a Cobbler
Home care handles cleaning, conditioning, and polishing. Leave structural work to professionals: re-soling, heel replacement, stitching repairs, deep color restoration, and stretched or damaged leather. A good cobbler is shockingly affordable compared to replacing quality shoes, and the relationship is worth cultivating — find one before you need one.
As a rule of thumb: if the problem involves the shoe’s structure or requires tools you do not own, it is cobbler territory. Everything on the surface, you can handle yourself — and after reading this guide, you know how. Keeping leather footwear in rotation is also easier when the rest of your wardrobe is built on versatile staples; a well-planned capsule wardrobe means your shoes get proper rest days between wears.
Storing Leather Shoes Properly
How you store shoes between wears matters almost as much as how you clean them. Always use cedar shoe trees — they absorb moisture, hold the shoe’s shape, and prevent the creasing that ages leather prematurely. Store shoes in a cool, ventilated spot, never in sealed plastic bags or airtight boxes, which trap moisture and invite mold. Dust bags (the cloth kind) are ideal for shoes you wear rarely.
Keep shoes out of direct sunlight for long-term storage — UV fades and dries leather. If you are storing seasonal shoes for months, clean and condition them before putting them away, stuff them with trees or tissue, and check on them once mid-season. Shoes put away dirty come out worse; shoes put away clean come out ready.
Frequently Asked Questions
How do I remove salt stains from leather shoes?
Mix equal parts white vinegar and water, dab it on the stains with a soft cloth, then let the shoes dry at room temperature. Condition afterward, since vinegar strips moisture from the leather.
Can I use olive oil to condition leather shoes?
I do not recommend it. Kitchen oils can go rancid and darken leather unevenly. A proper leather conditioner costs little and is formulated to nourish the leather without damaging it.
How do I dry wet leather shoes?
Stuff them with newspaper to hold their shape, then let them dry at room temperature away from heat. Never use a hairdryer or radiator — heat cracks leather and warps the shape.
Should I polish suede shoes?
No — polish is for smooth leather only. Suede needs a suede brush to lift the nap and a suede eraser for marks. Using polish on suede ruins the texture permanently.
How do I store leather shoes long-term?
Clean and condition them first, insert cedar shoe trees or stuff the toes with tissue, and store them in dust bags — never in plastic, which traps moisture. Keep them in a cool, dry place out of direct sunlight.
Questions, Answered
Can I clean leather shoes with just water?
Water alone removes surface dirt but does not condition or protect. For a proper clean, follow water-wiping with conditioner at minimum — otherwise cleaning strips oils the leather needs.
How do I clean white leather shoes?
Use the same method with a neutral or white cream polish. White leather shows everything, so clean more frequently, and a magic eraser (used very gently) can lift stubborn marks from smooth white leather.
Can I put leather shoes in the washing machine?
No — never. Machine washing saturates, batters, and misshapes leather, and the heat of drying destroys it. Hand-clean only, always.
How long does shoe polish take to dry?
Cream polish needs just a few minutes before buffing; wax polish benefits from ten to fifteen minutes. The shoes are wearable as soon as buffing is done.
What is the difference between shoe cream and wax polish?
Cream polish nourishes and restores color with a soft shine; wax polish adds a harder protective layer and a higher gloss. Use cream for conditioning color, wax for shine and protection — many people use both, cream first.