How to Start a Food Blog: From First Post to Loyal Readers

Thinking about how to start a food blog? I get it — you cook something wonderful, you photograph it, your friends say “you should blog this,” and suddenly you are down a rabbit hole of hosting plans and camera lenses at midnight. I have been in the food blogging world long enough to watch hundreds of blogs launch, and I can tell you the ones that survive share a pattern: they started with a clear angle, they published consistently, and they treated the unglamorous stuff (SEO, email lists, recipe formatting) as seriously as the pretty photos. Here is the complete roadmap, from idea to loyal readers.
First, the honest framing: food blogging is one of the most competitive niches and one of the most rewarding. The competition means you need a real angle and real quality to stand out. The reward is an audience that cooks your recipes, trusts your taste, and sticks around for years. People do not just read food blogs — they cook from them, which creates a loyalty most niches never achieve.
How to Start a Food Blog, Step 1: Find Your Angle
“I like cooking” is not an angle — it is a hobby. Your angle is the specific promise your blog makes: 30-minute weeknight dinners for busy parents, authentic regional Italian cooking, vegan baking that actually works, budget meals under a dollar a serving, sourdough for beginners. The narrower and clearer the promise, the faster the right readers find you.
Test your angle with three questions. Can you create 100 posts on this topic without running dry? Is there an audience actively searching for these recipes? And does the angle excite you enough to cook, photograph, and write about it weekly for years? If all three are yes, you have your niche. If you are torn between two angles, pick the one with the clearer audience — you can always broaden later.
Step 2: Choose a Name and Set Up the Blog
Pick a name that is memorable, easy to spell, and available as a domain and on social platforms. Avoid names that box you in (“The Cupcake Diaries” becomes a problem when you fall in love with savory cooking). Keep it short, say it out loud, and check that it does not mean something unfortunate in another language if you plan to reach an international audience.
Then set up properly: your own domain, reliable hosting, and a real blogging platform. Food blogs have specific technical needs — recipe card plugins (for the formatted recipe boxes readers and search engines expect), fast image loading (food blogs are image-heavy), and mobile optimization (most recipe traffic is phones in kitchens). If you are starting from absolute zero, a comprehensive guide to starting a blog walks through the setup decisions; the food-specific layer goes on top of that foundation.
Step 3: Learn Food Photography (It Matters More Than You Think)
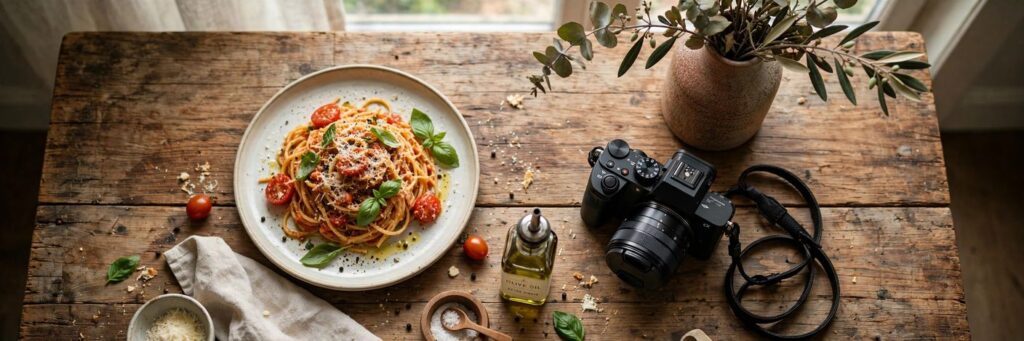
Here is the uncomfortable truth of food blogging: in this niche, photography is not decoration — it is the product. Readers decide in two seconds whether your recipe looks worth cooking, and that decision is almost entirely visual. The good news: you do not need expensive gear to start. Modern smartphones, natural window light, and basic composition skills produce genuinely good food photos.
The fundamentals: shoot in natural light (near a window, never with the overhead kitchen lights), learn the 45-degree and overhead angles (the two workhorses of food photography), style simply (one hero dish, minimal props, no clutter), and edit lightly for brightness and color accuracy. Practice on every meal for a month before you publish — your first twenty shoots are tuition, and that is fine.
As you grow, invest in order of impact: a basic DSLR or mirrorless camera, a 50mm lens (the food photography classic), a tripod, and simple backdrops and props from thrift stores. But never let gear be the excuse for not starting — some successful food bloggers shot their first year on phones.
Step 4: Develop Recipes Worth Publishing
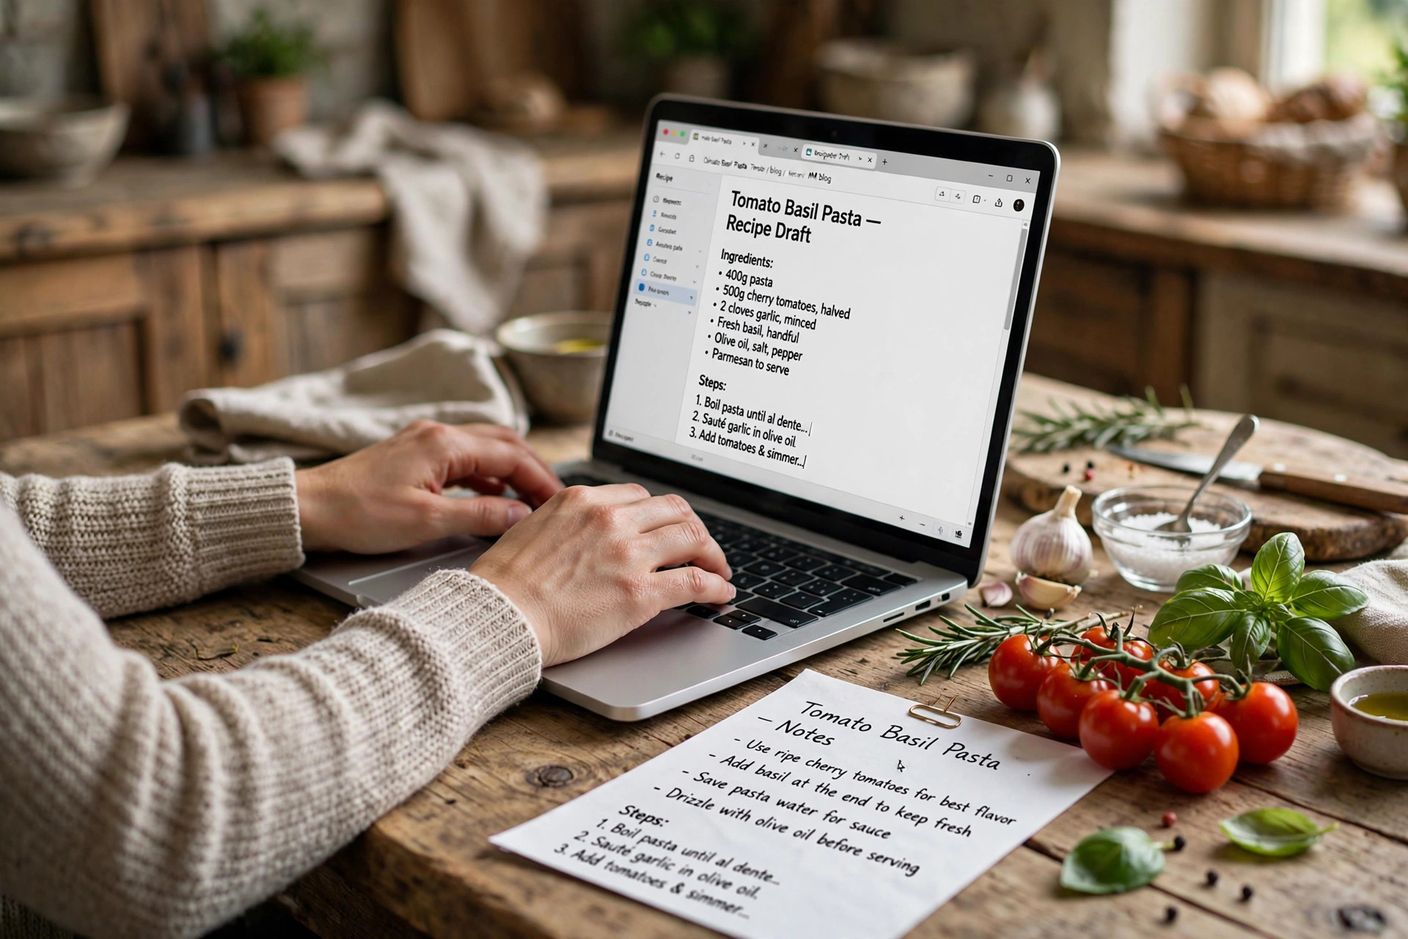
A food blog lives or dies on its recipes, and “recipe” means tested, reliable, and clearly written. Test every recipe at least twice — once to develop, once to verify. Write ingredient lists in order of use, with precise measurements (weight measurements for baking, where precision matters most). Write instructions as clear, numbered steps that assume a competent but not expert cook.
Include the details readers actually need: prep and cook times (honest ones), serving sizes, storage and reheating instructions, substitution options, and notes on what can go wrong. The recipe notes section — where you share the tips, the why behind the steps, the variations — is where your expertise shows and where readers learn to trust you. Anyone can list ingredients; the notes are what make a recipe yours.
Step 5: Write Posts That Rank and Delight
Food blog posts have a dual job: satisfy the reader who wants the recipe, and satisfy the search engine that sends the reader. The structure that does both: an engaging intro (the story, the why, what makes this recipe special), then useful content (tips, variations, FAQs about the recipe), then the recipe card itself. Put a “jump to recipe” button at the top — experienced readers will love you for it, and it does not hurt SEO.
For search traffic, learn recipe SEO basics: target specific recipe keywords (“easy chicken parmesan for two,” not just “chicken parmesan”), use descriptive titles, fill in the recipe card metadata completely (it powers the rich results with star ratings and cook times), and answer the questions people ask about the dish in your post. Recipe posts are among the most searched content on the internet — the traffic potential is enormous for blogs that do this well.
Step 6: Publish Consistently
The publishing rhythm for food blogs: one to two recipes per week is the sustainable sweet spot for most solo bloggers. Each recipe post represents hours of work — developing, testing, photographing, writing — so be realistic about your capacity. Consistency over years beats bursts of enthusiasm followed by silence; the blogs with loyal audiences are the ones that showed up every week.
Batch your work: develop and photograph multiple recipes in one cooking session, write the posts over the week. Build a small backlog so a busy week does not break your schedule. And plan seasonally — holiday content needs to publish weeks before the holiday to catch search traffic, which means thinking about December in October.
Step 7: Build Your Audience Beyond Search
Search traffic is the foundation, but the most loyal food blog readers come through multiple doors. Pinterest is disproportionately powerful for food — it functions as a visual search engine where recipes thrive, and a single viral pin can drive traffic for years. Instagram builds the personal connection: behind-the-scenes stories, process videos, the human behind the recipes.
And the email list — start it immediately, grow it relentlessly. Offer a recipe ebook or a meal-planning printable as incentive. Email subscribers are your most loyal readers: they open, they cook, they comment, they share. When you eventually monetize, they are your buyers. Every successful food blogger I know wishes they had started the list sooner.
Step 8: Monetize (When the Time Is Right)
Food blogs monetize through the standard streams with food-specific flavors: display ads (food blogs get excellent traffic volumes, making ads meaningful), affiliate links (ingredients, equipment, cookbooks — the classic “shop this recipe” links), sponsored posts with food brands (a natural fit when the audience trusts your taste), and digital products (meal plans, cookbooks, cooking courses).
The timing matters: monetize when you have traffic worth monetizing, not before. A food blog with fifty posts and steady search traffic has options; a food blog with five posts and ad banners has a credibility problem. Build the audience, serve them well, and the income follows — the full playbook for turning that audience into revenue is covered in guides to growing a blog into a business, and the principles transfer directly to food.
The Equipment Question: What You Actually Need
Beginners overthink equipment in both directions — either overspending before publishing a word, or trying to shoot professional content with inadequate tools. The honest starter kit: a smartphone with a decent camera, a large window, white foam boards (for bouncing light — a few dollars at any craft store), and free editing software. Total cost: nearly nothing.
Upgrade when your skills exceed your tools, not before. The order that matters: camera, then lens, then tripod and lighting modifiers, then props and backdrops. And the kitchen equipment for recipe development matters too — but you likely own most of it already, because you are someone who cooks enough to blog about it.
Mistakes New Food Bloggers Make
Publishing untested recipes. Nothing kills trust faster than a recipe that does not work. Test, test, test — your readers are spending their groceries on your word.
Neglecting SEO. Beautiful blog, no traffic, because nobody can find it. Learn the basics early; it compounds.
Inconsistent publishing. Three posts in week one, then silence for two months. Readers and search engines both reward reliability.
Copying instead of creating. Inspired-by is fine; copied is not — legally, ethically, and strategically. Your angle is your advantage; generic content has no advantage.
Ignoring the email list. The most common regret in food blogging. Start it with post one.
Burnout from perfectionism. The photo does not need to be magazine-perfect; the recipe needs to work and the post needs to publish. Done beats perfect, weekly beats occasionally-brilliant.
Frequently Asked Questions
How much does it cost to start a food blog?
The basics — domain, hosting, and a theme — cost very little per year. You can start with a smartphone camera and natural light. Budget for growth (better camera, props, premium tools) comes later, funded by the blog itself.
Can I start a food blog with just my phone?
Yes. Modern smartphones take excellent food photos in natural light, and many successful bloggers started exactly this way. Upgrade to a dedicated camera when your skills outgrow the phone, not before.
How long until a food blog gets traffic?
Typically 6–12 months of consistent publishing before meaningful search traffic arrives. Recipe SEO is a slow build — but recipe posts have exceptional longevity, earning traffic for years once they rank.
Do I need to be a professional chef to food blog?
No. Most successful food bloggers are passionate home cooks, not professionals. Reliability, clarity, and a genuine love of cooking matter far more than credentials — though recipe testing discipline is non-negotiable.
What is the best recipe plugin for a food blog?
Use a dedicated recipe card plugin that outputs proper structured data — it powers the rich search results (star ratings, cook times, calorie counts) that drive clicks. The specific best choice changes over time, so check current recommendations, but the structured-data feature is the non-negotiable requirement.