Compressed Air for Phone Port Cleaning: The Right Way

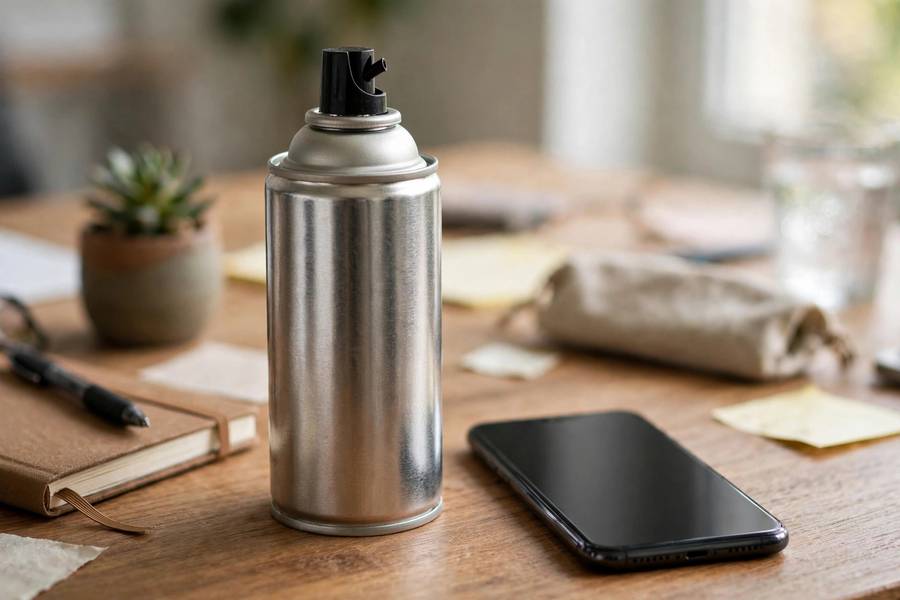
Compressed air — those cans of “air duster” sold for electronics — is one of the most useful and most misused tools in phone maintenance. Used correctly, it’s the perfect finishing touch for cleaning a charging port, blowing away the fine dust that toothpicks and brushes loosen. Used incorrectly, it can spray liquid propellant into your phone, force debris deeper, or even damage delicate components. I’ve seen both outcomes, and the difference is entirely technique.
This guide is the complete manual: what compressed air actually is, when to use it on phone ports (and when not to), the exact technique, the mistakes that cause damage, alternatives worth considering, and how it fits into the full port-cleaning process. For the broader cleaning walkthroughs, see my guides on cleaning an iPhone charging port — compressed air is one step in a larger process, not the whole solution.
What Compressed Air Actually Is (It’s Not Just Air)
Here’s something most people don’t realize: canned “air dusters” don’t contain ordinary air. They contain liquefied gases — typically difluoroethane or similar refrigerants — that turn to gas as they leave the can. This matters because the liquid form of these chemicals sits at the bottom of the can, and if it comes out, it lands on your phone as a freezing-cold liquid. That’s the source of nearly every compressed-air horror story.
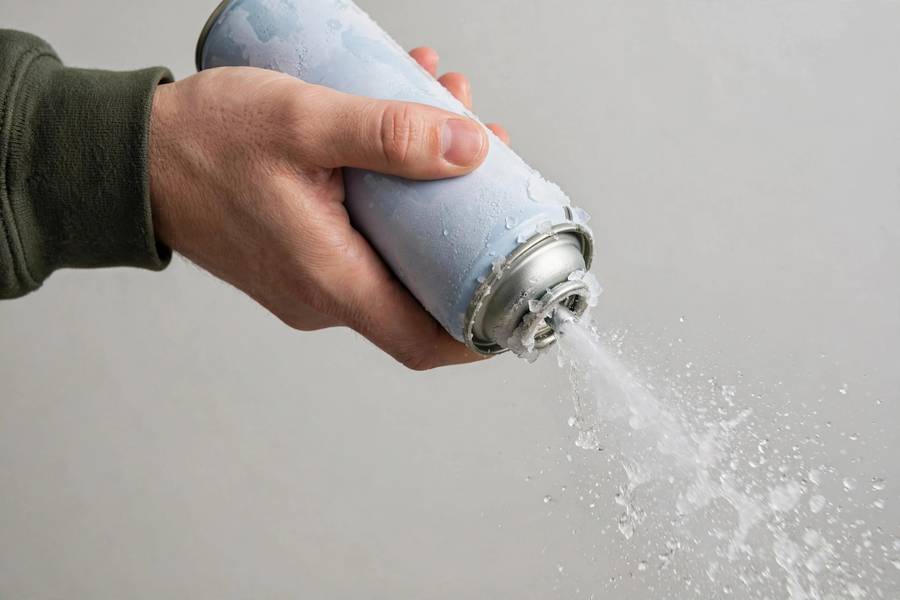
The physics is simple: hold the can upright, and only gas exits through the valve. Tilt or shake the can, and liquid propellant escapes instead. That liquid evaporates almost instantly, but in that instant it can be cold enough to cause frost on components and leave residue. On a phone’s charging port, liquid propellant can get trapped in the tight spaces around the pins — exactly where you don’t want moisture.
This isn’t a reason to fear the product — it’s a reason to respect the technique. Millions of people use air dusters safely on electronics every day. The entire safety story is: upright can, short bursts, sensible distance. Everything else in this guide is elaboration on those three rules.
When to Use It on Phone Ports — and When Not To
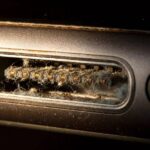
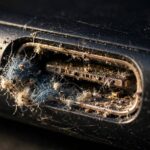
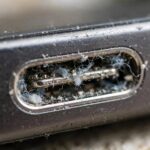
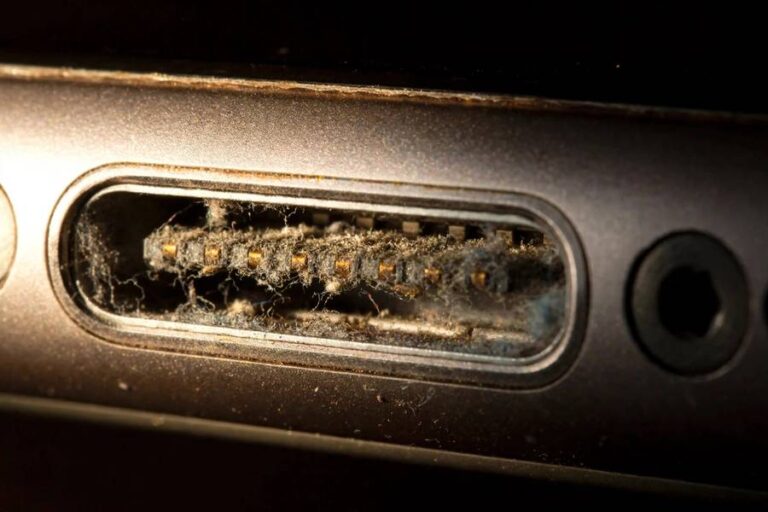
Compressed air excels at one specific job: removing loose, fine debris. After you’ve scraped the packed lint out of a charging port with a toothpick and brushed the walls, air blows away the remaining dust and fibers. It’s the finishing step that gets the port from “mostly clean” to “spotless.”
It’s also good for maintenance cleaning — a quick puff every few months to prevent buildup from compacting. And it’s useful for other phone crevices: speaker grilles, the seam around buttons, microphone holes. Anywhere fine dust accumulates, short air bursts clear it.
When not to use it: as the primary method against packed lint. A solid plug of compressed pocket lint won’t budge under air pressure — you’ll just polish its surface. Trying harder (longer blasts, closer nozzle) doesn’t help; it risks forcing debris deeper or damaging the port. Mechanical removal first, air second — always in that order. Also skip the air if the port shows corrosion or moisture — blowing air on corrosion does nothing, and on moisture it just spreads it.
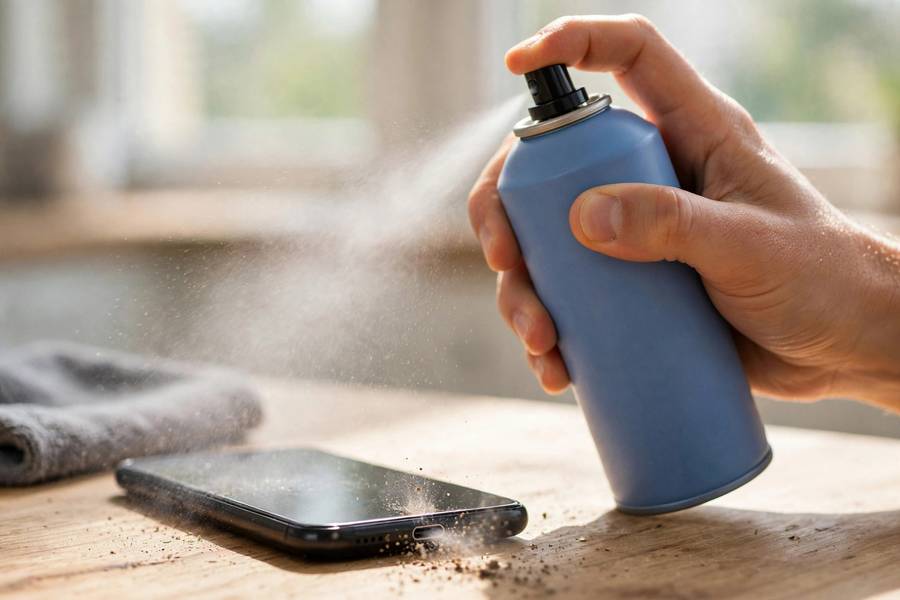
The Correct Technique, Step by Step
Here’s the exact procedure I use. It takes thirty seconds and it’s worth doing right.
Step 1: Power off the phone completely. Air cleaning is low-risk, but powered-off is the rule for anything involving the charging port.
Step 2: If the can has a straw attachment, fit it on — the straw focuses the airflow precisely into the port. Shake nothing; just attach it.
Step 3: Hold the can upright. I mean vertically upright — not at a jaunty angle, not tilted toward the phone. The can’s base should be parallel to the floor. This is the single most important detail.
Step 4: Position the nozzle or straw tip two to three inches (5-8 cm) from the port opening. Not touching, not jammed inside — a few inches away. The air spreads slightly and that’s fine; you want airflow, not a pressure jet.
Step 5: Give a short burst — half a second to one second. One short puff. Then pause, inspect with a flashlight, and repeat if needed. Multiple short bursts are always better than one long blast: they’re more effective (each burst dislodges a layer) and safer (less cooling, less pressure buildup).
Step 6: If the can gets noticeably cold, let it warm back to room temperature before continuing. A cold can is less effective and closer to releasing liquid. This is normal physics, not a defect — just pause for a minute.
Five Mistakes That Cause Damage
Let me detail the mistakes, because understanding the “why” makes the rules stick.
Mistake 1: Tilting the can
The classic error. Tilt past about 30 degrees and liquid propellant escapes, hitting the port as freezing liquid. It evaporates fast, but it can leave residue on contacts and, in tight spaces, cause momentary freezing. Always upright — if you need a different angle, move the phone, not the can.
Mistake 2: The sustained blast
Holding the trigger for five or ten seconds seems thorough, but it super-cools the can (increasing liquid risk), builds static, and delivers sustained pressure that can flex delicate components. Short bursts. Always.
Mistake 3: Nozzle inside the port
Jamming the straw into the port opening concentrates the full pressure on the pins and tongue. It can bend the USB-C tongue or force debris deeper into crevices. Keep your distance — the air does the work, not the pressure.
Mistake 4: Using workshop air compressors
Garage air compressors deliver vastly higher pressure than canned dusters, often with moisture and oil contamination from the tank. Never use one on a phone. The pressure can destroy the port, and compressor moisture is worse than anything you’re cleaning out.
Mistake 5: Spraying a powered-on phone
The risk is small but real: dislodged conductive debris (rare, but it happens) bridging pins while powered. Power off first. It takes ten seconds and eliminates the entire category of risk.
Alternatives to Canned Air
Canned air works, but it’s not the only option — and for regular maintenance, some alternatives are better.
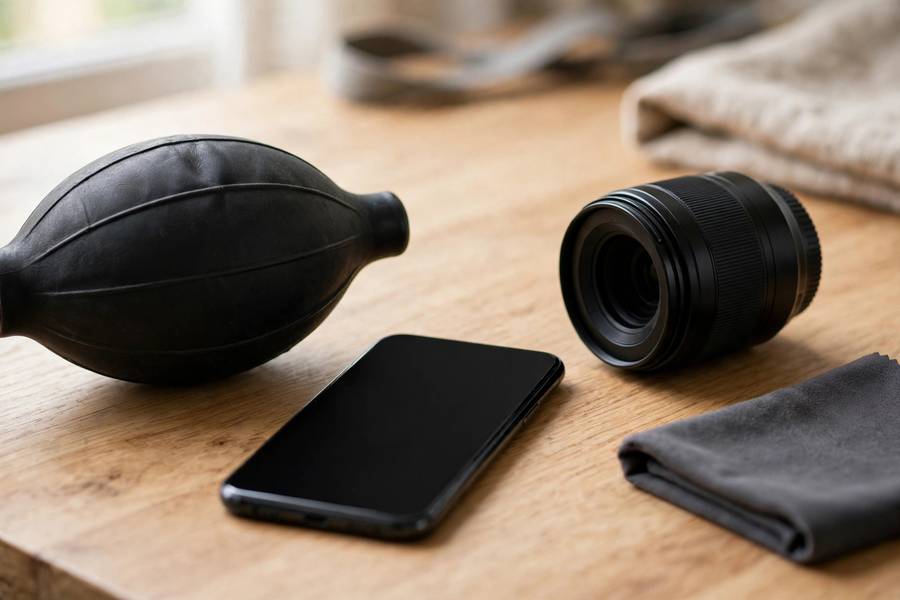
A manual air blower (the rubber bulb kind photographers use for camera lenses) is my favorite alternative. No chemicals, no propellant, no cold, impossible to misuse — just squeeze. It’s less powerful than canned air, but for phone ports that’s plenty, and it’s reusable forever. If you clean ports more than rarely, buy one of these instead of cans.
An electric air duster — a small rechargeable blower — is the heavy-duty alternative. More powerful than a bulb blower, no consumable cans, no chemicals. The caveat: use the lowest setting on phones, keep distance, and short bursts still apply. They’re overkill for just phone ports but great if you also clean keyboards, PCs, and cameras.
A soft brush alone handles most maintenance cleaning without any air at all. For many people, a quick brush every few months plus a toothpick session yearly makes air unnecessary. Don’t buy a product to solve a problem a brush already solves.
What about just blowing with your mouth? Don’t. Breath carries moisture that condenses in the port — you’re trading dust for dampness. It feels natural and it’s wrong.
Where Air Fits in the Full Cleaning Process
Compressed air is step four of five, not step one. Here’s the complete port-cleaning sequence I recommend, with air in its proper place.
Step 1: Power off and inspect with a flashlight — know what you’re dealing with. Step 2: Mechanical removal with a wooden toothpick — scrape packed lint out with gentle outward strokes. Step 3: Soft brush — sweep the walls and dislodge surface dust. Step 4: Compressed air — short upright bursts from a few inches away to clear everything the tools loosened. Step 5: Final inspection and test — flashlight check, then power on and confirm the cable clicks in firmly.
Skipping straight to step 4 is the most common misuse. Air can’t remove what it can’t move, and packed lint doesn’t move under air. Each step prepares the next: the toothpick breaks up the plug, the brush loosens the fragments, the air carries them out. The sequence matters.
For the complete device-specific walkthroughs this fits into, see the iPhone guide linked above. Android users: the same sequence applies to USB-C Android ports — the port geometry is the same, and so is the technique. And whatever phone you have, keep your data safe before any maintenance: back up your Android phone or back up your iPhone so a hardware surprise never costs you anything irreplaceable.
Buying Guide: What to Look For
If you’re buying canned air, the products are largely similar — but a few details matter. Look for cans labeled for electronics or office equipment; avoid anything with added “bittering agents” marketed primarily as theft deterrents (they can leave residue). A can with an extension straw included is worth preferring — the straw is genuinely useful for port work.
Size: the small cans are fine for phone ports; you’re using seconds of air per cleaning. One can lasts years for this purpose. Check the expiration — old cans can sputter. And buy from a reputable retailer; counterfeit or off-brand dusters occasionally contain impure propellants.
Honestly, though, consider the manual bulb blower instead. It’s cheaper over time, can’t be misused into spraying liquid, works forever, and is all the power a phone port needs. I reach for my bulb blower ten times more often than canned air. The can is for keyboards and PC interiors; the bulb is for phones.
Safety and Storage
A few safety notes, because these cans deserve respect. The propellant is flammable — don’t use near open flames, and don’t puncture or incinerate the can, even when “empty.” Use in ventilated areas; intentionally inhaling the gas is dangerous (this is why bittering agents exist). Keep away from children.
Don’t spray on skin — the rapid cooling can cause frostbite. That’s the same physics that makes tilted-can liquid dangerous to phone components. Store cans upright at room temperature, away from heat sources and direct sunlight. A hot car in summer is a bad place for pressurized cans generally.
These warnings sound dramatic for a cleaning product, but they’re the standard precautions printed on every can. Follow them and the product is perfectly safe — the danger stories all involve ignoring the label.
Frequently Asked Questions
Yes, when used correctly: hold the can fully upright, keep the nozzle a few inches from the port, and use short one-second bursts. Never tilt the can (liquid propellant can escape), never jam the nozzle inside the port, and power the phone off first. Used this way, it’s the ideal finishing step after manual lint removal.
Only through misuse. Tilting the can sprays freezing liquid propellant, sustained blasts over-cool components, and jamming the nozzle inside concentrates damaging pressure. Workshop air compressors (much higher pressure, often with moisture) should never be used on phones. Follow the upright-can, short-burst, keep-distance rules and damage isn’t a concern.
No — not packed lint. Air removes loose dust and finishes the job, but compressed pocket lint needs mechanical removal first with a wooden toothpick or soft brush. The correct sequence is: toothpick, then brush, then air. Skipping to air alone just polishes the lint plug.
A manual rubber-bulb air blower (the kind photographers use for lenses) is ideal — no chemicals, no propellant risk, reusable forever, and plenty powerful for phone ports. A soft brush alone handles most maintenance cleaning. Avoid blowing with your mouth, which introduces moisture.
The can was tilted or shaken. Air dusters contain liquefied gas; held upright, only gas exits, but tilting lets the liquid propellant escape. It evaporates quickly but can leave residue and freeze components momentarily. If it happened, let the phone sit powered off for a while to ensure everything evaporates, and keep the can upright next time.