Here’s the symptom: your iPhone only charges if you hold the cable at exactly the right angle. Wiggle it, and charging stops. You’ve bought three cables and two chargers, and nothing fixes it. Sound familiar? Nine times out of ten, this isn’t a broken phone — it’s a dirty port. Pocket lint gets packed into the bottom of the charging port over months until the cable can’t seat properly. I’ve fixed this exact problem on friends’ phones with a toothpick and two minutes. Here’s how to do it without wrecking anything.
- What you’ll need (and what to avoid)
- Step 1: power down and inspect
- Step 2: the toothpick method
- Step 3: brush it out
- What NOT to put in your charging port
- What if it still won’t charge?
- How to keep it clean
- Frequently Asked Questions
What You’ll Need (and What to Avoid)
The good stuff — you probably have all of this:
- A wooden or plastic toothpick (wood is ideal: soft enough not to scratch, sturdy enough to scrape)
- A small soft-bristled brush — a clean, dry toothbrush works
- A flashlight or your other phone’s flashlight to see inside the port
- Compressed air — optional, and use short bursts only (more on this below)
What to leave in the drawer: metal paperclips, needles, safety pins, SIM ejector tools, tweezers. Anything metal can scratch the pins or short them. I’ll explain why that’s a real risk, not just paranoia, in a minute.
Step 1: Power Down and Inspect
Turn your iPhone off completely. This is a safety step — with the phone powered down, there’s no current running through the charging pins, so you can’t short anything while you work.
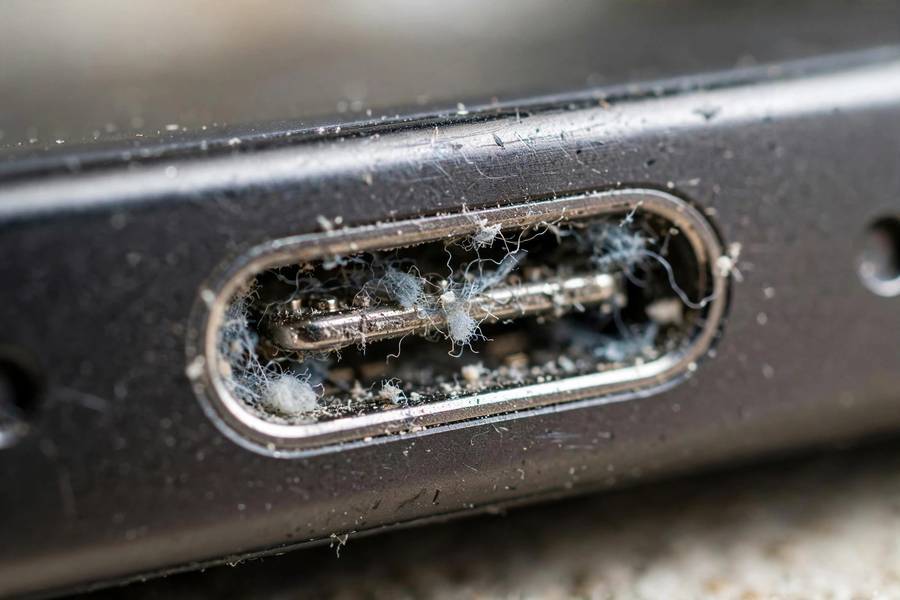
Now shine a flashlight into the charging port. If you see gray fuzz packed in there — that’s your culprit. Lint compresses over time into a dense little mat at the bottom of the port, and it can be surprisingly thick. I’ve pulled out enough lint from one phone to fill a thimble. Don’t be shocked at how much comes out.
Step 2: The Toothpick Method
This is the core of the whole operation:
- Hold your iPhone with the port facing down so debris falls out instead of deeper in.
- Gently insert the toothpick into the port — not into the middle where the pins are, but along the sides and bottom.
- Scrape lightly along the bottom and the side walls. You’re scooping lint out, not stabbing at the connector. Light pressure. The pins are fragile.
- Tap the phone gently, port down, to shake loose debris out.
- Repeat until the toothpick comes out clean and the cable seats with a solid click.
That click matters. A clean Lightning port makes a firm, satisfying click when the cable seats. If the cable still feels loose and wobbly, there’s probably more lint in there.
For USB-C iPhones (iPhone 15 and later): same technique, but be extra gentle — the USB-C connector’s center tongue is thinner and easier to damage than the Lightning port’s pins.
Step 3: Brush It Out
After the toothpick, take the dry toothbrush and give the port a few gentle brushes to sweep out the last dust. Short strokes, light touch, port facing down. This gets the fine particles the toothpick loosened but didn’t catch.
If you have compressed air, you can use it here — but hold the can upright and use short bursts from a few inches away. Tilted cans can spray liquid propellant, which is worse than the lint you just removed.
What NOT to Put in Your Charging Port
Let me be blunt about this, because I’ve seen the aftermath:
- Metal objects (paperclips, needles, SIM tools): The charging pins carry power. A metal object bridging two pins can short the port. On a powered-on phone this can damage the charging circuitry permanently. On a powered-off phone you’re less likely to short anything, but metal still scratches the gold plating on the pins, which causes corrosion later.
- Water or rubbing alcohol dripped directly in: A damp cloth on the outside is fine. Pouring liquid into the port is not. Moisture inside can trigger the liquid contact indicators (those little stickers that void warranty claims) and corrode the pins.
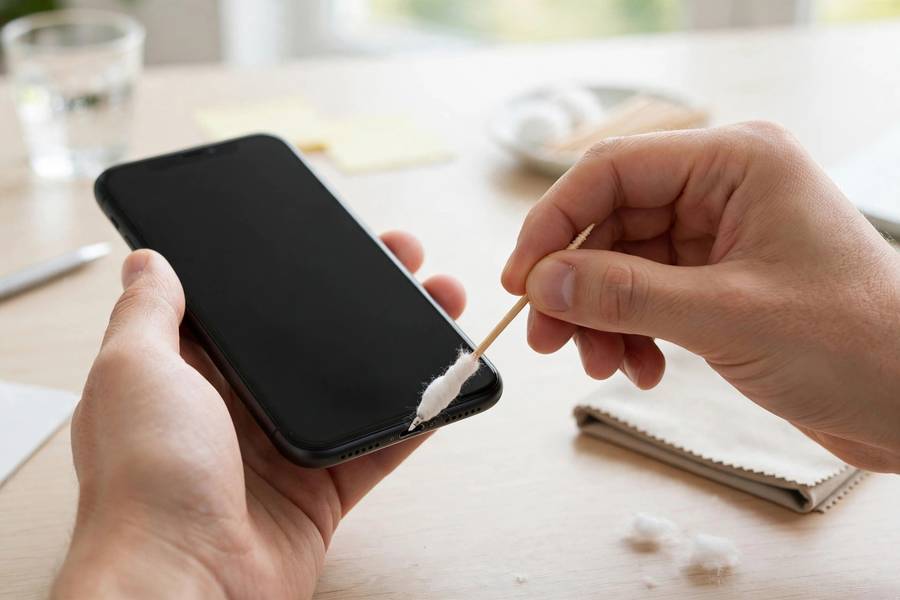
- Cotton swabs (Q-tips): They look like the right tool, but they’re too fat for the port and leave cotton fibers behind — trading one debris problem for another.
- Vacuum cleaners: Static discharge risk, and you can jam debris deeper.
The toothpick is the tool for a reason: wood is non-conductive, soft enough not to scratch, and narrow enough to actually get in there.
What If It Still Won’t Charge?
If the port is clean and it still won’t charge, work through these before assuming the phone is dead:
- Try a different cable and charger. Borrow one. Cables fail internally all the time, and cheap third-party cables die fastest. This is still the #1 cause of charging problems overall.
- Check for a software glitch. Restart the phone. Seriously — I’ve seen charging bugs fixed by a restart more than once.
- Look at the port under magnification. If the pins look bent, discolored, or corroded (greenish tint), that’s beyond cleaning. Corrosion means the port needs professional repair.
- Check your charging brick’s wattage. An iPhone needs at least 5W; using a sketchy 2.5W brick from 2012 will charge so slowly it looks broken.
- Wireless charging as a workaround. If the port is genuinely damaged, a MagSafe or Qi charger buys you time until you can get it repaired. Worth noting: Apple charges around $400+ for out-of-warranty port repairs on newer models, so weigh that against the phone’s value.
How to Keep It Clean
A little prevention saves you from doing this twice a year:
- Don’t carry your phone in a linty pocket without a case. A case with a port cover is the single best prevention. They’re cheap and they work.
- Face the port up when it’s in your bag. Debris falls in when the port faces down into the bottom of a bag or pocket.
- Check the port every few months. A quick flashlight look takes five seconds. Catching lint early means a toothpick does the job in 30 seconds instead of ten minutes.
- Blow it out occasionally. A quick puff of air (from your mouth is fine, honestly) every month or two keeps lint from packing down into that dense mat.
And if you’re going wireless to give your port a break, it’s worth knowing how wireless earbuds work and how noise-cancelling headphones work before you buy — the tech varies more than the marketing suggests.

Frequently Asked Questions
Don’t. Metal objects can scratch the charging pins or short them, which can permanently damage the charging circuitry. Use a wooden or plastic toothpick instead — it’s non-conductive and won’t scratch.
Almost always, packed lint in the charging port is preventing the cable from seating fully. The cable makes partial contact, so it only works when held at an angle. Clean the port and the cable should click in firmly.
Yes, with care. Hold the can upright and use short bursts from a few inches away. Tilting the can can spray liquid propellant into the port, which causes more problems than the lint.
You can, but don’t. Power the phone down first — it eliminates any risk of shorting the pins while you’re poking around in there. It takes thirty seconds and removes the only real danger in this process.
Check it every two to three months with a flashlight. If you carry your phone in a pocket without a port cover, check more often. Prevention takes seconds; a packed port takes ten minutes to clear.
Apple Stores will often clean a charging port as a courtesy during a Genius Bar visit, but it’s not a guaranteed free service and you may need an appointment. Doing it yourself with a toothpick takes two minutes.