The Best Way to Clean an iPhone Charging Port Safely

Your iPhone was charging fine, and now the cable falls out if you look at it wrong. Before you book a repair appointment or — worse — buy a new phone, let me share the fix that works most of the time: cleaning the lint out of the charging port. I’ve done this for friends who were convinced their iPhone was dying, and watched their faces when the cable suddenly clicked in like new. It takes five minutes, costs nothing, and it’s completely safe if you do it right.
The key phrase is “if you do it right.” The internet is full of charging-port cleaning advice ranging from sensible to phone-destroying. This guide is the safe version: the tools Apple would approve of, the technique that won’t damage pins, the mistakes to avoid, and how to know when cleaning isn’t the answer. For the general principles, my main guide on how to clean an iPhone charging port is the starting point; this article goes deep on doing it safely.
Why “Safely” Matters: What’s Inside Your iPhone’s Port
An iPhone charging port is a marvel of miniaturization — and that precision is exactly why care matters. Inside that tiny opening are multiple electrical contact pins, each carrying power or data. On Lightning ports, the pins are on the cable’s connector and the port has corresponding contacts; on USB-C iPhones (iPhone 15 and later), the pins are on a central tongue inside the port. Either way, these contacts are small, delicate, and essential.
Bend a pin, and you can lose charging entirely — or worse, create a short that damages the phone’s power management chip. Scratch the contacts with something abrasive, and you get intermittent connections that are harder to diagnose than lint. Push debris deeper instead of pulling it out, and you compact the problem. Every “don’t” in this guide exists because someone learned it the expensive way.
The good news: lint itself is soft and harmless. It’s just pocket fluff — fabric fibers, dust, the occasional crumb — compressed over time. Removing it is safe as long as your tools are softer than the port’s components and non-conductive. That’s the entire safety philosophy: soft tools, gentle motions, no electricity-conducting materials, no liquids.
Signs Your Port Needs Cleaning (Not Repair)
Here’s how to tell you’re dealing with lint rather than hardware failure. The cable used to click in firmly and now feels loose. Charging connects and disconnects when the phone moves. You need to push the cable in unusually hard or wiggle it to start charging. The phone charges fine wirelessly (on models that support it) but not via cable. These all scream “debris.”
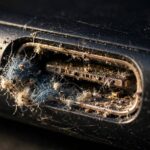
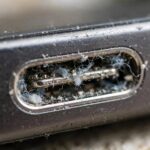
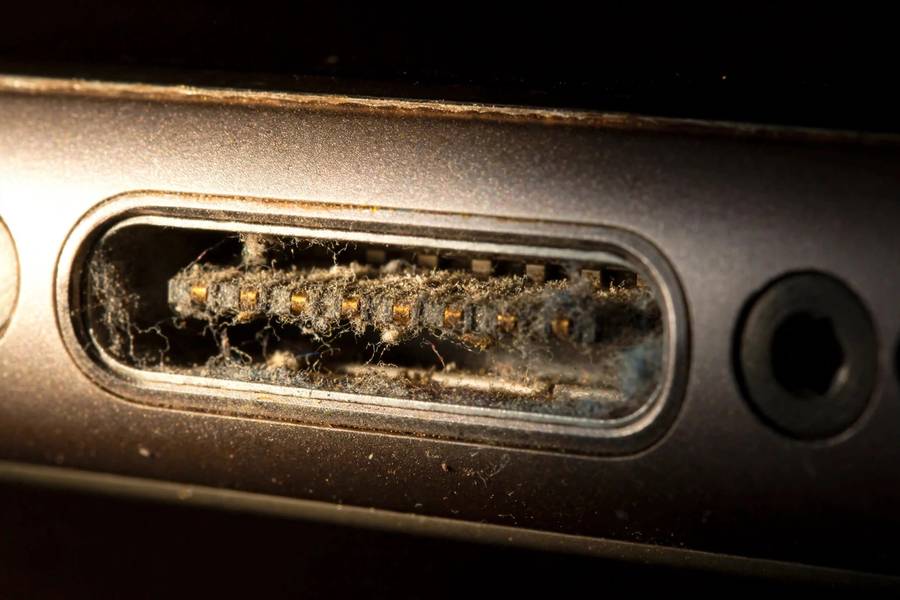
Do the flashlight test: power off the iPhone, shine a light into the port, and look. On Lightning ports you’ll see gray fuzz packed at the back; on USB-C, lint collects around the central tongue. If you can see buildup, cleaning will almost certainly fix it.
Signs pointing to actual repair instead: visible corrosion (greenish or white crust on contacts), a port that feels physically loose or wobbly even with a brand-new Apple cable, charging failure that persists across multiple cables after thorough cleaning, or heat around the port during charging. Those need a technician, not a toothpick.
Safe Tools: What to Use
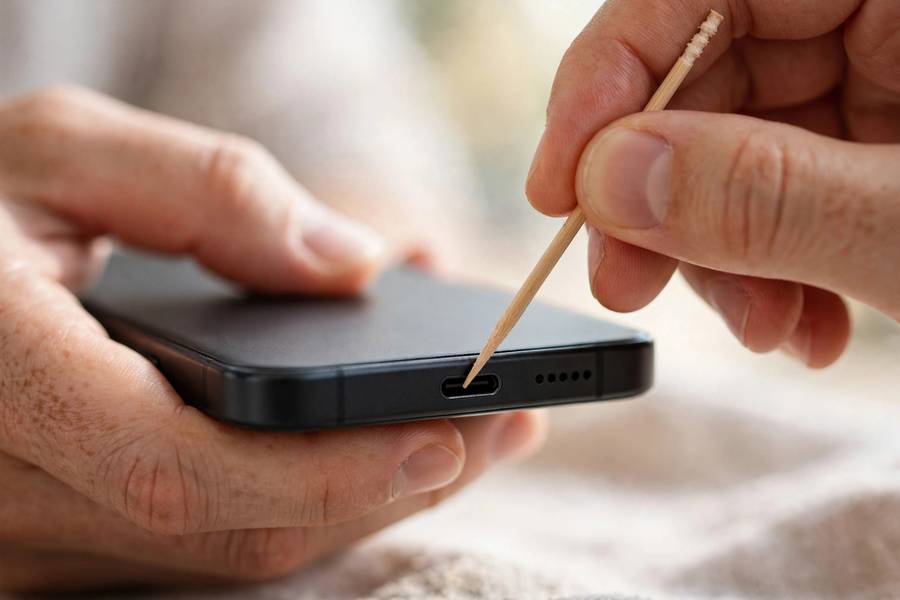
The safe toolkit is short and probably already in your home. A wooden toothpick is the gold standard — non-conductive, thin, slightly soft, and disposable. A soft-bristled brush, like a clean dry soft toothbrush or a small clean paintbrush, handles surface dust. A can of compressed air (used correctly — details below) clears loosened debris. A bright flashlight for inspection. That’s everything.
Plastic dental picks — the soft, flexible kind, not metal — are an excellent alternative to toothpicks, sized well for the port. Interdental brushes (the tiny ones) also work nicely for Lightning ports. If you want to buy one thing, a pack of plastic dental picks is genuinely useful and costs very little.
What makes these safe: they’re non-conductive (no short-circuit risk), softer than the port’s metal contacts (no scratching), and thin enough to work without force. If you find yourself pushing hard, stop — the tool is wrong or the technique is wrong, and force is never the answer with port cleaning.
Dangerous Tools: What Never to Use
Let me be blunt about the don’ts, because each one has destroyed someone’s iPhone.
Metal objects — paperclips, needles, pins, SIM ejector tools, metal dental tools, knife tips — are the number one danger. They conduct electricity and can bridge the port’s pins, causing a short that fries the charging circuitry. Even with the phone off, residual charge and the risk of scratching make metal unacceptable. I’ve seen a paperclip turn a lint problem into a $400 logic board repair.
Liquids — water, alcohol drips, “electronics cleaner” sprays applied directly, wet cotton swabs — are the number two danger. The port’s tight geometry traps moisture against the contacts, causing corrosion that appears days later. Compressed air is fine; compressed liquids are not.
Sharp wooden objects used aggressively — even a toothpick becomes dangerous if you jam it. Cotton swabs leave fibers behind, adding to the problem. Your mouth’s breath introduces moisture. And those viral “hacks” involving superglue on a stick or heated implements? Please don’t. Just don’t.
The Safe Cleaning Method, Step by Step
Here’s the procedure I use, refined over many cleanings. Follow it in order.
Step 1: Power off the iPhone completely. Hold the side button and volume button, slide to power off. This is non-negotiable — it eliminates short-circuit risk.
Step 2: Inspect with a flashlight. Note where the lint is and how much there is. This tells you when you’re done later.
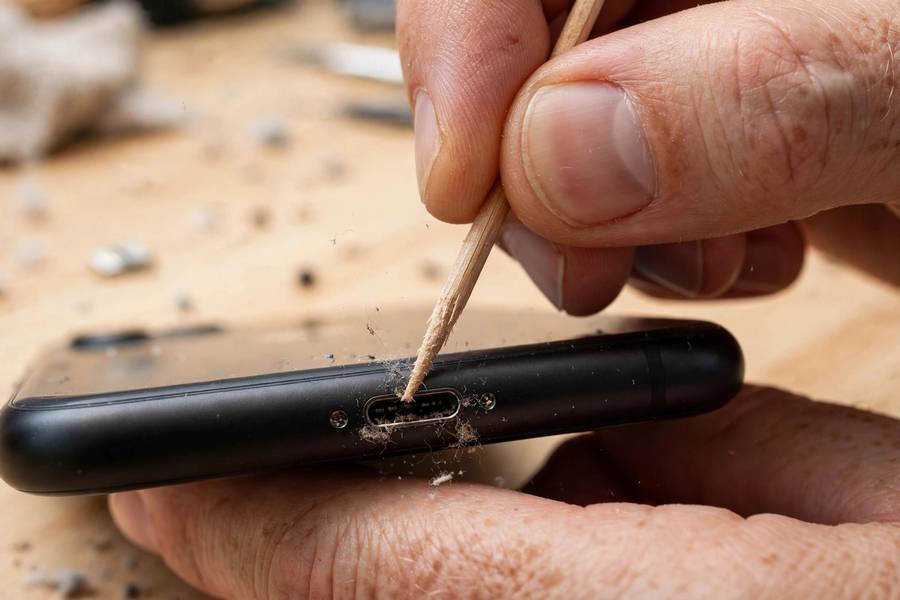
Step 3: Gently scrape with a wooden toothpick. Insert it shallowly and use light, short strokes along the port walls, pulling debris outward. On Lightning ports, work the back wall and sides where lint compacts. On USB-C iPhones, work around the central tongue with extra care — don’t lever against it. Let the toothpick do the work; pressure should be minimal.
Step 4: Brush out loosened debris with the soft brush — gentle strokes outward from the port.
Step 5: Finish with short bursts of compressed air (can upright, nozzle a few inches away, brief puffs). This clears the fine dust the tools loosened.
Step 6: Inspect again with the flashlight. The contacts should be visible and the port interior clean. If you see remaining packed lint, repeat steps 3-5 once more.
Step 7: Power on and test. The cable should click in firmly — that tactile snap is the sign of success. Confirm charging starts and stays connected when you gently move the phone.
Using Compressed Air Correctly
Compressed air deserves its own section because it’s both useful and commonly misused. Used correctly, it’s the perfect finishing step. Used incorrectly, it can cause problems.
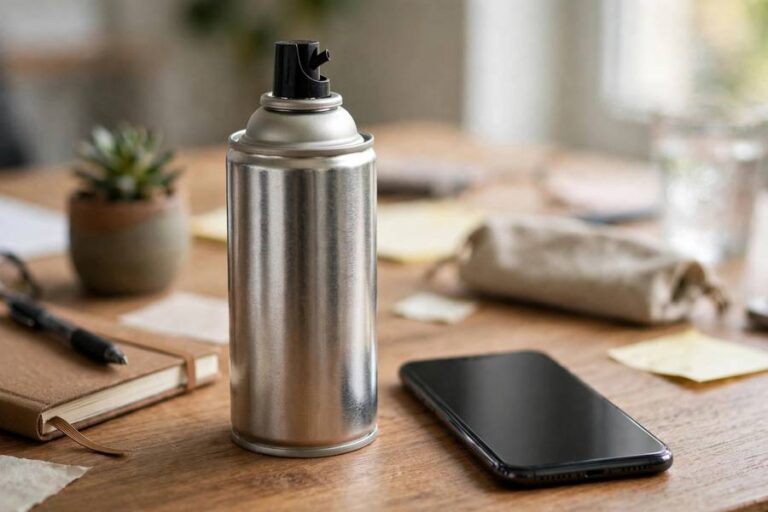
The rules: hold the can upright — always. Tilting releases the liquid propellant instead of air, and that liquid is exactly what we’re avoiding. Keep the nozzle or straw a few inches from the port, not jammed inside it. Use short bursts — one second or less — not a sustained blast. Let the can rest between bursts if it gets cold. And never use an air compressor or high-pressure workshop air; the pressure is far too high and can damage the port’s internals or force debris deeper.
What compressed air is good for: clearing fine dust after mechanical cleaning, dislodging surface lint, drying nothing (it doesn’t dry — don’t use it for moisture). What it’s not good for: removing packed, compressed lint — that needs the toothpick first. Air alone against a felt-like lint plug just polishes it. Mechanical removal first, air second, always in that order.
Lightning vs. USB-C iPhones: What Changes
The cleaning principles are identical, but the port geometries differ in ways that affect technique.
Lightning (iPhone 14 and earlier): the port is a narrow slot with contacts along the walls. Lint packs into the back of the slot. The toothpick technique works beautifully here — scrape the back wall and sides, pulling outward. There’s no central tongue to worry about, which makes Lightning slightly more forgiving. The main risk is scratching the wall contacts with excessive force.
USB-C (iPhone 15 and later): the oval port has a central tongue with contacts on it. Lint packs around and under the tongue. Work around the tongue gently — never pry against it or lever it sideways. The tongue is the most fragile component in either port design. Use lighter pressure than you think you need; USB-C lint often comes out in satisfying satisfying clumps with minimal force.
Both ports benefit from the same prevention: dust plugs, clean pockets, and periodic inspection. And both are equally fixable — neither design is “worse” for lint, though USB-C’s tongue demands slightly more respect.
When to Stop and Get Professional Help
Knowing when to stop is as important as knowing how to start. Stop cleaning and see a technician if: you’ve done two thorough cleaning passes and charging is still unreliable with multiple cables; you see corrosion, bent components, or broken plastic inside the port; the port feels physically loose; or you accidentally bent something (it happens — don’t force it back, let a professional assess).
Also stop if the phone shows any warning about liquid detection when no liquid was involved — that can indicate corrosion on the detection pins, which needs professional cleaning. And if the phone gets hot around the port during charging, unplug it and get it serviced; heat plus charging anomalies can indicate a short, which is a safety issue, not just an inconvenience.
Apple Stores and authorized providers clean ports routinely — it’s a quick, usually inexpensive service. There’s no shame in handing it over. A professional cleaning costs far less than a damaged port, and they can spot issues (like early corrosion) that you’d miss. Before any service visit, by the way, make sure your data is backed up — my guide on how to back up an iPhone takes ten minutes and protects everything. Android owners should do the same before handing a phone over — see how to back up an Android phone.
Preventing Future Buildup
An hour of prevention beats five minutes of cleaning. The lint comes from pockets — address the source.
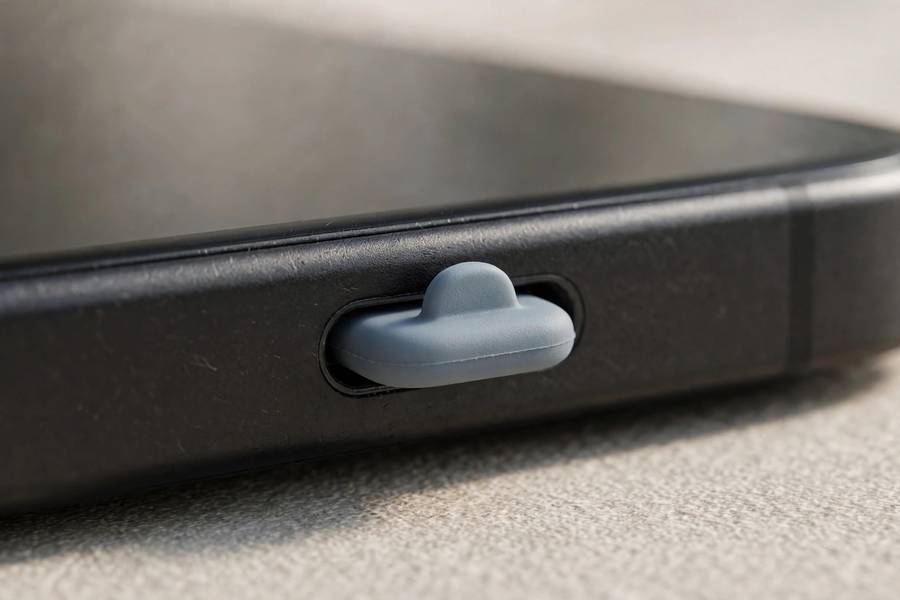
Dust plugs are the single most effective prevention: tiny silicone plugs that fill the port when you’re not charging. They cost almost nothing in multi-packs, and they eliminate the problem entirely. The minor inconvenience of removing them to charge becomes automatic within a week. If you only adopt one prevention habit, make it this one.
Pocket hygiene helps too: keep tissues, receipts, and crumbly snacks out of the phone pocket. Port-up carrying reduces what falls in. And a quick flashlight check every few months catches buildup while it’s still a ten-second brush job rather than an excavation.
Cable quality matters more than people think. Genuine Apple cables and certified (MFi) cables have precise connectors that seat fully and don’t grind debris deeper. Worn-out cheap cables with loose connectors both charge poorly and accelerate lint compaction. When a cable starts feeling loose, replace it — it’s cheaper than the problems it causes. Android phones collect lint the same way, and the same gentle technique works for USB-C Android ports too.
Frequently Asked Questions
Power off the iPhone, then gently scrape lint out with a wooden toothpick using light outward strokes, follow with a soft brush, and finish with short bursts of compressed air (can held upright). Use only non-conductive, non-metal tools, never liquids, and be gentle around the port’s contacts. The cable should click in firmly when you’re done.
Yes — a wooden toothpick is one of the safest tools for the job. It’s non-conductive and softer than the port’s metal contacts. Use gentle outward strokes, don’t jam it in, and avoid levering against the central tongue on USB-C iPhones. If you need significant force, stop and reassess.
Yes, with rules: hold the can upright (tilting releases liquid propellant), keep the nozzle a few inches away, and use short one-second bursts. Use it after mechanical cleaning to clear loosened dust, not as the primary method — air alone won’t remove packed lint.
No. Gentle cleaning with non-metal tools doesn’t void Apple’s warranty — it’s basic maintenance. Damage caused by improper tools (metal objects, liquids) isn’t covered, which is exactly why the safe method matters. If you’re unsure, Apple Stores clean ports as a routine service.
Use silicone dust plugs — they’re cheap, sit in the port when you’re not charging, and prevent lint entirely. Also keep lint-heavy items out of your phone pocket, carry the phone port-up, and do a quick flashlight check every few months to catch early buildup.