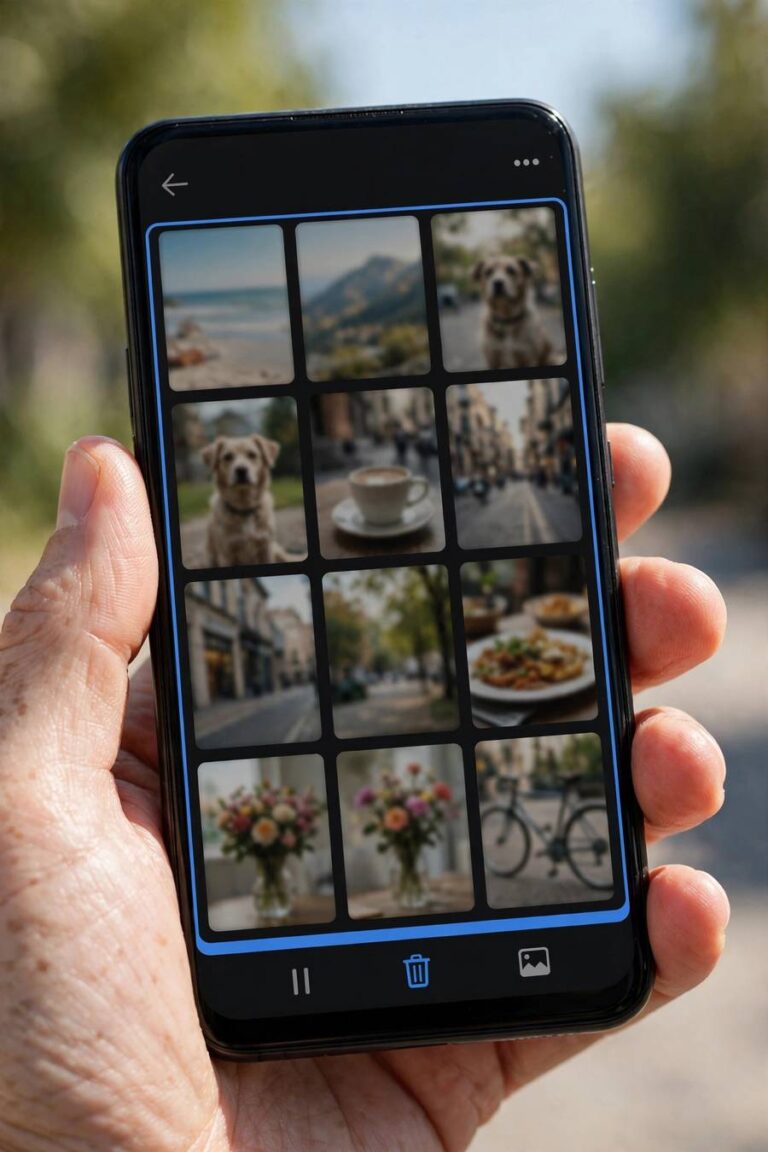
How to Recover Deleted Photos from an SD Card

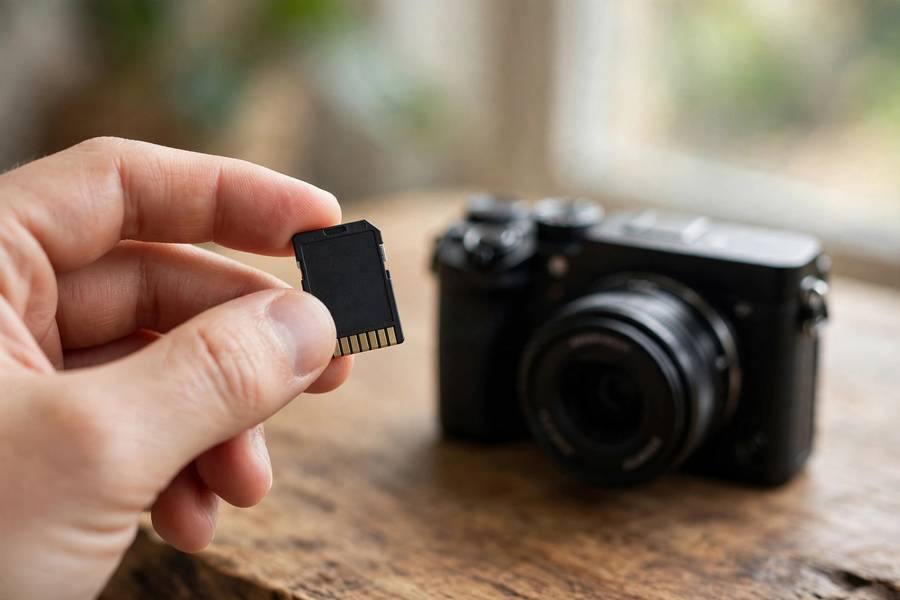
There’s a particular kind of panic that hits when you realize the photos on your memory card are gone. Maybe you formatted the card by mistake, maybe the camera says the card is corrupted, or maybe you deleted a batch of shots thinking they were already copied. I’ve been there with clients who lost wedding shoots and vacation albums, and I want you to know the most important thing first: in most cases, those photos are still on the card. Deleted doesn’t mean destroyed — not yet, anyway.
When you delete photos from an SD card, the camera or computer doesn’t actually erase the data. It just marks that space as available for new photos. Until new photos overwrite it, the original data sits there waiting to be found. That’s why the single most important rule — the one I’ll repeat twice — is: stop using the card immediately. Every new photo you take risks overwriting the ones you’re trying to save.
This guide walks you through recovering deleted photos from an SD card step by step: what to do in the first five minutes, how to use recovery software properly, what to do about corrupted cards, and when it’s time to call a professional. For the general principles that apply to any device, my overview of how to recover deleted photos is worth reading too.
The First Five Minutes: Stop and Protect the Card
The moment you realize photos are missing, take the card out of the camera. Not after one more shot, not after checking the menu — now. I say this with feeling because the number one reason recoveries fail is that people kept shooting on the card after the deletion, overwriting the very data they wanted back.
Slide the little physical lock switch on the side of the SD card to the locked position. This is the tiny switch that prevents any writing to the card. It’s not foolproof — some devices ignore it — but it adds a layer of protection against accidental overwrites while you work. Then put the card somewhere safe and don’t put it back in the camera until the recovery is done.
Resist the urge to “fix” things by reformatting the card, running the camera’s repair function, or letting your computer “scan and fix” the card. These well-meaning actions write data to the card and reduce your chances. The card is evidence right now — treat it that way.
Why Deleted Photos Can Still Be Recovered
Understanding what’s actually happening inside the card helps you make better decisions during recovery. An SD card stores your photos as files in a system the computer reads like a table of contents. When you delete a photo, the card doesn’t wipe the photo’s data — it just erases that photo’s entry from the table of contents and marks its space as free.
Recovery software works by ignoring the table of contents and reading the raw data directly, looking for the recognizable patterns that mark the beginning of a JPEG or RAW photo file. It’s like finding torn-out pages by their page numbers rather than using the index. This works beautifully as long as nothing new has been written over that space — which is exactly why stopping all use of the card matters so much.
This is also why formatted cards are often recoverable. A quick format — the kind cameras do — just clears the table of contents without touching the data. A full or “low-level” format actually overwrites everything, and that’s generally not recoverable. The good news: cameras virtually always do quick formats. If you want to understand storage at a deeper level, my explainer on how computers work covers how file systems manage your data.

Step 1: Get a Good Card Reader and Connect to a Computer
Don’t try to recover through the camera’s USB connection — cameras often hide the card behind their own software layer, and recovery tools need direct access to the card. Use a dedicated SD card reader plugged into your computer instead.
If your computer has a built-in SD slot, that works fine. Otherwise, any inexpensive USB card reader will do — this isn’t a place where you need premium gear. Insert the locked card into the reader, connect it, and wait for the computer to recognize it. Note the drive letter (Windows) or device name (Mac) it gets.
If the computer asks to format the card because it can’t read it — say no. Always no. That prompt appears with corrupted cards, and formatting is the opposite of what you want. Just close the prompt and move on to the recovery software.
Step 2: Scan the Card with Recovery Software
Recovery software scans the card’s raw data for photo files. There are several reputable options — some free, some paid — and they all work on the same principle. I’ll describe the process generically since the exact buttons vary.
Install the recovery software on your computer’s main drive — never on the SD card itself, since installing writes data. Launch it, select the SD card (not a partition or folder on it — the whole physical card), and choose the photo recovery or deep scan option. Then start the scan and wait. A full deep scan of a 64GB card can take 30 minutes to a few hours depending on the card’s speed and your reader.
Here’s my practical advice on choosing software: start with a free option. Free tools handle straightforward deletions perfectly well. Consider paying only if the free scan finds your photos but won’t let you restore them without a license — at that point you know the paid version will work, because the scan already proved the data is there. Never pay before a scan shows you previews of your actual photos.
One more caution: download recovery software only from the developer’s official site. Search results for “free photo recovery” are full of ads for sketchy programs, some of which are malware in disguise. If a recovery tool asks you to disable your antivirus to install it, that’s a hard no.
Step 3: Preview and Restore the Found Photos
When the scan finishes, you’ll see a list of found files — often hundreds, including photos you deleted months ago and forgot about. Most tools let you preview thumbnails. Go through them and select the ones you want back.
The critical detail: restore the files to your computer’s hard drive, never back onto the SD card. Saving recovered files to the same card you’re recovering from can overwrite other photos that haven’t been recovered yet. Create a folder on your desktop called “Recovered Photos” and save everything there.
Expect some imperfection. Photos that were partially overwritten may come back with gray bands, distorted colors, or only the top half intact. The software recovers what’s there — it can’t reconstruct data that’s been overwritten. In my experience, photos deleted recently and recovered promptly come back nearly perfect; ones from a card that’s been heavily reused since are a mixed bag.
After recovery, verify what you got before you do anything with the card. Open the recovered photos, check that the important ones are intact, and immediately copy them to a second location. Only then should you consider the recovery complete — and only then should you reformat the card for reuse. Going forward, set up proper backups so you never need this process again; if these photos came from a phone, see my guide on how to back up an Android phone, or for iPhone, how to back up an iPhone.

What If the Card Is Corrupted or Not Recognized?
Sometimes the problem isn’t deletion — the card itself is corrupted. Symptoms include the camera saying “card error,” the computer asking to format the card, or the card not appearing at all. Corruption usually means the file system (the table of contents) is damaged, while the photo data underneath is fine.
First, try the card in a different reader or a different computer. Readers fail more often than cards, and I’ve seen “dead” cards spring to life in a different reader. If the card appears but shows as empty or unformatted, run your recovery software’s deep scan on it — deep scans don’t need a working file system, they read raw data.
If the card doesn’t appear anywhere at all — no drive letter, no device, nothing — try gently cleaning the gold contacts with a dry soft cloth. Corrosion or dirt on the contacts causes more “dead card” scares than people realize. If it still doesn’t appear on multiple devices, the card’s controller may have failed, and that’s professional-recovery territory (see below).
Never let any device “repair” or “initialize” the card before you’ve attempted recovery. Those processes rewrite the file system and can make a recoverable situation worse.
Recovering from a Formatted Card
Accidentally formatted the card in the camera? Don’t panic — this is one of the most recoverable situations there is. As I explained above, a camera format is virtually always a quick format that only clears the file system. Your photos are almost certainly still there.
The process is identical to recovering deleted photos: lock the card, connect via a reader, deep scan, restore to your computer. The only difference is that the scan may take longer, since the software can’t use any file system hints and must examine every sector. Be patient and let it finish.
The exception is if you formatted the card and then kept shooting. In that case, the new photos overwrote some of the old ones. You’ll typically recover the oldest photos (which were in space the new shots didn’t reach) and lose the ones that got overwritten. It’s still worth scanning — partial recovery beats no recovery.
When to Call a Professional Data Recovery Service
Software recovery handles the vast majority of cases. But there are situations where you should stop and hand the card to a professional lab instead of continuing to try things yourself.
Call a professional if: the card isn’t recognized by any device at all, the card is physically damaged (cracked, bent, snapped), the photos are worth significant money (a paid wedding shoot, for example), or software scans find nothing after a full deep scan. Professional labs can sometimes read the memory chips directly, bypassing a dead controller — but it costs hundreds of dollars, so reserve it for photos that justify the price.
When choosing a lab, look for one that offers a free evaluation and a “no data, no fee” policy. Reputable labs will tell you what’s recoverable before you pay. Avoid any service that demands full payment upfront or won’t explain their process.
Preventing This Next Time
Every recovery story I’ve been part of ends with the same resolution: “I’m setting up backups now.” Here’s the short version of what actually prevents SD card disasters.
Copy photos off the card the same day you take them — don’t let a card accumulate weeks of irreplaceable shots. Never use a memory card as long-term storage; cards are transport, not archives. Replace old cards every few years, especially ones that have been through hundreds of write cycles. Buy cards from reputable brands through reputable sellers — counterfeit cards (mislabeled capacity, usually from marketplace sellers) are a leading cause of corruption and data loss.
And format the card in the camera you’ll use it in, not on the computer — cameras and computers sometimes use slightly different file system settings, and in-camera formatting avoids compatibility quirks. But format only after you’ve verified your photos are safely copied elsewhere. Twice.

Frequently Asked Questions
Yes, in many cases. Several reputable recovery tools offer free tiers that handle straightforward deletions. Start with a free scan — if it finds your photos and shows previews, the recovery will work. Only consider paying if the free tool finds your photos but requires a license to restore them.
Possibly, but your chances drop with every new photo taken. New photos overwrite the old data, and overwritten data can’t be recovered by software. Stop using the card immediately and run a deep scan — you’ll often recover at least some of the photos, especially ones in areas the new shots didn’t overwrite.
A quick format — the kind cameras perform — does not erase your photos; it only clears the file system index, and the photo data remains recoverable with software. A full or low-level format overwrites the data and is generally not recoverable. Cameras virtually always do quick formats, so accidental in-camera formats are very recoverable.
No. That prompt means the file system is damaged, but your photo data is likely still intact underneath. Formatting would make recovery harder. Close the prompt, connect the card through a reader, and run recovery software’s deep scan, which doesn’t need a working file system.
A deep scan of a 32GB card typically takes 20 to 40 minutes; a 128GB or 256GB card can take one to three hours depending on the card’s speed and your reader. The scan time is worth it — interrupting a deep scan means starting over, so let it finish completely.