Common Handstand Mistakes: 6 Errors and How to Fix Each

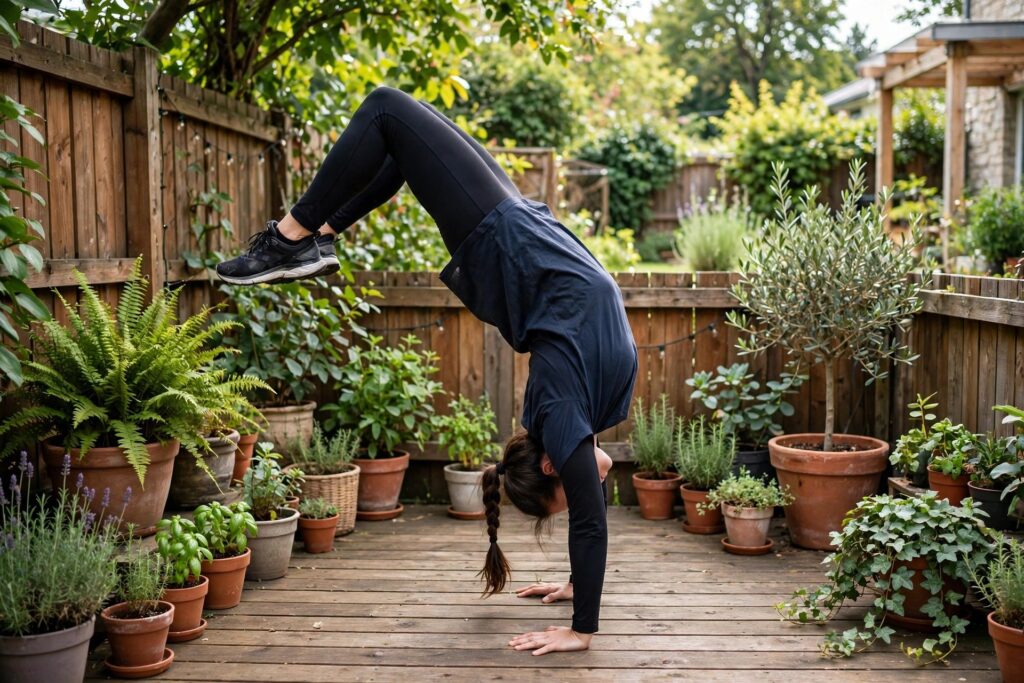
The handstand is the most humbling skill in fitness. I have watched 400-pound deadlifters reduced to flailing by a wall, and I have been that flailing person myself. Here is the truth that took me two years to learn: the handstand is not a strength skill, it is a position skill, and almost everyone fails for positional reasons, not strength reasons. The same six mistakes show up in nearly every beginner I coach, and they are all fixable with specific drills. In this guide I will diagnose each mistake, give you the exact correction, and lay out a four-week fix-it program. Master the fundamentals with how to do a handstand first if you have not, build the prerequisite pushing strength with the best shoulder exercises, and make sure your core can hold position with how to build core strength work.
Mistake 1: Banana Back (No Hollow Body)
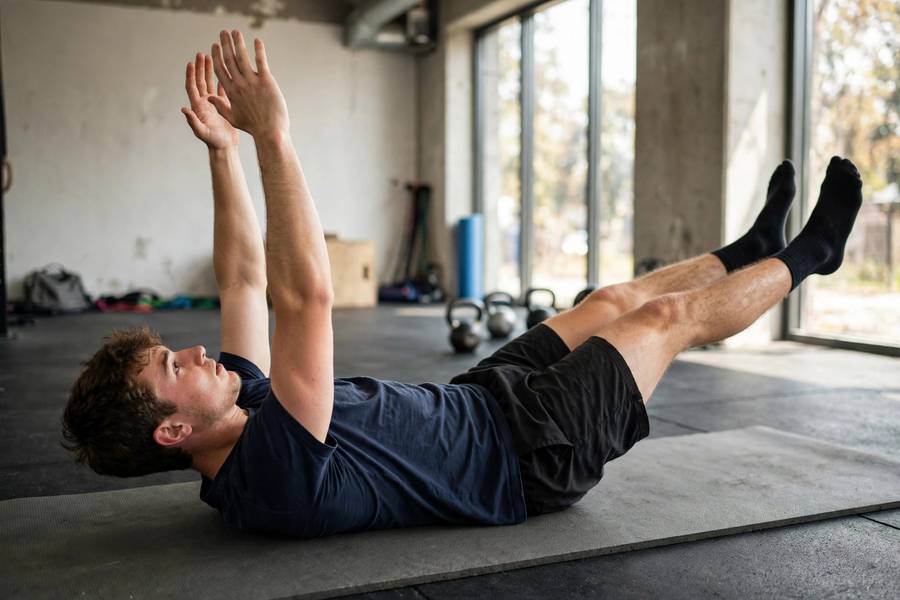
The banana back, arched lower back with ribs flared, is mistake number one by a mile. It happens because beginners try to balance by arching, which feels stable for about two seconds before the lower back screams and the whole structure collapses. A proper handstand is a straight hollow-body line: ribs tucked down, pelvis slightly tucked, glutes squeezed, body like a rigid plank turned upside down. The fix is hollow-body holds on the floor: lie on your back, arms overhead, lift shoulders and legs slightly, press your lower back into the floor, and hold 20 to 30 seconds. When you can hold 60 seconds, your body understands the shape. Then take it to the wall: chest-to-wall handstands force the hollow position because the wall punishes arching. Drill the shape on the floor until it is automatic, then expect it upside down.
Mistake 2: Kicking Up Wildly
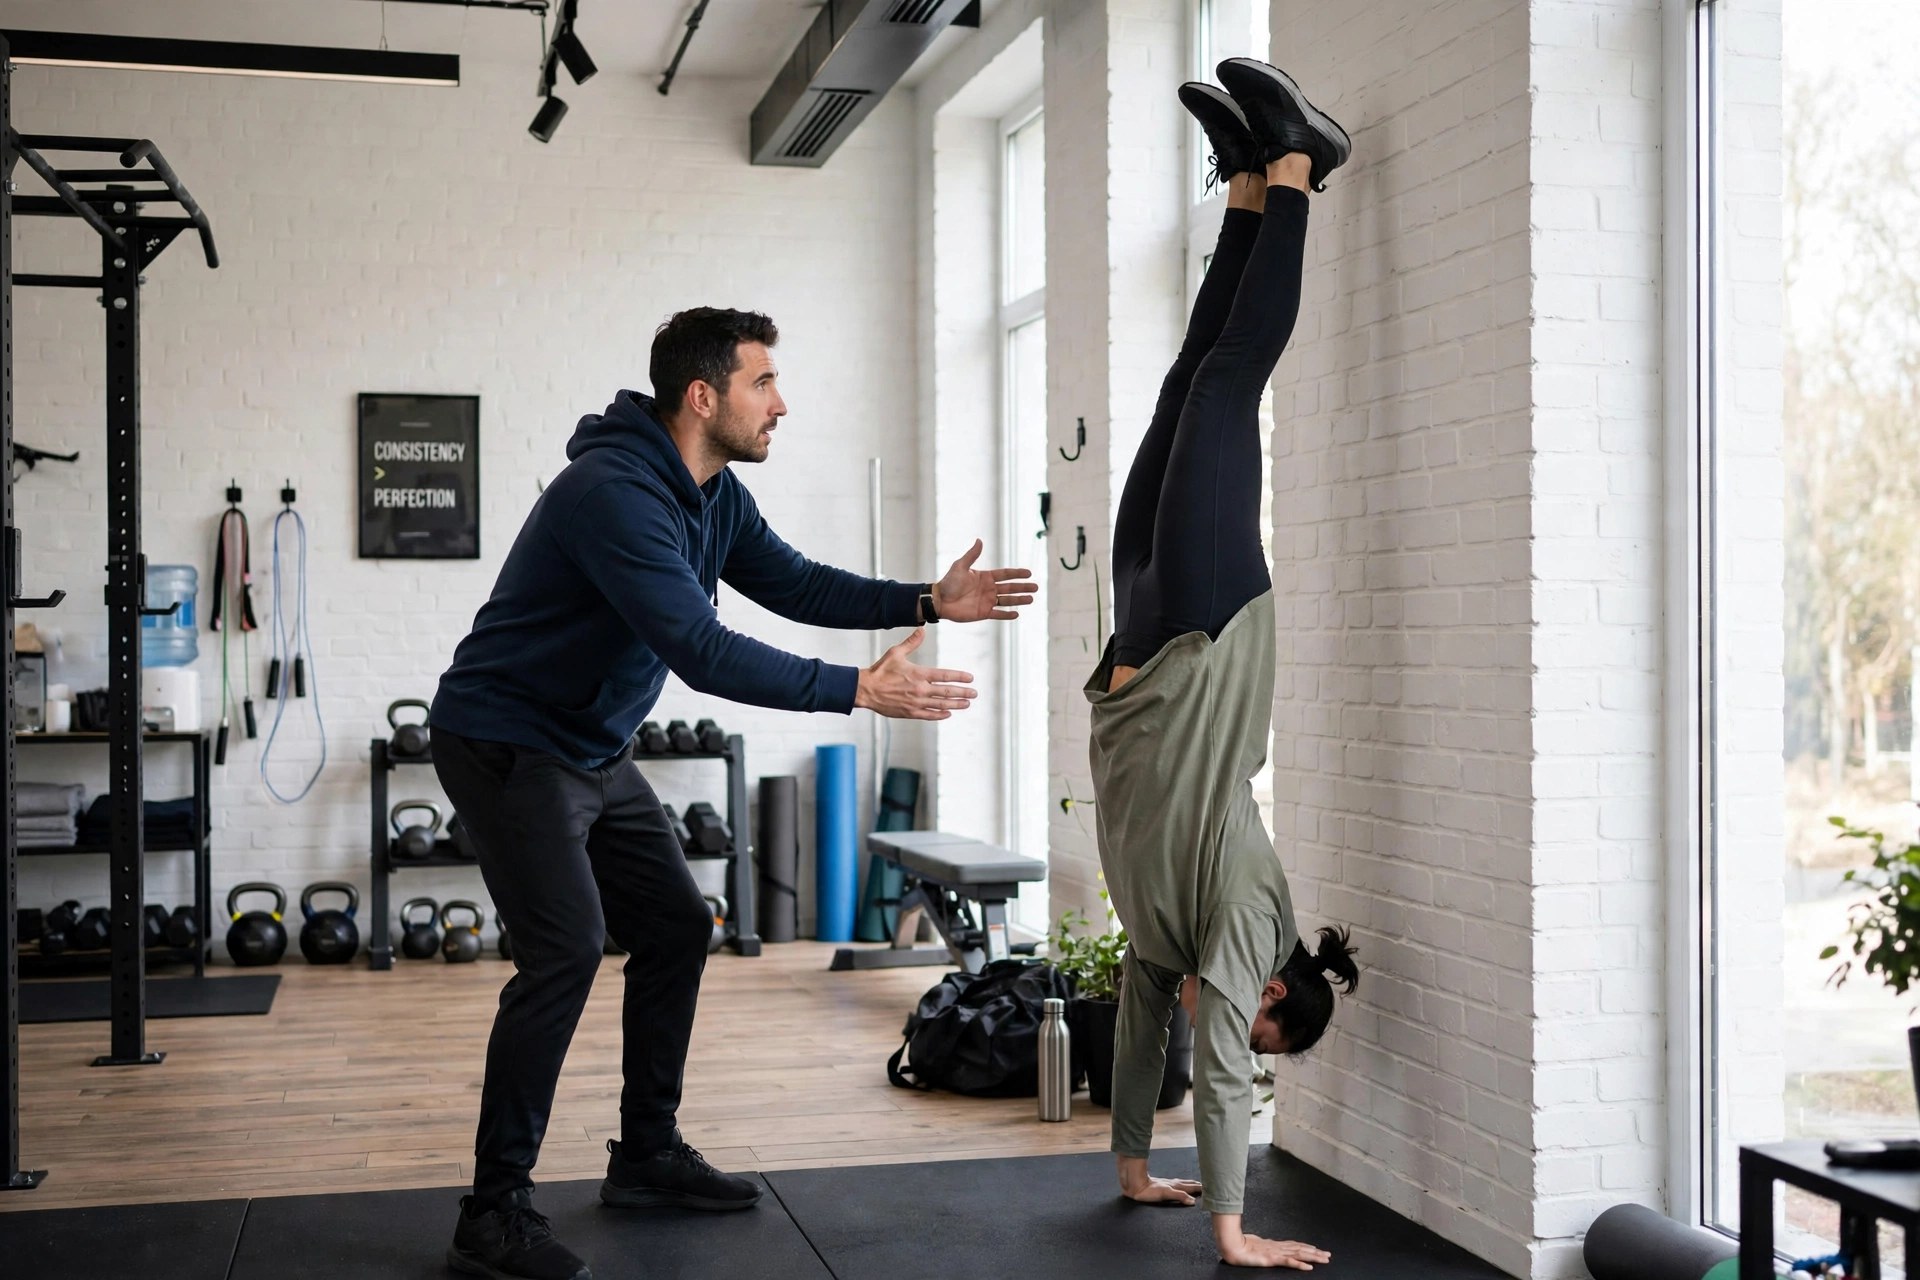
Beginners kick up like they are trying to launch into orbit, and the result is always the same: over-rotation, a crash into the wall, or a panicked bailout. The kick-up should be a controlled placement, not a leap of faith. Drill it with the “lunge to handstand” entry: start in a lunge, place your hands down, and let the back leg float up with just enough momentum to stack over your hands, aiming to stop in a split-leg handstand against the wall. Think 70 percent effort, not 100. Film yourself from the side; if your hips travel past your hands, you kicked too hard. Ten controlled entries per session beats fifty wild ones, because every wild kick rehearses panic and every controlled entry rehearses the skill. Patience here pays compound interest.
Mistake 3: Bent Arms
Bent arms in a handstand are like bent knees in a squat: the structure collapses and the muscles do work the skeleton should do. Straight arms stack the joints so your skeleton carries the load; bent arms force your triceps and shoulders to hold you up muscularly, which fatigues in seconds. The usual cause is kicking up too aggressively and “catching” yourself with bent arms, or simply lacking the pushing strength. Fix the strength with pike push-ups and wall handstand holds, accumulating 60-second holds before freestanding attempts. Fix the habit by practicing chest-to-wall handstands with a focus on pushing the floor away, actively shrugging toward your ears. If your arms bend the moment you leave the wall, you are not ready to leave the wall; there is no shame in that, only physics.
Mistake 4: Looking at the Floor (Or Your Hands)
Where you look determines your spinal position. Looking at the floor tucks your chin and rounds your upper back; craning to look at your hands arches your neck. The correct gaze is at a spot on the floor slightly in front of your hands, with a neutral neck as an extension of your spine. This feels wrong at first because beginners want visual confirmation of balance, but balance in a handstand comes from fingertip pressure, not vision. Drill it: in chest-to-wall holds, pick your gaze spot and keep it. When you start freestanding attempts, the gaze stays. Your fingers are your eyes upside down; learn to read them.
Mistake 5: Skipping the Wall
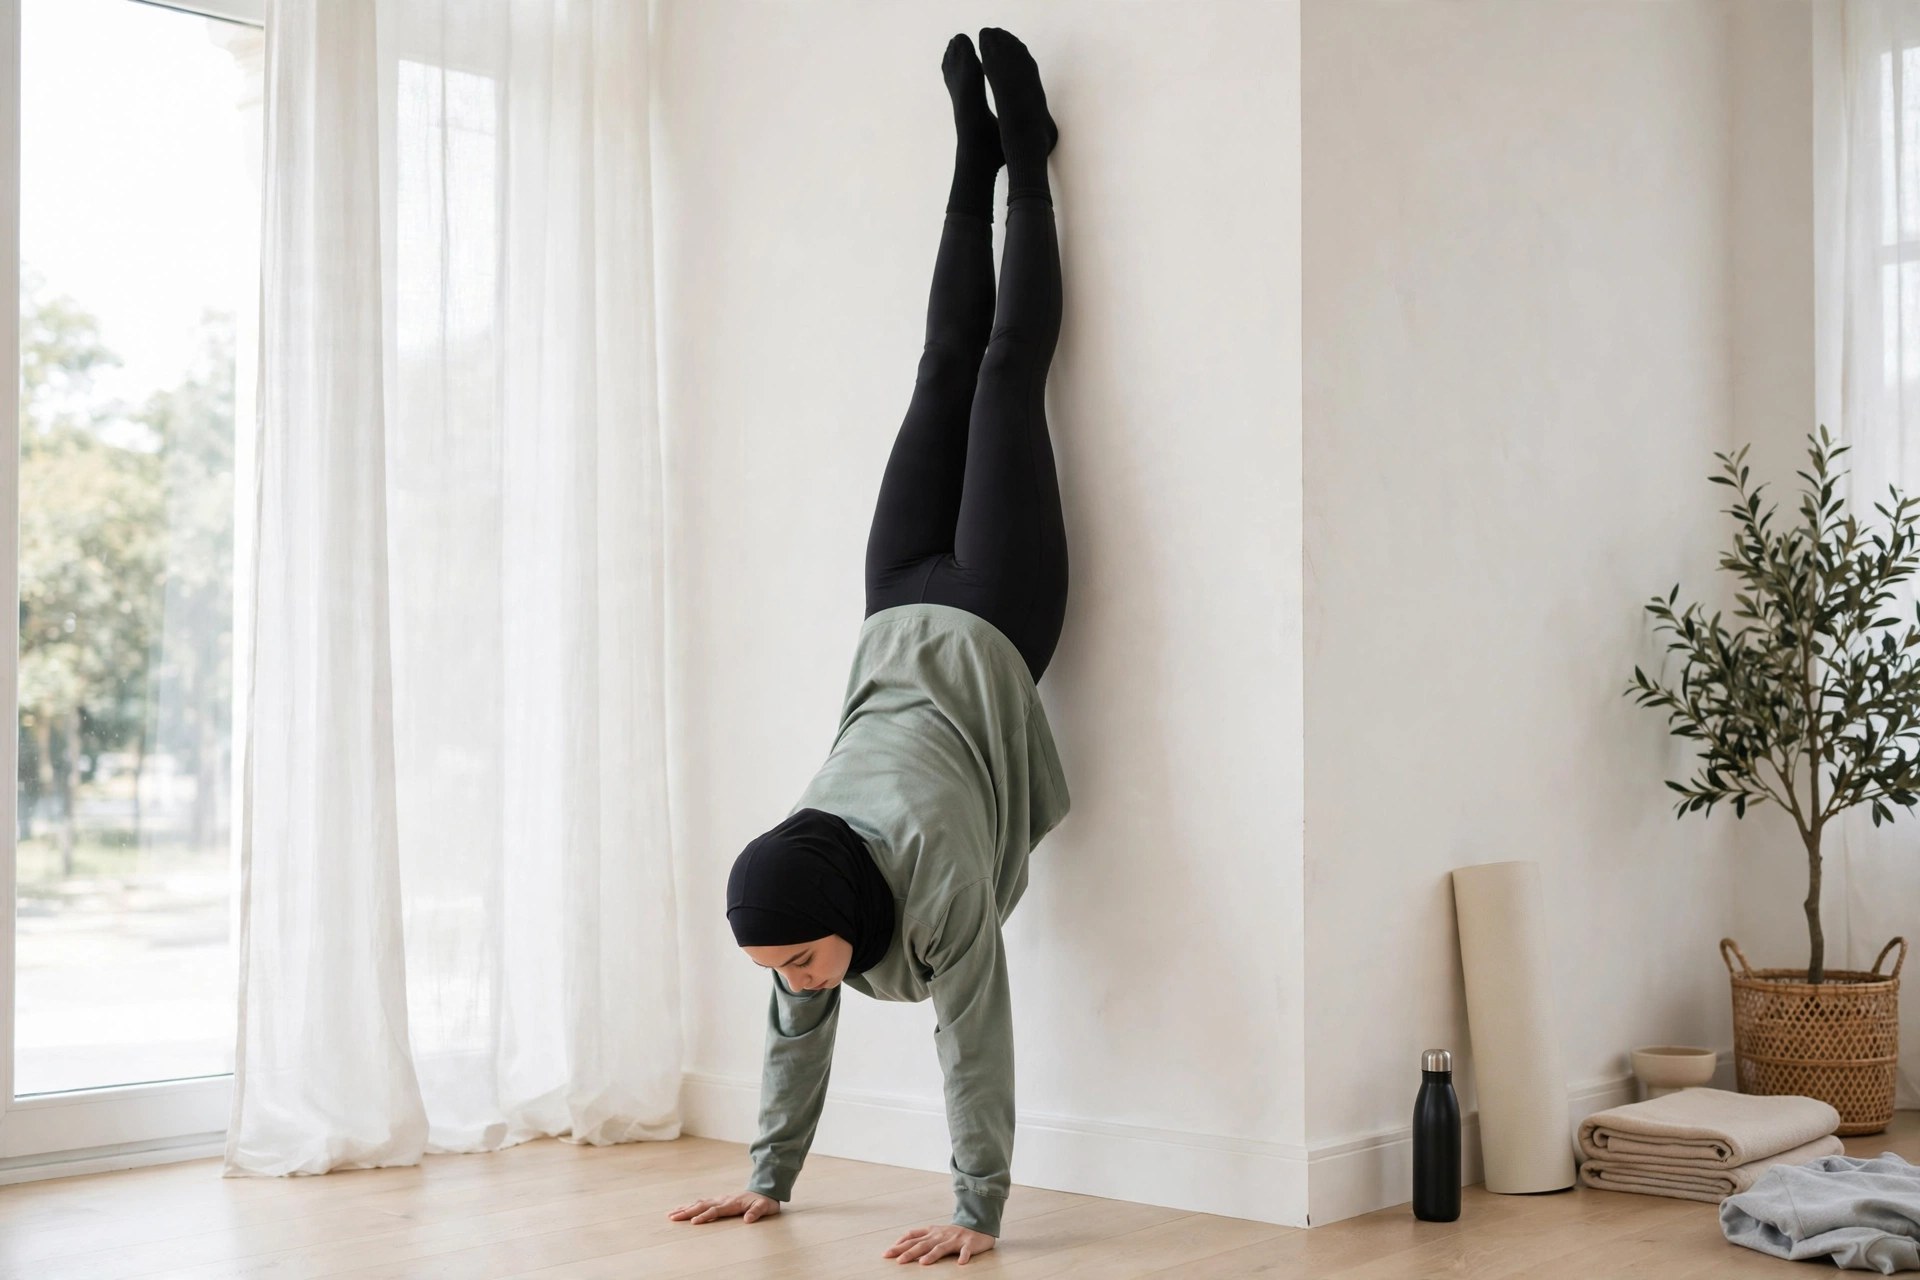
Ego makes people skip wall work, and it is the costliest shortcut in handstand training. The wall is not training wheels; it is the laboratory where you build the shape, the shoulder endurance, and the confidence that make freestanding possible. Minimum wall standards before real freestanding practice: 60-second chest-to-wall hold with hollow body, 30-second back-to-wall hold with controlled entries and exits, and the ability to bail safely by cartwheeling out. Athletes who rush past the wall spend months falling; athletes who master the wall often get their first freestanding hold within weeks of starting attempts. The wall is the fast path disguised as the slow path.
Mistake 6: No Shoulder Mobility Work
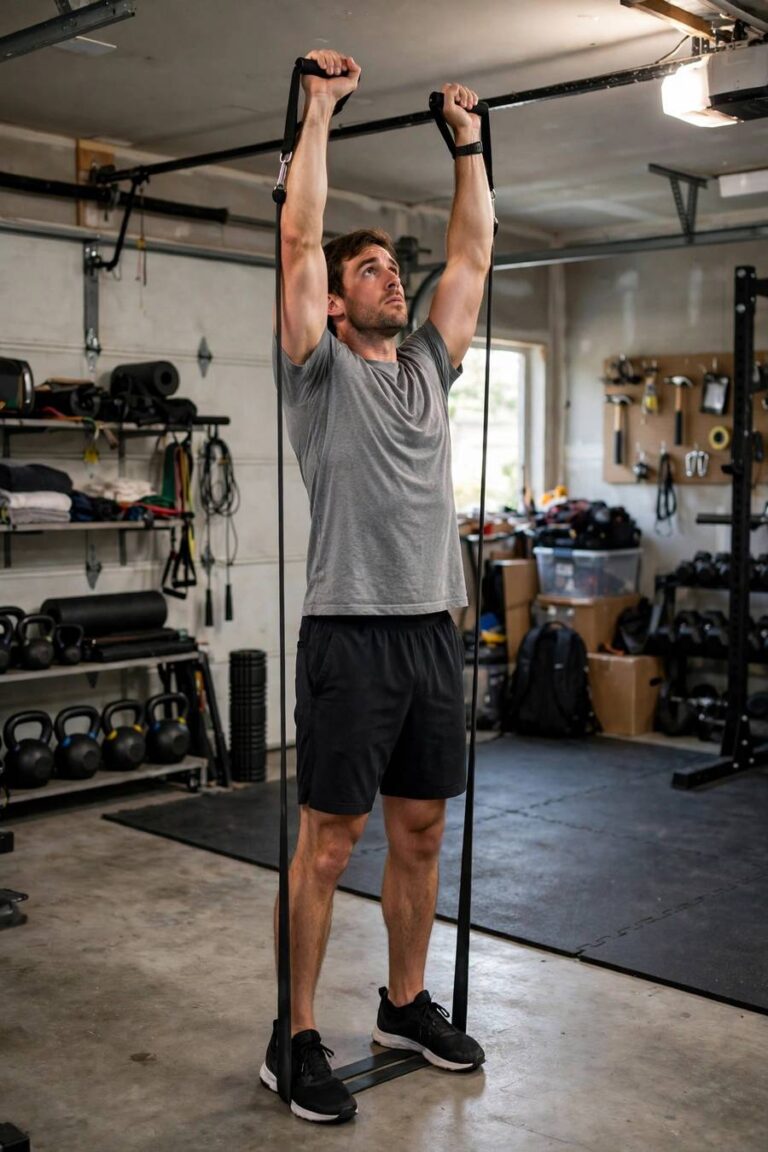
The handstand demands open shoulders: arms overhead in line with the torso, not in front of it. Most desk workers lack this, and no amount of kicking fixes a mobility restriction. Test it: stand with your back to a wall, arms overhead; if your ribs flare or your lower back arches to get your arms up, your shoulders need work. The fix: wall slides, thoracic extensions over a foam roller, and German hangs from a bar (start with feet on the ground), 5 minutes daily. Shoulder mobility responds fast, usually within 3 to 4 weeks, and it transforms the handstand from a fight into a stack. Do not attempt serious freestanding volume until you pass the wall test; you will just ingrain compensation.
The Fix-It Program: 4 Weeks to a Better Handstand
Week 1: hollow-body holds 3x30s daily, wall slides 2×10, chest-to-wall holds 5x20s. Week 2: hollow holds 3x45s, pike push-ups 3×8, chest-to-wall 5x30s, lunge-entry practice 10 reps. Week 3: hollow holds 3x60s, wall handstand shoulder taps 3×10 total, back-to-wall entries 10 controlled reps, German hangs 3x20s. Week 4: test chest-to-wall 60s hold; if passed, begin freestanding attempts, 10 per session, 3 sessions this week, bailing practice first. Train handstands 4 to 5 days per week in short 15-minute sessions; frequency beats marathon sessions for skill work. Film weekly from the side and compare your line. In a month, the banana straightens, the kick calms, and the wall starts feeling optional. That is when the real fun begins.
Fix the position and the skill follows. The handstand rewards the patient and humbles the rushed, without exception.
Equipment That Helps (And Hype to Skip)
Useful: a clear wall, a yoga mat for floor drills, parallettes for wrist-friendly practice once basics are solid, and a phone tripod for filming your line. Skip: handstand canes, expensive programs promising 30-day handstands, and grip gadgets. The handstand was learned for decades with a wall and a floor; gear does not accelerate skill acquisition, practice does. One worthwhile investment is a single session with a gymnastics coach, who can spot your specific compensation pattern in minutes. That hour is worth more than any equipment purchase.
Wrist Preparation: The Forgotten Prerequisite
Handstands load the wrists heavily, and beginners with desk-worker wrists often develop pain before skill. Prepare them: wrist circles 20 each direction, prayer stretches 30 seconds, reverse prayer 30 seconds, and loaded wrist rocks in quadruped position, 2 x 15. Do this before every handstand session for the first two months. If wrists ache during holds, stop the session; pushing through wrist pain is how chronic issues start. Parallettes reduce wrist extension demands and are worth using once you train regularly. Strong wrists are built gradually like everything else in this skill; respect their timeline too.
Almost always positional, not strength: banana back, bent arms, or wild kick-ups. Master the hollow-body shape on the floor, build to 60-second chest-to-wall holds, and control your entries before freestanding attempts.
With consistent practice (15 min, 4-5 days/week), most athletic beginners get a first freestanding hold in 3-6 months. Rushing the wall-work phase extends the timeline; mastering it shortens it.
Yes, always. Minimum standards: 60-second chest-to-wall hold with hollow body, controlled entries and exits, safe bailouts. The wall builds the shape and shoulder endurance freestanding requires.
You are arching (banana back) instead of holding a hollow-body position. Drill hollow holds on the floor until you can hold 60 seconds, then transfer the shape to chest-to-wall handstands.
Learn the cartwheel bailout first: as you overbalance, turn your body and step down sideways. Practice it intentionally against a wall until it is automatic before attempting freestanding holds.
You need adequate pushing strength (pike push-ups, 60-second wall holds) and, more importantly, open shoulder mobility. Most failures are positional; strength is rarely the true limiter for beginners.
Desk-worker wrists need gradual loading. Do wrist prep (circles, prayer stretches, loaded rocks) before every session for two months, stop if pain appears during holds, and consider parallettes to reduce extension demands.