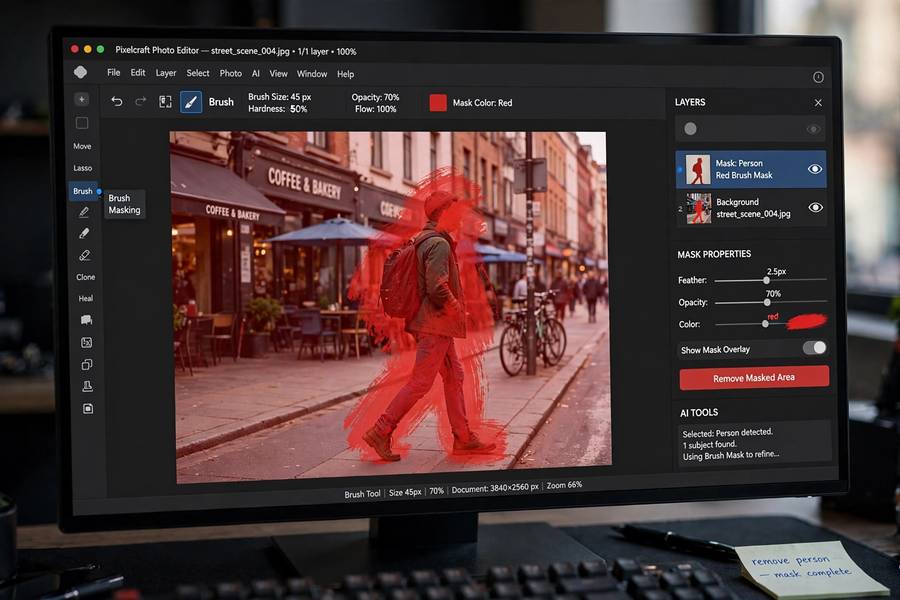
Text-to-image generation gets the glory, but inpainting is the feature that made Stable Diffusion genuinely useful to me as a working tool rather than a toy. The concept is simple: paint a mask over part of an image, describe what should be there instead, and the model regenerates just that region — blending it seamlessly with the rest. Bad hand in an otherwise perfect portrait? Mask it, fix it. Ex-boyfriend in a vacation photo? Mask him, replace with beach. It’s Photoshop’s content-aware fill with a creative brain.
This guide explains how inpainting works, walks through the practical workflow, and covers the techniques that separate clean edits from obvious ones. If the base technology is new to you, start with how Stable Diffusion generates images.
Table of Contents
- What Inpainting Actually Does
- Inpainting vs Outpainting vs Img2Img
- The Basic Workflow, Step by Step
- Masking: The Skill That Determines Everything
- Prompting for Inpainting: Describe the Patch, Not the Picture
- Denoising Strength: How Much Change to Allow
- Common Inpainting Jobs and How to Nail Them
- When Inpainting Fails and What to Do
- Inpainting Real Photos: Extra Care Needed
- Frequently Asked Questions
What Inpainting Actually Does
Inpainting regenerates a masked region of an image while keeping everything outside the mask intact. Technically, the model takes your image, adds noise to the masked area (destroying its content), and then denoises that area guided by your prompt — with the unmasked surroundings providing context so the new content blends in.
The context-awareness is the magic. The model doesn’t just paste something plausible into the hole; it considers lighting, perspective, color palette, and style from the surrounding pixels. A masked patch in a sunlit meadow gets sunlit meadow content; the same mask in a noir alley gets noir alley content. The surrounding image is a second, implicit prompt — and it’s often more informative than your words.
This is fundamentally different from generating a whole new image. You’re doing surgery, not childbirth: precision edits on existing pixels, with the rest of the image as an anchor.
Inpainting vs Outpainting vs Img2Img
Three related tools, three different jobs:
Inpainting edits part of an image. Mask a region → regenerate that region. Use for: fixing flaws, replacing objects, removing things.
Outpainting extends beyond an image’s borders. Mask the empty area around an image → generate the continuation. Use for: widening a composition, changing aspect ratio, creating backgrounds.
Img2Img transforms the whole image. No mask — the entire image is lightly noised and regenerated with a prompt. Use for: restyling, enhancing, variations.
They compose beautifully: generate with text-to-image, fix flaws with inpainting, extend with outpainting, polish with img2img. That pipeline — generate, repair, extend, polish — is the professional Stable Diffusion workflow, and inpainting is its workhorse.
The Basic Workflow, Step by Step
In AUTOMATIC1111 (other interfaces are similar):
- Load your image into the inpainting tab (upload, or send a generation there directly).
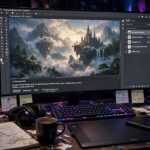
- Paint the mask over the area to change. White = regenerate, black = keep. Use the brush tool.
- Write a prompt describing what should appear in the masked area.
- Set denoising strength (more below — start around 0.7).
- Generate. The model fills the mask; the rest stays pixel-identical.
- Iterate. Don’t like it? Adjust the mask or prompt and regenerate — the unmasked image is your safety net.
The whole loop takes seconds per attempt. The skill isn’t in the clicking — it’s in the masking and prompting, which is where we go next.
Masking: The Skill That Determines Everything
Bad masks produce bad inpaints. The rules:
Mask slightly MORE than the problem. If you’re fixing a distorted hand, mask the whole hand plus a margin — not just the weird finger. The model needs clean surrounding context to blend against; masking too tightly forces it to work from corrupted edges.
Feather the edges. Most inpainting tools blur the mask boundary. A hard edge creates a visible seam; a soft transition lets the model blend. If your tool has a mask blur setting, use it (values around 4–16 pixels are typical).
One job per mask. Don’t mask the hand, the background stranger, and the weird sign all at once with one prompt. The model can’t serve three masters. Do them sequentially — mask, fix, repeat.
For removal, mask generously. Removing an object means the model must invent what was behind it. Give it room: mask the object plus enough surrounding area that the invented background has space to be plausible.
Mind the resolution. Inpainting at the image’s full resolution gives the model the most context. Downscaled inpaints look soft against sharp surroundings.
Prompting for Inpainting: Describe the Patch, Not the Picture
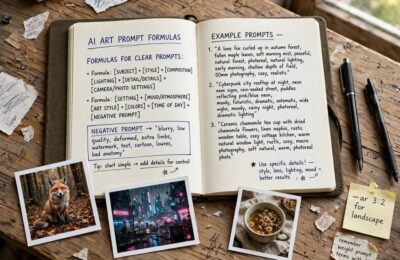
The biggest beginner mistake: pasting the original full prompt into the inpainting prompt box. The model already sees the whole image as context — your prompt should describe only what goes in the masked hole.
Fixing a hand? Your prompt is “a natural relaxed human hand, photorealistic, matching skin tone” — not “a portrait of a woman in a garden, photorealistic, golden hour…” The context handles the garden; you handle the hand.
Additional prompting notes:
- Match the style explicitly. If the image is photorealistic, say so. The model can drift stylistically within the patch without the reminder.
- Keep it short. Inpainting prompts work best concise — you’re describing a region, not a scene.
- Reuse what works. Once you find a good “hand fix” prompt, save it. You’ll use it forever.
Denoising Strength: How Much Change to Allow
Denoising strength (0 to 1) controls how much of the masked area gets destroyed before regeneration:
- 0.3–0.5: Light touch. Keeps the general structure, refines details. Good for: cleaning up slight flaws, enhancing textures, subtle fixes.
- 0.6–0.8: The working range. Significant regeneration while respecting context. Good for: replacing objects, fixing anatomy, changing expressions.
- 0.9–1.0: Near-total regeneration of the masked area. Good for: complete replacement, removing objects (with “empty background” type prompts).
Start at 0.7 and adjust. Too low and the flaw persists (the model just repaints the same mistake). Too high and the patch ignores useful context. The right value depends on the job — there’s no universal setting, which is why this slider exists.
Common Inpainting Jobs and How to Nail Them
Fixing AI anatomy. The number-one use. Mask the bad hand/face generously, prompt the correct anatomy, denoising ~0.75. Often takes 2–3 tries — each attempt is seconds, so iterate freely.
Removing objects/people. Mask the object plus margin, prompt describing the background (“empty sandy beach, no people”), denoising ~0.9. Works best when the background is simple; complex backgrounds behind the object are harder to invent convincingly.
Changing clothes or objects. Mask the item, describe the replacement with style matching (“red leather jacket, photorealistic”). Denoising ~0.7. Great for product mockups and fashion experiments.
Face restoration. Blurry or distorted faces in group shots: mask the face, prompt a detailed face description, moderate denoising. Specialized face-restoration tools exist too, but inpainting gives more control.
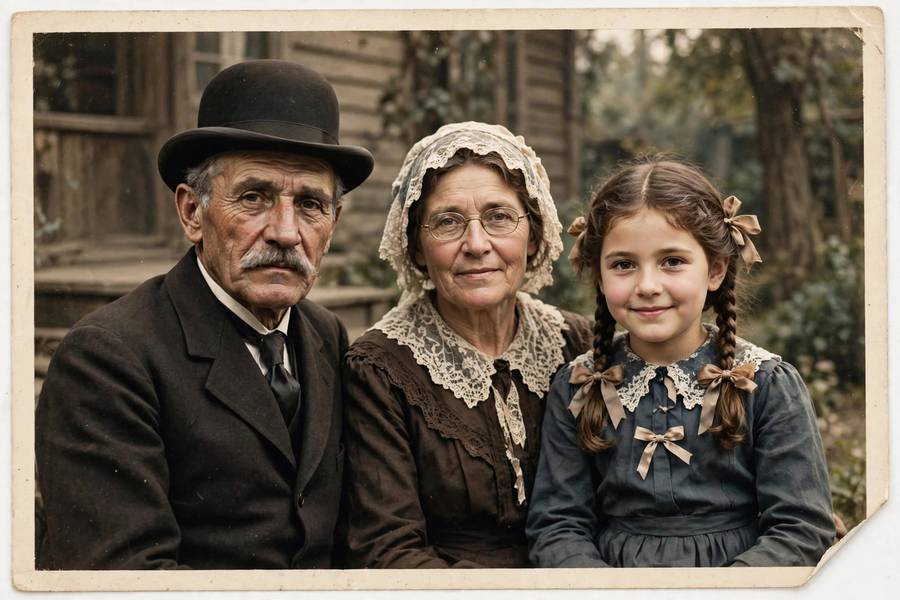
Photo restoration. Scratches, tears, stains on old photos: mask the damage, prompt the underlying content (“clean photographic paper texture” for backgrounds, or describe the obscured detail). Remarkably effective — damage is exactly the kind of localized problem inpainting solves.
Text correction. Garbled text in an AI image: mask the text area, prompt the correct short text. Works for brief labels; long passages still struggle.
When Inpainting Fails and What to Do
The patch doesn’t blend. Usually a mask edge problem — increase mask blur, or mask a larger area so the transition zone sits in low-detail territory (skies and blurred backgrounds hide seams; sharp textures don’t).
The model repaints the same flaw. Denoising too low, or the prompt too vague. Raise denoising, sharpen the prompt, or mask wider to remove more of the corrupted context.
Wrong style in the patch. Add explicit style terms to the inpainting prompt. The model sometimes needs reminding what the surrounding image looks like, especially with unusual styles.
It ignores your prompt. The surrounding context is overpowering your words — this happens with strong, distinctive surroundings. Raise the CFG scale slightly, simplify competing context by masking wider, or accept that some edits fight the image’s nature.
Hands still wrong after five tries. Some hands are cursed. Mask bigger, try a different seed, or — the pragmatic pro move — reframe: mask the hand and prompt it holding something, or positioned differently. Sometimes the fix is a different hand, not a better one.
Inpainting rewards patience and punishes pride. The undo button is free; the perfect edit is three attempts away. And once you’re comfortable editing parts of images, the natural next step is extending them — or comparing philosophies with hosted tools via how to use Midjourney, which handles variation and editing quite differently.
Inpainting Real Photos: Extra Care Needed
Everything so far assumed AI-generated images, but inpainting real photos has its own quirks. Real photos carry sensor noise, lens characteristics, and compression artifacts that the model must match — a too-clean patch on a grainy photo screams “edited.” Keep denoising moderate so the patch inherits the photo’s texture, and name the photo’s character explicitly in the prompt (“smartphone photo, natural grain”).
Faces of real people deserve extra caution: regenerating a real person’s face can subtly alter their identity, which matters for anything beyond personal use. For restoration work — scratches, stains, damage — inpainting is superb. For altering real people’s appearance, or removing real people from documentary contexts, think carefully about what you’re doing and why. The tool doesn’t judge; that’s your job.
Frequently Asked Questions
Inpainting regenerates a masked part of an image while keeping the rest intact. You paint over the area to change, describe what should replace it, and the model fills it in blended with the surroundings. It’s used for fixing flaws, replacing objects, and removing things.
Mask the entire hand plus a margin, use a prompt like “a natural relaxed human hand, photorealistic,” set denoising around 0.75, and iterate. It usually takes 2–3 attempts. Mask generously — tight masks force the model to work from corrupted edges.
Start at 0.7. Use 0.3–0.5 for light touch-ups, 0.6–0.8 for replacing objects or fixing anatomy, and 0.9–1.0 for complete replacement or object removal. Too low preserves the flaw; too high ignores useful context.
Inpainting edits part of an existing image (mask a region, regenerate it). Outpainting extends beyond the image’s borders (generate continuation around it). Img2Img transforms the whole image. They compose into a full edit pipeline.
Yes — mask the person plus a generous margin, prompt the background (“empty beach, no people”), and use high denoising (~0.9). It works best with simple backgrounds; complex scenes behind the person are harder to reconstruct convincingly.
Keep reading: