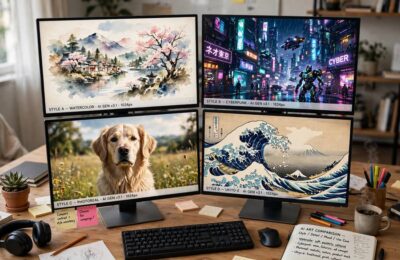
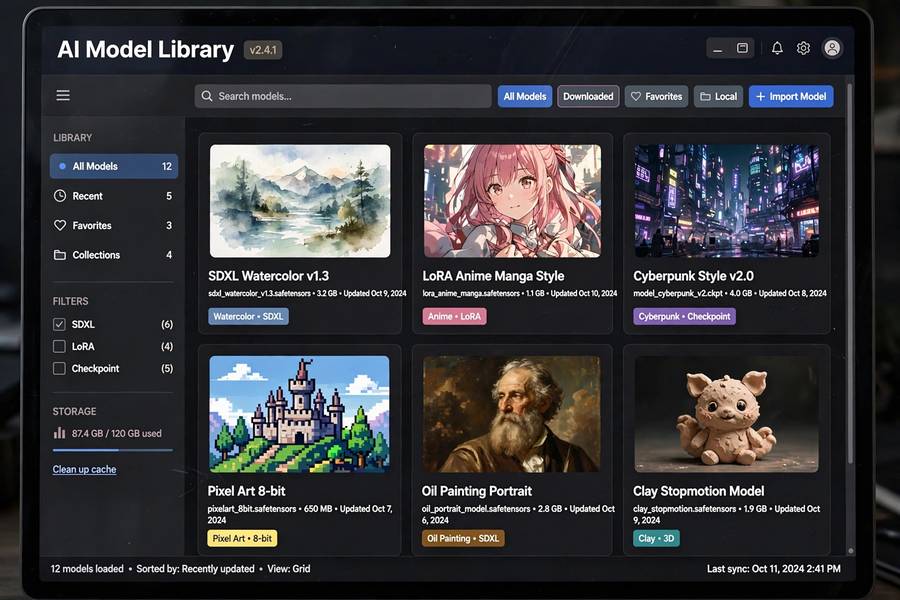
A “checkpoint” is just a file — a few gigabytes of trained neural network weights — but choosing the right one is the closest thing Stable Diffusion has to choosing a camera. The same prompt through different checkpoints produces wildly different images: one gives you photography, another gives you anime, a third gives you oil paintings. Beginners download randomly and wonder why results are inconsistent. The fix is understanding what checkpoints are and picking deliberately.
This guide explains the checkpoint landscape: base models versus fine-tunes, the main categories, standout picks in each, and how to build a small, versatile collection without drowning in downloads. For the fundamentals of the tech, see how Stable Diffusion works.
Table of Contents
- What a Checkpoint Actually Is
- Base Models vs Fine-Tunes
- The Base Models: SD 1.5, SD 2.x, SDXL
- Photorealism Checkpoints
- Anime and Stylized Checkpoints
- Artistic and General-Purpose Checkpoints
- How to Evaluate a Checkpoint Before Downloading
- Managing Your Collection Without Chaos
- Safetensors vs CKPT: The Safety Bit
- LoRAs: The Small Files That Punch Above Their Weight
- Frequently Asked Questions
What a Checkpoint Actually Is
A checkpoint is a saved snapshot of a trained model’s weights — the billions of numbers that encode everything the model learned. When you “download a checkpoint,” you’re downloading a complete, ready-to-generate image model in a single file (usually .safetensors or .ckpt format, 2–7GB).
Think of the base model as a general education and a fine-tuned checkpoint as specialized training. The base model knows a bit about everything; a fine-tune has been additionally trained on a narrower dataset — portraits, anime, product photography — making it exceptional in its specialty and narrower outside it.
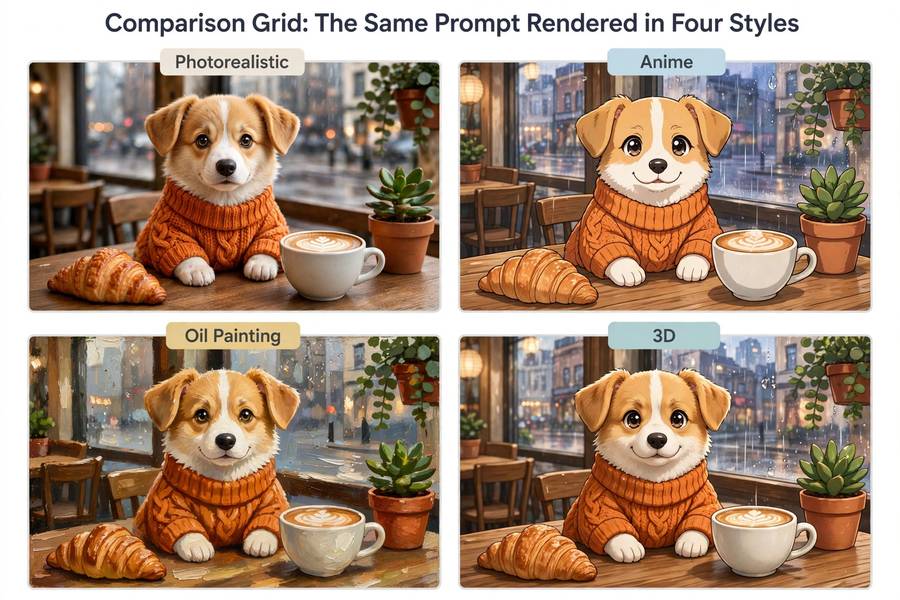
The practical consequence: your checkpoint choice is a style choice. Prompting matters, but the checkpoint sets the baseline aesthetic that your prompts build on. Switching checkpoints is the fastest way to change your results’ look.
Base Models vs Fine-Tunes
Base models (SD 1.5, SDXL) are the official releases — generalists, well-documented, the foundation everything else builds on. Start here. They’re the most predictable, the best supported by tutorials, and the reference point for comparing everything else.
Fine-tunes are community (or commercial) models additionally trained from a base. They specialize: photorealism, anime, specific art styles, architecture, fantasy. The best fine-tunes dramatically outperform base models in their niche — a good photorealism fine-tune produces portraits that make SD 1.5 look amateur.
Merges blend two or more checkpoints, combining their strengths. The community merges obsessively — some of the most beloved models are merges of merges. Merging is alchemy as much as science, but the results speak.
The ecosystem’s scale is staggering: tens of thousands of checkpoints exist. You need maybe five. This guide is about finding those five.
The Base Models: SD 1.5, SD 2.x, SDXL
Your foundation options:
SD 1.5 — the classic. Smallest (4GB), fastest, lowest VRAM needs (6GB), and backed by the largest fine-tune library ever built. If your hardware is modest or you want maximum community resources, start here. Its age shows in faces and hands, but fine-tunes fix most of that.
SD 2.x — the awkward middle child. Technically improved in some ways, but the community never embraced it like 1.5, so the fine-tune library is thin. Mostly of historical interest now; few people recommend starting here.
SDXL (1.0) — the current flagship. Bigger (7GB), needs 8GB+ VRAM, dramatically better faces, hands, composition, and text rendering. The fine-tune library is growing fast and already excellent for photorealism. If your hardware handles it, this is the default choice for new users in 2026.
SDXL Turbo / Lightning — distilled speed variants. Near-instant generation, slightly reduced quality. Great second model for rapid iteration alongside a full-quality primary.
Recommendation: SD 1.5 if VRAM-constrained, SDXL if not. Keep one of each if you can — they serve different roles.
Photorealism Checkpoints
If you want “looks like a photograph,” fine-tunes beat base models decisively. What to look for:
- Skin texture quality — the hallmark of good photorealism fine-tunes. Preview images should show pores, subtle imperfections, natural subsurface scattering — not plastic smoothness.
- Lighting realism — good models handle complex lighting (mixed sources, golden hour, indoor tungsten) convincingly.
- Lens character — the best ones reproduce photographic artifacts subtly: depth of field, bokeh, film grain.
The popular photorealism fine-tunes cycle quickly — new ones dethrone old ones monthly. Rather than naming specific files that may be outdated, here’s how to find the current champions: sort the model hub by downloads in the photorealism category, check preview images for the qualities above, and read recent comments. A model with 50k downloads and glowing recent comments is a safe bet.
One caution: photorealism fine-tunes are the most likely to be misused for deceptive imagery. Use them responsibly — the community’s trust depends on it.
Anime and Stylized Checkpoints
Anime is where fine-tuning shines brightest — the style is distinctive enough that specialized training produces night-and-day differences:
- General anime fine-tunes cover the mainstream style with excellent character consistency.
- Specialized styles exist for particular aesthetics — retro 90s anime, modern cinematic anime, chibi, specific studio looks.
- Stylized 3D/cartoon models cover Pixar-esque, game-art, and illustration styles.
Anime checkpoints also tend to be the best-documented for prompting conventions — the community developed specific tag-based prompting (borrowed from image-board tagging) that these models respond to. If you’re entering this world, learning the tag conventions matters as much as the checkpoint choice.
Artistic and General-Purpose Checkpoints
Between photorealism and anime lies everything else:
- Digital art / fantasy fine-tunes — the largest category, covering epic fantasy, sci-fi concept art, character design.
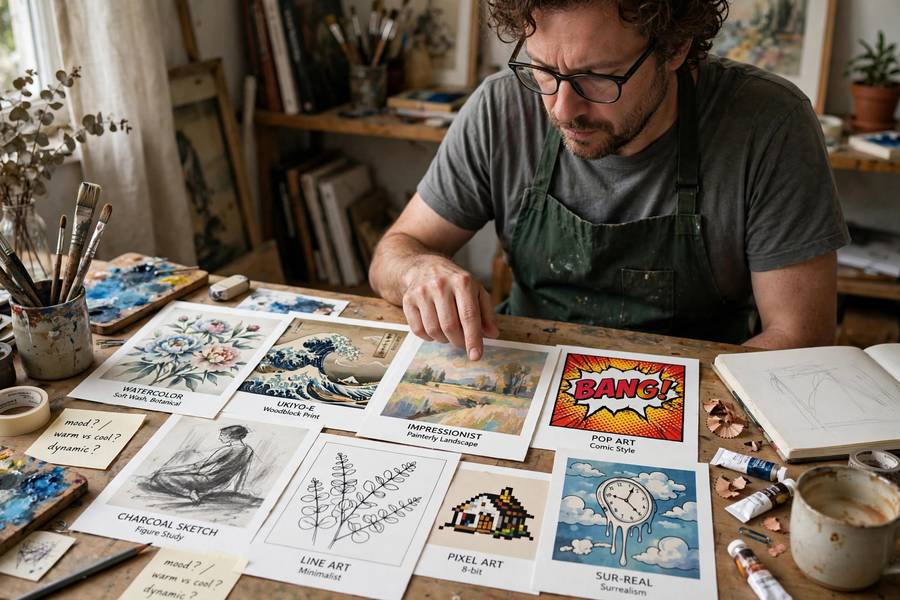
- Traditional media — oil painting, watercolor, sketch styles that mimic physical media convincingly.
- Design-oriented — architecture, product design, interior concepts.
- Generalist upgrades — fine-tunes that aim to be “better SD 1.5/XL at everything” rather than specializing. These are excellent daily drivers if you generate varied content.
My recommended starter collection: one base model, one photorealism fine-tune, one artistic generalist, and one specialty matching your interest. Four files, ~20GB, covering 95% of use cases. Everything beyond that is exploration, not necessity.
How to Evaluate a Checkpoint Before Downloading
Don’t download blind. The checklist:
- Preview images. The model’s page shows sample outputs. Do they match the aesthetic you want? Are they consistent, or cherry-picked?
- Download count and recency. High downloads + recent update = maintained and trusted.
- Recommended settings. Good model pages list the VAE, sampler, and CFG range the creator used. Missing documentation is a yellow flag.
- Comments. Recent user comments reveal breakage, quality drift, or prompting quirks.
- License. Check commercial-use terms if relevant — most are permissive, some aren’t.
- Trigger words. Some fine-tunes (especially style or concept ones) need a trigger word in the prompt to activate. The model page should document this.
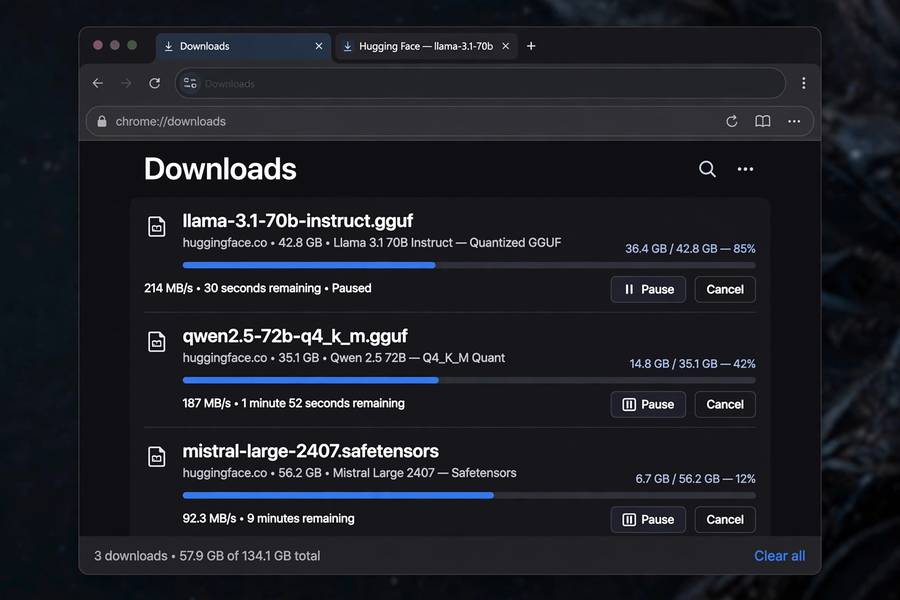
Also verify the file hash after downloading if provided — multi-gigabyte downloads corrupt more often than you’d think, and a corrupt checkpoint produces bizarre failures that look like user error.
Managing Your Collection Without Chaos
Checkpoint collections grow like weeds. Stay organized:
- Name files descriptively when downloading (the hub filenames are often cryptic).
- Keep notes on what each model is for — a simple text file beats trying to remember.
- Delete ruthlessly. If you haven’t used a model in a month, delete it. You can re-download.
- Separate by base. SD 1.5 and SDXL models aren’t interchangeable — keep them in clearly labeled folders (most interfaces do this automatically).
- Version your favorites. When a beloved model updates, keep the old version until you’ve tested the new one.
The deeper truth: the checkpoint matters less than the prompter. A skilled user with a base model outperforms a novice with the perfect fine-tune. Collect deliberately, but invest your real energy in prompting skill — and in thinking about what you’re actually making, which is where the question of can AI make art gets interesting.
Safetensors vs CKPT: The Safety Bit
You’ll see two file formats: .safetensors and .ckpt. Functionally they’re identical — same weights, same images. The difference is safety: .ckpt files are Python pickles and can theoretically contain malicious code that runs on load; .safetensors can’t, by design.
My rule is simple: prefer .safetensors always. Most reputable models offer it. If a model you want only exists as .ckpt, download it only from a source you trust — a creator with a real reputation, never a random re-upload. Then consider converting it to safetensors yourself; most interfaces include a converter. This isn’t paranoia: malicious checkpoints have actually circulated. The format choice is a free security upgrade — take it.
LoRAs: The Small Files That Punch Above Their Weight
Checkpoints aren’t the only model files worth knowing. LoRAs are tiny add-ons — tens of megabytes instead of gigabytes — that bolt a specific style, character, or concept onto whatever checkpoint you’re using. Want your photorealism checkpoint to also do a particular anime style for one project? Load a LoRA instead of downloading a whole new checkpoint.
They’re adjustable, too: a strength slider (typically 0.5–1.0) controls how strongly the LoRA influences the image. Lower values blend the concept subtly; full strength commits. You can stack multiple LoRAs — a character LoRA plus a style LoRA — though each one you add makes the result less predictable.
The practical upshot: LoRAs let you keep a lean checkpoint collection. Instead of twenty specialized checkpoints, keep four good ones and a folder of LoRAs for the specialties. Less disk, less chaos, same versatility.
Frequently Asked Questions
A checkpoint is a file containing a trained model’s weights (2–7GB). It’s the actual AI model you generate images with. Base models are generalists; fine-tuned checkpoints specialize in styles like photorealism or anime.
Start with a base model — SD 1.5 for modest hardware (6GB VRAM) or SDXL for capable hardware (8GB+ VRAM). Add one photorealism or artistic fine-tune once you’re comfortable. Four well-chosen models cover nearly everything.
A checkpoint is a complete standalone model (gigabytes). A LoRA is a small add-on file (megabytes) that modifies a checkpoint’s behavior — adding a style, character, or concept — without replacing it. LoRAs layer on top of checkpoints.
Four covers 95% of use cases: a base model, a photorealism fine-tune, an artistic generalist, and one specialty for your interest. More than that is exploration. Delete models you haven’t used in a month.
Use .safetensors format files (not .ckpt/.pt from untrusted sources), which can’t contain malicious code. Download from reputable hubs, check the model’s reputation and comments, and verify file hashes when provided.