How to Remove Paint From Wood Trim Without Gouging It

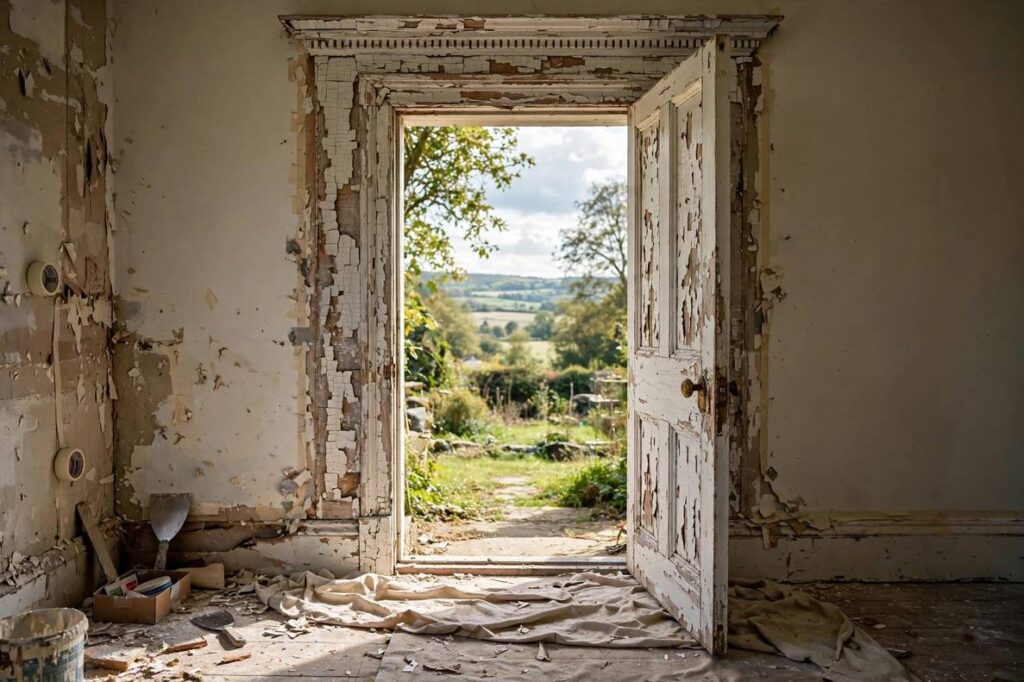
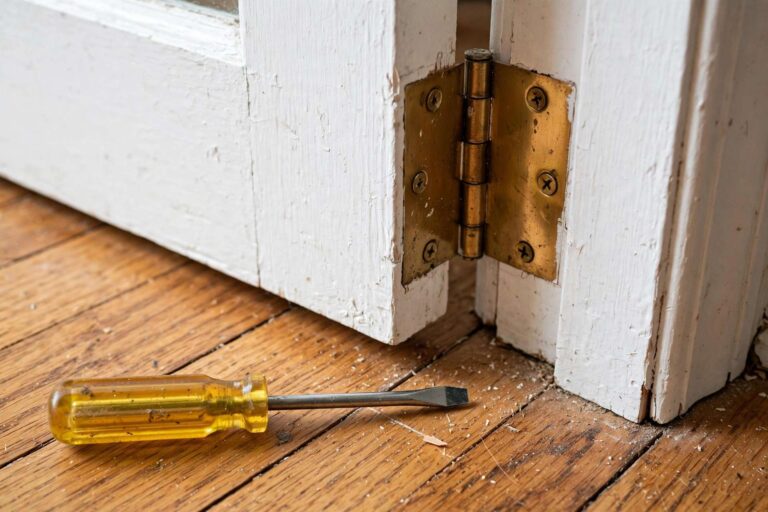
There’s nothing sadder than beautiful old woodwork buried under five coats of landlord-white paint. Figuring out how to remove paint from wood trim is one of those jobs that looks intimidating but is mostly patience and technique — I’ve stripped miles of baseboards, window casings, and door trim over the years, and the difference between a great result and a gouged-up mess comes down to matching the method to the paint and going slow. Rush it with a sharp tool and you’ll carve the wood. Rush it with heat and you’ll scorch it. Do it right and the grain underneath is worth every minute.
This guide covers the three methods I actually use: a heat gun, chemical stripper, and good old scraping and sanding. I’ll help you pick the right one, walk through each step by step, and tell you what to do about the one hazard that actually matters — lead paint.
Before You Start: Check for Lead Paint
This is the one part you don’t skip. If your house was built before 1978, the paint on that trim may contain lead. A cheap test kit from the hardware store takes about a minute and tells you what you’re dealing with. If it tests positive, you have two safe options: encapsulate it (paint over it with a good primer and leave it alone) or call in a certified lead-abatement professional.
If you choose to strip lead paint yourself despite that advice, know that sanding and heat-gunning both create hazardous dust and fumes — you’ll need proper respirators, containment, and cleanup, and in many places there are legal requirements. For this guide, I’m assuming your paint tested lead-free.
How to Remove Paint From Wood Trim: Pick Your Method
Not all paint and not all trim call for the same approach. Here’s how I decide.
- Heat gun: best for thick layers of paint on flat or gently curved trim. Fast, cheap to start, no chemicals. The risk is scorching the wood if you linger in one spot.
- Chemical stripper: best for detailed profiles, carvings, and grooves where a scraper can’t reach. Slower and messier, but the safest for the wood’s surface.
- Scraping and sanding alone: best for a single layer of loose or flaking paint. The most elbow grease per square foot, but fine for small areas.
Most real jobs end up using two of the three: heat for the broad areas, stripper for the details. Now let’s get into each one.
Method 1: Heat Gun
Set your heat gun to a medium setting — you want the paint to soften and bubble, not smoke. Hold the gun a few inches from the surface and keep it moving slowly along the trim. When the paint wrinkles and lifts, follow behind with a putty knife or a proper paint scraper, pulling along the grain.
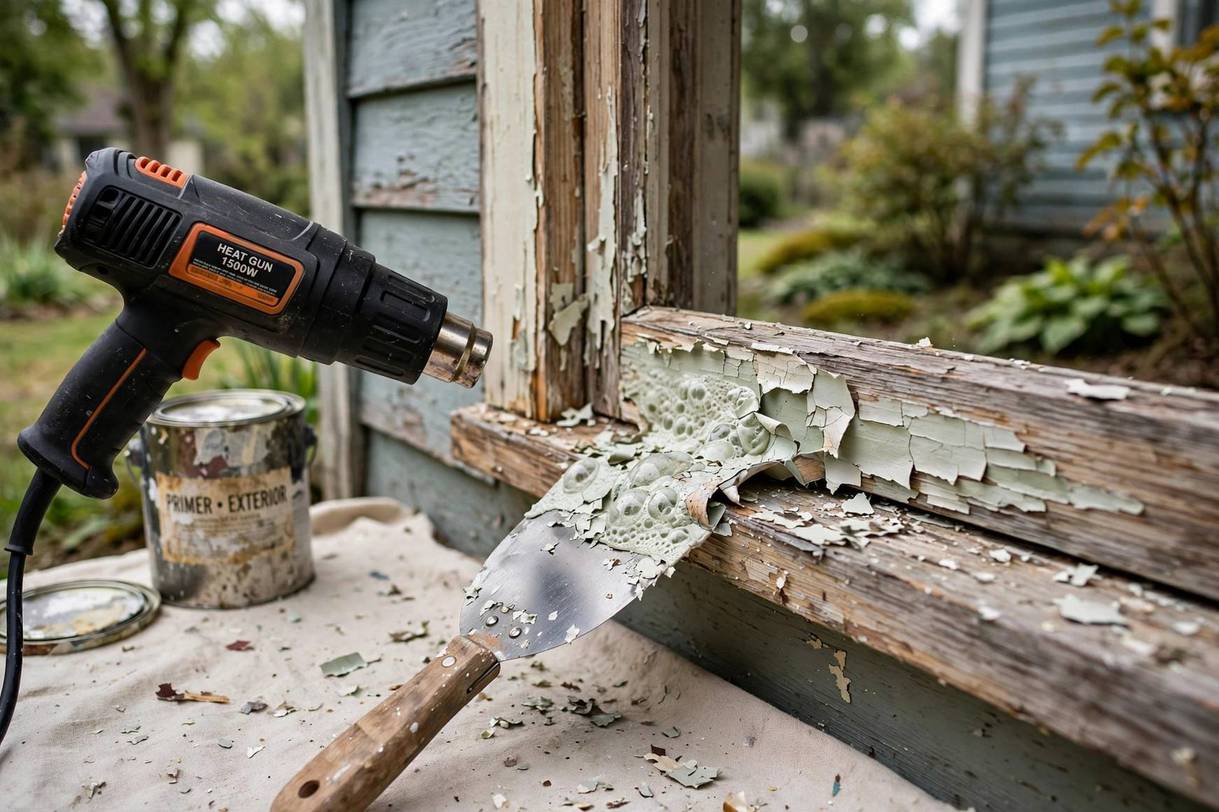
A few hard-won tips: keep a damp cloth nearby to wipe the scraper; don’t aim the heat at one spot long enough to brown the wood; and wear a respirator, because softened paint still gives off fumes you don’t want to breathe. Work in sections about a foot long. When you’re done, the trim will still have a thin residue — that’s what the sanding step is for.
Method 2: Chemical Stripper
For trim with real detail — the kind of profile a scraper can’t follow — a gel or paste stripper is your friend. Brush it on thick, give it the dwell time the label calls for (usually 20 minutes to a few hours), and then lift the softened paint with a plastic scraper, a stiff nylon brush, or even a toothbrush for the tightest grooves.
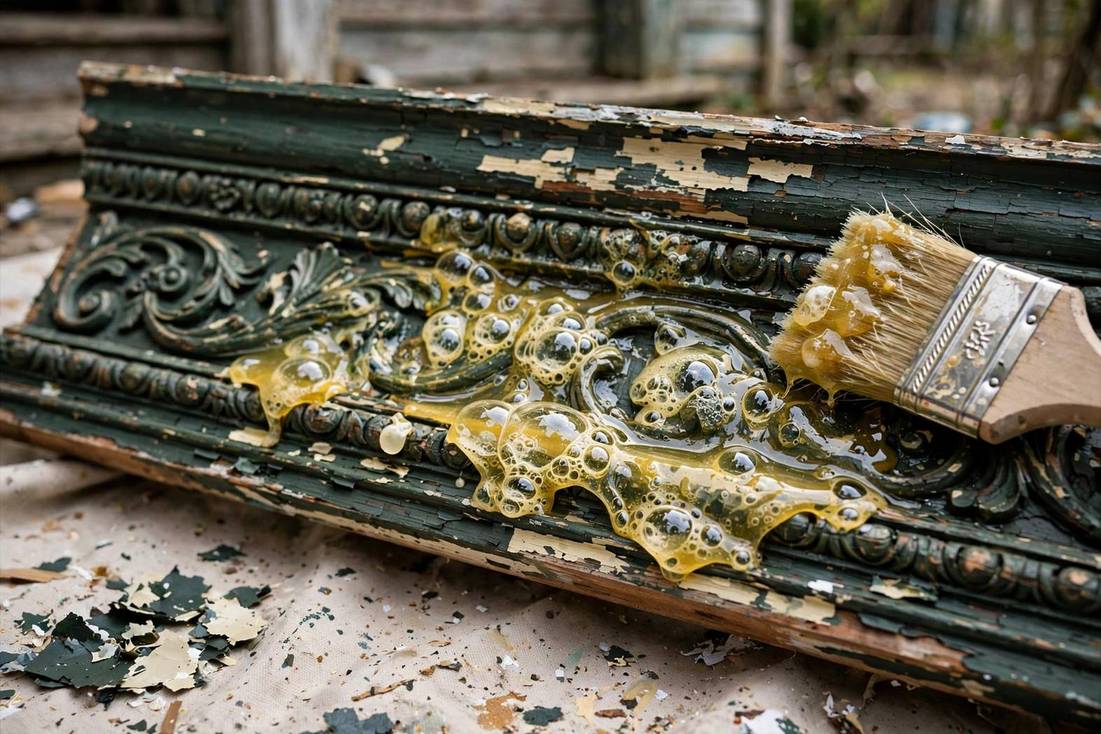
Use the modern low-odor, methylene-chloride-free strippers; they work a little slower but they’re far safer to use in a lived-in house. Lay down plastic sheeting because drips will eat through drop cloths and finished floors. And after stripping, neutralize the surface the way the product label says — usually a wipe with mineral spirits or water — before you sand or refinish.
Method 3: Scraping and Sanding
Sometimes the paint is already half off and you just need to finish the job. A sharp carbide scraper takes off loose paint fast; follow with sandpaper, starting around 80 or 100 grit for the stubborn bits and working up to 150 or 180 for a smooth finish. Always sand with the grain, never across it, and keep the sander moving so you don’t dish out the soft wood between the hard grain lines.
On detailed profiles, wrap the sandpaper around a shaped block, a dowel, or even a folded piece of cardboard to match the curve. It’s slow work, but sanding is where the final quality comes from — the stripping methods do the heavy lifting, and sanding makes it beautiful.
Finishing: What to Do With Bare Wood
Once the paint is off and the trim is sanded smooth, don’t leave bare wood sitting for weeks. Wood soaks up moisture and oils from your hands, and stains will go on unevenly. If you’re staining, apply a pre-stain conditioner first — softwoods like pine blotch badly without it. If you’re repainting (plenty of people strip trim just to start fresh with a better color), use a high-adhesion primer and two top coats.
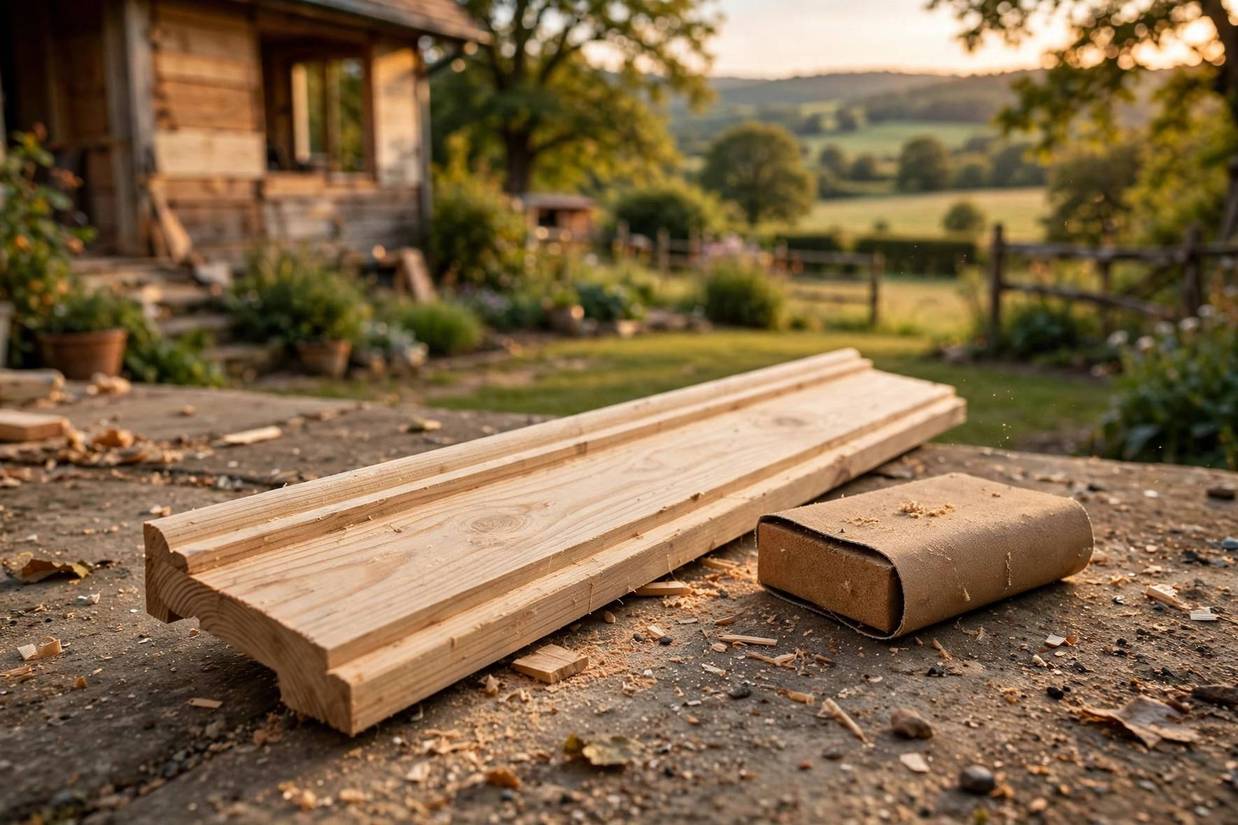
And be honest with yourself about scope: stripping one window casing is a satisfying weekend. Stripping every piece of trim in a whole house is a month of weekends. There’s no shame in doing the visible rooms properly and leaving the closet trim for later — or never.
Should You Pull the Trim Off First?
One of the biggest decisions in this job is whether to strip the trim in place or pry it off and work on sawhorses. Both are legitimate, and here’s how I choose.
Stripping in place is better when the trim is delicate, brittle with age, or nailed in a way that guarantees breakage on removal — old varnished trim can snap if you look at it wrong. It’s also the only option for built-in elements like window stools that are structural. The downsides: you’re working vertically or overhead, drips land on floors and walls, and every chemical smells stronger in a closed room. Mask aggressively: tape the walls, cover the floors, ventilate.
Removing the trim is faster for straightforward pieces like baseboards and simple casings. On sawhorses you can work horizontally, flip the piece, be aggressive with the heat gun without worrying about the wall, and catch all the mess on a tarp. Number every piece on the back with painter’s tape before you pry — trim is often cut to fit its exact spot, and “close enough” pieces leave gaps. The risk is breakage during removal: work a stiff putty knife behind the trim to break the paint seal first, then pry gently against a wood block, moving along the length a few inches at a time. Never yank from one end.
My rule of thumb: if I can get it off without a fight, it comes off. If it resists, it stays and gets stripped in place. Forcing trim off a wall is how you turn a stripping job into a carpentry job.
Mistakes That Ruin Good Woodwork
Stripping is forgiving of slowness and punishing of aggression. These are the errors I see most:
- Gouging with a sharp scraper. A razor-sharp scraper digs into soft wood between the grain lines. Keep your scraper sharp enough to cut paint but use a shallow angle, and let the heat or chemical do the work — the scraper should be pushing softened paint, not carving.
- Scorching with the heat gun. The line between “paint bubbling” and “wood browning” is thinner than you think. Keep the gun moving, and if you smell wood cooking, you’re already too hot. Light scorch marks sand out; deep ones become permanent character you didn’t ask for.
- Leaving chemical stripper on too long. More dwell time is not always better. Overexposure can raise the wood grain, discolor it, or leave a residue that fights your new finish. Follow the label’s timing, not your impatience.
- Skipping neutralization. Most strippers need their residue neutralized — usually with mineral spirits or water, per the label — before sanding or refinishing. Skip it and your new stain or paint may fail to bond.
- Sanding across the grain. Cross-grain scratches are brutally visible under stain. Always sand with the grain, and don’t skip grits — jumping from 80 to 220 leaves 80-grit scratches that the fine paper can’t remove.
- Staining without conditioner. Softwoods like pine absorb stain unevenly and blotch. A pre-stain conditioner is cheap insurance for an even finish.
Every one of these is fixable if caught early and miserable if caught late. Slow down at each stage, inspect your work in raking light (a work lamp held at an angle reveals everything), and fix problems before moving on.
FAQ: Removing Paint From Wood Trim
Will a heat gun damage the wood?
Only if you hold it in one spot too long. Keep the gun moving, use a medium setting, and stop as soon as the paint bubbles. If the wood darkens or smells like it’s cooking, you’re too hot or too slow. A light scorch can usually be sanded out; a deep one can’t.
Can I just paint over old paint instead of stripping?
Often, yes — and honestly, that’s the right call for a lot of jobs. If the existing paint is well stuck, clean it, scuff-sand it, prime it, and paint over it. Stripping is for when the paint is failing, when the detail is buried under too many coats, or when you want to show off the wood itself.
What’s the fastest way to strip a lot of trim?
A heat gun is the fastest for flat and gently curved trim. For big jobs, some people remove the trim, strip it on sawhorses, and reinstall it — it’s much faster than working on a ladder, and you can be more aggressive without worrying about the walls. Just number the pieces on the back so they go home to the right spots.
How do I get paint out of deep grooves and carvings?
Chemical stripper plus a stiff nylon brush, or dental picks and wooden skewers for the tightest spots. Heat guns can’t reach into grooves without scorching the edges, and scrapers are too big. Patience and small tools win here.
The wood underneath is stained dark by old varnish. What now?
That’s usually old shellac or oil finish that soaked in, and it’s normal. Sanding takes the surface layer off. If a stain remains after sanding, oxalic acid (wood bleach) lightens it — or you can just stain the trim a shade darker and make the old color part of the new look.