How to Grout Tile Like a Pro: A Step-by-Step DIY Guide

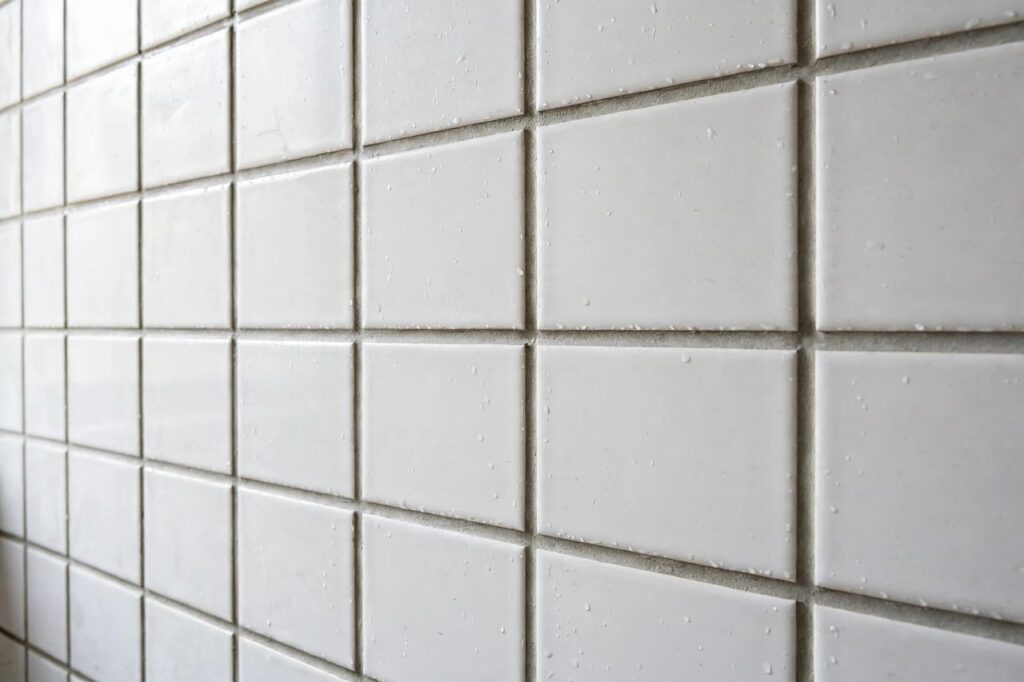
Learning how to grout tile is the step that separates an okay tile job from one that looks professionally done. Grouting itself isn’t complicated, but it is unforgiving: rush it and you’ll fight grout haze for days; time it right and the whole floor or wall snaps into place. Whether you’re finishing a bathroom floor, a kitchen backsplash, or a shower surround, the process is the same. Here’s the complete walkthrough, from choosing the right grout to the final polish.
Choose the Right Grout Before You Start
Before you learn how to grout tile, you need the right product in the bucket. There are three main types, and picking wrong is the most common beginner mistake.
Sanded grout is the workhorse for floor tiles and any joint wider than 1/8 inch. The sand gives it body and prevents shrinking and cracking in wide joints. Unsanded grout is for narrow joints, 1/8 inch and under, typically wall tile and polished stone, where sand would scratch the surface. Epoxy grout is the premium option: stain-proof, chemical-resistant, and nearly indestructible, but it sets fast and is harder to work with, so save it for shower floors or commercial kitchens unless you’re confident.
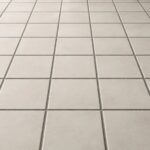
Also think about color. Light grout shows dirt; dark grout shows efflorescence and is less forgiving of uneven joints. A mid-tone gray is the safest all-rounder for floors. Buy about 10% more than the bag’s coverage chart says, you’ll waste some, and matching a batch later is a headache.
What You’ll Need to Grout Tile
- Grout (sanded, unsanded, or epoxy, as above)
- Rubber grout float
- Two buckets, one for mixing, one for clean rinse water
- Large grout sponge (the dense, rectangular kind, not a kitchen sponge)
- Margin trowel or small mixing paddle
- Microfiber cloths for final haze removal
- Knee pads if you’re doing a floor
- Grout sealer (for cement-based grout)
Prep the Tile Before Mixing Anything
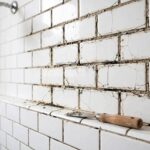
Timing matters. Thinset mortar needs a full 24 hours to cure before grouting, 48 for large-format tile. Grout too early and you’ll disturb tiles that aren’t locked in. First, scrape out any thinset that squeezed up into the joints; a utility knife or a grout saw works. Vacuum the joints, then wipe the tile faces with a damp sponge to pull out dust. If you’re working with porous natural stone or unglazed tile, seal the tile faces before grouting, or the grout will stain them permanently.
How to Grout Tile: Step by Step
Step 1: Mix the grout. Add powder to water, not the other way around, following the bag’s ratio. Mix to the consistency of smooth peanut butter, let it slake (rest) for 5 to 10 minutes, then remix briefly without adding more water. Only mix what you can use in about 30 minutes.
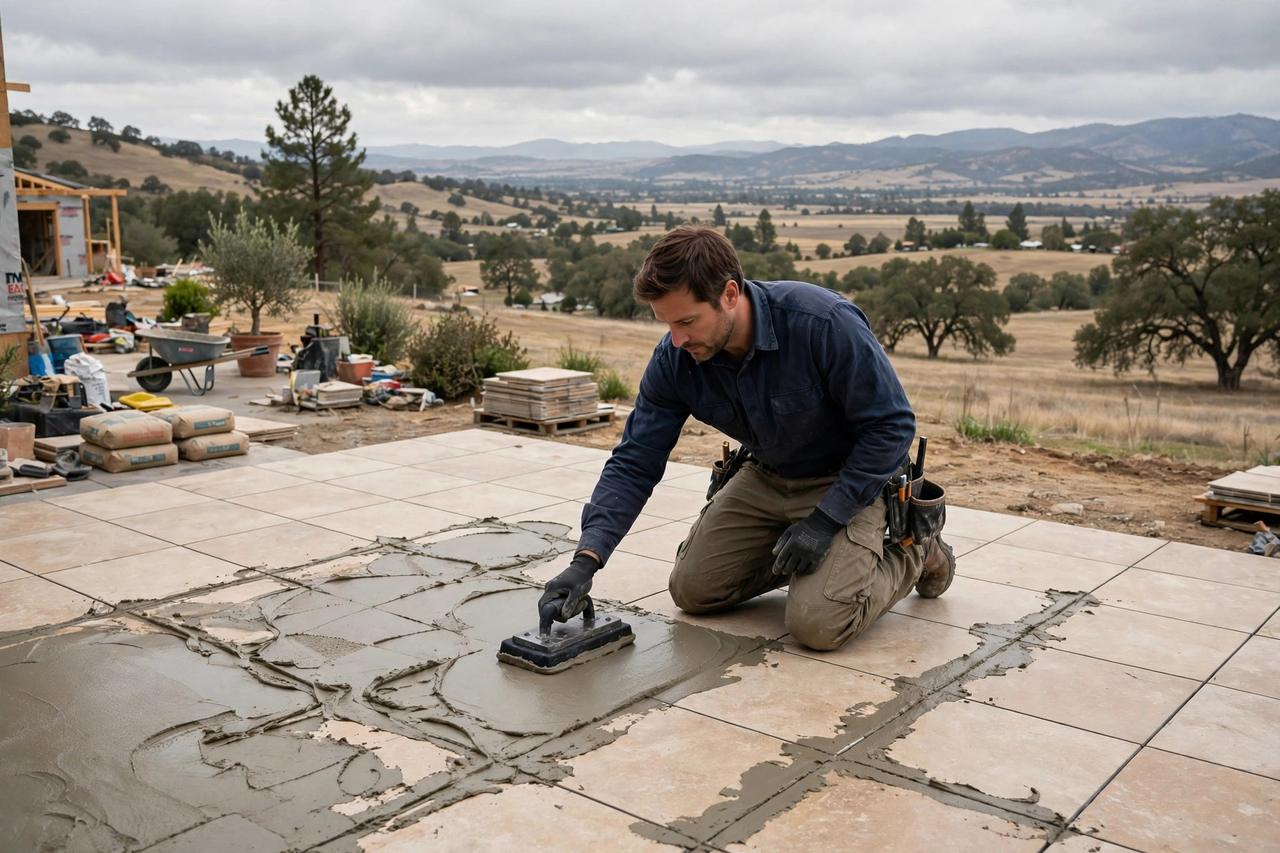
Step 2: Spread it diagonally. Scoop grout onto the tile and work it into the joints with the rubber float held at about 45 degrees, pushing diagonally across the joints. The diagonal motion packs joints full without digging grout back out. Work in sections of about 10 to 15 square feet.
Step 3: Remove the excess. Flip the float nearly vertical (close to 90 degrees) and scrape diagonally across the tile to remove bulk excess. You’re not cleaning yet, just getting the thick layer off. Move to the next section and repeat.
Step 4: First sponge wipe. Wait 15 to 30 minutes until the grout firms up and loses its wet sheen. Then, with a damp (wrung nearly dry) sponge, wipe lightly in one direction, rinsing the sponge frequently in clean water. This is where most people go wrong: too much water too early washes grout out of the joints and weakens it. Light pressure, clean water.
Step 5: Shape the joints. Run a damp sponge or your fingertip along each joint to smooth and compact it. Consistent, slightly concave joints look professional and shed water better.
Step 6: Final haze removal. After another hour or two, a powdery haze will appear on the tile faces. Buff it off with a dry microfiber cloth. If haze persists the next day, a grout haze remover from the hardware store handles it.
Sealing and Curing
Cement-based grout is porous, so once it’s fully cured (usually 48 to 72 hours), apply a penetrating grout sealer, especially in bathrooms, kitchens, and entryways. Epoxy grout doesn’t need sealing. Keep the area dry and walk lightly on floors for the first day; full strength takes about a week.
Mistakes to Avoid When Grouting Tile
The big ones: grouting before the thinset cures, mixing too much at once (it hardens in the bucket), using a soaking-wet sponge on fresh grout, and skipping the haze wipe until the next day. Also, don’t grout in direct hot sun or freezing cold; extreme temperatures mess with cure times. And if you’re grouting a shower, remember that grout is not waterproof, it’s the waterproofing membrane behind the tile that does that job.
Grouting Different Tile Types
The basic method for how to grout tile stays the same, but the material changes the details. Natural stone (marble, travertine, slate) is porous, so seal the tile faces before grouting or the grout pigment will stain them permanently, and use unsanded grout to avoid scratching polished surfaces. Glass tile shows everything behind it; use a bright white grout and press it in carefully, since dark grout visible through translucent glass looks muddy. Large-format tile (12×24 and bigger) usually has narrow joints; unsanded or fine-sanded grout works best, and flatness matters more because lippage shows.
Working with epoxy grout deserves special mention because it behaves nothing like cement grout. It sets through a chemical reaction, not drying, which gives you a much shorter working window, often under an hour, and it gets noticeably stiffer as you go. Mix only what two people can apply in 30 minutes, keep a bucket of clean water and plenty of sponges on hand, and wash the tile faces early and often; epoxy haze left overnight becomes extremely difficult to remove. Wear gloves throughout, since uncured epoxy is a skin sensitizer, and ventilate the room. The payoff for the fussiness is real: a shower floor grouted in epoxy will never stain, never need sealing, and shrug off cleaners that would erode cement grout. For a first-timer, the smart move is practicing on a small, low-visibility area, like a closet floor or laundry backsplash, before committing to a shower with epoxy.
Mosaic and pebble tile, common on shower floors, have an enormous amount of grout relative to tile. Mix smaller batches, work in small sections, and expect to use more grout than the coverage chart suggests. With epoxy grout on mosaics, have a helper: one person spreads while the other follows with the sponge, because epoxy’s working time is short.
Keeping Grout Looking New
Grout maintenance is simple but neglected. Seal cement grout after curing and reseal every year or two in wet areas; the water-bead test works here just like on a deck. Clean with pH-neutral cleaners, not bleach or vinegar, which erode grout over time. For stained grout lines, a baking soda paste and a stiff brush revive them, and a grout colorant (essentially paint for grout) can make old grout look new without regrouting. If grout is cracking out of joints, the problem is usually movement, and no amount of regrouting fixes a flexing subfloor; address the structure first.
Fixing Grout Problems Without Starting Over
Even careful jobs develop issues, and most are fixable without regrouting the world. Cracked grout in a few joints usually means movement; rake out the cracked sections with a grout saw, vacuum, and refill just those joints. If cracking is widespread, suspect the subfloor and fix the flex first. Discolored or blotchy grout often comes from inconsistent water during cleanup; a grout colorant evens it out and simultaneously seals it. Hollow-sounding tile near grout lines can indicate voids underneath; small ones are cosmetic, but large hollow areas may mean the tile will eventually crack and should be reset.
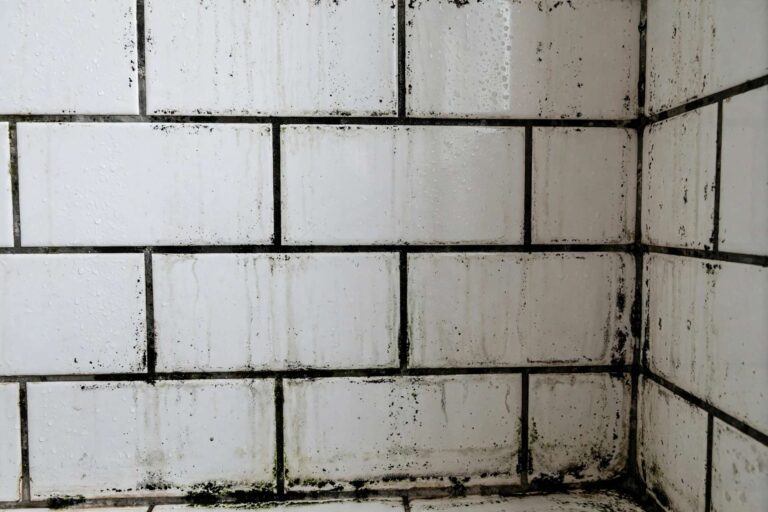
Efflorescence, the white powdery deposit that appears on grout, is mineral salts migrating out with moisture. It wipes off but returns until the moisture source is addressed, which in showers usually means improving ventilation or checking the waterproofing. Mold in grout lines is a maintenance signal, not a product failure: scrub with a mold-killing cleaner, improve airflow, and reseal. And if you ever need to remove grout entirely, an oscillating multi-tool with a grout-removal blade is dramatically faster than manual raking, just keep the blade in the joint and off the tile edges to avoid chipping glaze.
Grouting rewards patience more than skill. Mix small batches, work in sections, keep the sponge barely damp, and don’t rush the haze removal. Choose the right grout for your joint width, seal it after curing, and maintain it with pH-neutral cleaners. Do those things and your tile job will look professional for years. The materials cost a fraction of hiring it out, and once you’ve grouted one room, every future tile project gets easier. Take your time on the first section; by the third, you’ll have the rhythm down.
Frequently Asked Questions About How to Grout Tile
How long should I wait before grouting tile?
Wait at least 24 hours after setting tile so the thinset mortar fully cures. For large-format tile or thick mortar beds, 48 hours is safer.
Sanded or unsanded grout, which do I need?
Use sanded grout for joints wider than 1/8 inch (most floors) and unsanded grout for joints 1/8 inch or narrower (most walls). Epoxy grout is best for showers and areas needing maximum stain resistance.
How do I remove grout haze from tile?
Buff dried haze with a dry microfiber cloth a few hours after grouting. For stubborn haze the next day, use a commercial grout haze remover following the label directions.
Do I need to seal grout?
Cement-based (sanded and unsanded) grout should be sealed after curing, especially in wet areas. Epoxy grout is inherently stain-proof and doesn’t need sealing.
Can I grout over old grout?
Yes, if the old grout is sound and you remove at least 1/8 inch of depth first. For badly cracked or crumbling grout, it’s better to remove it fully and start fresh.
How long does grout take to dry before sealing?
Cement-based grout needs 48 to 72 hours to cure before you apply sealer, and it reaches full strength in about a week. Sealing too early traps moisture and weakens the finish, so give it the full cure time even if the surface feels dry.