How to Change a Cabin Air Filter in 15 Minutes (DIY Guide)

If you have never learned how to change a cabin air filter, you are probably paying someone else forty to eighty dollars for a job that takes fifteen minutes and a twenty-dollar part. I have spent twenty years under hoods, and the cabin air filter is the single best first DIY job in car maintenance: no tools on most cars, no mess, no way to break anything expensive, and an immediate payoff you can feel the next time you turn on the fan. That musty smell when the AC kicks on? That is usually this filter, and you are about to fix it yourself.
This guide walks through the 15-minute glove-box method step by step, shows you how to find the exact filter for your make and model, covers the variations for cars where the filter lives elsewhere, and breaks down the DIY versus dealer cost math. Let us get into it.
How to Change a Cabin Air Filter: The 15-Minute Glove-Box Method
On most cars, the cabin air filter sits behind the glove box, and the job goes like this. Step one: empty the glove box. Everything out — the manual, the napkins, the mystery items. Step two: release the glove box. On most vehicles, you squeeze the sides of the glove box inward to bypass the stop tabs, and it swings down past its normal open position. Some cars have a damper arm on the side that unclips, or screws along the top edge — check your owner’s manual for your specific mechanism, but do not force anything.
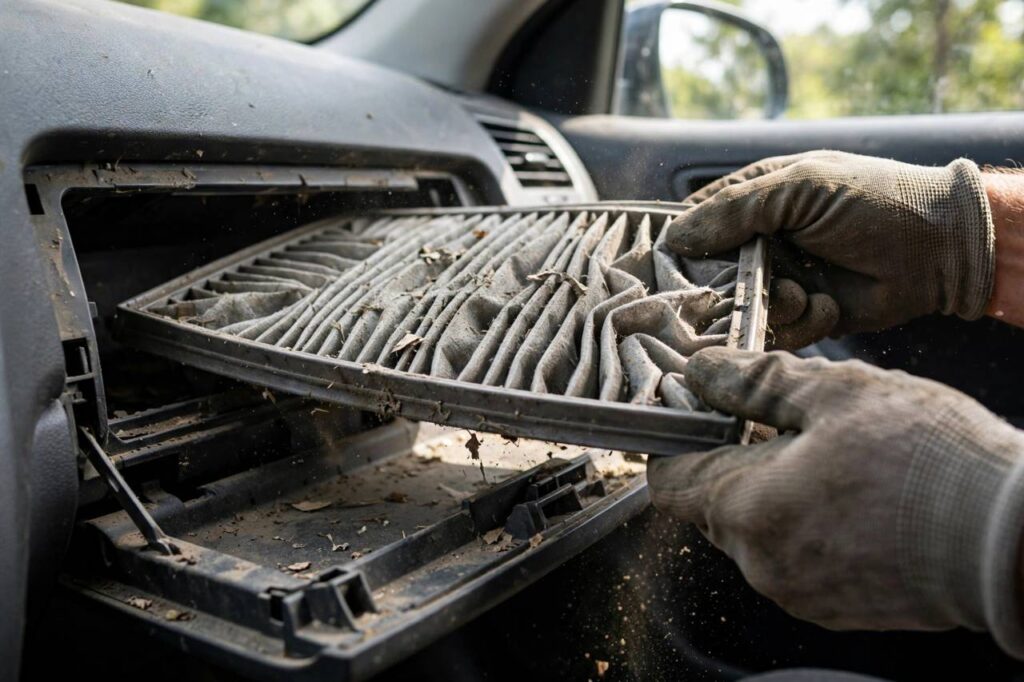
Step three: open the filter housing. Behind the dropped glove box you will see a rectangular plastic cover, usually with clips or tabs on the sides. Squeeze or unclip them and pull the cover off. Step four: slide the old filter straight out. Note the orientation — there is an airflow arrow printed on the filter frame, and the new one must point the same direction. Take a photo.
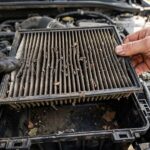
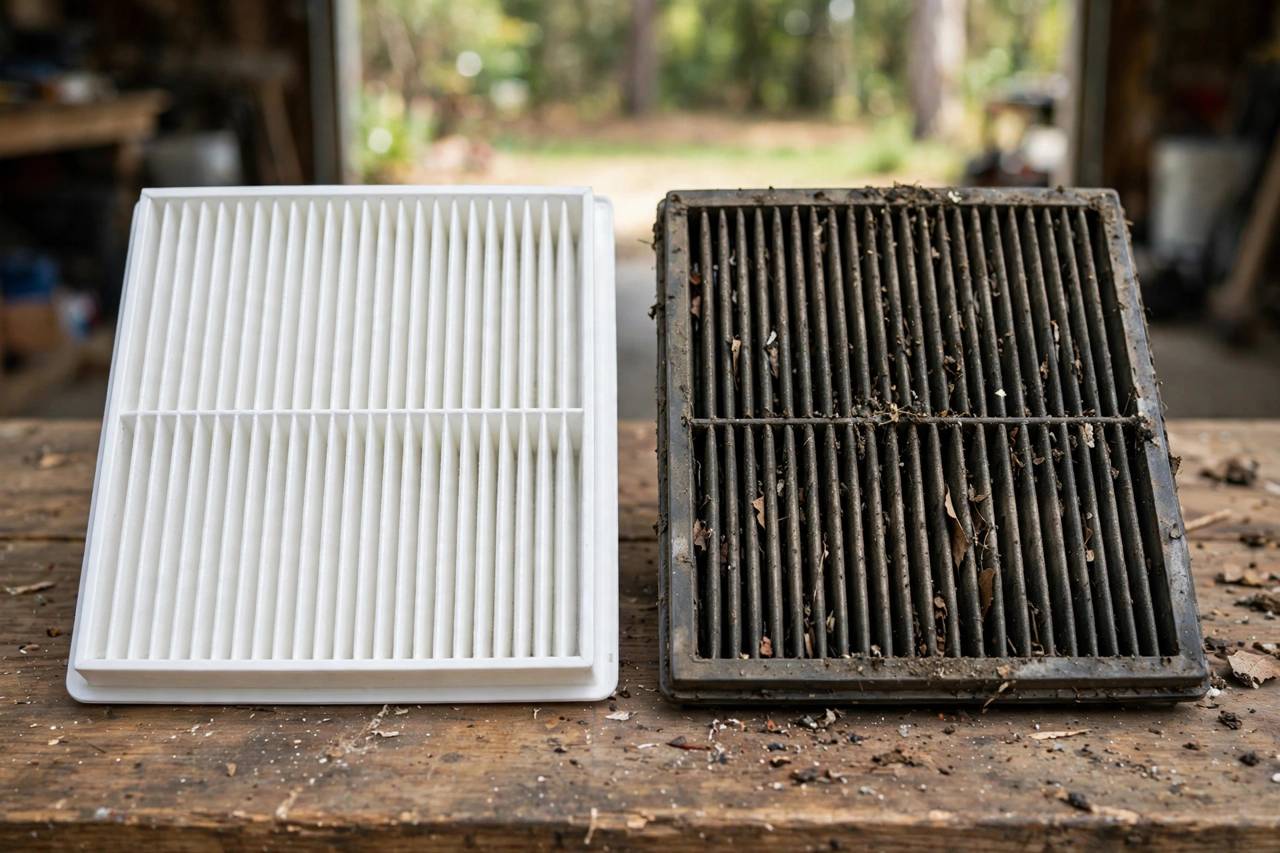
Step five: inspect and compare. Hold the old filter up — if it is gray, matted with debris, or has leaves and dust caked in the pleats, it was overdue. Compare it side by side with the new filter to confirm the size matches before installing. Step six: slide the new filter in with the airflow arrow pointing the correct direction, replace the housing cover until it clicks, swing the glove box back up until the stops engage, and reload your glove box.
Step seven: test. Start the car, run the fan on high through all the modes — face, feet, defrost — and confirm strong, clean-smelling airflow. The whole job, first time, takes about fifteen minutes. The second time, ten.
Finding the Right Filter for Your Make and Model
Buying the wrong filter is the only real way to mess this job up, so get the part right before you start. The foolproof method: look up your exact year, make, model, and trim on the filter manufacturer’s fitment guide or a reputable auto parts site. Filters are not universal — a 2019 Camry and a 2019 Corolla take different filters, and even trim levels can differ.
You have three tiers of filter to choose from. The standard particulate filter traps dust, pollen, and debris — fine for most drivers and the cheapest option. The activated carbon filter adds odor and exhaust-fume absorption — worth it if you drive in heavy traffic or are sensitive to smells. The HEPA-style or premium allergen filter captures the finest particles — the best choice for allergy sufferers, at the highest price of the three.
My honest recommendation: the activated carbon filter is the sweet spot for most people. It costs a few dollars more than basic, it noticeably improves cabin air quality, and it eliminates the stale smells that basic filters let through. Allergy sufferers should step up to the premium allergen tier; everyone else is well served by carbon.
Buy from a reputable brand or your dealer’s parts counter. The ultra-cheap no-name filters sometimes have poor seals around the frame — air bypasses the filter media through the gaps, which defeats the purpose. A filter that does not seal is decoration, not filtration.
When the Filter Is Not Behind the Glove Box
Most cars put the filter behind the glove box, but not all. Some vehicles hide it under the dashboard on the passenger side, accessed by removing a kick panel — usually a few clips or screws. Some locate it under the hood at the base of the windshield, beneath the cowl cover. A few put it behind the center console, which is the most annoying location and may involve removing trim panels.
The owner’s manual tells you the location and the access procedure for your specific vehicle — this is one of the things manuals are genuinely good for. If the manual is vague, a quick search for your year, make, and model plus “cabin air filter location” will surface model-specific guides. The job is the same everywhere: open the housing, note the arrow direction, swap the filter, close it up. Only the access path differs.
One caution for the under-dash and console locations: trim clips break if forced. If a panel resists, stop and find the hidden screw or clip rather than pulling harder. A five-dollar pack of replacement trim clips in your toolbox turns a potential frustration into a non-event.
DIY vs. Dealer: The Cost Math
Let us do the math honestly. The filter itself costs fifteen to thirty dollars depending on tier and brand. Your time: fifteen minutes. Total DIY cost: under thirty dollars. The dealer or quick-lube shop charges forty to eighty dollars for the same job — sometimes over a hundred at luxury-brand dealers — and the part they install is often the basic tier, not the carbon filter you would choose yourself.
You are not paying for skill with that markup; you are paying for the convenience of not opening your glove box. There is nothing wrong with paying for convenience, but know what you are buying. For a fifteen-minute job with no tools and no risk, DIY wins on every axis except the thirty seconds it takes to hand someone your keys.
The interval question: most manufacturers recommend every 15,000 to 30,000 miles or once a year, but reality depends on your environment. Dusty roads, heavy pollen seasons, city traffic, and parking under trees all clog filters faster. The honest check is visual — pull it once a year and look. If it is gray and matted, replace it regardless of mileage. Your nose is also a decent gauge: musty AC smell means the filter is overdue.
While you are improving what you breathe inside the car, the rest of the cabin deserves attention too — detailing your car’s interior properly and cleaning the upholstery make the fresh-filter difference even more noticeable, and if odors persist after a new filter, making your car smell good covers tracking down the sources filters cannot fix.
Signs Your Cabin Air Filter Needs Changing Now
Do not wait for the maintenance schedule if your car is showing symptoms. The clearest sign is reduced airflow — the fan is on high but barely anything comes out of the vents. Next is odor: a musty, dusty, or stale smell when the HVAC kicks on means the filter is saturated with everything it has trapped. Increased dust settling on the dashboard is another tell — a working filter catches it, a clogged one lets it through.
Allergy symptoms that appear specifically in the car — sneezing, itchy eyes on your commute that clear up indoors — point at a filter that has stopped filtering. And unusual whistling or straining noises from the blower motor suggest it is working overtime to pull air through a blocked filter. Any one of these signs justifies pulling the filter for a visual check today, not at the next service interval.
How often should you change a cabin air filter?
Most manufacturers recommend every 15,000 to 30,000 miles or once a year. In practice, check it visually once a year — dusty environments, heavy pollen, city traffic, and parking under trees clog filters faster. If the filter looks gray and matted, or your AC smells musty when it kicks on, replace it regardless of mileage.
What happens if you never change your cabin air filter?
Airflow through the vents weakens, the AC and heater work harder, musty odors develop, and allergens and dust circulate freely in the cabin. In extreme neglect, a severely clogged filter can strain the blower motor. None of this is catastrophic — but all of it is fixed by a fifteen-minute, twenty-dollar filter swap.
Can you clean a cabin air filter instead of replacing it?
You can shake out loose debris and extend its life slightly, but you cannot restore a clogged filter by cleaning it — the fine particles embedded in the pleats do not come out, and washing damages the filter media. Given that replacements cost fifteen to thirty dollars, replacement beats cleaning on every measure except impatience.
Which way does the airflow arrow point on a cabin air filter?
The arrow must point in the direction of airflow — typically downward or toward the rear of the vehicle, but it varies. The reliable method: note the old filter’s arrow direction before removing it (take a photo), and install the new one the same way. Installing it backward reduces filtration effectiveness.
Is a carbon cabin air filter worth the extra cost?
For most drivers, yes. Activated carbon filters cost only a few dollars more than basic particulate filters and add meaningful odor and exhaust-fume absorption — noticeable in traffic and for anyone sensitive to smells. Allergy sufferers should consider the premium allergen tier; everyone else gets the best value from carbon.
The Bottom Line
Changing a cabin air filter is the perfect first DIY car job: fifteen minutes, no tools on most cars, a twenty-dollar part, and an immediate improvement you can feel in the airflow and smell in the cabin. Buy the right filter for your exact make and model, note the arrow direction, and do not pay a shop eighty dollars for the privilege of opening your own glove box. Your lungs — and your wallet — will thank you.