Picture this: you’re at dinner, someone took a great group photo on their iPhone, and everyone wants a copy. One person texts it — compressed, blurry. Another emails it to themselves — takes forever. Meanwhile I’m sitting there thinking: just AirDrop it. Thirty seconds, full quality, done. AirDrop is one of those Apple features that’s genuinely great and that half of iPhone owners barely use. Let’s fix that.
Table of Contents
- What AirDrop Actually Is
- Before You Start: The Checklist
- How to Turn On AirDrop
- How to AirDrop from iPhone or iPad
- How to AirDrop from a Mac
- How to Receive an AirDrop
- AirDrop Settings: Contacts Only vs Everyone
- What You Can (and Can’t) Send
- When AirDrop Won’t Work: Real Fixes
- Frequently Asked Questions
What AirDrop Actually Is
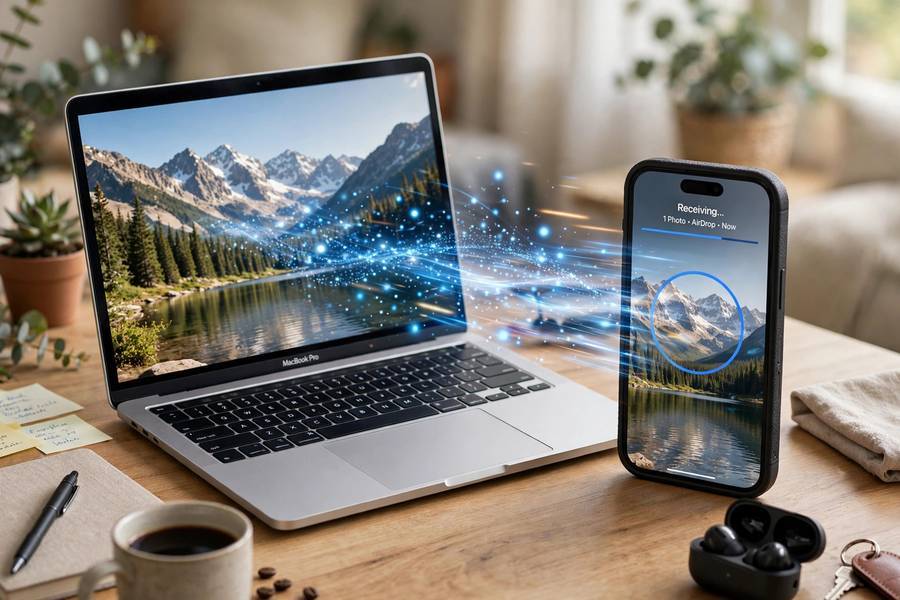
AirDrop is Apple’s wireless file-sharing feature, built into every iPhone, iPad, and Mac made in the last decade. It sends photos, videos, documents, links, and more directly from one Apple device to another — no cables, no cloud upload, no messaging app compressing your files into mush.
Here’s the clever part: AirDrop uses Bluetooth to find nearby devices and Wi-Fi to do the actual transfer. It creates a direct, encrypted peer-to-peer connection between the two devices. That means transfers are fast (a full-res photo takes seconds) and it doesn’t need internet at all — handy on planes, in basements, or anywhere with terrible signal. If you’re curious about the wireless tech underneath, this explainer on how Wi-Fi works covers the fundamentals.
The catch: it only works between Apple devices. You can’t AirDrop to an Android phone or a Windows PC. (For those, you’re stuck with messaging apps, email, or cloud storage.)
For a deeper dive, see our guide to backing up an Android phone.
Before You Start: The Checklist
Both devices need all of these. When AirDrop fails, it’s almost always one of these:
- Wi-Fi and Bluetooth are both ON — on both devices. AirDrop needs both, even without internet.
- Personal Hotspot is OFF — if either device is sharing its hotspot, AirDrop won’t work. Turn it off first.
- Devices are within about 30 feet (10 meters) — closer is better. Same room is ideal.
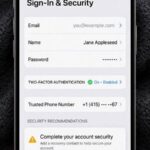
- Both devices are signed in with an Apple ID — required for “Contacts Only” mode.
- The receiving device isn’t locked with the screen off — wake it up. (It can be locked, but the screen needs to be on.)
Run through this list mentally every time AirDrop misbehaves. I’d estimate 90% of “AirDrop doesn’t work” problems are Wi-Fi off, Bluetooth off, or hotspot on.
How to Turn On AirDrop
You don’t strictly need to “turn on” AirDrop — it’s always available — but you do need to set who can see you.
On iPhone or iPad:
- Open Settings → General → AirDrop.
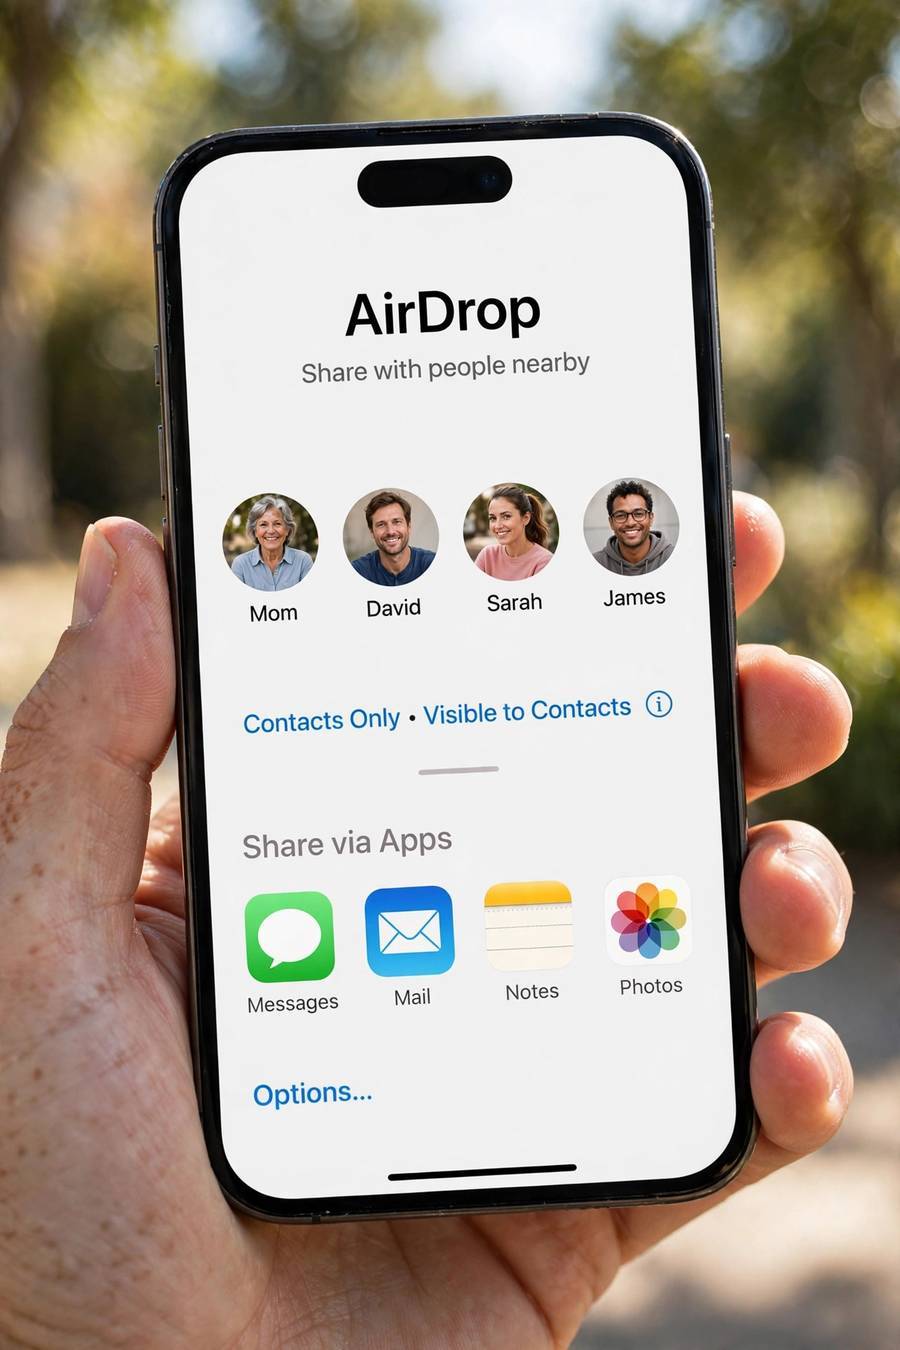
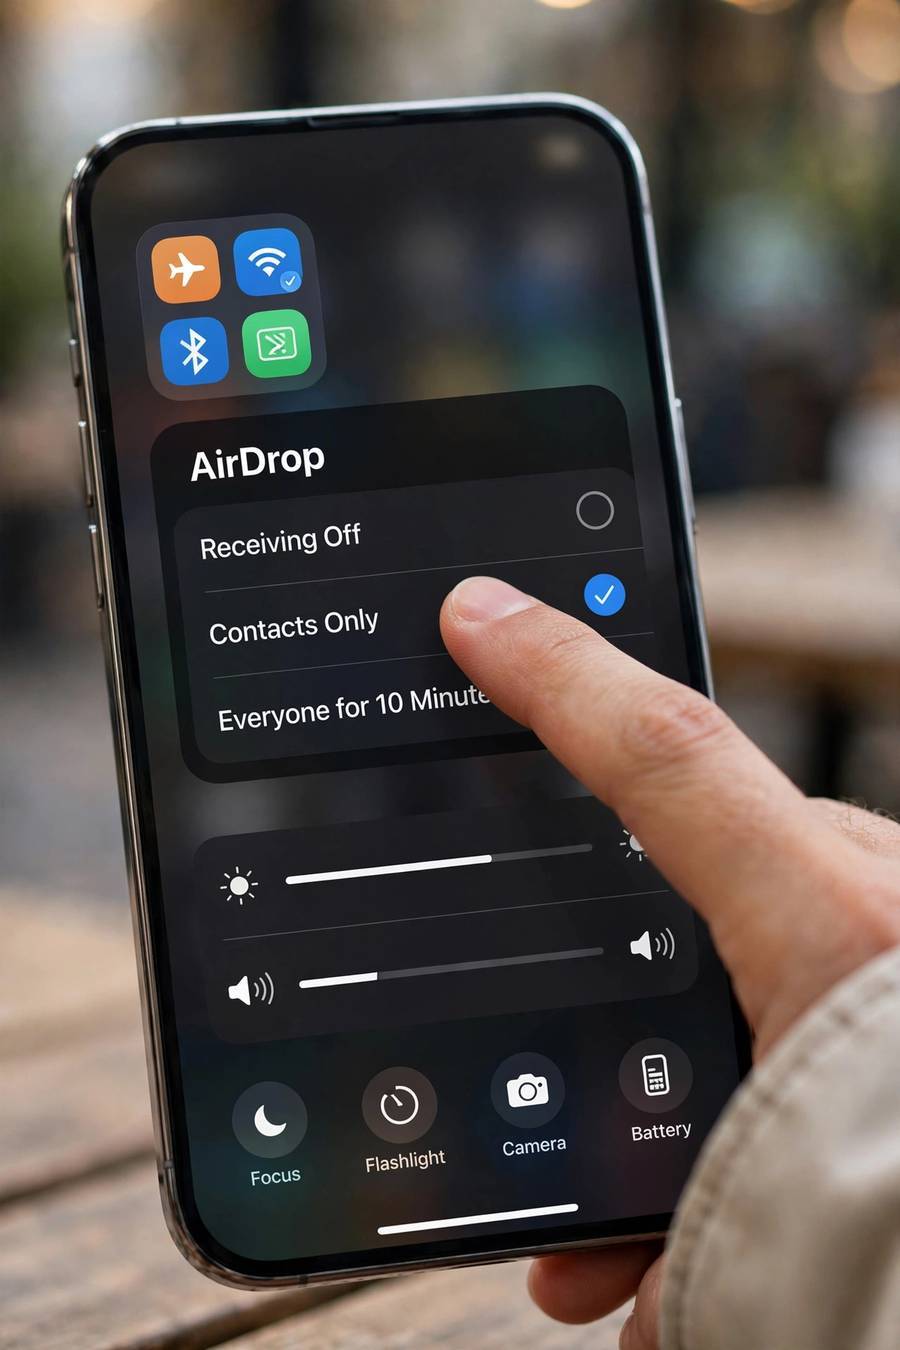
- Choose Contacts Only (recommended) or Everyone for 10 Minutes.
- Faster route: swipe down from the top-right corner to open Control Center, long-press the network settings card (top-left), then tap AirDrop and pick your setting.
On Mac:
- Open Finder → click AirDrop in the sidebar (or Go → AirDrop in the menu bar).
- At the bottom, set “Allow me to be discovered by” to Contacts Only or Everyone for 10 Minutes.
- Or: System Settings → General → AirDrop & Handoff → set the same option.
That “Everyone for 10 Minutes” detail matters — Apple changed it from a permanent “Everyone” option a while back, which cut down on strangers sending unwanted files in public places.
How to AirDrop from iPhone or iPad
The process is the same whether you’re sending a photo, a video, a PDF, or a link:
- Open the item — a photo in Photos, a page in Safari, a file in Files.
- Tap the Share button (the square with an arrow pointing up).
- Tap AirDrop in the share sheet.
- You’ll see nearby devices and contacts. Tap the person or device you want.
- The recipient gets a notification to accept. Once they do, the transfer starts.
A few practical notes from experience: sending a batch of 50 photos works fine, but keep both devices awake during big transfers. Videos send at full original quality — a 4K clip will take a while, so don’t lock your phone mid-transfer. And if you’re sending to your own Mac, you don’t even need to accept — it just arrives.
How to AirDrop from a Mac
From Finder:
- Open Finder → AirDrop in the sidebar.
- Wait a moment for nearby devices to appear.
- Drag the file onto the device’s icon. Done.
From any app:
- Select the file or content.
- Click Share (in the toolbar or via right-click → Share).
- Choose AirDrop, then pick the destination device.
The keyboard shortcut route: select a file in Finder, press Command + Shift + R to open AirDrop, drag and drop.
Receiving on a Mac: the notification appears in the top-right corner. Click Accept, and choose where to save it (or let it land in Downloads by default). Photos sent to your Mac open in the Photos app’s import view.
How to Receive an AirDrop
When someone sends you something, a notification pops up with a preview and two buttons: Accept and Decline. Tap Accept and the file lands in the right app automatically — photos go to Photos, links open in Safari, documents go to Files (or Downloads on Mac).
This is my favorite workflow: shoot photos on my iPhone during the day, AirDrop the keepers to my Mac in the evening for editing. No cables, no cloud sync wait, no quality loss.
If you never get the notification: check the checklist above (screen awake? Bluetooth on? hotspot off?), and confirm the sender can actually see your device in their AirDrop list. If your device doesn’t appear there, the problem is on the receiving side.
AirDrop Settings: Contacts Only vs Everyone
Contacts Only means only people in your contacts (with your Apple ID email or phone number saved) can see your device. This is what most people should use — it blocks random strangers from sending you things.
Everyone for 10 Minutes opens discovery to any nearby Apple device for ten minutes, then automatically reverts to Contacts Only. Use it when sharing with someone not in your contacts — a colleague, a new friend, the photographer at an event.
If Contacts Only isn’t working with someone who is in your contacts: both of you need to be signed in to iCloud, and each of you needs the other’s Apple ID contact info saved. If that sounds fiddly, just switch both devices to Everyone for 10 Minutes temporarily. Faster than debugging contact cards.
What You Can (and Can’t) Send
AirDrop handles almost any file type: photos, videos, audio, PDFs, documents, contacts, map locations, website links, app links, passwords (to your own devices), and more. There’s no meaningful size limit — I’ve moved multi-gigabyte video files.
What it can’t do:
- Send to non-Apple devices. Android and Windows are out. No exceptions, no workarounds within AirDrop itself.
- Send to someone far away. It’s a proximity feature — same room, not same city.
- Send app data or settings. You can share an App Store link, but not the app itself or its data.
- Work with Wi-Fi and Bluetooth off. Both radios are required, full stop.
When AirDrop Won’t Work: Real Fixes
I’ve troubleshot this more times than I can count. In order of likelihood:
- Toggle both radios. Turn Wi-Fi and Bluetooth off, wait 10 seconds, turn them back on — on both devices. This fixes it more often than anything else.
- Check Personal Hotspot. If either device has hotspot enabled, AirDrop is blocked. Turn it off.
- Bring the devices closer. Walls and distance kill the Bluetooth discovery step even when Wi-Fi would be fine.
- Restart both devices. The classic for a reason — it clears stuck wireless states.
- Check for software updates. Very old iOS/macOS versions can have AirDrop bugs that were fixed years ago. If one device is ancient, that may be the whole story.
- Reset network settings (iPhone). Settings → General → Transfer or Reset iPhone → Reset → Reset Network Settings. This wipes saved Wi-Fi passwords too, so it’s a last resort — but it fixes stubborn cases. (You’ll need to rejoin Wi-Fi networks afterward, which is where understanding how Wi-Fi connects your devices comes in handy.)
- Check VPN or firewall software. Some VPN apps and Mac firewall settings block the peer-to-peer connection AirDrop needs. Temporarily disable them to test.
One more: if AirDrop worked yesterday and doesn’t today, and nothing changed — just restart. Wireless stacks get into weird states. Don’t overthink it.

Frequently Asked Questions
Open the photo in the Photos app, tap the Share button, tap AirDrop, and select your Mac. If both devices use the same Apple ID, the transfer happens automatically with no accept prompt, and the photo appears in your Mac’s Photos app or Downloads folder.
The most common causes are Wi-Fi or Bluetooth being off, Personal Hotspot being on (which blocks AirDrop), devices too far apart, or one device’s screen being off. Toggle both radios off and on, turn off hotspot, and bring the devices closer — that fixes the vast majority of cases.
No. AirDrop only works between Apple devices (iPhone, iPad, and Mac). To share with Android users, use a messaging app, email, or a cloud storage link instead.
AirDrop needs Wi-Fi and Bluetooth turned on, but it does not need an internet connection. It creates a direct encrypted connection between the two devices, so it works on planes, in basements, and anywhere with no signal.
No. AirDrop sends files at their original, full quality — unlike texting or many messaging apps, which compress photos and videos. A 4K video arrives as the same 4K file you recorded.
It lets any nearby Apple device see yours in their AirDrop list for ten minutes, then automatically switches back to Contacts Only. It’s designed for sharing with people not in your contacts while limiting exposure to unwanted transfers from strangers.