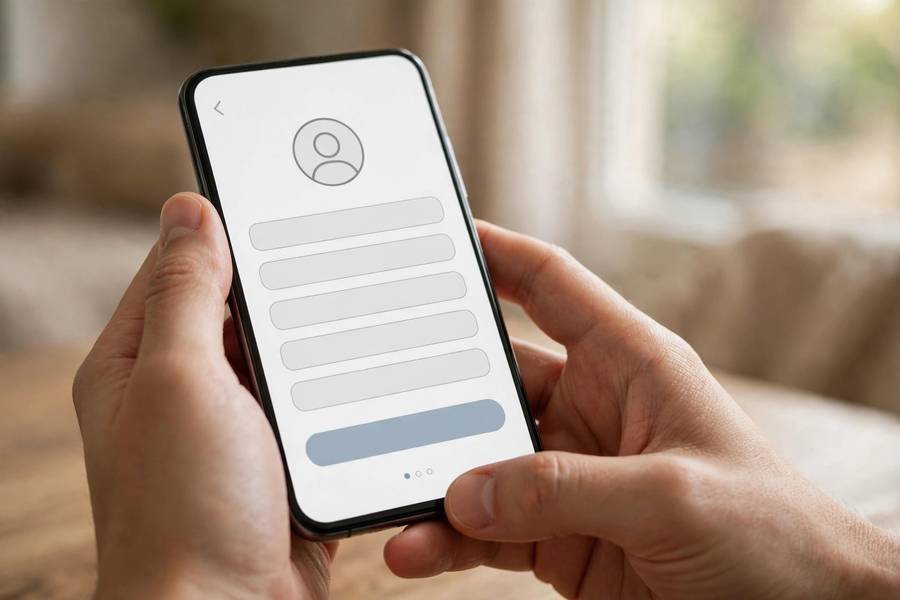
An Apple ID is your key to everything Apple — iCloud, the App Store, iMessage, FaceTime, Apple Music, and more. Whether you’re setting up your first Apple device, creating an account for a family member, or starting fresh, the process takes about five minutes.
I’m Sophia. Here’s how to create one on every platform, plus the honest answer to whether you actually need a second Apple ID.
Table of Contents
- What You Need First
- Method 1: Create During iPhone/iPad Setup
- Method 2: Create in iPhone Settings
- Method 3: Create on a Mac
- Method 4: Create on the Web
- Verifying Your New Apple ID
- Should You Create a Second Apple ID?
- What to Do Right After Creating Your Apple ID
- Switching Between Apple IDs (When You Must)
- Frequently Asked Questions
What You Need First
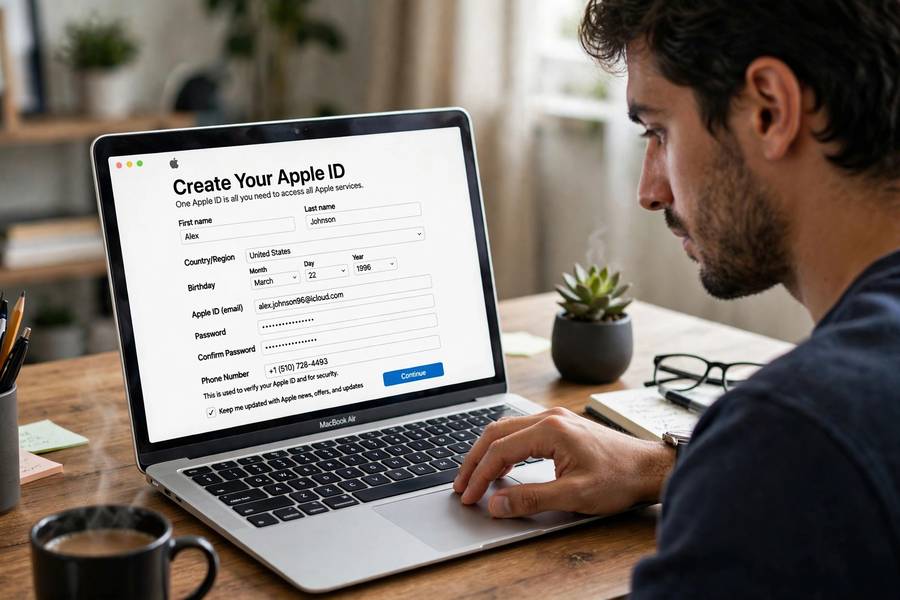
- A valid email address — this becomes your Apple ID username. It doesn’t have to be an iCloud address; any email works (Gmail, Outlook, etc.).
- A phone number for verification (Apple sends a code via SMS or call).
- A payment method is optional — you can choose “None” during signup and add one later.
That’s it. No credit card required, no existing Apple device required.
Method 1: Create During iPhone/iPad Setup
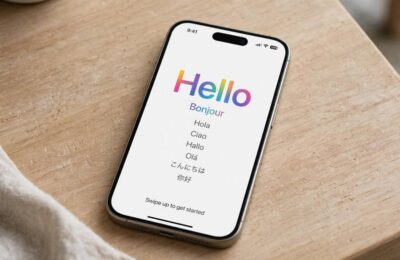
Setting up a new device? The setup assistant walks you through it:
- During setup, when you reach the Apple ID screen, tap “Forgot password or don’t have an Apple ID?”
- Tap Create a Free Apple ID.
- Enter your name and birthdate, then tap Continue.
- Choose “Use your current email address” or “Get a free iCloud email address.”
- Verify your email (Apple sends a code), set a strong password, and verify your phone number.
Your new Apple ID is immediately signed in on the device, and iCloud, iMessage, and FaceTime activate automatically.
Method 2: Create in iPhone Settings
Already set up but want a new (or additional) Apple ID:
- Go to Settings → [your name] — if you’re signed in and want to switch, sign out first (Settings → [your name] → Sign Out). Choose what to keep on the device when prompted.
- On the Settings main screen, tap “Sign in to your iPhone” (or your Apple ID banner).
- Tap “Forgot password or don’t have an Apple ID?” → Create Apple ID.
- Follow the prompts: name, birthdate, email, password, phone verification.
Note: Signing out of an Apple ID on a device has consequences — iCloud data stops syncing, and features like Find My change state. Only do this deliberately.
Method 3: Create on a Mac
- Open System Settings → [your name] (or Sign in if no one’s signed in).
- Click “Don’t have an account? Create one.”
- Enter your details, verify your email, and set your password.
On older macOS: System Preferences → Sign In → Create Apple ID.
Method 4: Create on the Web
No Apple device at all? No problem:
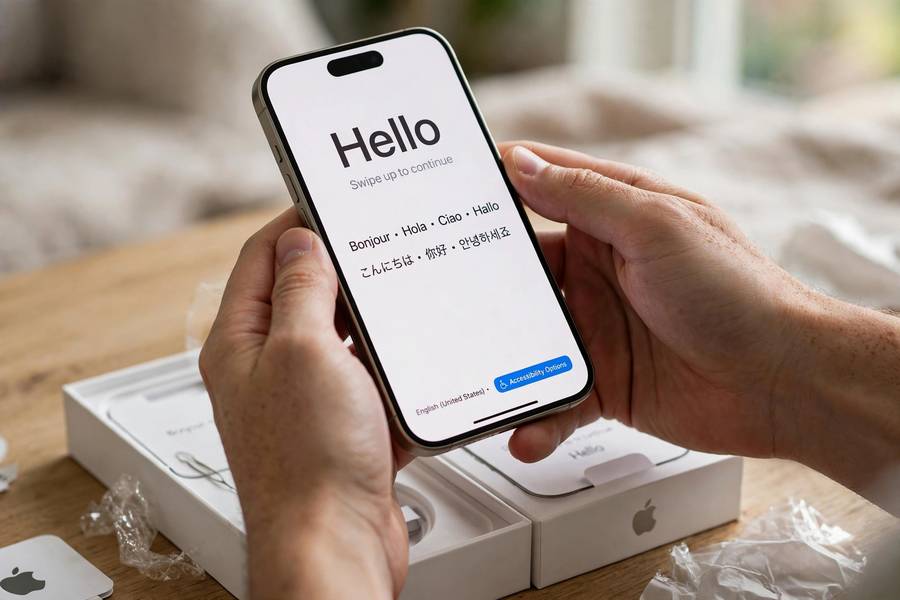
- Go to account.apple.com (typed directly into your browser).
- Click Create Your Apple ID.
- Fill in your name, birthdate, email, password, and phone number.
- Verify your email with the code Apple sends.
You can now use this Apple ID to sign in on any Apple device, on iCloud.com, or in the Apple Music / Apple TV apps on non-Apple platforms.
Verifying Your New Apple ID
Apple requires two verifications:
- Email verification: A 6-digit code sent to your email during signup. Enter it to prove you own the address.
- Phone verification: A code via SMS or automated call to your phone number. This number becomes a trusted number for two-factor authentication.
Turn on two-factor authentication immediately after (it’s on by default for new accounts now). It’s the single biggest thing protecting your new account.
Should You Create a Second Apple ID?
Short answer: probably not. Here’s the honest breakdown:
Valid reasons for a second Apple ID:
– A separate account for a child (though Apple’s Family Sharing is usually better — one family organizer, individual accounts for everyone, shared purchases)
– Strict work/personal separation (though most people manage fine with one ID + separate email)
– You’re in a region where your primary ID’s store doesn’t offer what you need
Why one Apple ID is better:
– Purchases (apps, music, movies) are tied to the ID that bought them — splitting IDs splits your library
– iCloud, iMessage, and FaceTime get confusing with multiple IDs
– Family Sharing already solves the “share purchases, keep data separate” problem elegantly: up to 6 family members, each with their own Apple ID, sharing App Store purchases and an iCloud storage plan
If you do create a second one: Use it consistently for its purpose, and don’t try to merge accounts later — Apple doesn’t offer account merging, and combining purchase histories isn’t possible.
What to Do Right After Creating Your Apple ID
New account, fresh start. Run through this setup checklist to get the most from it:
1. Turn on iCloud Backup. Settings → [your name] → iCloud → iCloud Backup → on. Do this on day one — future-you will be grateful when the phone needs replacing.
2. Enable Find My. Settings → [your name] → Find My iPhone → on, plus Send Last Location. For a device worth hundreds, this is non-negotiable.
3. Set up payment (or don’t). If you’ll buy apps or subscriptions, add a payment method: Settings → [your name] → Payment & Shipping. If not, leave it as None — free apps and iCloud’s free tier work fine without one.
4. Customize iCloud storage. The free 5 GB fills fast with photos. Decide early: pay for iCloud+ (50 GB is inexpensive) or use Google Photos/another service for pictures. Don’t discover the limit mid-backup.
5. Set up Family Sharing (if applicable). The organizer adds you via Settings → [your name] → Family Sharing. You keep your own Apple ID and data while sharing purchases, subscriptions, and storage plans.
6. Sign in everywhere else. iCloud.com for web access, Apple Music/Apple TV apps on other platforms, and the App Store on any Mac or iPad you own. One ID across everything is the whole point.
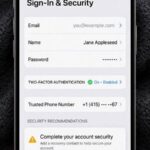
7. Add a recovery contact. Settings → [your name] → Sign-In & Security → Account Recovery. Future lockouts become minor inconveniences instead of week-long ordeals.
Switching Between Apple IDs (When You Must)
Some situations genuinely require juggling two IDs — different country stores, a work-issued ID, testing. Here’s how to do it without chaos:
On iPhone — App Store only: You can use one Apple ID for iCloud and a different one for the App Store: Settings → [your name] → Media & Purchases → Sign Out, then sign in with the other ID. Your iCloud data stays untouched; only store purchases switch. This is the cleanest way to access another country’s App Store.
Full switch (iCloud): Settings → [your name] → Sign Out switches everything — iCloud, iMessage, FaceTime. You’ll choose what stays on the device (contacts, calendars) versus what leaves with the account. Only do this deliberately; it’s disruptive by design.
The 90-day trap: Apple limits store-ID switching for purchases — once you change the country/ID associated with purchases, some content has a 90-day association lock. Plan switches around this, not through it.
My honest advice: One ID for iCloud (your life), and if you must, a second only for Media & Purchases. Never split iCloud itself across IDs — photos, backups, and messages scattered across two accounts is a support nightmare with no good fix.
Keep reading: if this helped, you’ll also like how wireless earbuds work, how noise cancelling headphones work — I wrote them in the same plain-English style.

Frequently Asked Questions
Go to account.apple.com and click Create Your Apple ID, or choose “Create a Free Apple ID” during iPhone setup. You need an email address and phone number — no payment method is required; select “None” when asked.
Yes, Apple allows multiple Apple IDs, but it’s usually better to use one ID with Family Sharing for family members. Purchases can’t be merged between IDs, so splitting accounts splits your app and media library permanently.
No. During signup you can select “None” as your payment method. You can download free apps and use iCloud’s free tier without ever adding a card.
Use Family Sharing: the family organizer goes to Settings → [name] → Family Sharing → Add Member → Create Child Account. This gives the child their own Apple ID with parental controls and purchase approval built in.
Yes — go to account.apple.com or Settings → [your name] → Sign-In & Security to change your Apple ID email. Your purchases, iCloud data, and everything else transfer with it.
iCloud syncing stops, Find My status changes, and Apple Pay cards are removed from the device. You’ll be asked what to do with iCloud data on the device (keep a copy or remove it). Sign out deliberately, not casually.