How to Do a Plank for Beginners: Build Core Strength the Right Way

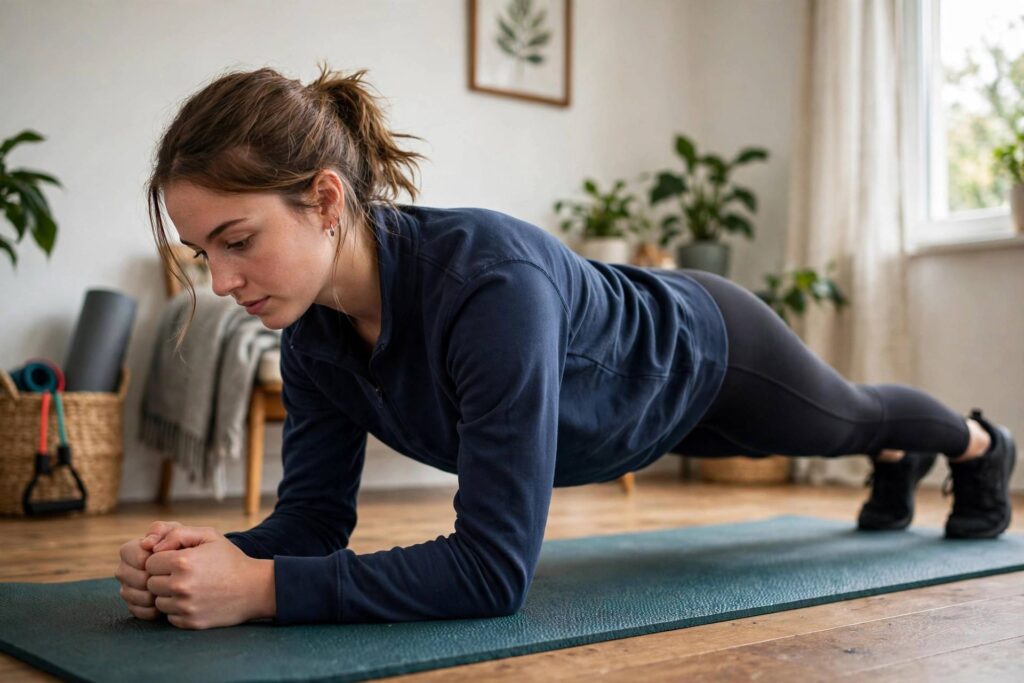
If you’re wondering how to do a plank for beginners the right way, you’re in the right place. Alright, let’s talk about the plank — the exercise everyone loves to hate and hates to love. Here’s the truth: the plank is one of the single best moves a beginner can learn. No equipment, no gym, no excuses. Just you, the floor, and about sixty seconds of honest work.
But most beginners do it wrong — saggy hips, held breath, neck craned up like a meerkat. Let’s fix that right now. By the end of this guide, you’ll know exactly how to do a plank for beginners with form that actually builds strength instead of just building frustration — plus a simple week-by-week plan to go from shaky to solid.
Why the Plank Is Worth Your Time
The plank trains your entire core as one unit — not just the abs you see in the mirror, but the deep stabilizers, obliques, lower back, glutes, and shoulders. That matters because core strength is what keeps your spine safe when you lift, carry, run, or just sit at a desk all day.
Unlike crunches, which bend the spine repeatedly, the plank teaches your core to resist movement. That’s how your core actually works in real life — bracing while you carry groceries, holding posture while you work, stabilizing while you play sports. Train the job it does, not the job it doesn’t.
And here’s the beginner-friendly part: the plank scales perfectly. Can’t hold 30 seconds yet? Start on your knees. Crushing 60 seconds? Add variations. The exercise grows with you.
How to Do a Plank for Beginners: Step-by-Step Form
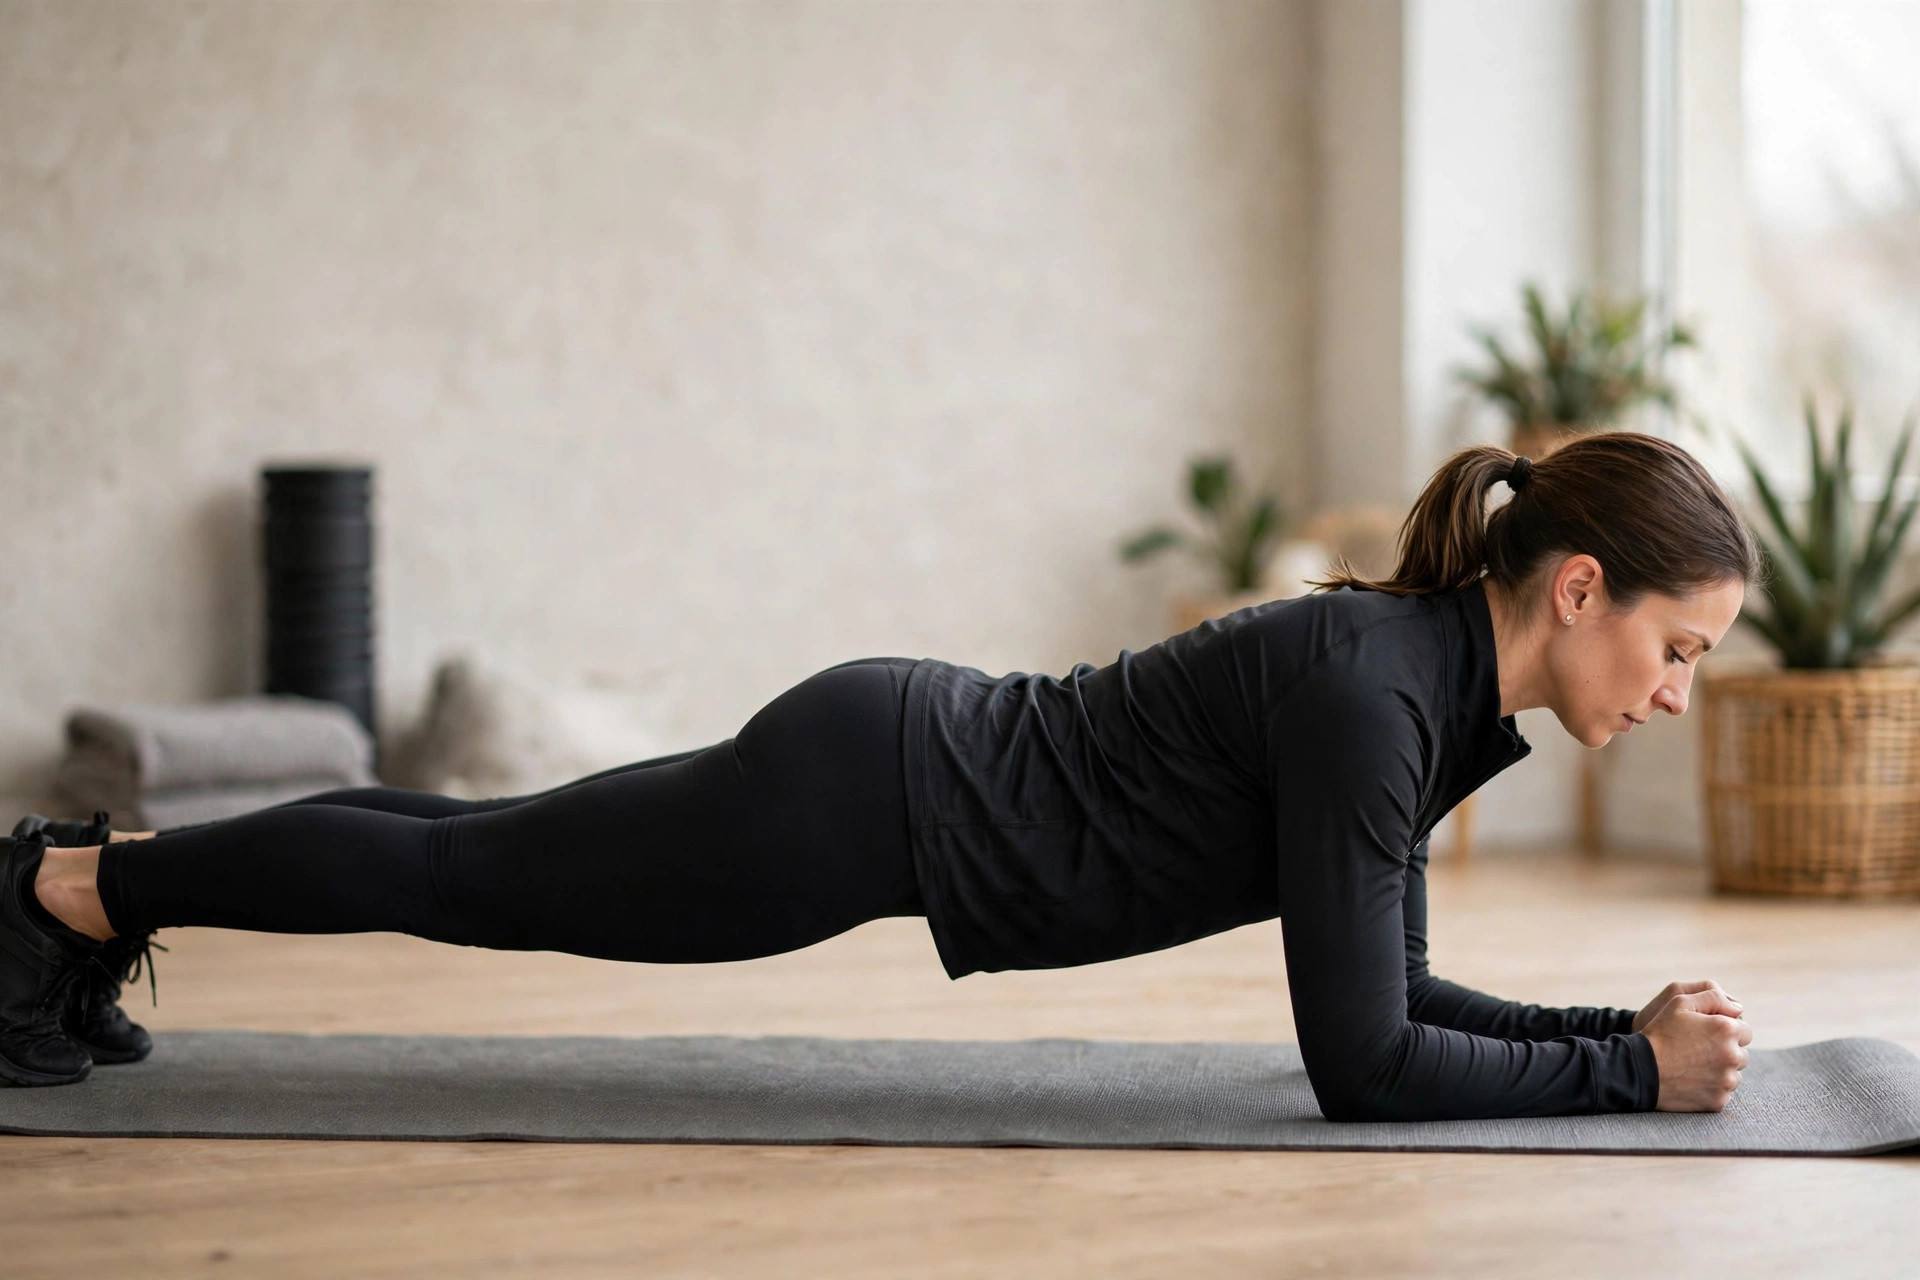
Let’s build it from the ground up. Follow these steps in order:
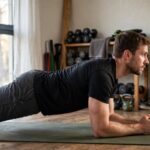
- Start on all fours. Place your forearms on the floor, elbows directly under your shoulders. Your forearms can be parallel or hands clasped — whatever feels stable.
- Step one leg back, then the other. Extend your legs behind you, feet hip-width apart (wider is easier and more stable; closer together is harder).
- Make one straight line. From the crown of your head through your shoulders, hips, and heels — one rigid line. No sagging, no piking up.
- Squeeze your glutes. This is the cue most people miss. Tight glutes lock your pelvis in place and take pressure off your lower back.
- Brace your abs like someone’s about to poke your stomach. Pull your belly button slightly toward your spine. Breathe steadily — never hold your breath.
- Tuck your chin slightly. Look at the floor a few inches in front of your hands. Don’t crane your neck up to look at the mirror — that’s a fast track to neck strain.
- Hold, then lower with control. Drop your knees to the floor first, then rest. Don’t just collapse — control the exit like you controlled the hold.
The 5 Mistakes Beginners Always Make
I’ve coached hundreds of beginners through their first planks. These are the mistakes I correct every single time:
- Hips sagging toward the floor. The number one error. If your lower back starts aching, your hips have dropped. Squeeze the glutes, brace the abs, and if you can’t hold the line, drop to your knees — a shorter perfect plank beats a longer sloppy one.
- Hips piked up like a tent. The opposite error — usually from trying too hard to avoid sagging. Reset: one straight line, head to heels.
- Holding your breath. You can’t brace properly without breathing. Slow, steady breaths. If you find yourself gasping, the set is over.
- Shoulders creeping toward ears. Push the floor away from you. Your shoulder blades should sit flat on your ribcage, not hunched up.
- Staring at yourself. Head position follows the spine. Eyes on the floor, chin tucked. Your neck will thank you.
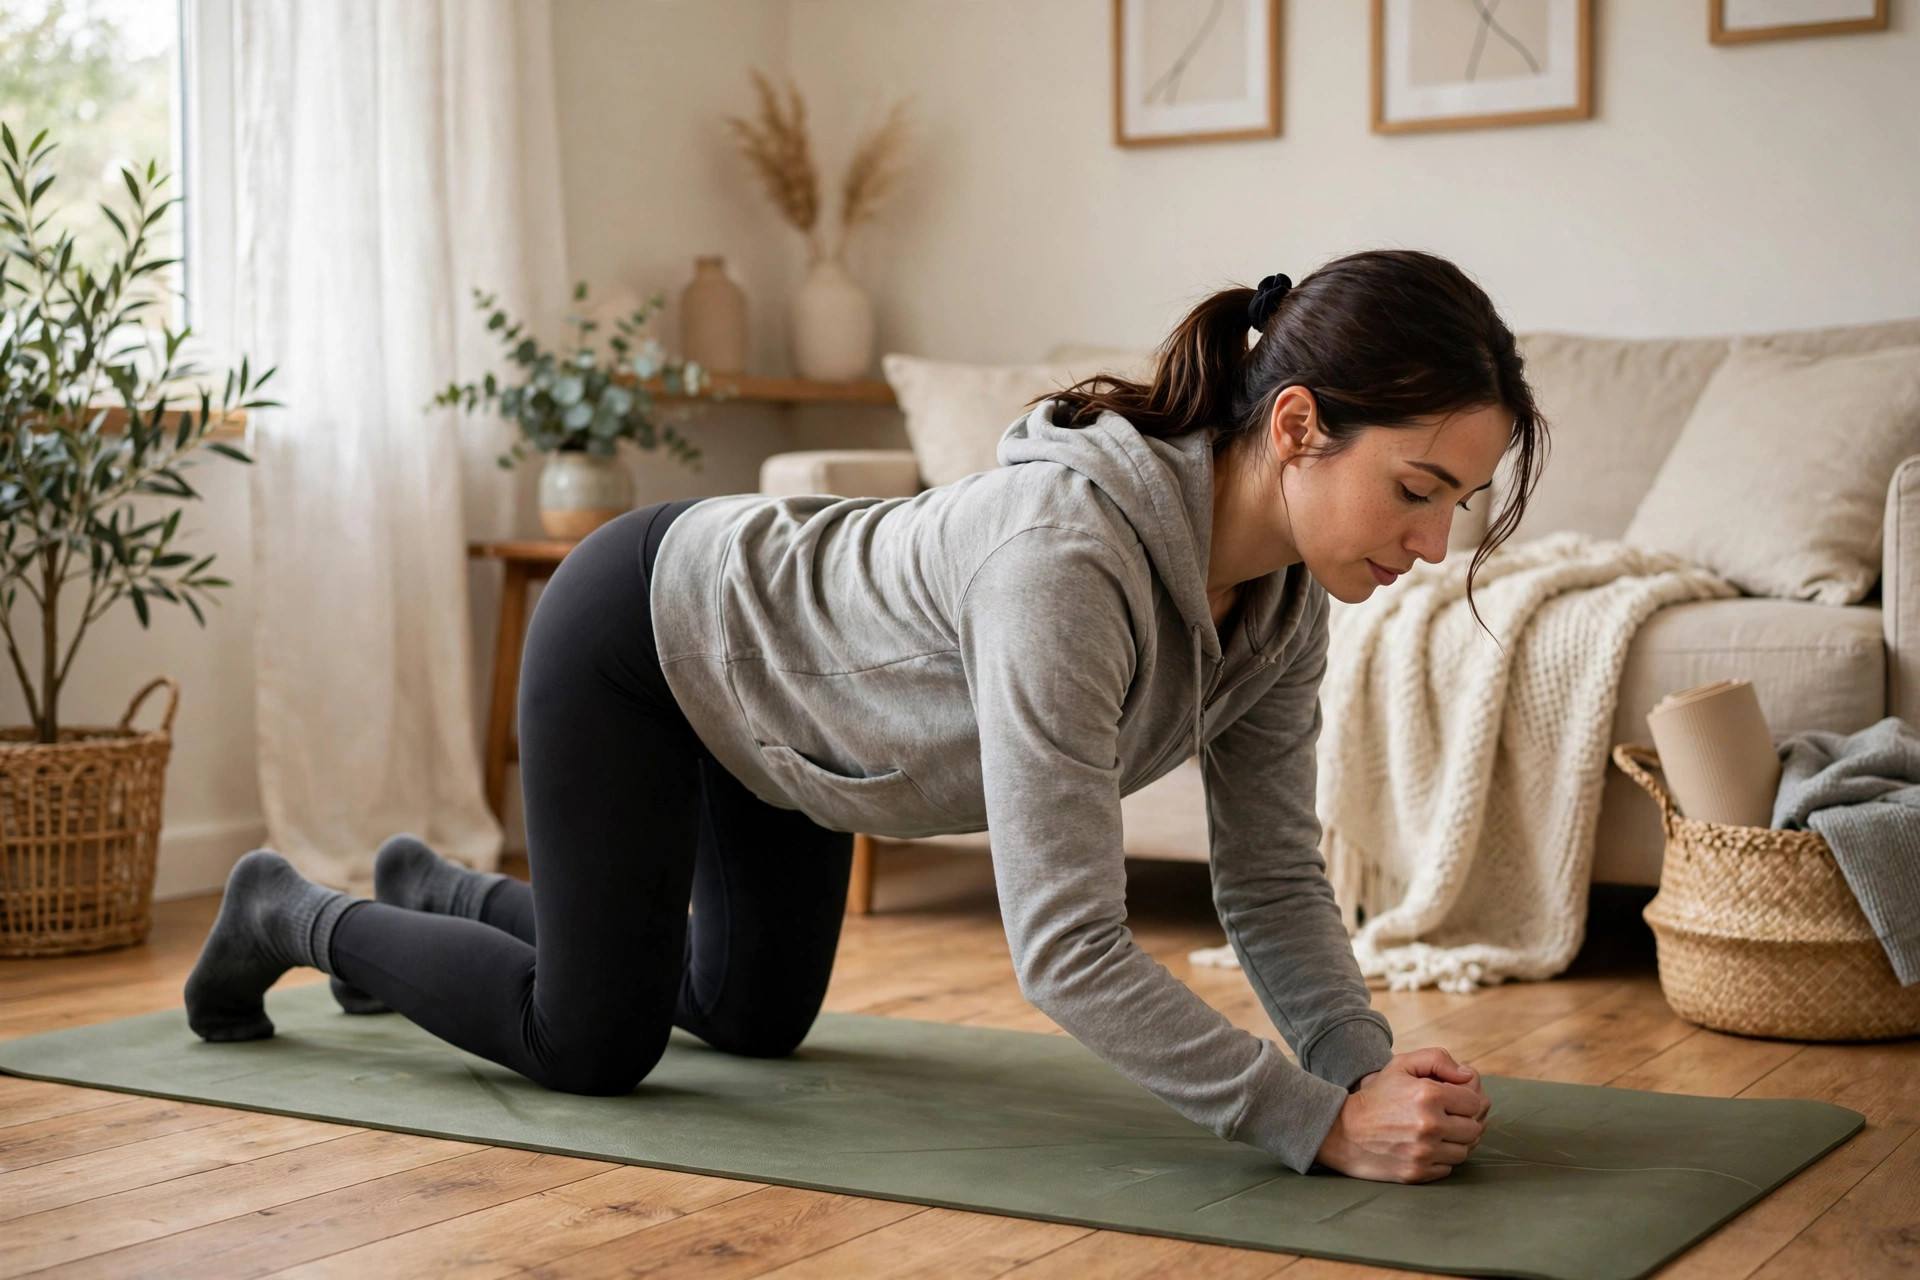
Start Here: The Beginner Progression
Don’t chase a two-minute plank on day one. Follow this progression and build real strength:
- Week 1-2: Knee plank. Forearms on the floor, knees on the floor, straight line from head to knees. Hold 3 sets of 20-30 seconds. Rest 30-60 seconds between sets.
- Week 3-4: Full plank, short holds. Graduate to the full position. Hold 3 sets of 20-30 seconds with perfect form. Quality over duration — always.
- Week 5-6: Build to 45-60 seconds. Extend your holds gradually. Three sets of 45 seconds with clean form is a genuine achievement.
- Week 7+: Add variety. Side planks, plank shoulder taps, high plank (push-up position) — these keep the challenge growing. Once the basics feel easy, these workout routines for beginners show you how to slot planks into full sessions.
Train planks 3-4 times per week, not every day. Your core muscles need recovery like any other muscle group. Consistency beats intensity here — showing up for short, focused sessions three times a week will take you further than one heroic workout followed by six days off.
How Long Should a Beginner Hold a Plank?
Forget the internet bragging about five-minute planks. For beginners, the target is 20 to 60 seconds of perfect form. Research and coaching experience agree: beyond about two minutes, you’re training endurance more than strength, and form usually degrades.
A better goal than marathon holds: multiple short sets with flawless form. Three rounds of 30 seconds, done right, builds more usable core strength than one shaky two-minute hold. When 60 seconds feels easy with perfect form, progress to harder variations instead of longer holds.
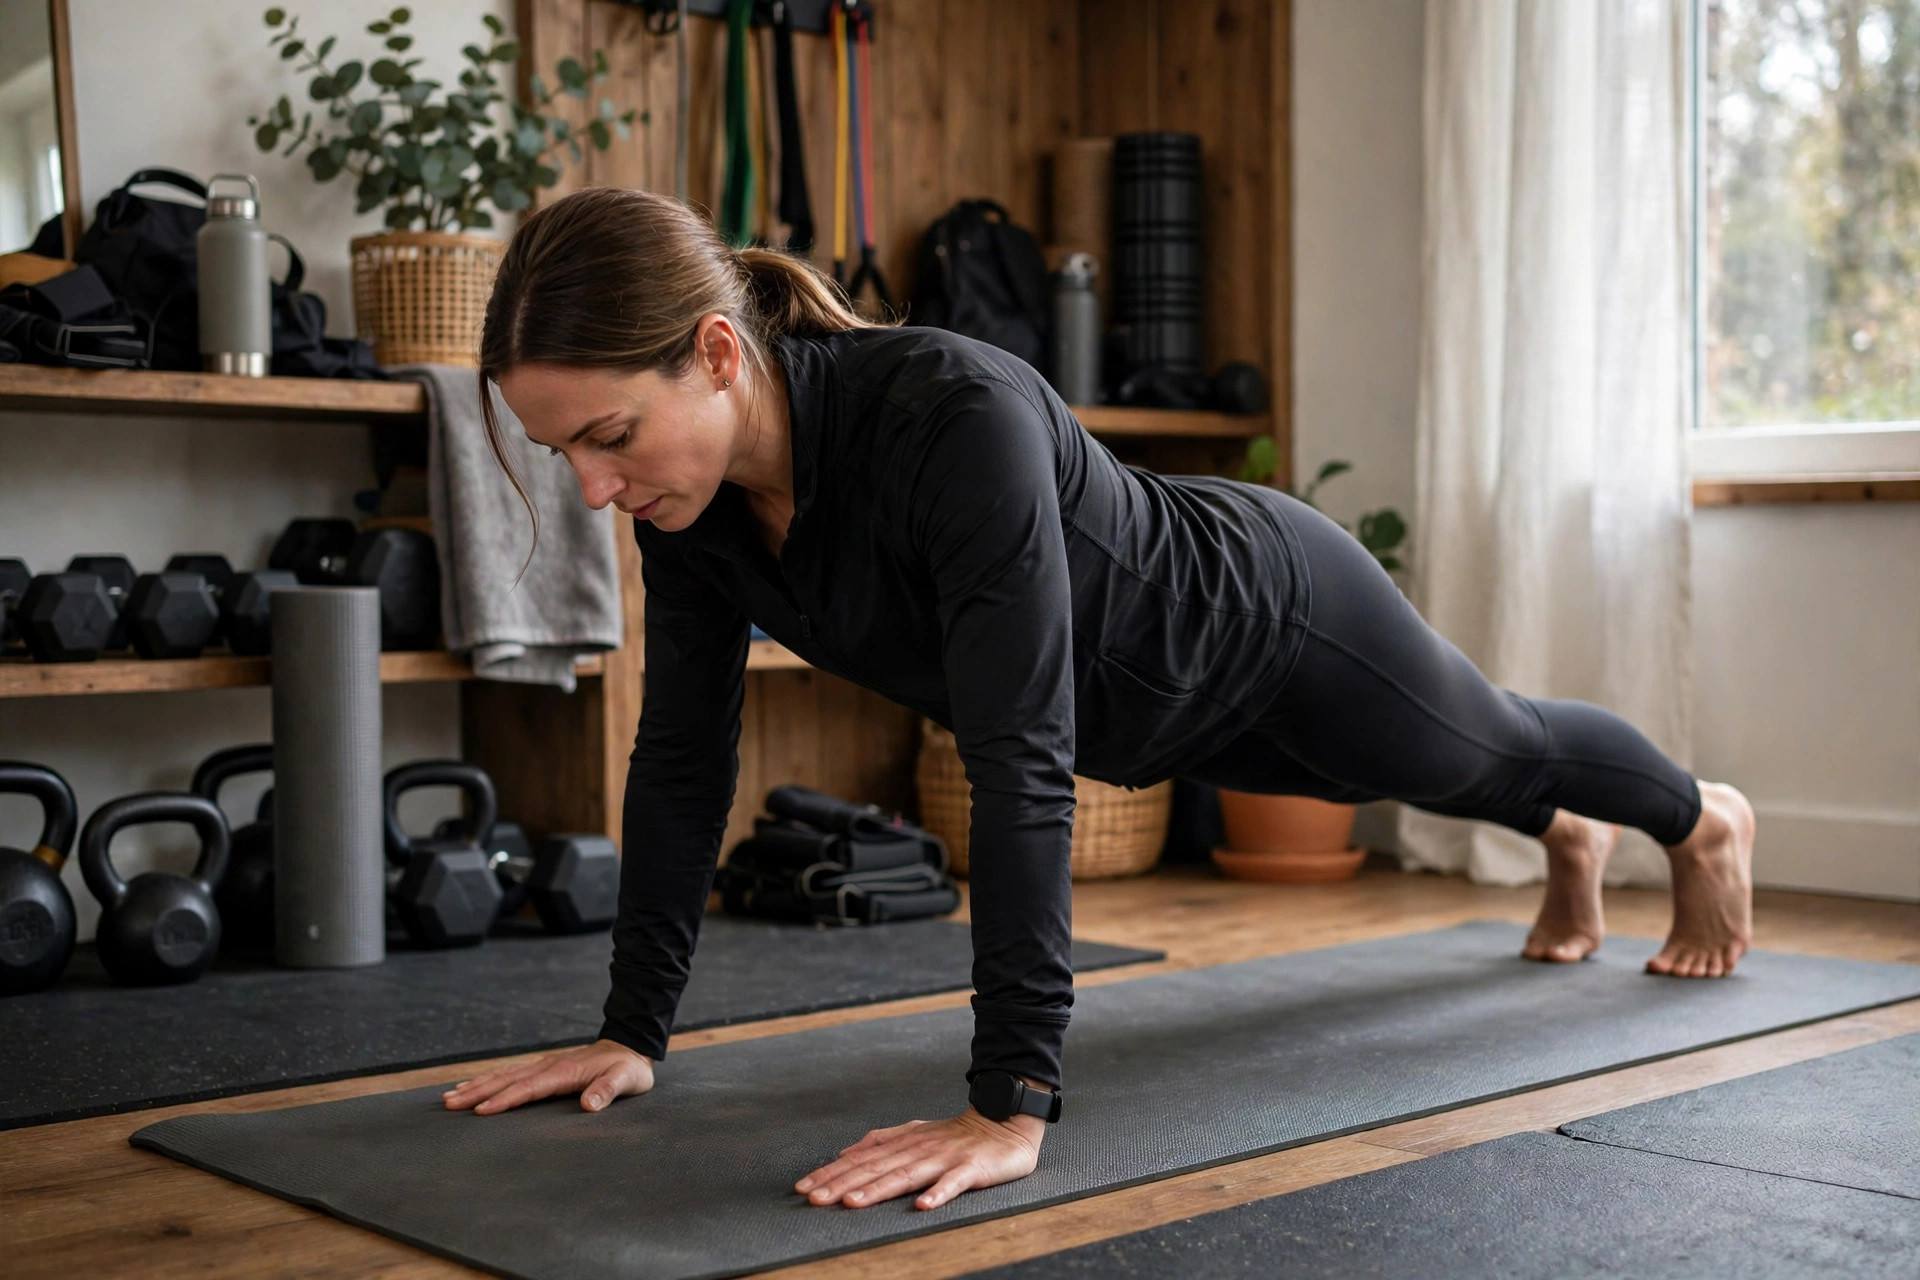
Plank Variations to Try Next
Once the basic plank feels solid, these variations keep things interesting:
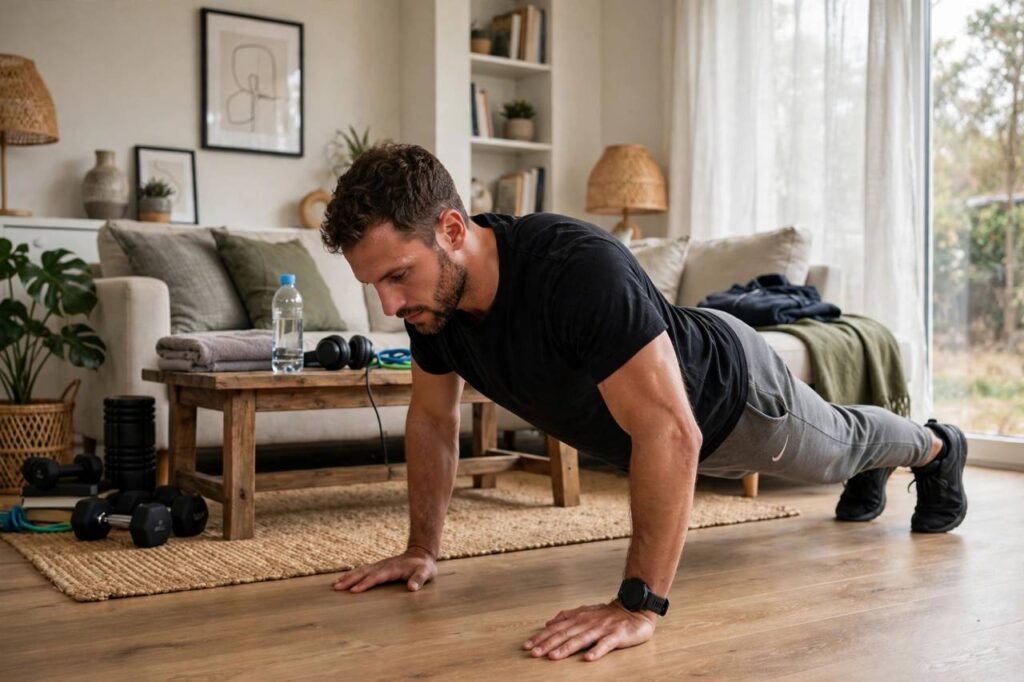
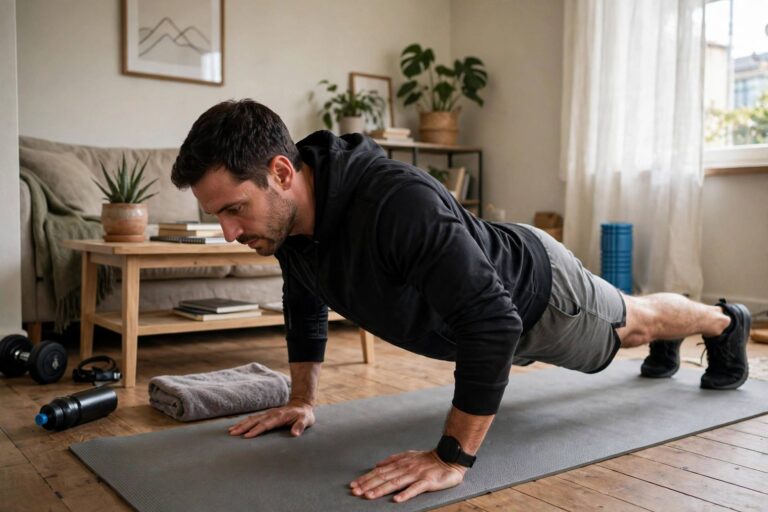
- High plank: Same position, but on your hands like the top of a push-up. Slightly more shoulder and wrist demand.
- Side plank: On one forearm, body in a straight line, feet stacked. This hammers the obliques. Start on your knees if needed.
- Plank shoulder taps: In high plank, tap each shoulder with the opposite hand while keeping hips rock-steady. Anti-rotation gold.
- Reverse plank: Face up, hands behind you, body in a straight line. Great for the posterior chain and a nice change of pace.
After any core session, don’t skip the wind-down — here’s how to cool down after exercise properly. And fuel the recovery with something sensible; check what to eat after a workout for simple post-training nutrition.
Breathing and Bracing: The Hidden Skill
Here’s what separates people who “do planks” from people who get strong from planks: the brace. Most beginners just hold still and hope. That’s leaving most of the benefit on the table.
Proper bracing means creating full-body tension — imagine you’re preparing for someone to shove you. Your abs tighten, your glutes clamp down, your quads engage, your fists and forearms press into the floor. Everything is switched on. This is called irradiation: tension in one area amplifies tension everywhere else.
Now add breathing. The instinct is to hold your breath when things get hard, but a breath-hold spikes blood pressure and usually means your brace collapses the moment you exhale. Instead, practice “breathing behind the shield” — keep the abdominal brace engaged while taking short, controlled breaths into your ribs and back. It feels strange at first. Practice it during your rest periods: brace, breathe, hold the brace, breathe again.
This skill transfers everywhere — deadlifts, squats, carrying heavy groceries, even posture at your desk. The plank is just the classroom where you learn it.
Your First Plank Workout: A Sample Beginner Session
Ready to put it together? Here’s a complete 15-minute beginner core session built around the plank. Do this three times per week:
- Warm-up (3 minutes): Cat-cow stretches, 10 bird-dogs per side, 30 seconds of dead bugs. Get blood flowing and wake up the stabilizers.
- Round 1: Knee plank or full plank, 20-30 seconds. Rest 45 seconds.
- Round 2: Same plank, 20-30 seconds. Rest 45 seconds.
- Round 3: Side plank (knees down if needed), 15-20 seconds per side. Rest 45 seconds.
- Round 4: Final plank hold, as long as you can maintain perfect form — stop the second your hips sag.
- Cool-down (3 minutes): Child’s pose, cobra stretch, lying spinal twist each side. Your core just worked hard; give it a proper send-off.
Track your times in a notes app. Watching those numbers climb week over week is incredibly motivating — and it’s the proof that the boring, consistent work is paying off. That’s fitness in a nutshell: show up, do the work, track the progress, repeat.
Now go earn it. The floor is waiting.
When to Move Beyond the Basic Plank
You’ll know it’s time to progress when you can hold a full plank for 60 seconds with perfect form — no sagging, steady breathing, easy conversation-level effort. Don’t just add time; add challenge. Move to side planks, plank shoulder taps, or plank up-downs. Harder variations build more strength in less time than marathon holds, and they keep training interesting. Remember the coach’s rule: perfect form first, duration second, fancy variations third. Master each level before moving up.
FAQ
How to do a plank for beginners without hurting your back?
Back pain during planks almost always means your hips are sagging. Squeeze your glutes hard, brace your abs, and keep a straight line from head to heels. If pain persists even with good form, drop to the knee plank version and build up gradually — and check with a professional if it continues.
How many planks should a beginner do per day?
Three sets of 20-60 seconds, three to four days per week, is plenty for a beginner. More isn’t better — your core needs rest days to get stronger, just like any other muscle.
Is 30 seconds a good plank time for a beginner?
Yes — 30 seconds with perfect form is a solid beginner benchmark. Most people start around 10-20 seconds. Build to 60 seconds before adding harder variations rather than chasing longer and longer holds.
Should you do planks every day?
No. Your core muscles need 24-48 hours to recover and adapt. Train planks 3-4 times per week with rest days in between. Daily planking with poor recovery leads to plateaus and sloppy form.
What’s better for beginners: planks or crunches?
Planks, and it’s not close. Planks train your whole core to stabilize your spine — which is what your core actually does all day. Crunches isolate the surface abs through spinal flexion. Do planks as your foundation; add other movements later if you want variety.