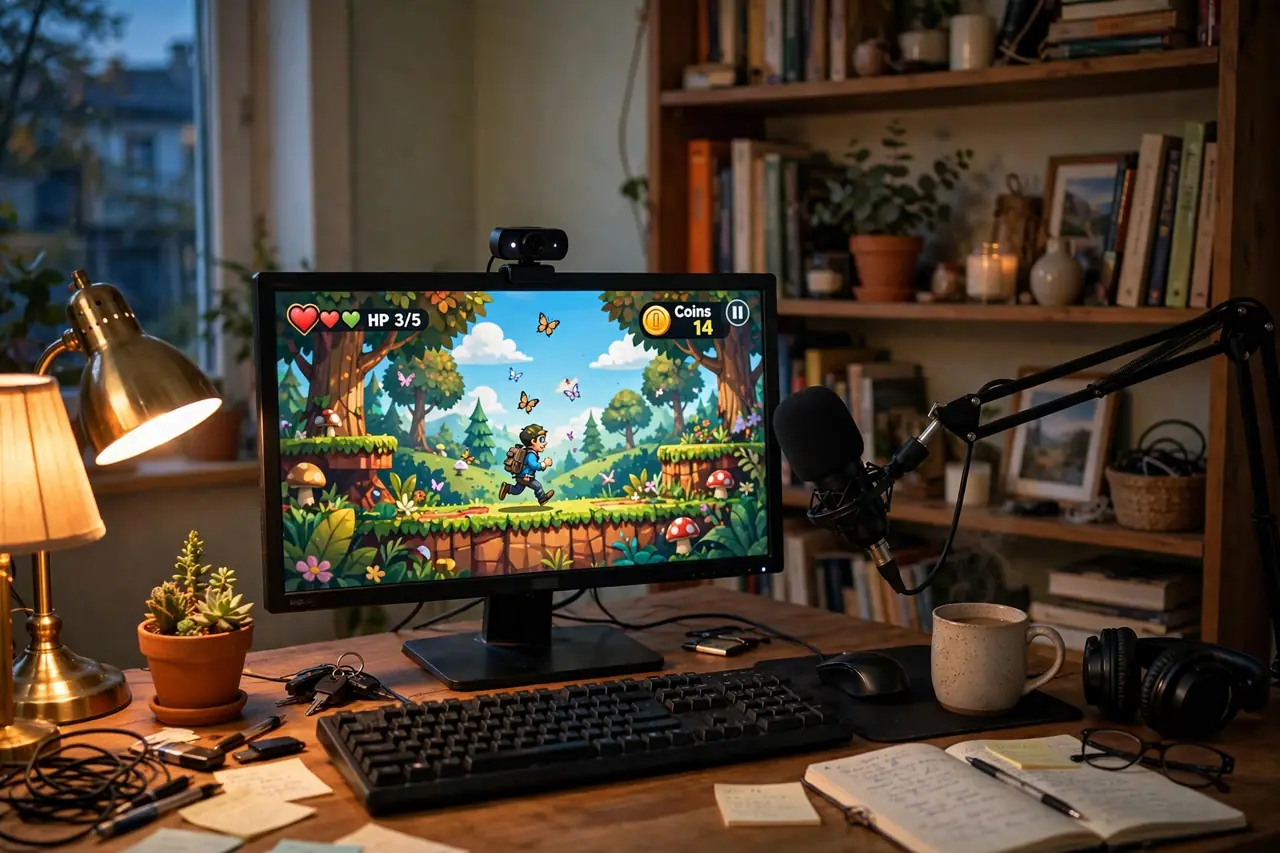
I’ll be honest with you: my first Twitch stream had three viewers, and two of them were me — one on my phone, one on my laptop, refreshing the page like a maniac. The third was my mom, who asked in chat why my room was so dark. We’ve all got to start somewhere, and that somewhere is usually gloriously, hilariously bad.
But here’s the thing nobody tells you when you search “how to stream on Twitch”: the technical part is the easy part. You can go from zero to live in an afternoon. The hard part — the part that separates the channels that survive from the ones that fizzle out after three streams — is everything around the button that says “Start Streaming.”
This guide covers both. The gear, the software, the settings, the account setup — and then the stuff that actually matters: how to be watchable, how to get found, and how to keep going when your viewer count is your mom and your own phone. Let’s get you live.
What You Actually Need to Start (Spoiler: Less Than You Think)
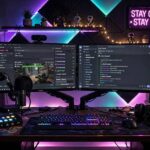
Forget the battlestation photos on Reddit. You do not need a ring light, a $400 microphone, and a PC that could run a small space program. Here’s the real minimum:
- A Twitch account — free, takes two minutes.
- A device that can run a game and encoding software at the same time — a decent PC, a PS5, an Xbox Series X|S, or even a Switch (with a capture card).
- Internet with at least 6 Mbps upload speed — download speed is irrelevant here; Twitch only cares about what you can push up.
- Something to say. This one’s free and it’s the whole ballgame.
You can literally start streaming from a PlayStation tonight with zero extra equipment. Plenty of partnered streamers started exactly that way. The gear upgrades come later, once you’ve proved to yourself you’ll stick with it past week two.
Setting Up Your Twitch Account Right
Head to Twitch and sign up. Now — your username matters more than you think. It’ll be your brand, your URL, and the thing people shout in other chats. Keep it short, readable, and spellable. If someone has to ask “wait, is that with a zero or an O?” you’ve already lost.
Then fill out your profile like a person who plans to be here a while:
- Profile picture and banner — doesn’t need to be art-directed, just not the default egg.
- Bio — one or two lines about what you stream and when. “Variety streamer. Weeknights. Terrible at shooters, great at vibes.”
- Schedule panel — consistency beats everything. Two streams a week at the same time beats seven random ones.
- Panels below your stream — an “About,” your socials, your PC specs if you’re a tech crowd. Think of it as your channel’s resume.
Turn on two-factor authentication while you’re at it. Getting your channel hijacked because you reused a password is the most preventable tragedy in streaming.
Picking Your Gear: Three Budget Tiers
Tier 1: The “Prove It” Setup ($0–$50)
Console streaming (built-in broadcast feature on PlayStation/Xbox), or a basic PC with your phone as a webcam via a free app like DroidCam. A cheap lav mic or your gaming headset mic is fine. At this tier you’re testing the hypothesis: do I actually enjoy doing this?
Tier 2: The “I’m Serious” Setup ($150–$400)
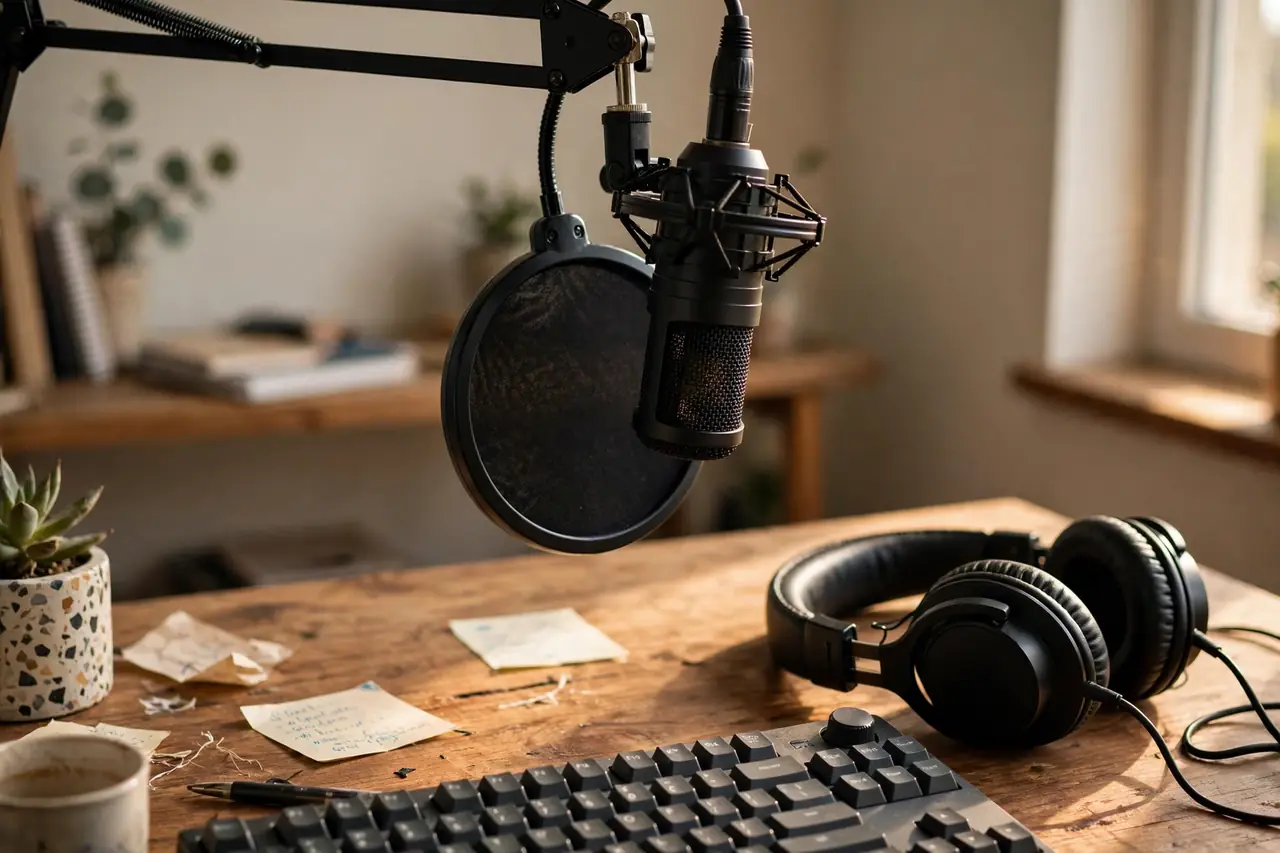
A USB condenser mic (the Blue Yeti and its cousins are the Toyota Corollas of streaming — boring, reliable, everywhere), a Logitech C920-style webcam, and decent lighting. Honestly, a $25 lamp pointed at your face does more for your stream’s perceived quality than a $200 camera upgrade. Audio quality matters more than video quality — viewers will watch a blurry stream, but they will leave a stream that sounds like a drive-thru speaker.
Tier 3: The “Full Send” Setup ($500+)
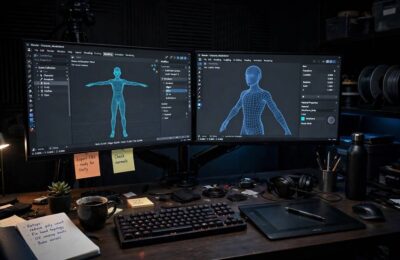
XLR mic with an audio interface, a proper camera (or a mirrorless camera as a webcam), key lights, a Stream Deck for scene switching, and a second monitor so you’re not alt-tabbing into the void. Lovely stuff. Completely unnecessary until you have an audience.
The golden rule: upgrade your content before your gear. Nobody ever said “I loved that stream because the bitrate was immaculate.”
Streaming Software: OBS vs. Everything Else
If you’re on PC, OBS Studio is the answer for 90% of beginners. It’s free, open-source, and every tutorial on YouTube assumes you’re using it. Download it, run the auto-configuration wizard, and it’ll guess sensible settings based on your hardware.
Your first OBS setup needs exactly three things:
- A Scene — think of it as a camera angle. “Gameplay” is scene one.
- Sources inside that scene — Game Capture (your game), Video Capture Device (your webcam), Audio Input Capture (your mic).
- Your stream key — from your Twitch Creator Dashboard under Settings → Stream. Paste it into OBS under Settings → Stream. Never show this on screen. Ever.
Alternatives exist — Streamlabs is OBS with training wheels (and bloat), Twitch Studio is Twitch’s own simplified app (fine, but you’ll outgrow it). Start with OBS Studio. Future-you will thank present-you.
Twitch’s official Creator Camp has step-by-step setup guides if you get stuck — it’s genuinely good documentation, which is rare enough to mention.
Your First Stream: Settings That Actually Matter
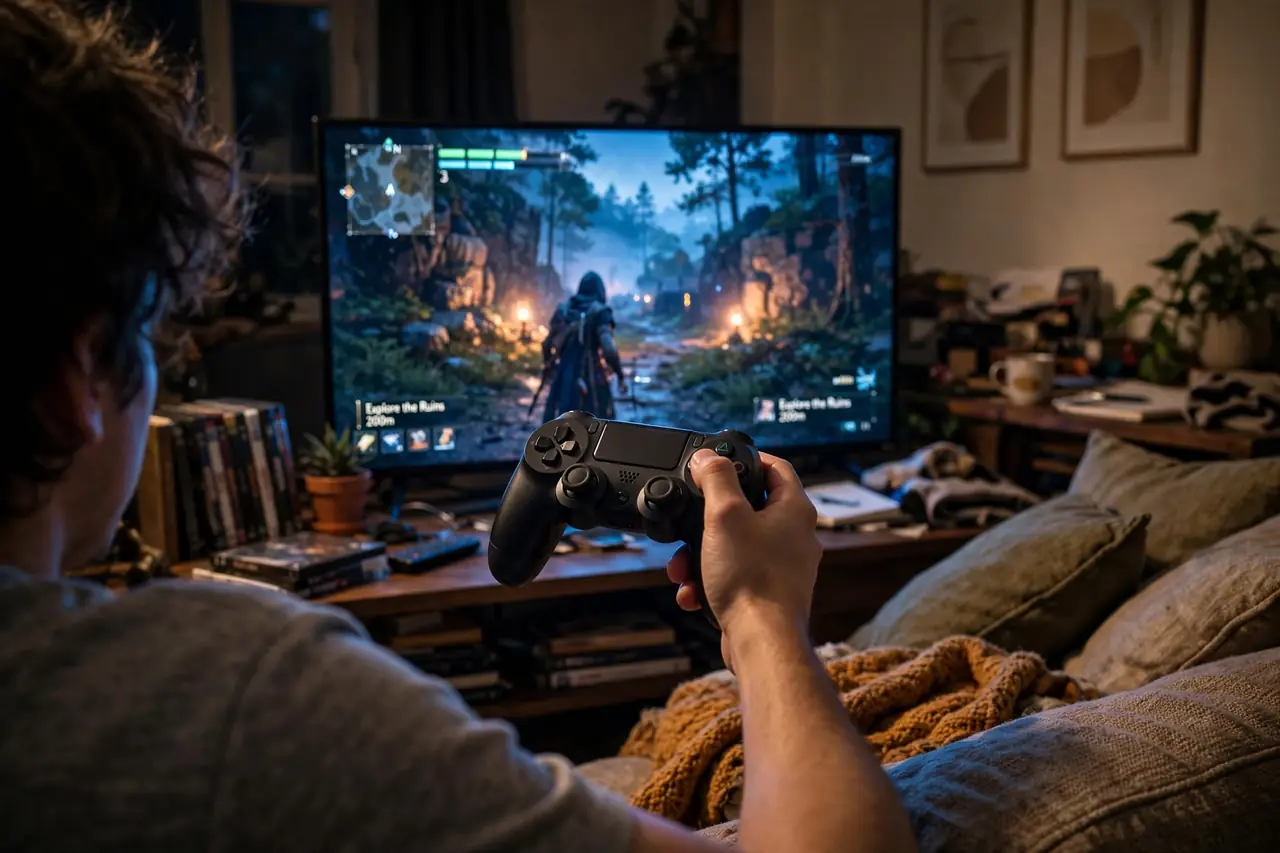
Deep breath. Here’s the checklist for stream number one:
- Resolution/frame rate: 1080p at 60fps if your hardware handles it; 720p at 60fps is perfectly respectable and much easier on your CPU. Most viewers watch on phones anyway.
- Bitrate: 6000 kbps is Twitch’s cap for most streamers. Start at 4500–6000 and adjust if things stutter.
- Encoder: NVENC (if you have an NVIDIA GPU) or x264. NVENC offloads the work to your graphics card — usually the right call.
- Audio: mic at a level where your loudest laugh doesn’t clip into distortion. Do a 30-second test recording and listen back. Painful? Yes. Necessary? Also yes.
Then the stuff that makes you look like you’ve done this before: a stream title that’s specific and searchable (“First Playthrough | Elden Ring | No Backseating (Please)”), the right game category, and language tags. “Playing games” as a title is how you get zero clicks.
Being Watchable: The Part No Gear Guide Covers
Here’s the uncomfortable truth: at the start, you are the content. The game is background noise. People stay for you — your reactions, your commentary, the weird little community forming in chat.
Narrate your thought process out loud, even (especially) when nobody’s watching. Silence is the number-one killer of new streams. Talk like a friend is on the couch next to you. And when someone does show up in chat — acknowledge them by name within seconds. That single habit converts lurkers into regulars faster than anything else.
Oddly enough, the skills that make a great streamer overlap a lot with other performance crafts. A bit of improv comedy training — saying “yes, and” to chat’s chaos instead of freezing — is genuinely useful on a live broadcast. And if you ever want to look comfortable on camera, the same presence tips in our guide to making an acting reel apply: energy, eye contact with the lens, and committing to the bit.
Growing Without Burning Out
Let’s talk discovery, because Twitch’s browse page is not going to do you any favors. Almost nobody finds small streamers by scrolling Twitch. They find you elsewhere — and that’s where the real growth game is played.
- Clip everything. Your funniest, wildest, most ridiculous moments should become TikToks, Reels, and Shorts. One viral clip has launched more streaming careers than a thousand hours of grinding the directory. Our guide on how to grow on TikTok maps almost perfectly onto promoting a Twitch channel.
- Raid and be raided. Ending your stream by sending your viewers to another small streamer builds genuine relationships in your niche.
- Show up on a schedule. Twitch viewers are creatures of habit. “Tuesdays and Thursdays at 7” is a growth strategy.
- Pick a lane (at first). One main game or category for your first few months. Variety is for people with an audience; discoverability is for people with a niche.
And pace yourself. The streamers who make it year three are the ones who treated it like a marathon hobby, not a sprint to partner. Burnout is the final boss, and it has a 100% win rate against people who stream six hours a day from day one.
Common Beginner Mistakes (I’ve Made Most of These)
- Streaming to zero viewers in silence — talk anyway. VODs exist, clips exist, and the habit matters.
- Checking viewer count every 30 seconds — hide the number. Seriously. It will mess with your head.
- Playing oversaturated games — streaming the #1 game on Twitch as a nobody means you’re row 400 of the directory. Smaller games with dedicated communities are cheat codes for discovery.
- No call to action — “follow if you’re having fun” feels awkward to say and works anyway.
- Ignoring chat to “focus on the game” — chat is the game when you’re small.
Go live this week. Not when the mic arrives, not when you “feel ready” — this week. Your first ten streams are practice that you’re currently postponing. Hit the button, be yourself, and welcome to the grind. It’s weird, it’s wonderful, and your mom will be so proud.
Only if you’re streaming from a Nintendo Switch or a two-PC setup. PlayStation and Xbox can broadcast directly to Twitch with no capture card, and PC streamers capturing their own gameplay don’t need one either.
You need at least 6 Mbps of stable upload speed for a 1080p stream. Test your upload speed (not download) before you go live, and use a wired ethernet connection whenever possible — Wi-Fi dropouts are a stream killer.
Yes. Both consoles have built-in broadcasting: link your Twitch account in the console’s settings, press the Share/Create button, and you’re live. You won’t get overlays or alerts without a capture card and PC, but it’s a perfectly valid way to start.
Through subscriptions, Bits (Twitch’s virtual tips), ad revenue, donations, and sponsorships. You’ll need Affiliate status first — 50 followers, 500 minutes streamed, 7 unique broadcast days, and an average of 3 viewers over 30 days.
Honestly? Expect weeks of single-digit viewership. Most growth comes from content you post off Twitch — clips on TikTok, YouTube, and other platforms — plus a consistent schedule and genuine engagement with the viewers you do get.