How to Make Whipped Cream at Home (Better Than the Can, Every Time)

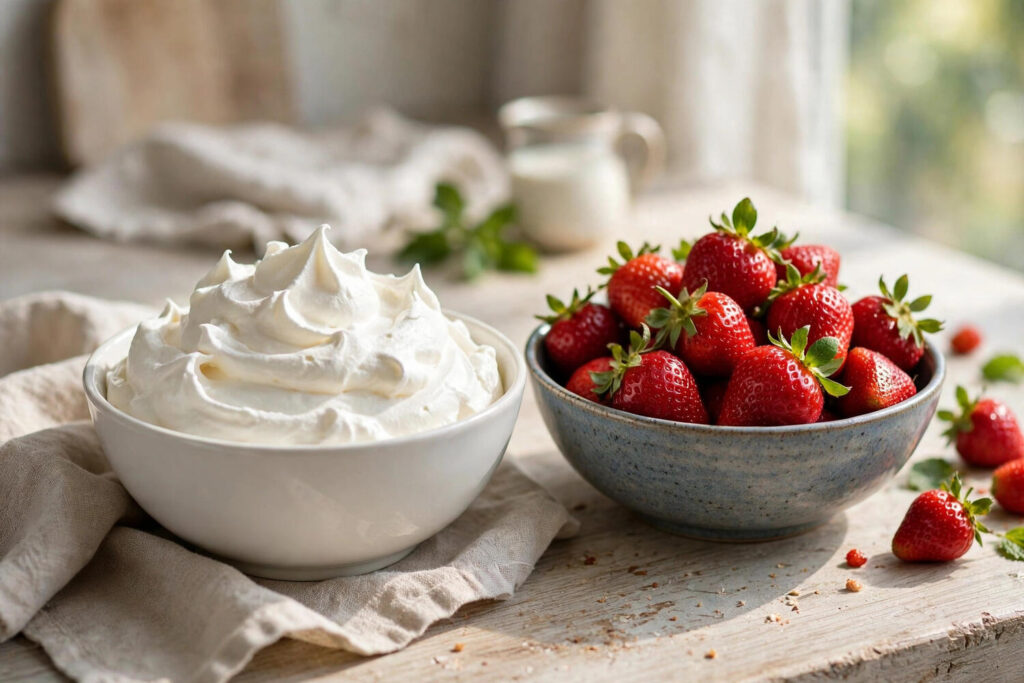
I will confess something: for years, I bought the canned stuff. It was easy, it was fine, and I told myself homemade was not worth the effort. Then one Thanksgiving, the can sputtered out mid-pie, and my mother handed me a bowl, a whisk, and a look that said you know how to do this. Three minutes later I had whipped cream so good it made the pie feel like a supporting actor. I have never bought a can since. Learning how to make whipped cream at home takes less time than driving to the store, uses three ingredients, and produces something the can cannot touch: cream that tastes like cream, with a texture you control.
The Only Three Ingredients You Need
Heavy cream, sugar, and vanilla. That is the entire ingredient list, and each one has exactly one rule. The cream must be heavy cream or heavy whipping cream — at least 36 percent fat. This is non-negotiable. Half-and-half, light cream, and milk will not whip no matter how long you beat them, because whipping is fat globules trapping air, and you need enough fat to build the structure. Check the label; “whipping cream” at 30 percent works but gives a softer, less stable result.
The sugar should be powdered sugar if you want the smoothest texture — it dissolves instantly and its tiny bit of cornstarch actually helps stabilize the cream. Granulated sugar works fine too; just add it early so it has time to dissolve. The vanilla is one teaspoon of real extract per cup of cream, and it is the difference between “sweet foam” and “whipped cream.” A pinch of salt, while we are at it, makes the whole thing taste more like itself.
The Cold Rule: Chill Everything
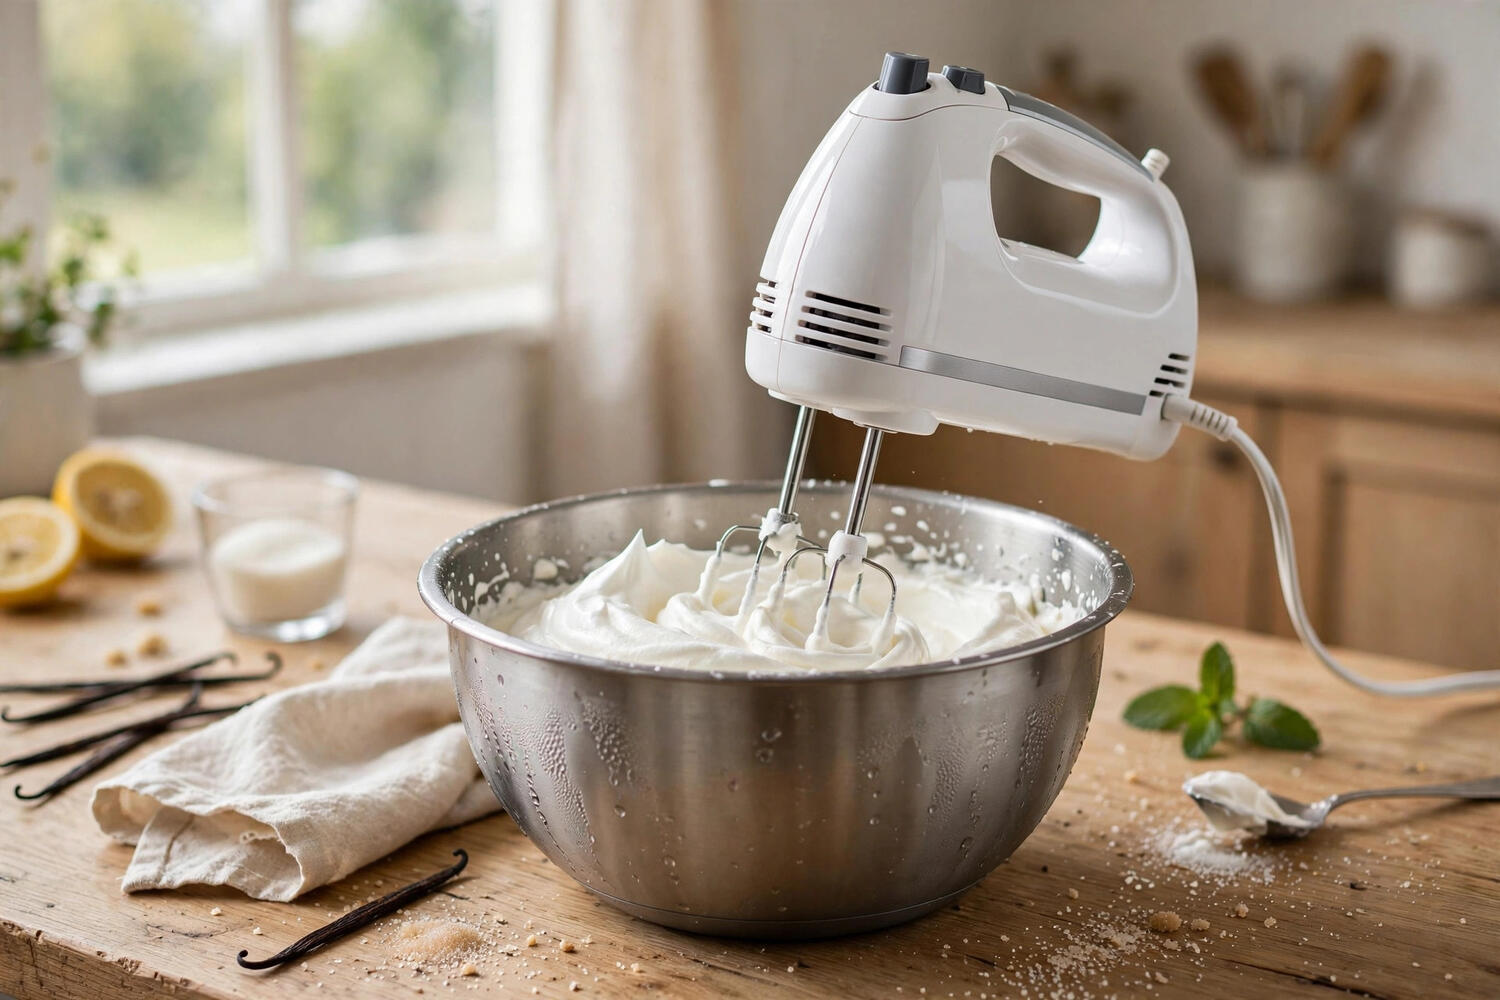
Here is the secret professionals never skip: everything must be cold. The cream, the bowl, the beaters. Cold fat whips faster, whips higher, and holds longer; warm fat is lazy and gives you soup with ambitions. Fifteen minutes in the freezer for your metal bowl and beaters — or five minutes if you are impatient — makes a visible difference. On a hot day, I even chill the cream right up until the second I pour it.
Use a metal or glass bowl, not plastic. Plastic holds onto microscopic traces of fat and warmth from previous uses, and both fight your whipping. A deep, narrowish bowl beats a wide shallow one because it keeps the beaters submerged in the cream instead of flinging it around your kitchen.
How to Make Whipped Cream at Home, Step by Step
Pour one cup of cold heavy cream into your chilled bowl. Add two tablespoons of powdered sugar, one teaspoon of vanilla extract, and a tiny pinch of salt. Start your mixer — hand or stand, both work — on medium speed. For the first minute, not much happens; the cream just gets frothy. Then it thickens, and this is where you pay attention, because whipped cream goes through stages fast.
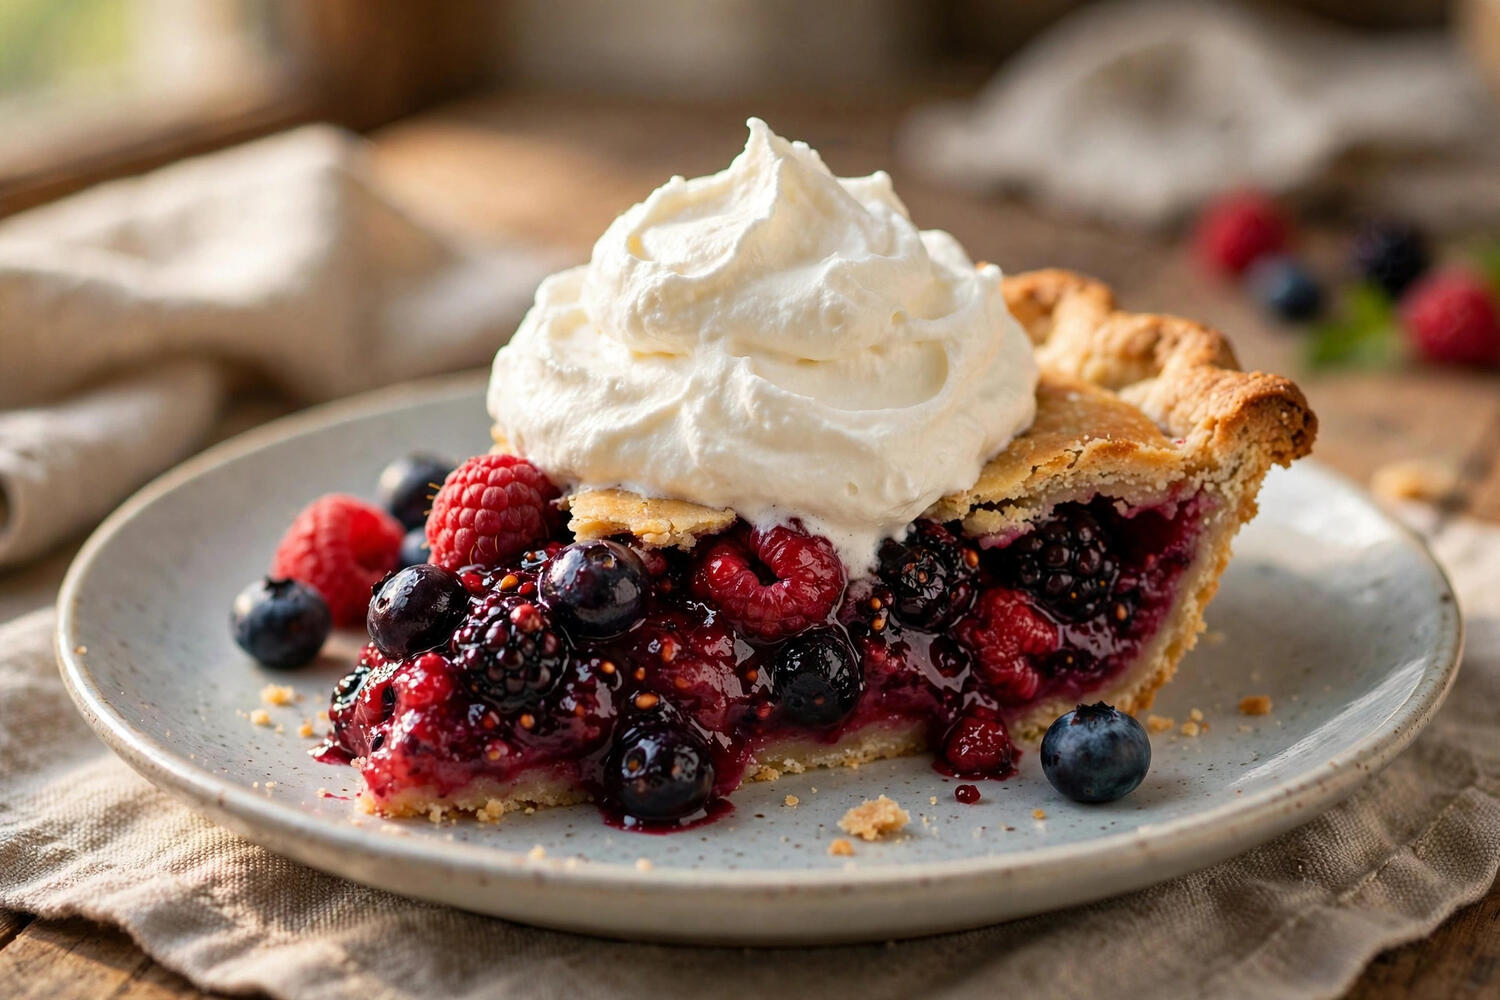
First you get soft peaks: the cream holds a shape but the tip flops over when you lift the beater. This is the cloud-like, billowy stage — perfect for topping hot chocolate, folding into desserts, or eating with a spoon while standing at the counter. Keep going and you reach medium peaks, which hold their shape with a slight curl: the all-purpose stage for pies and cakes. Push further to firm peaks, which stand straight up — great for piping decorations, but you are now one minute from butter, so stop the moment you get there.
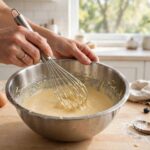
Total time from pour to perfect is about two to three minutes with an electric mixer, four to five with a vigorous hand whisk. The hand-whisk version is a workout and a point of pride; the mixer version is what you will actually do on a Tuesday.
The Line Between Perfect and Butter (Do Not Cross It)
Every whipped cream disaster story ends the same way: someone walked away from the mixer. Over-whipped cream first looks grainy, then curdled, then — if you keep going out of spite — it separates into butter and buttermilk. The grainy stage is rescuable: stop immediately, add a tablespoon or two of fresh unwhipped cream, and fold it in gently by hand. It will smooth back out like nothing happened.
The real fix is prevention. Once you hit soft peaks, slow down and check every fifteen seconds. Lift the beaters and look. In the final minute, you are not multitasking — you are watching cream. It is a small price for perfection, and honestly it is a little meditative.
Making It Ahead: Stabilized Whipped Cream
Plain whipped cream starts weeping within a few hours — the structure relaxes and liquid pools at the bottom. If you need it to survive a dinner party or sit on a cake overnight, stabilize it. The easiest method: whip one teaspoon of unflavored gelatin dissolved in one tablespoon of cold water (bloomed five minutes, then melted and cooled slightly) into the cream just as soft peaks form. It sets invisibly and holds for two to three days refrigerated.
No gelatin? A tablespoon of instant vanilla pudding mix or a couple of tablespoons of mascarpone cheese whisked in at the start both stabilize beautifully — the mascarpone version tastes like something from a bakery case. Even plain cream keeps fine for a day if you store it in a sealed container in the coldest part of the fridge; just re-whisk briefly before serving.
Flavor Variations Worth Trying
Once you have the base down, whipped cream becomes a playground. Chocolate whipped cream: add two tablespoons of cocoa powder with the sugar. Coffee: dissolve a teaspoon of instant espresso in the vanilla before adding. Citrus: a teaspoon of lemon or orange zest folded in at the end — incredible on berry desserts. Boozy: a tablespoon of bourbon, rum, or amaretto, added with the sugar; the alcohol keeps it from whipping quite as stiff, so aim for soft peaks.
Spiced: cinnamon and a pinch of nutmeg for fall pies. Honey: replace the sugar with two tablespoons of honey for a floral note that is stunning on fresh fruit. And if you are frosting a cake rather than dolloping, know that whipped cream is lighter and less sweet than American buttercream — if you are choosing between frosting styles, this buttercream versus fondant comparison will help you pick the right one for the job.
Troubleshooting Every Whipped Cream Problem
It will not thicken at all? Your cream is too warm, too low in fat, or ultra-pasteurized cream that is past its prime. Chill everything and try again; check that the label says at least 36 percent fat.
Grainy texture? You went slightly too far. Fold in a splash of fresh cream by hand to smooth it out.
Too sweet or not sweet enough? Two tablespoons of sugar per cup of cream is a middle ground. Desserts that are already sweet want less; fresh berries want a touch more. Taste as you go — yes, with a clean spoon, like a professional.
Deflated by morning? Normal for unstabilized cream. Stabilize with gelatin or mascarpone if you need it to hold, or just whip it fresh — it takes three minutes, which is the whole point.
Whipped Cream vs. Cool Whip: An Honest Comparison
Let us address the tub in the freezer section. Whipped topping — the non-dairy kind — exists for convenience and stability: it holds its shape for days, survives freezing, and spoons straight from the tub. Real whipped cream beats it on flavor without contest; side by side, the difference is embarrassing. Whipped topping tastes sweet and faintly artificial, with a texture closer to foam than cream. Real whipped cream tastes like cream — rich, fresh, with actual dairy depth.
Where the tub wins is situations demanding endurance: a cake that must sit out for hours at a summer party, a dessert transported across town. That is what stabilized whipped cream is for, though — the gelatin or mascarpone versions hold nearly as well while tasting infinitely better. My verdict: keep the tub for emergencies if you must, but once you have tasted real whipped cream on a warm pie, the tub starts gathering frost in the back of the freezer, untouched, until you finally throw it away during a cleaning spree. I speak from experience.
Dairy-Free Whipped Cream That Actually Works
For the dairy-free household, coconut whipped cream is the real answer — not the sad aerosol cans, but the homemade version. Chill a can of full-fat coconut milk overnight (do not shake it), scoop out the solid cream that rises to the top, and whip it with a tablespoon of powdered sugar and a teaspoon of vanilla, exactly like dairy cream. It whips to soft, billowy peaks with a faint coconut flavor that is wonderful on tropical desserts, chocolate cake, and fresh berries.
The rules: it must be full-fat coconut milk, and the can must be cold enough for the cream to separate firmly — some brands separate better than others, so find one that works and stay loyal. It softens faster than dairy cream at room temperature, so whip it close to serving time and keep the dessert chilled. Aquafaba — the liquid from a can of chickpeas — also whips into a foam with sugar, but the texture is closer to meringue than cream and the flavor is neutral at best. For anything where cream flavor matters, coconut is the move.
Frequently Asked Questions
Can I make whipped cream without a mixer?
Yes — a large whisk and a chilled bowl work; it takes four to five minutes of vigorous whisking. A mason jar works too: fill it halfway, shake hard for three to four minutes.
Why won’t my heavy cream whip?
The most common causes are warm cream or equipment, or cream with too little fat. Chill the bowl, beaters, and cream thoroughly, and confirm the label says heavy cream or heavy whipping cream.
How long does homemade whipped cream last?
Plain whipped cream keeps about a day refrigerated before weeping; stabilized versions with gelatin or mascarpone hold two to three days in a sealed container.
Can I use granulated sugar instead of powdered sugar?
Yes, though powdered sugar dissolves more smoothly. If using granulated, add it at the very beginning so it has the full whipping time to dissolve.
What is the difference between soft peaks and stiff peaks?
Soft peaks flop over when you lift the beater — billowy and cloud-like. Stiff peaks stand straight up — firm enough for piping. Stop at soft or medium peaks for most toppings.
Can you freeze whipped cream?
Yes — pipe dollops onto a parchment-lined tray, freeze solid, then bag them. They keep a month and thaw in minutes, perfect for dropping onto hot chocolate.