9 Common Basketball Shooting Mistakes (and Exactly How to Fix Them)

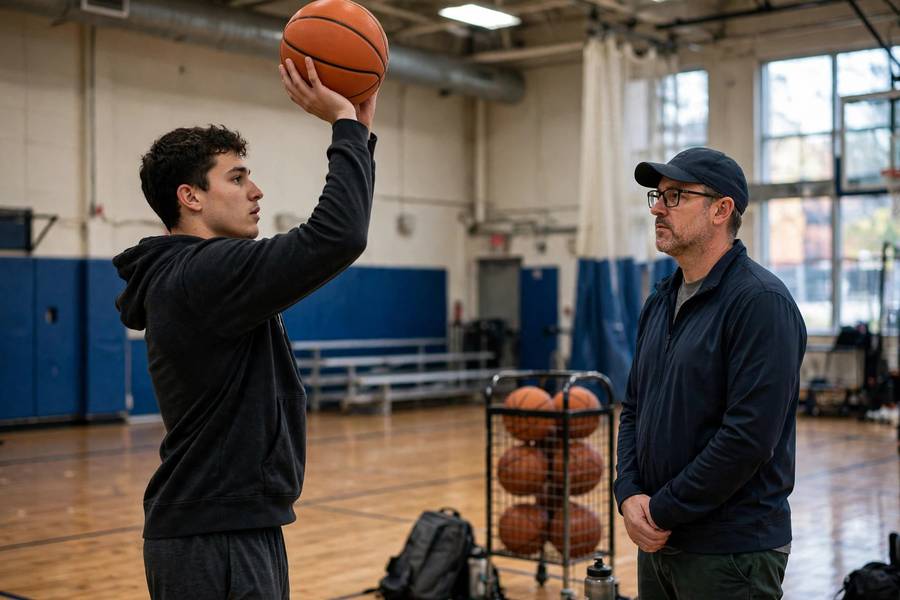
Every shooter I’ve ever coached has walked in saying the same thing: “my shot’s just inconsistent.” And every time, it’s not one mysterious problem — it’s one or two specific mechanical leaks, usually ones the player can’t feel. Your shot feels the same on makes and misses; the film shows it’s not. That’s why this guide exists: the 9 most common basketball shooting mistakes, how to spot each one, and the exact fix I give players.
Work through the diagnosis section first, then jump to your mistake. Fix one thing at a time — the player who tries to fix everything fixes nothing. For the correct mechanics as reference, keep our guide to proper shooting form open alongside.
In this guide:
- How to Diagnose Your Own Shot
- 1. The Thumb Flick (Guide-Hand Interference)
- 2. Flat Arc (Line Drives)
- 3. Drifting and Fading
- 4. The Flying Elbow
- 5. Rushing the Release
- 6. Dead Feet (No Leg Drive)
- 7. Watching the Ball Instead of the Rim
- 8. The Dropped Follow-Through
- 9. Shooting Beyond Your Range
- What to Fix First
How to Diagnose Your Own Shot
Before fixing anything, collect evidence. Film 20 shots from the side and 20 from the front (or behind), at game speed, from your normal range. Then check the miss pattern — it tells you everything:
- Missing left/right consistently? guide-hand interference or elbow alignment issue (mistakes 1, 4).
- Missing short/long (front rim/back rim)? power problem — legs, arc, or release timing (mistakes 2, 5, 6).
- Missing everywhere randomly? balance or base issue — feet, drift, or rushing (mistakes 3, 5, 6).
- Good in practice, bad in games? that’s not mechanics, that’s routine and pressure — see mistakes 7 and 9.
Also note when misses happen: first shots of a session (warm-up issue), late in sessions (conditioning), only off the dribble (footwork), only contested (rushing). The pattern is the diagnosis.
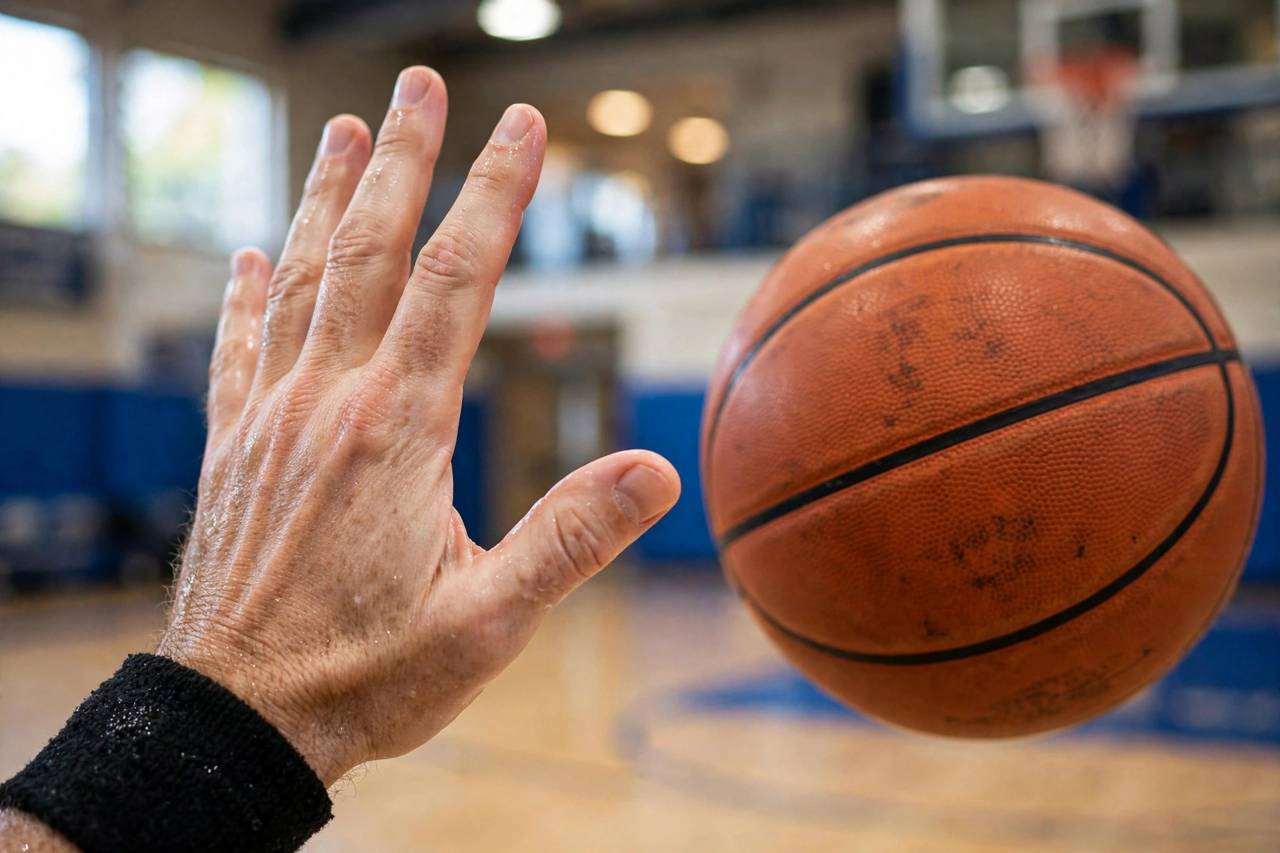
1. The Thumb Flick (Guide-Hand Interference)
Symptom: misses spray left and right; the ball sometimes has weird sideways spin. Cause: your guide hand’s thumb pushes or flicks the ball during the release instead of just stabilizing it. This is the single most common shooting flaw I see, and players almost never feel it — the thumb moves a centimeter, the ball moves a foot.
Fix: one-hand form shooting, 50 reps daily for two weeks — guide hand literally behind your back. Then reintroduce the guide hand with the cue “fingers up, thumb off”: guide-hand fingers point up at release, thumb relaxed and uninvolved. Film from the front to verify the thumb stays quiet.
2. Flat Arc (Line Drives)
Symptom: shots hit front rim or sail long; makes feel like luck. Cause: a flat trajectory gives the ball a tiny margin over the rim — physics says a 45-degree entry angle nearly doubles your make window versus a flat one. Flat shots come from arming the ball (not enough legs) or a low release point.
Fix: the “rainbow” cue — aim to have the ball peak above the top of the backboard square from mid-range. Exaggerate arc in practice until it feels too high; it won’t be. And check your legs: more dip, more drive. Arc comes from legs, not from throwing the ball higher with your arms.
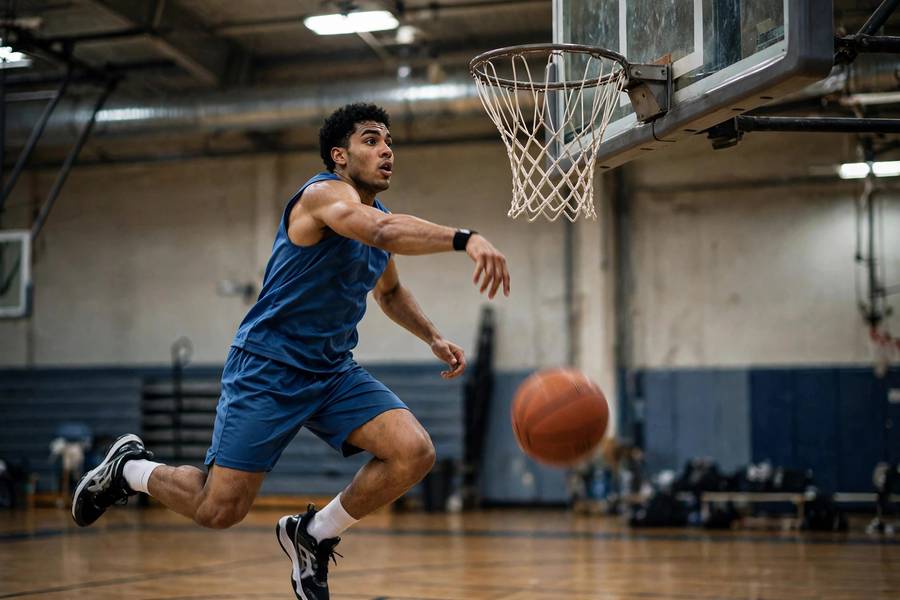
3. Drifting and Fading
Symptom: you land a foot sideways or backward from takeoff; misses scatter. Cause: drifting sideways usually means your base was misaligned (feet pointing away from the rim); fading backward means you’re leaning away from contact or shooting off-balance. A little natural forward drift is fine — sideways and backward are not.
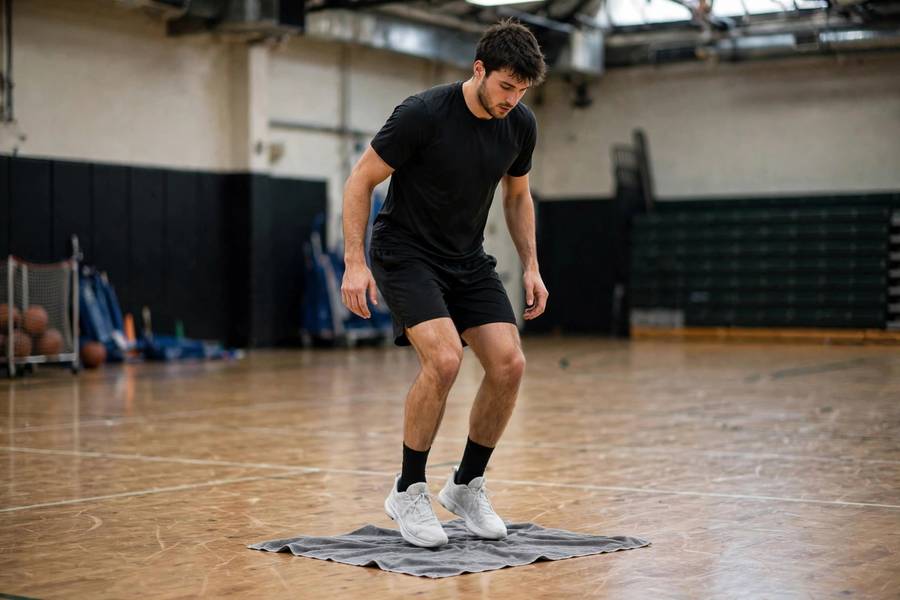
Fix: the landing-spot drill — place a towel where your feet leave the ground and try to land on it. Start with standstill shots, then add the dribble. If you can’t land on the towel, something upstream (feet, balance, core) needs fixing first.
4. The Flying Elbow
Symptom: shooting elbow flares out to the side; misses go left (for right-handed shooters). Cause: the elbow must stay under the ball, roughly aligned with the rim. A flared elbow changes the release angle on every shot — it’s like changing your sights between shots.
Fix: wall shooting with your shooting shoulder nearly touching the wall — the wall physically blocks the flare. 50 reps daily. The cue is “elbow under, not out.” Some players put a rolled towel under their armpit during form shooting; if it drops, the elbow flared.
5. Rushing the Release
Symptom: fine in warm-ups, wild in games; shots feel hectic. Cause: game pressure speeds up your internal clock — you skip the dip, short-arm the follow-through, and shoot before you’re set. Rushing isn’t quickness; quickness is fast and balanced, rushing is fast and broken.
Fix: practice at game speed with a set routine — the routine is your anchor when adrenaline hits. Add a “set check” to your catch: feel your feet land, then shoot. That quarter-second of set-check feels slow in practice and saves your shot in games. Competitive drills with consequences (sprints for misses) inoculate you against pressure.
6. Dead Feet (No Leg Drive)
Symptom: everything’s short, especially late in sessions; you feel like you’re pushing the ball. Cause: straight legs, no dip, all arms. Your legs are the engine of the shot — without them you’re throwing a heavy ball with small muscles, which is exhausting and inconsistent.
Fix: exaggerate the dip for a week — deeper than feels right — to rediscover leg involvement. Then normalize. The chair drill (shooting seated, upper body only) paradoxically helps: it shows you exactly what your arms do alone, so you stop asking them to do the legs’ job. For lasting leg power, structured strength work like our strength training for runners builds the durable lower-body strength that keeps your shot long all game.
7. Watching the Ball Instead of the Rim
Symptom: inconsistent depth perception; shots look right but miss oddly. Cause: your eyes should lock on the target (front of the rim or back of the rim — pick one) from catch through follow-through. Players who track the ball in flight lose target lock and their brain can’t calibrate distance.
Fix: pick your target and stare at it. Literally. Rim-gazers shoot better than ball-watchers in every study of visual attention in shooting. A useful cue: “see the rim, be the rim” is cheesy; “eyes on the front iron until the ball’s gone” is actionable. Do that.
8. The Dropped Follow-Through
Symptom: hand drops the instant the ball leaves; touch feels random. Cause: the follow-through isn’t decoration — it’s the completion of the shooting motion, and cutting it short means you cut the release short too. A full “goose neck” finish (wrist snapped, fingers down) stabilizes the release point.
Fix: the freeze drill — hold your follow-through and count “one-one-thousand” before moving, on every rep for two weeks. It feels absurd. It works absolutely. Your touch will improve because your release point stops moving.
9. Shooting Beyond Your Range
Symptom: form looks great from 15 feet and falls apart at 22. Cause: you don’t have a shooting problem, you have a range problem — your body compensates for distance with heaves, flat arcs, and guide-hand takeovers. Every one of mistakes 1–8 gets worse when you’re out of range.
Fix: find your honest range — the distance where your form stays perfect — and live there. Extend one step at a time over weeks, never sacrificing mechanics for distance. The three-point line will still be there when you’re ready. Ego is the enemy of range development.
What to Fix First
If you found multiple leaks (most players do), fix in this order: feet and balance first (mistakes 3, 6), then release mechanics (1, 4, 8), then arc and power (2, 5), then mental/visual (7), and respect range (9) throughout. Base before release, release before arc — problems cascade upward, so fix the foundation and watch downstream issues evaporate. One fix at a time, two weeks minimum per fix, film everything.
And remember: every great shooter in history has rebuilt their shot at least once. The mistake isn’t having a flaw — it’s knowing about it and shooting around it instead of through it. For the global stage that rewards all this work, our guide to how the World Cup works shows how tournament pressure tests technique at the highest level.
Guide-hand interference (the thumb flick) — the non-shooting hand pushes the ball during release, spraying misses left and right. Players almost never feel it; film from the front reveals it instantly. One-hand form shooting is the standard fix.
Short misses almost always mean insufficient leg drive — straight legs, no dip, all arms. The fix is a better dip and more explosive leg extension, not pushing harder with your arms. Fatigue late in sessions causes the same symptom.
Build a pre-shot routine (a set check as you catch) and practice it at game speed with consequences for misses. Rushing is adrenaline skipping your mechanics; the routine is the anchor that keeps mechanics intact under pressure.
Your shooting elbow should be under the ball, roughly aligned with the rim — not flared out sideways and not pinned rigidly to your body. ‘Under, not out’ is the cue; a flared elbow changes your release angle on every shot.
Plan on two weeks minimum of daily focused reps per flaw, fixing one thing at a time. Mechanical changes need hundreds of correct reps to overwrite old patterns — rushing the process just layers a new flaw over the old one.