Handstand for Beginners Step by Step: The 10-Step Coach’s Path

I have taught the handstand to people who could not do a single push-up and to people who could deadlift double bodyweight, and here is what I learned: the strong ones are not faster. The ones who follow steps in order are faster. This is the exact ten-step path I give every true beginner, from zero to a controlled freestanding hold. Each step has a pass test. You do not move on until you pass. It reads slow; it works fast. For the big-picture technique, pair this with my main how-to-do-a-handstand guide.
How the 10 Steps Work
Each step isolates one skill. You practice the current step for 10 to 15 minutes, four to five days a week, and you test out when you hit the pass mark. No step takes “as long as it takes” as an excuse to stall; if you are stuck on a step for more than four weeks, the problem is almost always in an earlier step you rushed. Go back one step, re-pass it properly, and the stall breaks. I have seen this fix plateaus dozens of times.
On bad days, when nothing works and every kick-up feels wrong, drop back to the previous step and do easy volume there. A bad day at step 7 becomes a good day at step 6, and the confidence carries back up the next session. Never try to “push through” a bad handstand day with more attempts; sloppy reps groove sloppy patterns. Fifteen easy minutes beats forty frustrated ones, and the step system means you always have a productive fallback instead of quitting the session.
Steps 1-3: Build the Base
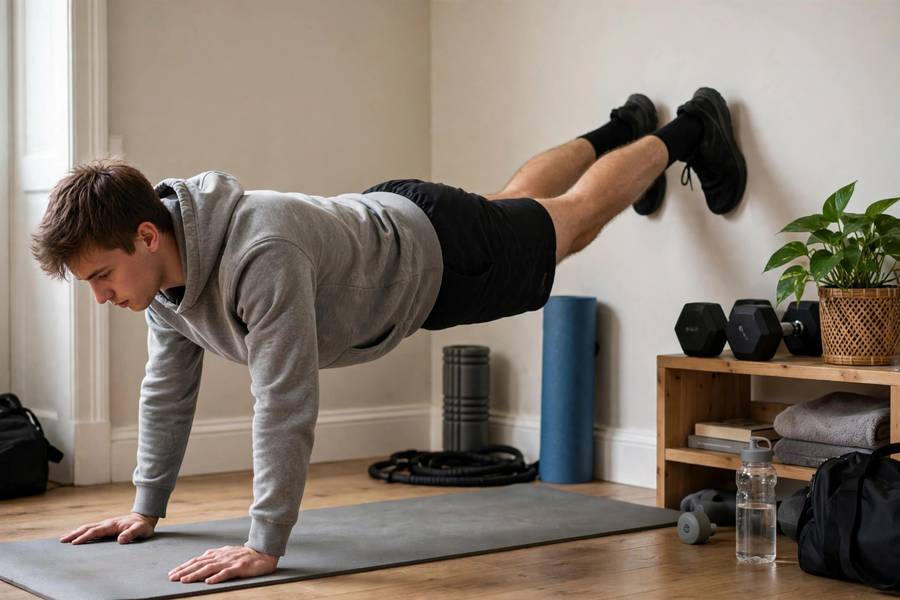
Step 1: Wall plank, 60 seconds. Hands on the floor, feet on the wall at hip height, straight body. This is your wrist and shoulder conditioning. Pass: 3 sets of 45 seconds.
Step 2: Pike push-up, 10 reps. Hips high, head touches the floor between your hands. This is the minimum pressing strength. Pass: 3 sets of 10 with control. My best shoulder exercises article has the full progression if these are hard.
Step 3: Hollow hold, 60 seconds. The handstand body position, practiced on the floor. Pass: 2 sets of 45 seconds without your lower back peeling off the floor. My core strength guide covers hollow progressions in detail.
Most beginners spend two to four weeks here. It feels like you are not doing handstands. You are building the handstand.
Steps 4-6: Go Upside Down
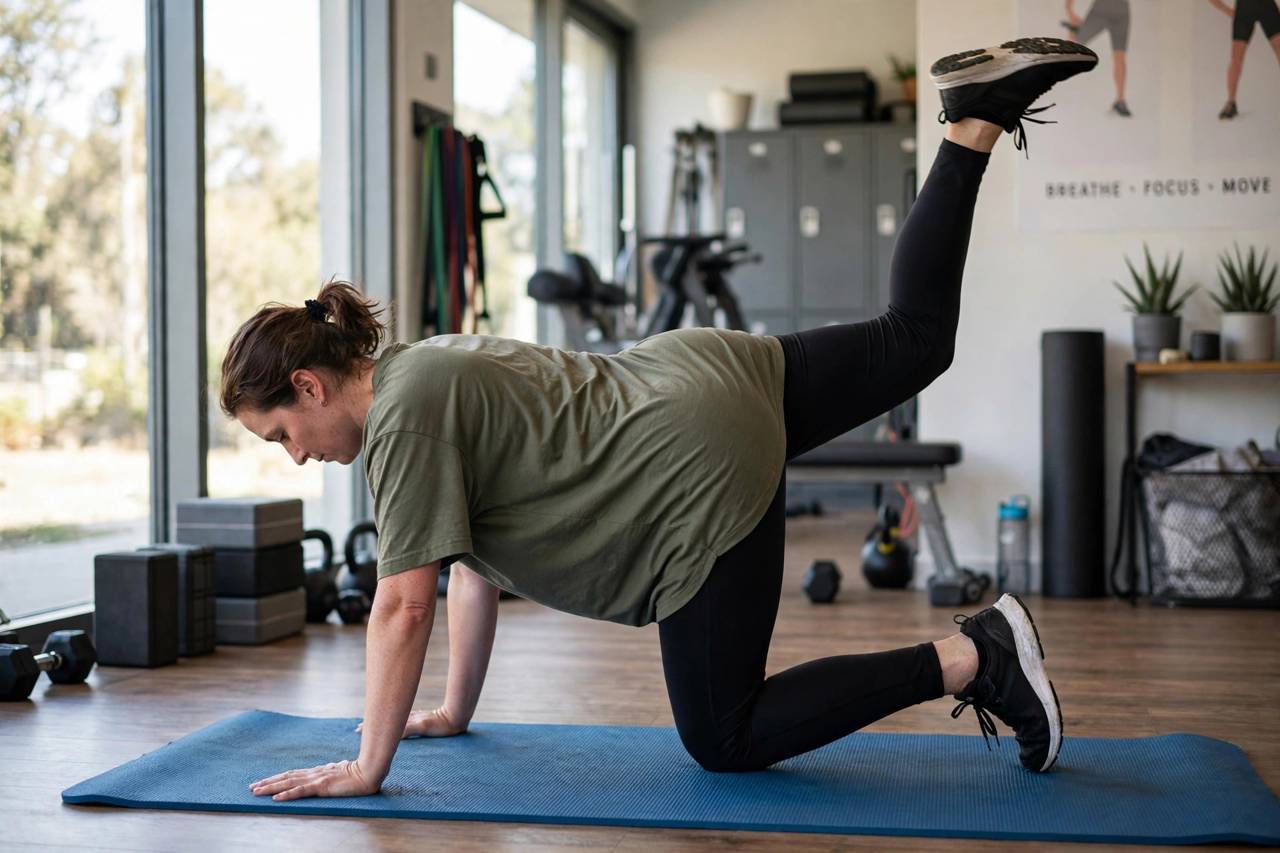
Step 4: Donkey kicks, 3×10. Hands on the floor, kick both feet up explosively and land back on your feet. This teaches the hip drive of the kick-up without the commitment. Pass: 3 sets of 10 with your hips reaching full height.
Step 5: Back-to-wall handstand, 5×20 seconds. Kick up gently, heels tap the wall. Straight line, push tall, breathe. Pass: five 20-second holds with straight elbows.
Step 6: Chest-to-wall handstand, 3×30 seconds. Walk up facing the wall. This is the position builder. Pass: three 30-second holds, flat back, calm breathing. Expect three to five weeks across steps 4 to 6.
Steps 7-8: Learn to Balance
Step 7: Heel pulls, 5×8. Kick up facing away from the wall and pull your heels off for one to three seconds before they touch again. Pass: ten consecutive pulls with at least a two-second float.
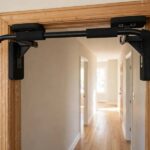
Step 8: Bail-outs, 20 clean reps. From a wall handstand, cartwheel out to the side until it is boring. Pass: twenty in a row without hesitation. Do not skip this; fear is what keeps beginners at a three-second hold forever. Learning how to do pull-ups alongside also helps, because the pulling strength balances all the pushing and keeps shoulders healthy.
Steps 9-10: Own the Freestanding Hold
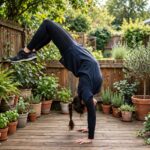
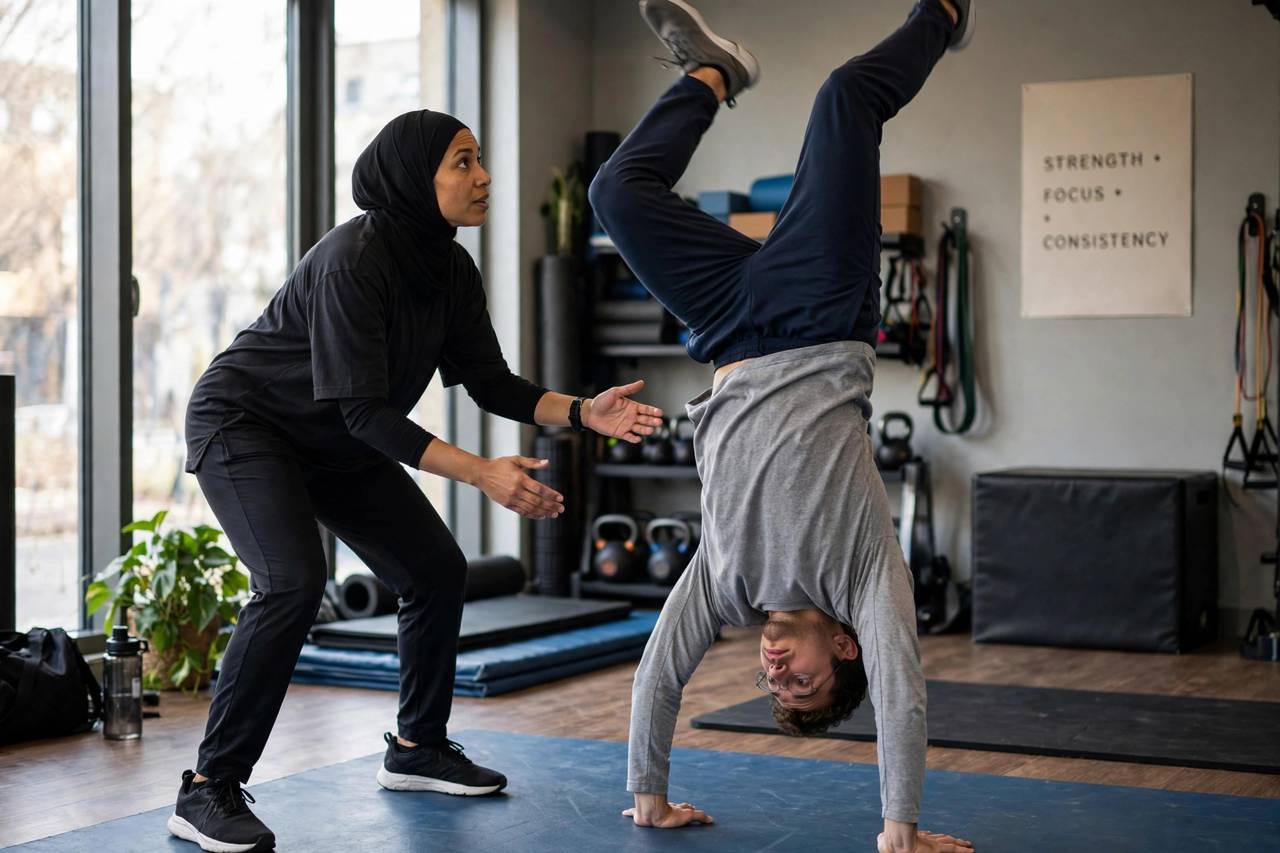
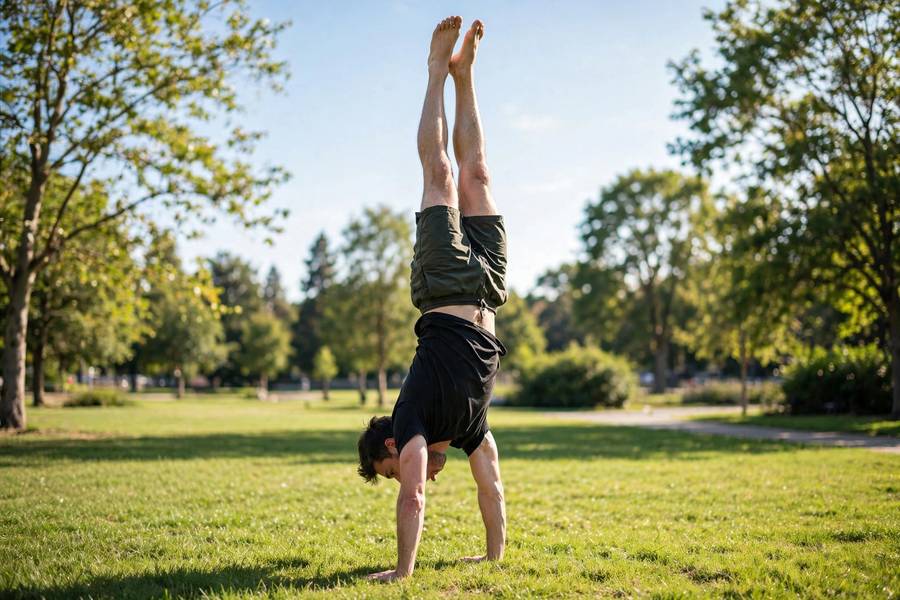
Step 9: Freestanding floats, 10 minutes daily. Grass or mats, kick up, float as long as you can, bail out cleanly. Pass: a consistent three-second float, five times in one session.
Step 10: The 10-second hold. Keep practicing until you hit three controlled 10-second freestanding holds in one session, each ending in a clean cartwheel-out. That is the graduation test. From step 1 to step 10, most adults take four to seven months. Write that on a card and look at it whenever a 30-day handstand ad makes you feel slow.
Realistic Timelines
Athletic 20-something training five days a week: three to four months. Average adult, 30s to 40s, four days a week: five to seven months. Training twice a week: a year or more, and that is fine if you enjoy the process. The single biggest predictor I have seen is not age or strength; it is session frequency. Five short sessions beat two long ones every time, because balance is a nervous-system skill and the nervous system learns by repetition, not by exhaustion.
How to Program Your Week
Monday, Wednesday, Friday: 15 minutes of the current step, fresh, before any other training. Tuesday, Thursday: 10 minutes of the previous step as easy review, plus 10 minutes of shoulder and core accessory work. Weekend: one longer 25-minute session or full rest. Always practice handstands before lifting, never after; a fatigued nervous system learns nothing and falls more. Track your pass tests in a notebook. When motivation dips, the notebook shows you that step 6 took three weeks and you are now on step 8, which is the only pep talk that actually works.
What Equipment You Actually Need
Almost nothing, which is the good news. You need a clear wall, six feet of floor space, and a yoga mat or carpet for comfort. That covers steps 1 through 8. For steps 9 and 10, add a grassy area or a folding gym mat; a 4×8 foot panel mat costs less than a month of most gym memberships and lasts years. Optional but useful: parallettes, which reduce wrist strain during long wall-hold phases and let you train with a neutral wrist if yours are cranky. A phone tripod for filming is the highest-value purchase on this list; a twelve-dollar tripod that lets you check your line will do more for your progress than any other gear. What you do not need: a spotter, a gymnastics coach, wrist wraps (they mask the conditioning your wrists need), or a fancy program. The steps are the program.
Rest Days: When to Push and When to Stop
Handstand practice creates two kinds of fatigue: muscular and nervous. Muscular fatigue feels like tired shoulders; nervous fatigue feels like your kick-ups getting sloppy for no reason. Tired shoulders mean take the day off or do easy review work. Sloppy kick-ups after a hard week mean take two full days off; your nervous system consolidates motor patterns during rest, and I have seen clients add seconds to their holds after a rest week with zero practice. The rule I give everyone: if your warm-up sets feel worse than yesterday’s work sets, stop and rest. Sharp wrist or shoulder pain is an immediate full stop and a professional assessment, not a rest day. Dull ache that fades within 24 hours is normal adaptation; pain that changes how you move is not.
Frequently Asked Questions
Start with steps 1 to 3 anyway, but expect them to take longer: build to ten knee push-ups first, then work toward pike push-ups. The handstand path does not require a full push-up on day one, but you do need the pressing strength of step 2 before going upside down against a wall.
Start with chest-to-wall walks instead of kick-ups; you never leave the ground suddenly. Then practice donkey kicks (step 4) until the hip drive feels routine. Fear usually drops sharply after the first week of wall work, and the bail-out practice in step 8 removes whatever is left.
No. A wall replaces a spotter for steps 1 through 8, and grass or mats plus a drilled bail-out replace one for steps 9 and 10. A spotter speeds up step 9 slightly, but I have coached dozens of people to freestanding holds with no spotter at all.
Pass the written test for your current step: the exact sets, seconds, and reps listed above. If you cannot pass after four weeks, drop back one step and re-pass it strictly. Moving on without passing is how beginners spend months practicing a crooked handstand.
Usually yes, because kids weigh less and fear less, but keep sessions playful and short: 10 minutes max, and never force step 8 bail-outs until the child asks to try them. The steps are the same; only the coaching tone changes.