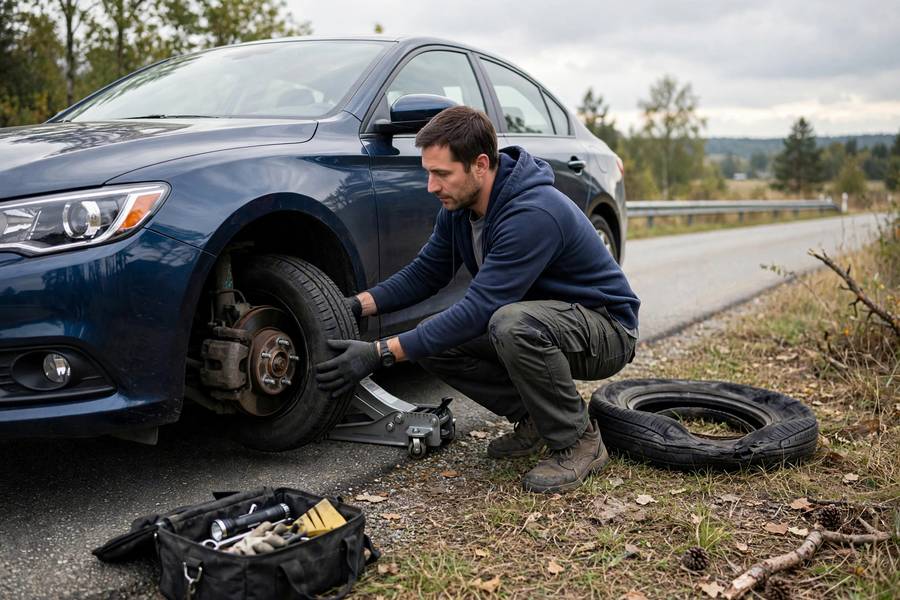
Thirty years turning wrenches, and I can tell you the flat tire is the most common roadside job there is — and the one most drivers are least prepared for. I’ve lost count of the folks I’ve rescued on the shoulder who had a spare, a jack, and no idea what order things happen in. Changing a tire isn’t hard. It’s just a sequence, and sequences are easy once someone walks you through it once. That’s what this is. Read it in your driveway, not on the highway shoulder at midnight. For the condensed overview, see how to change a tire — this is the full walkthrough.
Table of Contents
- Before Anything: Get Safe
- What You’ll Need
- Step 1: Loosen the Lug Nuts (Before Jacking)
- Step 2: Jack the Car Up
- Step 3: Remove the Flat
- Step 4: Mount the Spare
- Step 5: Lower and Tighten
- After: What to Do Next
- Mistakes I See Every Week
- Frequently Asked Questions
Before Anything: Get Safe
Nobody ever died from a flat tire. People die from getting hit by traffic while dealing with one. So safety first, no exceptions:
- Get fully off the road. Shoulder, parking lot, side street — as far from traffic as you can. A flat tire is not an emergency worth risking your life over; drive slowly on the flat (hazards on, under 20 mph) to reach a safe spot rather than stopping in a live lane. A ruined tire is cheaper than a hospital bill.
- Flat, solid ground. Jacks and slopes don’t mix. If the only spot is sloped, chock the wheels and call for help instead.
- Parking brake on, car in Park (or in gear for a manual). Every time. This is the step people skip and regret.
- Hazards on, and reflective triangles if you have them. At night, keep your headlights on so approaching drivers see you.
I once watched a guy jack up his truck on a soft grassy slope because he didn’t want to drive fifty more yards on the flat. The jack sank, the truck shifted, and he was lucky to keep his fingers. Fifty yards. Don’t be that guy.
What You’ll Need
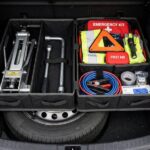
Your car probably came with most of this — check now, in your driveway, not when you need it:
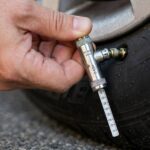
- Spare tire (full-size or compact “donut”) — and check that it’s inflated. A flat spare is the cruelest surprise in motoring. Check it twice a year.
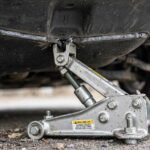
- Jack — usually a scissor jack in the trunk kit. It’ll do the job.
- Lug wrench — the L-shaped or cross-shaped bar from the kit.
- Owner’s manual — has your jack points and lug nut torque spec. Keep it in the car.
- Nice to have: wheel chock (a brick works), flashlight, gloves, a piece of cardboard to kneel on, and a torque wrench for the final tighten.
If your car has no spare (many new cars ship with a sealant kit instead), know that before you’re stranded. The sealant kits handle small punctures in the tread only — sidewall damage, big gashes, and blowouts need a real tire or a tow.
Step 1: Loosen the Lug Nuts (Before Jacking)
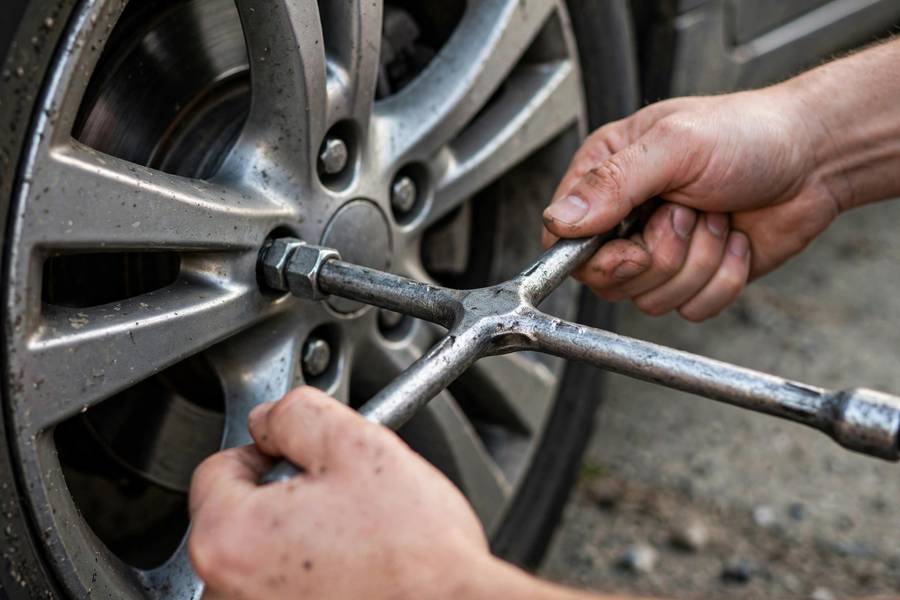
This is the step everyone wants to do backwards. Loosen the lug nuts while the tire is still on the ground. The ground holds the wheel still; once it’s in the air, the wheel just spins when you push on the wrench.
- If there’s a hubcap or wheel cover, pop it off first (flat screwdriver or the pry end of the wrench).
- Fit the lug wrench onto a nut and turn counterclockwise — “lefty loosey.”
- Loosen each nut about a half turn. Don’t remove them yet — just break them free.
- Work in a star pattern if they’re really tight, but for loosening, order matters less than for tightening.
If a nut won’t budge, stand on the wrench — put your foot on the bar near the end and let your body weight do the work. Keep the wrench as horizontal as you can so it doesn’t slip off. And if you have locking lug nuts (the ones needing a special key), that key lives wherever you last put it — find it now, in your driveway, while I’m reminding you.
Step 2: Jack the Car Up
Now lift the car — slowly, carefully, at the right spot:
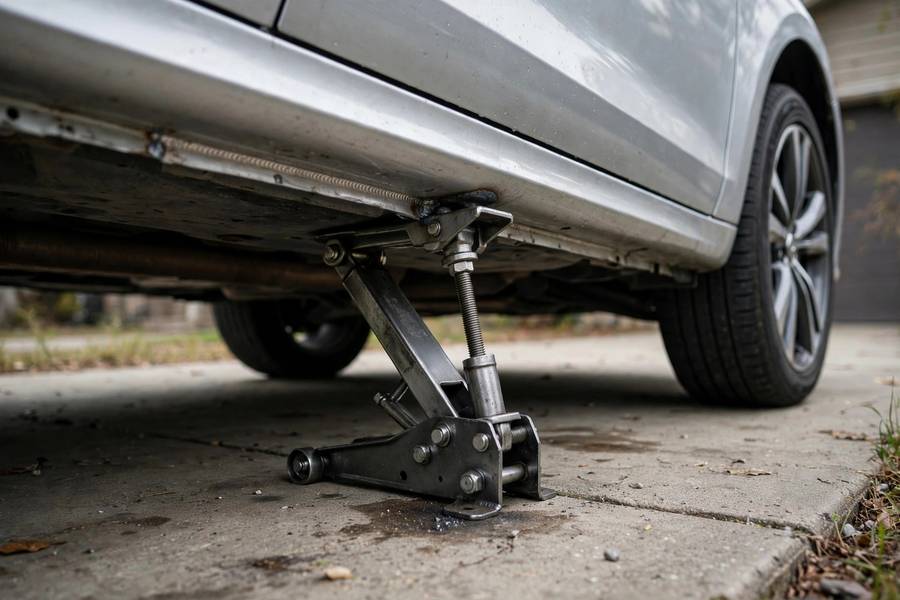
- Find the jack point. Your manual shows them — usually a reinforced pinch weld under the rocker panel near the flat tire, or a marked pad. This matters enormously: jacking on the wrong spot dents body panels, cracks plastic undertrays, or (worst case) slips. The jack point is engineered for the load; random underbody metal is not.
- Position the jack squarely under the jack point, on solid flat ground. The base must sit flat — no tilting, no soft dirt.
- Raise slowly. Crank until the flat tire is just off the ground — an inch or two of clearance is plenty. Higher than necessary just adds instability.
- Never put any part of your body under the car while it’s on the jack alone. A scissor jack is a lifting device, not a support device. You’re only swapping a wheel at the side — no crawling underneath, ever.
Take your time here. Rushing the jacking step is how cars fall off jacks, and cars falling off jacks is how people get hurt.
Step 3: Remove the Flat
With the car up and stable:
- Finish unscrewing the lug nuts — counterclockwise — and put them somewhere you won’t lose them. A hubcap makes a good bowl. Your pocket works. The grass does not.
- Grip the tire with both hands and pull it straight toward you. It might need a firm tug — wheels can stick to the hub from corrosion. If it’s stuck, a sharp kick to the sidewall (not the rim) usually breaks it free. Rock it, don’t yank it.
- Lay the flat down flat (tread-side down is fine) — don’t lean it against the car where it can roll into traffic or fall on your foot.
Note which way the wheel came off — it only goes back one way, but noting it saves a confused minute later.
Step 4: Mount the Spare
- Lift the spare onto the hub, lining up the holes with the wheel studs. Spares are lighter than regular wheels, which helps — but they’re still awkward. Line up the top hole first, then let the wheel hang on the stud while you thread the nuts.
- Thread each lug nut on by hand first — clockwise, a few turns each. This is important: cross-threading a lug nut by powering it on with the wrench strips the stud, and that’s a shop repair. Hand-tighten first, always.
- Once all nuts are hand-snug, snug them with the wrench in a star pattern — tighten one, skip one, tighten the next across from it. The star pattern seats the wheel evenly against the hub. A circle pattern can cock the wheel slightly and cause vibration (or worse).
If you’re mounting a donut spare, check its sidewall for the speed and distance limits — typically 50 mph max and 50-70 miles. Donuts are get-you-home tools, not tires.
Step 5: Lower and Tighten
Almost done — and this last part matters more than people think:
- Lower the car slowly until the spare just touches the ground with some weight on it — enough that the wheel can’t spin.
- Now tighten the lug nuts in the star pattern, firmly. Put real effort into it — lean on the wrench. The wheel needs to be properly seated.
- Lower the car fully, remove the jack, and give each nut one final tighten in the star pattern with the full weight on the wheel.
How tight? Your manual lists a torque spec — most passenger cars land between 80 and 100 ft-lbs. Without a torque wrench, “as tight as you can reasonably get with the kit wrench using body weight” is the field expedient, but a torque wrench is a $30 tool that removes all doubt. Undertightened wheels can loosen; overtightened ones stretch studs. The spec exists for a reason.
Stow the flat, the jack, and the wrench. You’re mobile again.
After: What to Do Next
You’re not done — you’re just driving again:
- Get the flat repaired or replaced ASAP. Donut spares are temporary by design. Even full-size spares should be inspected — and if the flat is repairable, fix it promptly so your spare goes back to being a spare.
- Check the spare’s pressure once it’s back in the trunk. Future-you will thank present-you.
- Re-torque the lug nuts after 50-100 miles of driving. Wheels settle; nuts can loosen slightly. Every shop does this after tire work, and you should too. It takes two minutes.
- TPMS light? Your tire pressure monitoring light may stay on with the spare mounted — normal, since the spare often lacks a sensor. It’ll clear when the regular wheel goes back on.
And if the flat was caused by something in the road, take a second look at your other three tires when you get home. Debris fields are rarely one-nail operations.
Mistakes I See Every Week
Thirty years of roadside rescues teaches you the patterns:
- Jacking before loosening. Then the wheel spins uselessly in the air while you fight it. Ground first, air second.
- Wrong jack point. Dented rocker panels, cracked undertrays, slipped jacks — all from guessing instead of checking the manual.
- No star pattern. Tightening in a circle cocks the wheel. Star pattern, every time, both when snugging and final-tightening.
- Forgetting the locking key. It’s in the glovebox, the center console, or wherever — find it before you need it.
- Driving on the donut for weeks. I’ve seen donuts with 3,000 miles on them. They’re rated for dozens of miles, not thousands. The handling, braking, and blowout risk all degrade.
- Never checking the spare. The number of flat spares I’ve found would embarrass the industry. Twice a year, check the pressure. Put it on your calendar next to the smoke-detector batteries.
One dry run in your driveway — start to finish, no pressure — is worth ten readings of this guide. Muscle memory is what you actually need at midnight on the shoulder. For the quick-reference version, how to change a tire has you covered — and while you’re building your roadside skills, how to jump start a car and knowing how long car batteries last round out the essentials.

Frequently Asked Questions
Get somewhere safe off the road, set the parking brake, and put on hazards. Then loosen the lug nuts about a half turn while the tire is still on the ground — before jacking the car up.
Before. Loosen the lug nuts while the tire is on the ground so the ground holds the wheel still. Once the wheel is in the air it will just spin when you push on the wrench.
Tighten them in a star pattern with the wheel on the ground. Most passenger cars specify 80-100 ft-lbs — check your owner’s manual. Re-torque after 50-100 miles of driving.
Typically 50-70 miles at no more than 50 mph — check the sidewall of your specific spare. Donut spares are temporary get-you-home tools, not replacement tires.
Usually a reinforced pinch weld under the rocker panel near each wheel, or a marked pad — your owner’s manual shows the exact locations. Always jack on the designated point, never on random underbody panels.