I’m Marcus — I run a two-bay shop, and scratch repair is probably a third of what comes through my doors. Here’s what a decade of fixing them taught me: most people either panic and overpay, or ignore the scratch until it becomes a rust problem. The smart middle path is simple — figure out what kind of scratch you have, match the fix to the damage, and be honest about your skill level.
This guide is the decision framework I wish every car owner had. Not just the how, but the which method for which scratch — and when to hand it to someone like me.
In This Guide
- The 4 Types of Car Scratches
- Quick Assessment: 60 Seconds
- DIY Fixes by Scratch Type
- Scratch Repair Products Worth Buying
- Cost Comparison: DIY vs Professional
- When DIY Goes Wrong
- Keeping It Fixed: Aftercare
- Frequently Asked Questions
The 4 Types of Car Scratches
Every scratch falls into one of four categories, and the category dictates everything:
Type 1 — Clear-coat scuff. The lightest damage. Looks white or hazy, your fingernail glides right over it. Caused by brushes, light contact, fingernails around door handles. Fix: polishing.
Type 2 — Clear-coat scratch. A defined line, but still only in the transparent top layer. Your nail may catch very slightly. Fix: polishing or light compound.
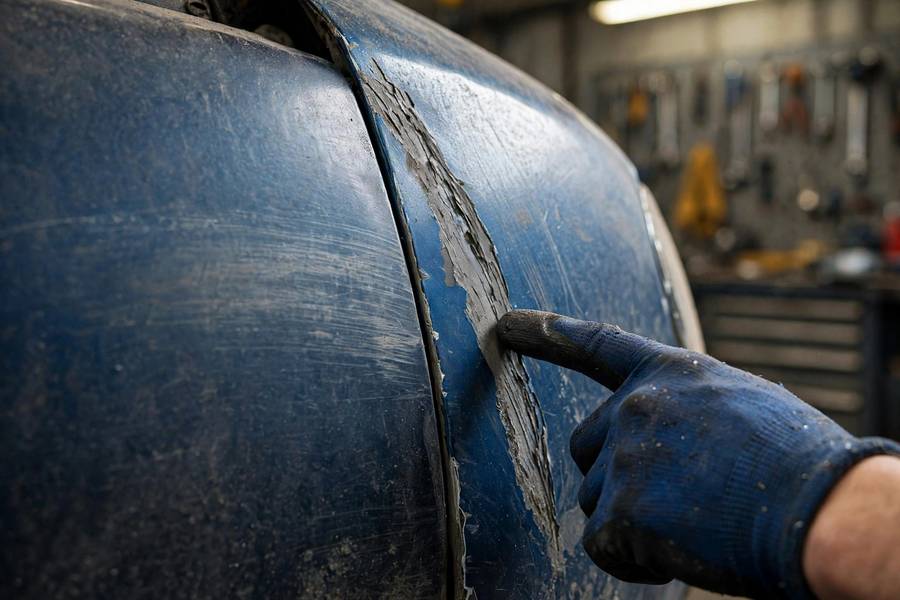
Type 3 — Color-coat scratch. Through the clear into the colored paint. You’ll see a distinct line in a different shade — often the primer’s gray beneath. Fix: touch-up paint.
Type 4 — Deep scratch to metal or plastic. Bare substrate visible. On steel panels this will rust; on plastic bumpers it won’t, but the repair still needs proper adhesion. Fix: touch-up at minimum; often professional.
I see Type 1 and 2 probably eight times out of ten. Those are the ones this guide will save you real money on.
Quick Assessment: 60 Seconds
Do this before buying anything:
- Wash the area. Half of “scratches” are actually dirt, rubber transfer, or wax residue. Clean first, assess second.
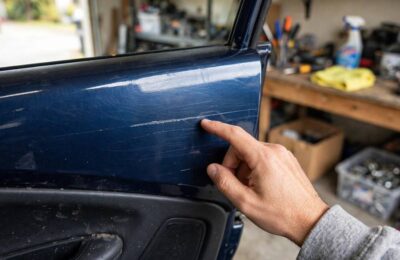
- Fingernail test. Glide your nail across it. No catch = clear coat. Catches = deeper.
- Wet it. Disappears when wet = clear coat. Stays visible = into color or deeper.
- Check the color. White/hazy = clear coat disruption. Your car’s primer color or shiny metal = deep.
Write down what you found — “driver door, Type 2, 4 inches” — because you’ll forget by the time you’re in the auto parts aisle.
DIY Fixes by Scratch Type
Types 1–2 (clear coat): Wash, dry, then polish with a quality polishing compound on a microfiber cloth, working in straight lines along the scratch. Two to three light passes, then wax. Total time: 20–40 minutes. Total cost: under $25. This is the highest-value DIY in car care — a body shop charges $150+ for what is genuinely a simple job.
Type 3 (color coat): Clean with isopropyl alcohol, apply touch-up paint in thin coats with a fine brush (2–3 coats, drying between), let cure 24 hours, then lightly level with 2000-grit wet sandpaper and polish. Finish with clear-coat pen and wax. The key discipline: thin coats. Thick blobs of touch-up paint look worse than the scratch.
Type 4 (to substrate): If it’s a small chip to metal, clean it, apply primer touch-up, then color, then clear — sealing it against rust is the priority, cosmetics second. If it’s a long scratch to metal across a panel, get a quote from a shop before attempting anything. Large-area metal exposure needs proper spray work.
For paint transfer — the colored smear from another car — try a clay bar before anything else. It often lifts right off since the foreign paint sits on top of your clear coat.

Scratch Repair Products Worth Buying
The auto parts aisle is full of miracle pens and miracle bottles. Here’s what’s actually worth your money:
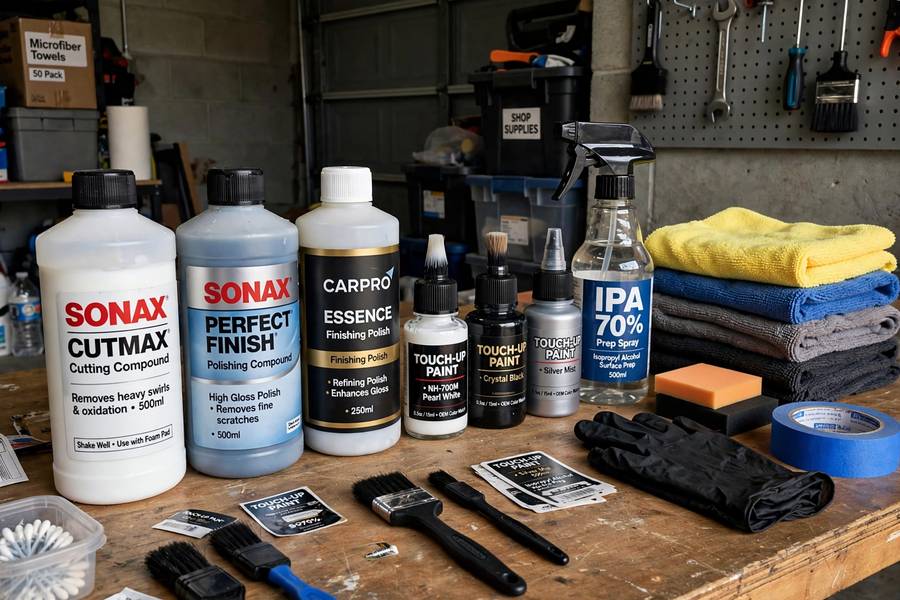
- A quality polishing compound (not the all-in-one “scratch remover” — dedicated compound from a real detailing brand). This is the workhorse.
- Microfiber cloths, several. The cheapest important supply. Old rags cause the scratches you’re fixing.
- Touch-up paint matched to your paint code. From the dealer or a specialist supplier — never a “universal” color.
- 2000-grit wet/dry sandpaper. For leveling touch-up work. Use wet, use gently.
- A clay bar kit. For paint transfer and bonded contaminants.
Skip: the $10 “scratch repair pens” with mystery liquid (usually just clear filler that washes off), colored wax crayons (temporary at best), and anything promising to “erase scratches instantly.” If it sounds like magic, it’s marketing.
Cost Comparison: DIY vs Professional
Honest numbers from my side of the counter:
| Repair | DIY cost | Professional cost |
|---|---|---|
| Clear-coat polish (Type 1–2) | $15–25 | $150–250 |
| Touch-up paint (Type 3) | $30–60 | $200–400 |
| Deep scratch, small (Type 4) | $40–70 | $300–500 |
| Panel respray | Not DIY | $500–1,000+ |
The DIY savings are real, but so is the skill gap. A botched touch-up job on a visible panel can look worse than the original scratch — and then you’re paying the professional rate anyway, sometimes more, because I have to undo your work first.
My rule of thumb: polish anything yourself; paint small chips yourself if you’re patient; leave large or highly visible paint work to a pro. Door handle scratches? DIY all day. A 12-inch key scratch down the driver’s door of a leased BMW? Call me.
When DIY Goes Wrong
The failures I see most:
- Burning through clear coat with aggressive compound or a rotary polisher used wrong. Clear coat is thin — roughly the thickness of a sheet of paper. Respect it.
- Touch-up paint blobs from applying too much at once. Thin coats, always.
- Wrong color. “Close enough” isn’t. Get the paint code from the door jamb sticker.
- Skipping the wash. Polishing dirt into paint creates a constellation of new fine scratches around the one you fixed.
- Fixing in direct sun. Products dry too fast, compounds cake up, paint flashes before it levels. Work in shade.
Every one of these is avoidable. The common thread is rushing — scratch repair rewards patience more than skill.
Keeping It Fixed: Aftercare
After any repair: wax or seal the panel. The repaired area has fresh, unprotected paint or freshly polished clear coat — seal it. Avoid automatic car washes with brushes for a month after touch-up paint work; hand wash gently.
And zoom out a little: scratch repair is part of a broader habit of keeping the car right. Cloudy headlights, for example, age a car as visibly as scratches do — my walkthrough on how to clean car headlights is the natural next project. Understanding what your car’s features actually do helps too — like what cruise control does beyond the obvious.
Fixing a car scratch is a decision tree, not a mystery: assess the type, match the method, respect your limits. Most scratches are a $25, 30-minute DIY. The expensive ones are the ones people ignore until rust sets in — so whatever you do, don’t do nothing.

Frequently Asked Questions
For clear-coat scratches (the most common kind), polishing compound and microfiber cloths cost under $25 and fix the scratch in 20–40 minutes. Deeper scratches needing touch-up paint run $30–$60 in supplies. Both are far cheaper than professional repair at $150–$400 per panel.
Small deep scratches can be sealed and cosmetically improved with touch-up paint, primer, and clear coat — good enough to prevent rust and look fine from a few feet away. Large deep scratches or damage across a whole panel need professional spray painting for an invisible repair.
Most cheap scratch repair pens are just clear filler that temporarily masks the scratch and washes off within weeks. Proper touch-up paint matched to your car’s paint code works far better. Skip the miracle pens and buy real touch-up paint from the dealer or a specialist supplier.
Touch-up paint is dry to the touch in about 30–60 minutes, but needs 24 hours to cure fully before you wet-sand, polish, or wax over it. Apply 2–3 thin coats with drying time between each rather than one thick coat.
Light clear-coat scratches are safe to polish yourself on a lease. For deeper scratches, be cautious — a visible DIY touch-up job can trigger excess wear charges at lease turn-in. When in doubt on a leased vehicle, get a professional repair and keep the receipt.