How to Make Hash Browns Crispy (Never Soggy Again)

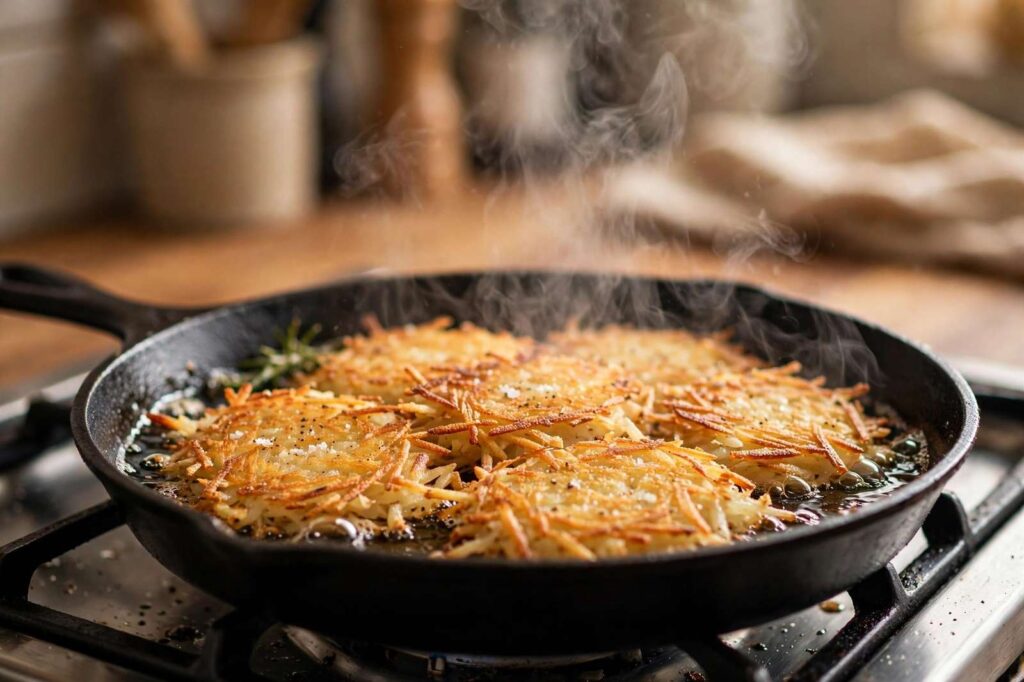
Soggy hash browns are a tragedy, and I say that as someone who served them for years. Pale, steamy, limp little shreds that stuck to the pan and fell apart on the spatula — I thought that was just how homemade hash browns were. Then a diner cook friend watched me make them, winced, and said six words that changed everything: “You’re not getting the water out.” She was right. Learning how to make hash browns crispy comes down to one principle above all others: moisture is the enemy, and everything else is tactics.
I’ve since made hash browns hundreds of times — shredded, diced, diner-style, fancy-brunch-style — and the method below is the one I give to friends, the one that works every single time. It’s not fussy. It doesn’t need special equipment. It just needs you to respect the water.
Why hash browns go soggy: the moisture problem
Here’s the food science in one paragraph: crispiness is dehydration. A hash brown gets crispy when the outside of the potato shreds dry out and fry in hot fat before the inside turns to mush. But raw potatoes are about 80% water, and shredding them releases all of it. If that water goes into the pan with the potatoes, it steams them instead of frying them — and steamed potato will never, ever crisp. Every crispy-hash-brown technique ever invented is just a different way of answering one question: how do I get the water out before the heat goes in?
Once you understand that, the whole method makes sense. You’re not really cooking potatoes. You’re managing water.
Step 1: Choose the right potato
Use Russets. This is non-negotiable in my kitchen. Russets are high in starch and low in moisture compared to waxy potatoes like Yukon Golds or reds, which means they crisp faster and hold their structure. Waxy potatoes make hash browns that are gummy in the middle — edible, but not the shattering-crisp diner ideal we’re chasing.
Size-wise, figure one medium Russet per person for a side, two per person if hash browns are the main event (no judgment — they’ve been my dinner more than once). Scrub them well, because we’re keeping the skins on. Yes, really — the skin adds texture and nutrients, and peeling is just more work between you and breakfast.
Step 2: Shred and squeeze — the step everyone skips
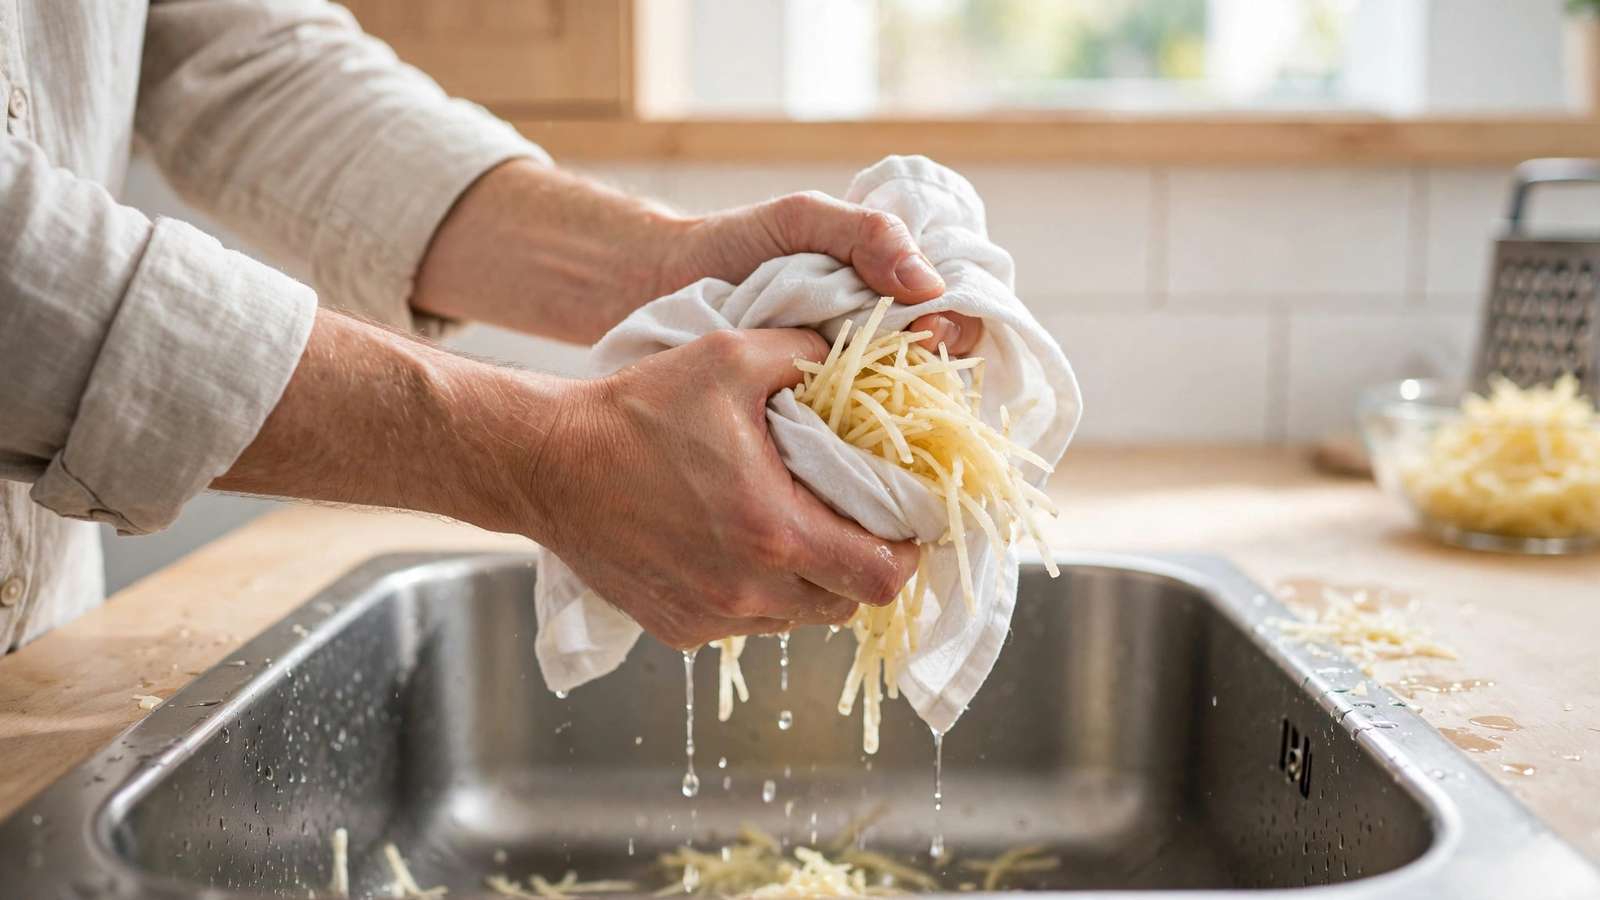
Shred the potatoes on the large holes of a box grater. Then — and this is the whole game — squeeze out the water. Pile the shreds into a clean kitchen towel (not paper towels; they’ll disintegrate), gather the corners, and wring it out over the sink like you’re trying to strangle it. You’ll be shocked how much liquid comes out. Then do it again. And once more for good measure.
This is the step I skipped for years, and it’s the reason my hash browns were sad. Thirty seconds of aggressive squeezing does more for crispiness than any fancy pan or expensive oil. If you take one thing from this article, take this: wring the potatoes dry. Your future self, eating audibly crunchy hash browns, thanks you.
Step 3: Season simply, heat the pan properly
Toss the squeezed shreds with salt and pepper — that’s it for the classic version. (We’ll get to variations.) Some cooks add a pinch of garlic powder or paprika; I keep it minimal because the potato flavor deserves the spotlight.
Now the pan: cast iron if you have it, heavy stainless if you don’t. Nonstick works but won’t give you the same crust — crispiness loves direct, even heat, and cast iron holds heat like nothing else. Get it properly hot over medium-high heat, then add your fat. My hierarchy: clarified butter or ghee for flavor, neutral oil with a high smoke point (avocado, refined coconut) for pure crisp, or — the diner secret — a mix of both. You want enough fat to coat the pan generously. Hash browns are not health food. Make peace with the oil.
Step 4: Spread thin, press down, and DON’T TOUCH
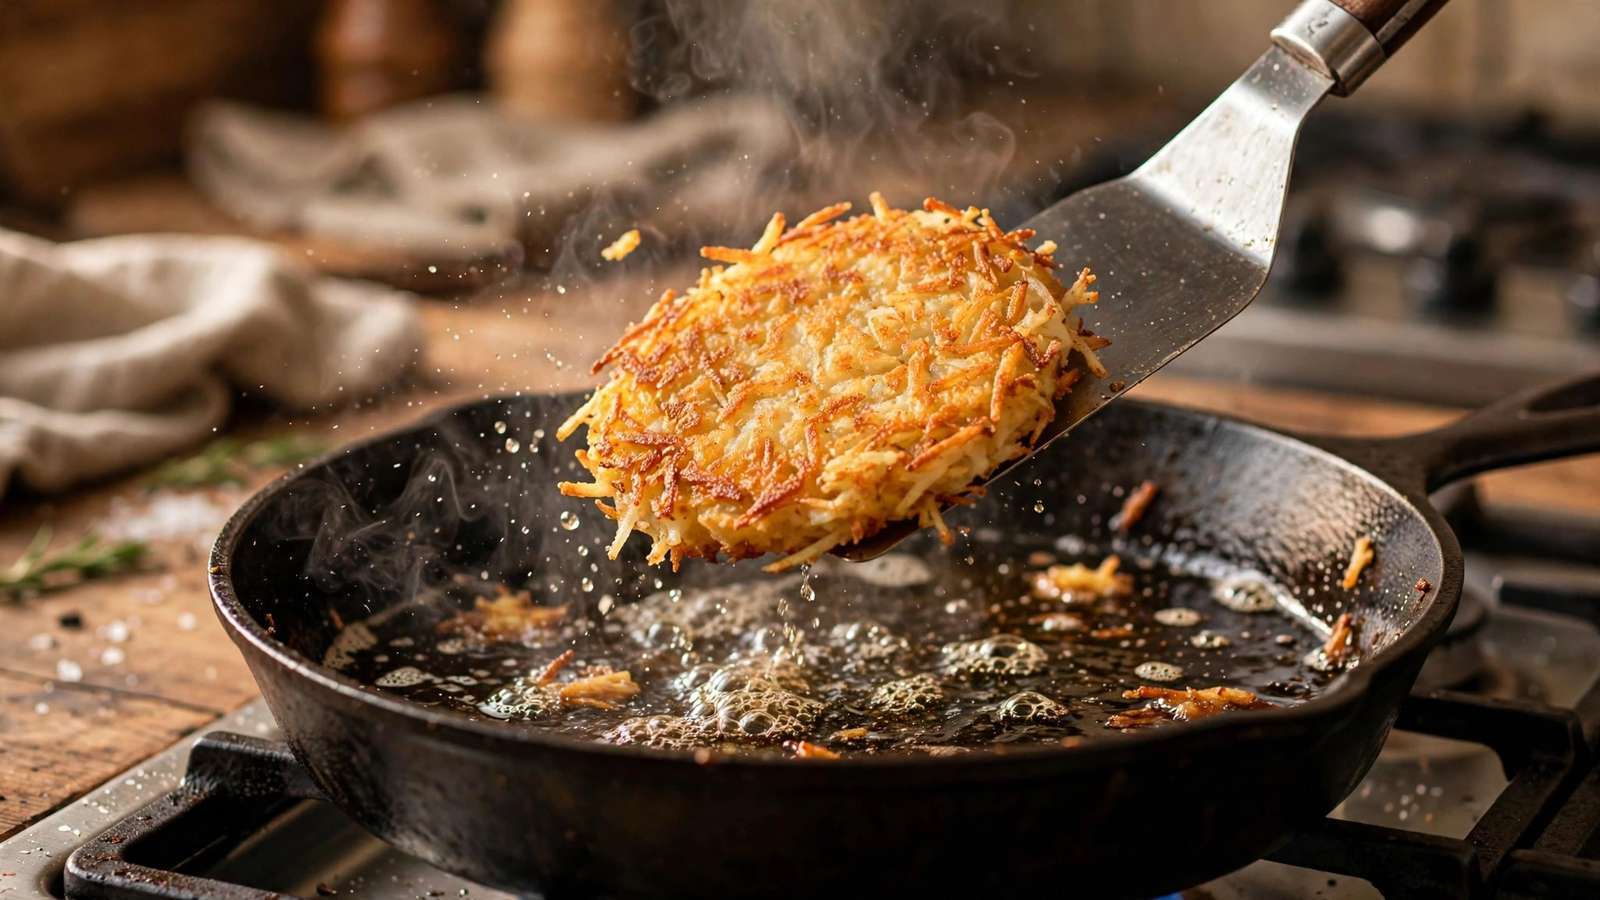
Add the potatoes in an even layer — no thicker than about half an inch — and press them down firmly with a spatula. Then walk away. Seriously. This is the second place home cooks go wrong: we fuss. We stir. We peek. Every time you move the shreds, you break the crust that’s forming and release steam.
Let them cook undisturbed for 4–5 minutes until the bottom is deep golden brown. You’ll smell it before you see it — that toasty, fried-potato aroma is your timer. Flip in sections (a wide spatula helps; doing it in quarters is easier than one heroic flip), press down again, and give the second side another 4–5 minutes. Total time: under 15 minutes from shred to plate.
How to make hash browns crispy: mistakes to avoid
Overcrowding the pan. Too many shreds = trapped steam = soggy middle. If you’re cooking for a crowd, do it in batches. A crowded pan is just a steamer with extra steps.
Pan not hot enough. If the shreds don’t sizzle aggressively on contact, the pan wasn’t ready. Pull them out, let the pan heat up, and start over — thirty seconds of patience beats ten minutes of steaming.
Stirring. I know I said this already. I’m saying it again because it’s the hardest habit to break. Hash browns are not stir-fry. Press, wait, flip, wait, serve.
Wrong potato. Waxy potatoes will never give you the diner crunch. Russets. Always Russets.
Restaurant secrets for extra-crispy hash browns
Once you’ve mastered the basics, these are the upgrades that take hash browns from great to diner-legendary. The parboil method: simmer whole Russets for 7–8 minutes until just barely tender at the edges, chill them overnight, then shred cold. Parboiling gelatinizes the surface starch, which fries up into an even crunchier crust — this is how many restaurants get that shattering exterior. It takes planning, but for a weekend brunch it’s worth it.
Fat choice matters more than people think. Duck fat or beef tallow — the old-school diner fats — produce a richness and crunch that neutral oils can’t match. A tablespoon mixed into your regular oil is enough to taste the difference. And here’s the last secret: salt the finished hash browns, not just the raw shreds. A final sprinkle of flaky salt on the hot crust does more for flavor than anything you mixed in beforehand, because it hits your tongue first.
Variations worth trying
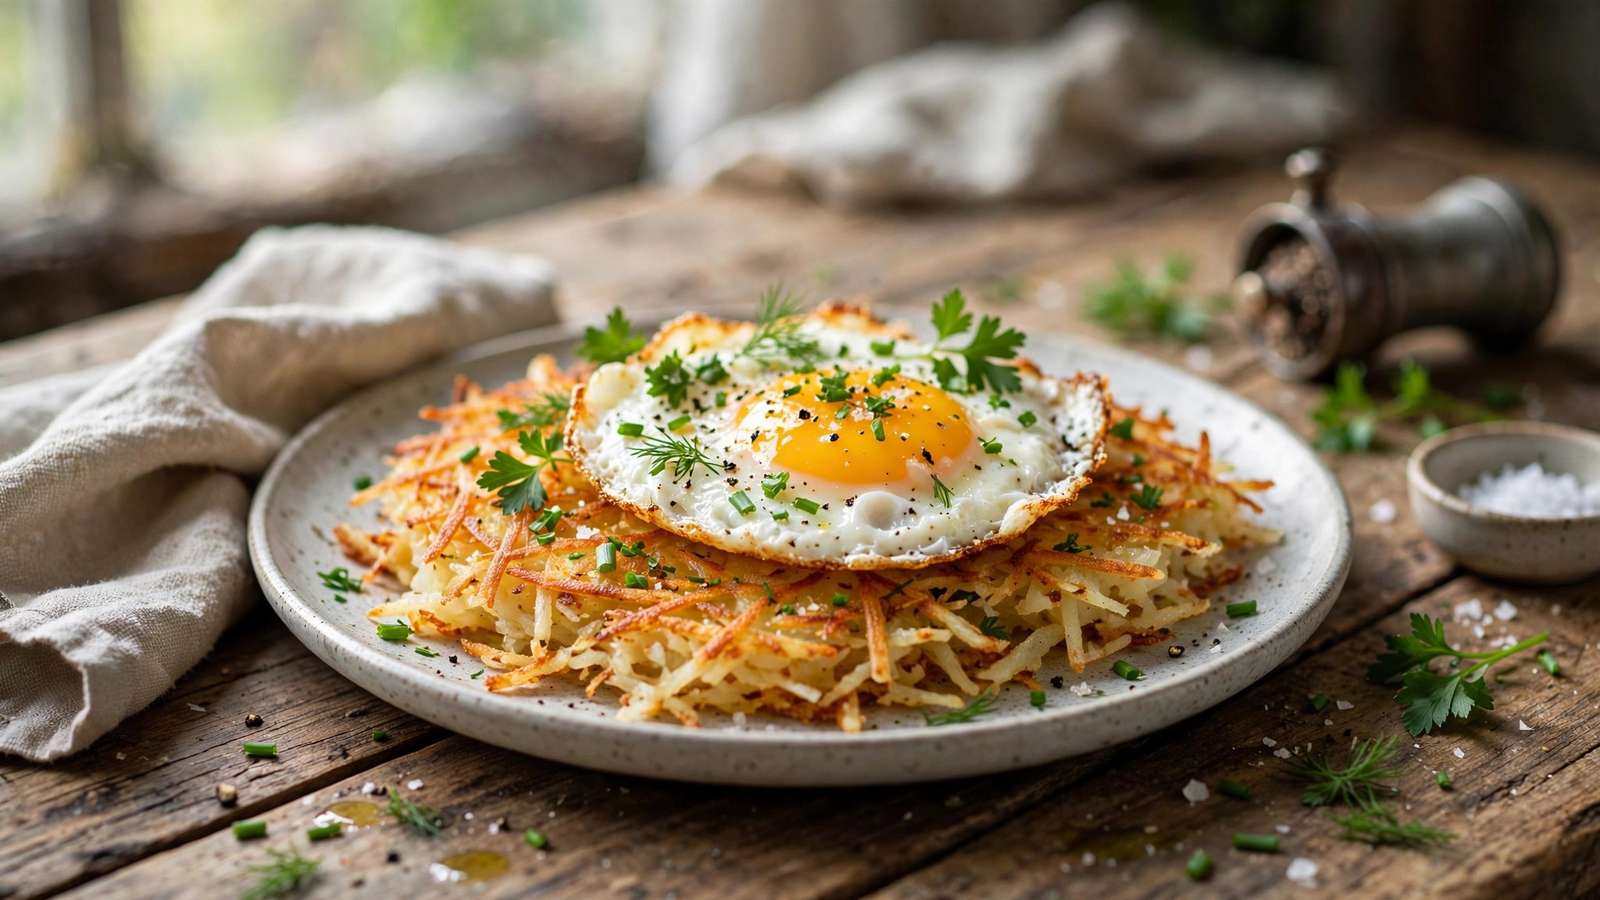
Once you’ve nailed the classic, the template is endlessly riffable. Diner-style “all the way” means adding diced onions and bell peppers (squeeze those dry too — same moisture rule). Cheese lovers: sprinkle shredded cheddar over the top in the last two minutes and cover the pan to melt it. For a Southwestern twist, add diced jalapeño and cumin to the shreds, and serve with salsa and sour cream. My personal favorite: a fried egg on top, yolk still runny, so it sauces the crispy shreds. Breakfast doesn’t get better than that.
For more weekend-morning inspiration, our guide to batch cooking covers make-ahead breakfasts that reheat beautifully all week.
Diner-style vs homemade: closing the gap
Why do diner hash browns taste better than yours? It’s not talent — it’s equipment and volume. Diners cook on screaming-hot flat-top griddles with inches of seasoned steel holding heat, in clarified butter or beef tallow, and they make hundreds of orders a day on the same surface. That seasoning — layers of polymerized fat built up over years — is a nonstick crust factory no home pan can match in a month.
But you can close most of the gap. A well-seasoned cast iron skillet is the closest home equivalent to a flat-top. Preheat it longer than you think necessary — a full five minutes over medium-high. Use more fat than feels reasonable. And embrace the diner’s greatest advantage: cooking to order, one batch at a time, never crowded. Your kitchen will never be a diner at 7 a.m. on a Saturday. But your hash browns can be 90% of the way there, and honestly, the last 10% is mostly nostalgia.
One more diner trick for the road: leftover hash browns re-crisp beautifully. Spread them on a sheet pan and blast in a hot oven, or better yet, toss them in an air fryer for a few minutes — the circulating hot air re-crisps the exterior without overcooking the interior. Microwaving is the enemy; it steams them right back to soggy. Treat leftovers like you treated the raw shreds: heat, fat, and no crowding.
Frequently asked questions
How do you make hash browns crispy and not soggy?
Squeeze every drop of water from the shredded potatoes before they hit the pan, use a hot cast-iron skillet with plenty of fat, spread the shreds thin, and don’t stir them while they cook. Moisture removal is 80% of the battle.
Should you soak shredded potatoes before making hash browns?
A 10-minute soak in cold water removes excess surface starch, which some cooks swear by for extra crispiness. But you must then dry the shreds thoroughly — a salad spinner followed by the towel-wring works. Honestly, the squeeze matters far more than the soak; skip the soak if you’re in a hurry.
What is the best oil for crispy hash browns?
A high-smoke-point fat: clarified butter/ghee for the best flavor, or avocado oil for neutral crispiness. Many diners use a butter-oil blend — butter for taste, oil to keep the butter from burning. Regular butter alone burns before the potatoes finish.
Can you make crispy hash browns in the oven?
Yes — spread squeezed, oiled shreds thin on a hot sheet pan (preheat the pan in a 425°F/220°C oven) and bake 20–25 minutes, flipping once. They won’t match pan-fried crust, but they’re excellent for feeding a crowd with minimal effort.
Why do my hash browns fall apart?
Usually excess moisture, or flipping too early before a crust forms. Press the shreds firmly into the pan, let them cook undisturbed until deeply golden, and flip in sections with a wide spatula rather than attempting one dramatic flip.
Can you make hash browns ahead of time?
You can shred and squeeze the potatoes up to a day ahead — store the dry shreds in water in the fridge to prevent browning, then drain and squeeze again before cooking. Cooked hash browns reheat well in a hot skillet or air fryer, but they’re never quite as good as fresh.