How to Drain a Water Heater: Annual Flush Guide

Your water heater is the hardest-working appliance you never think about — until the shower runs cold or the basement floods. Learning how to drain a water heater once a year is the single best maintenance you can do for it: it flushes the sediment that kills efficiency, extends the tank’s life by years, and takes about an hour. I have walked hundreds of homeowners through this over the years, and the ones who do it annually almost never call me for emergency replacements.
This guide covers the complete annual flush step by step, the warning signs that sediment is already hurting your heater, critical scald and safety precautions, and how to know when the job is beyond DIY and needs a plumber.
Why Drain Your Water Heater Every Year?
Every gallon of water entering your home carries dissolved minerals — mostly calcium and magnesium. When water is heated, those minerals precipitate out and settle at the bottom of the tank as sediment. Over months and years, that layer thickens, and the consequences stack up:
- Reduced efficiency: The burner or heating element must heat through the sediment layer to reach the water, wasting energy. Sediment buildup is one of the most common reasons heating bills creep up.
- Popping and rumbling noises: Water trapped under sediment boils and bursts through — the classic “my water heater sounds like it’s making popcorn” complaint. That noise is damage happening.
- Shorter tank life: Sediment creates hot spots that stress the tank lining and accelerate corrosion. A neglected tank might last 8 years; a maintained one routinely hits 12–15.
- Less hot water: Sediment displaces water — a heavily silted 50-gallon tank might effectively hold 40 gallons of hot water.
An annual flush prevents all of this. It is the highest-return hour of home maintenance I know.
Safety First: Read This Before Touching Anything
Water heaters combine scalding water, high pressure, gas or high-voltage electricity. Respect all three:
- Scald risk is real. Tank water sits at 120–140°F (49–60°C) — hot enough to cause third-degree burns in seconds at the high end. Wear closed-toe shoes, long pants, and work gloves. Keep kids and pets out of the work area.
- Let the water cool. I recommend shutting off the heater the night before and doing the flush in the morning, or at minimum waiting several hours after shutdown. Draining 140-degree water through a garden hose is miserable and dangerous.
- Gas heaters: Know where your gas shutoff is and how to relight the pilot afterward (your manual covers this). If you smell gas at any point, stop, leave, and call the gas company.
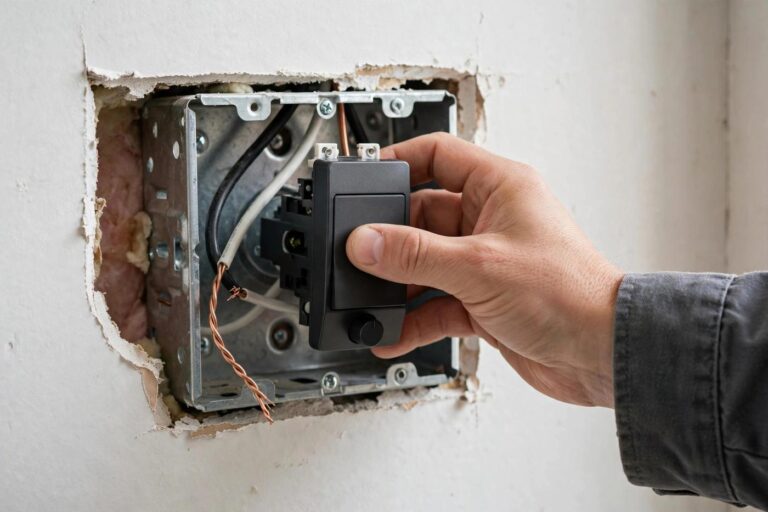
- Electric heaters: Turn off the breaker — not just the thermostat. Draining a tank with the power on can burn out the upper heating element in seconds (dry-firing), turning a maintenance task into a repair.
- Pressure relief: The temperature-and-pressure (T&P) relief valve is your safety device. Test it yearly (more below), and never cap or plug it.
What You Will Need
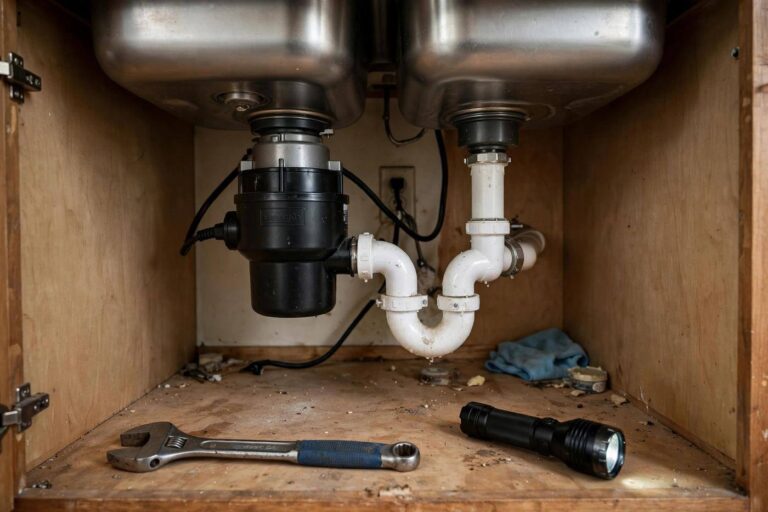
Gather everything before you start: a standard garden hose long enough to reach a floor drain, driveway, or bucket (and rated for hot water — cheap hoses can soften); a bucket; work gloves; a flathead screwdriver (some drain valves need one); and towels for inevitable drips. Optional but smart: a hose thread adapter if your drain valve has an unusual fitting, and a wet/dry vacuum for cleanup.
Step-by-Step: How to Drain a Water Heater
- Turn off the energy supply. Gas: turn the thermostat to “pilot” or shut off the gas supply per your manual. Electric: switch off the dedicated breaker at your panel. Confirm it is off.
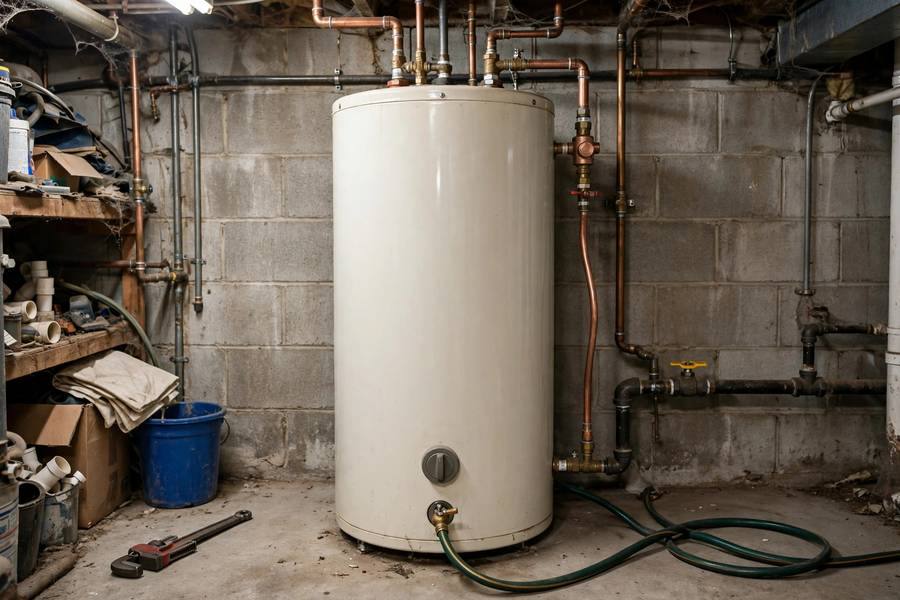
- Turn off the cold water supply. The shutoff valve is on the cold inlet pipe at the top of the heater. Turn it clockwise to close.
- Let the water cool. Ideally several hours or overnight. This is the step everyone wants to skip and nobody should.
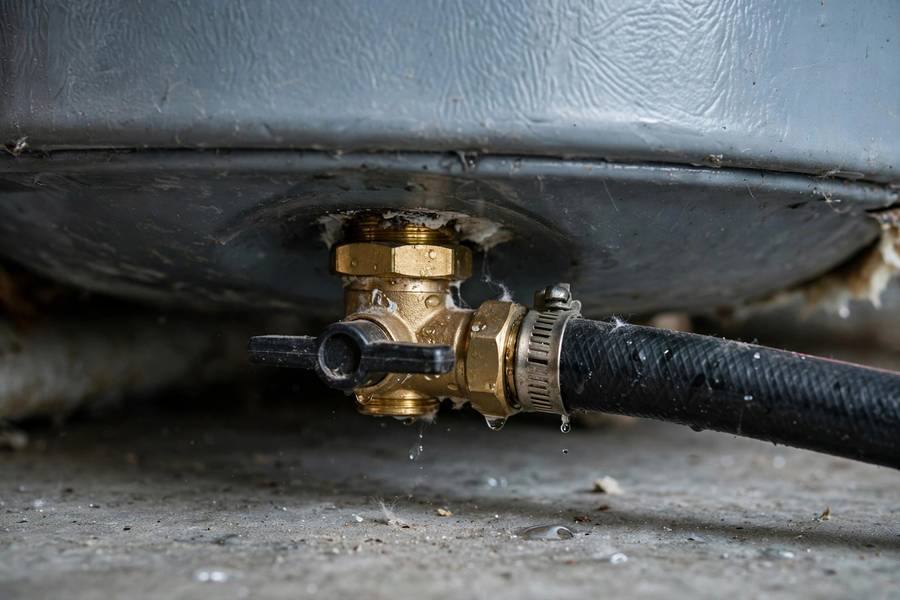
- Attach the garden hose to the drain valve at the bottom of the tank. Run the other end to a safe drainage spot — a floor drain, sump pit, or outside downhill from the house. Secure it; a loose hose under pressure whips.
- Open a hot water faucet somewhere in the house (a laundry sink is ideal). This breaks the vacuum and lets the tank drain. Leave it open throughout.
- Open the drain valve. Turn it counterclockwise slowly. Water — possibly discolored — will begin flowing. If nothing comes out, sediment may be clogging the valve (see troubleshooting below).
- Flush until clear. Once the tank empties, briefly turn the cold water supply back on for 20–30 seconds with the drain still open — this stirs up remaining sediment and flushes it out. Repeat until the water runs clear. This “power flush” is the most valuable part of the whole job.
- Close the drain valve, remove the hose, and close the hot water faucet you opened.
- Refill the tank: turn the cold water supply back on and let the tank fill completely. You will hear air sputtering from faucets — run a hot tap until water flows steadily with no sputtering, confirming the tank is full.
- Restore power or gas. Electric: turn the breaker back on only after confirming the tank is full. Gas: relight the pilot per your manual and turn the thermostat back to your setting (120°F is the recommended safe and efficient setpoint).
- Check for leaks at the drain valve and all connections. A slow drip from an old plastic drain valve is common — often fixed by gently tightening, or plan to replace the valve.
Setting the Right Temperature
While you are at the heater, check the thermostat: 120°F (49°C) is the recommended setpoint — hot enough for comfortable showers and dishwashing, cool enough to dramatically reduce scald risk and save energy. Every 10 degrees above 120 adds scald danger and roughly 3–5% to water heating costs. Many heaters ship set at 140°F; dialing down is a two-minute job with real safety and savings payoff. Mark the dial position with a marker so you can spot if it ever gets bumped.
Warning Signs Your Heater Needs Attention Now
Do not wait for the annual schedule if you notice: rumbling, popping, or banging sounds (sediment actively boiling); rusty or discolored hot water (tank lining may be failing — though check whether it is only the hot side, which points to the heater, versus both hot and cold, which points to pipes); water that runs out faster than it used to; moisture or pooling around the base (could be condensation, a fitting, or a failing tank — investigate promptly); or a rotten-egg smell in hot water only (bacteria reacting with the anode rod — often fixable, but get advice).
The Anode Rod: The Part Nobody Checks
While you are maintaining the heater, know about the anode rod — a magnesium or aluminum rod inside the tank that corrodes instead of the tank lining (sacrificial protection). It typically lasts 3–5 years. When it is gone, the tank starts corroding. Checking it every few years and replacing it when depleted is the second-highest-return maintenance after flushing. It requires a 1-1/16″ socket and some muscle — or a plumber’s visit that pays for itself many times over in tank life.
Troubleshooting Common Problems
- Nothing drains: Sediment has clogged the drain valve. Try briefly opening the cold supply to push water through, or gently probe with a straightened coat hanger (with the valve open and hose attached). If the valve is hopelessly clogged, it may need replacement — a plumber job if you are not comfortable.
- Drain valve leaks after closing: Old plastic valves often do. Try tightening gently; if it persists, replace with a brass ball-valve drain — a worthwhile upgrade.
- No hot water after refill: Electric — did you turn the breaker on with an empty tank? You may have burned out an element (dry-firing). Gas — is the pilot lit? Walk through the relight procedure carefully.
- T&P valve dripping: It may just need reseating (lift the lever briefly to flush debris), but a continuously dripping T&P valve can signal excessive pressure or temperature — get it checked.
When to Call a Plumber Instead
DIY has limits, and knowing them is part of good homeownership. Call a professional if: the heater is over 10–12 years old and never been flushed (disturbing a decade of sediment can finish off a fragile tank — a pro can assess the risk); you see active leaking from the tank body itself (not a fitting — the tank; that means replacement); there is any gas smell; the T&P valve is discharging heavily; or you are simply not comfortable with any step. A maintenance visit costs a fraction of an emergency replacement — and a flooded basement costs far more than both.
Frequently Asked Questions
How to drain a water heater for annual maintenance?
Turn off power/gas and cold water supply, let the tank cool, attach a garden hose to the drain valve, open a hot faucet to break vacuum, open the valve and drain, flush with brief cold-water bursts until clear, then close up, refill completely, and restore power.
How often should you drain a water heater?
Once a year for most homes. If you have very hard water, every 6 months is better. Tankless water heaters need descaling on a similar schedule — check your manual.
What happens if you never drain your water heater?
Sediment accumulates, efficiency drops, the tank makes rumbling noises, hot water capacity shrinks, and the tank’s lifespan shortens significantly — often failing years earlier than a maintained unit.
Can I drain my water heater myself?
Yes, it is a standard DIY task if you follow safety steps: shut off energy and water, let it cool, and never restore electric power until the tank is full. Call a plumber if the unit is very old, has never been flushed, or shows signs of tank failure.
How long does it take to drain a water heater?
Draining itself takes 20–60 minutes depending on tank size and sediment. With cooling time, hose setup, flushing, and refilling, budget about 2 hours total — most of it waiting.
Should the water heater be on while draining?
No — turn it off first. For electric heaters this is critical: an element exposed to air with power on burns out in seconds. Always confirm the tank is completely refilled before restoring power.