How to Clean Car Battery Terminals (Safely, in 20 Minutes)

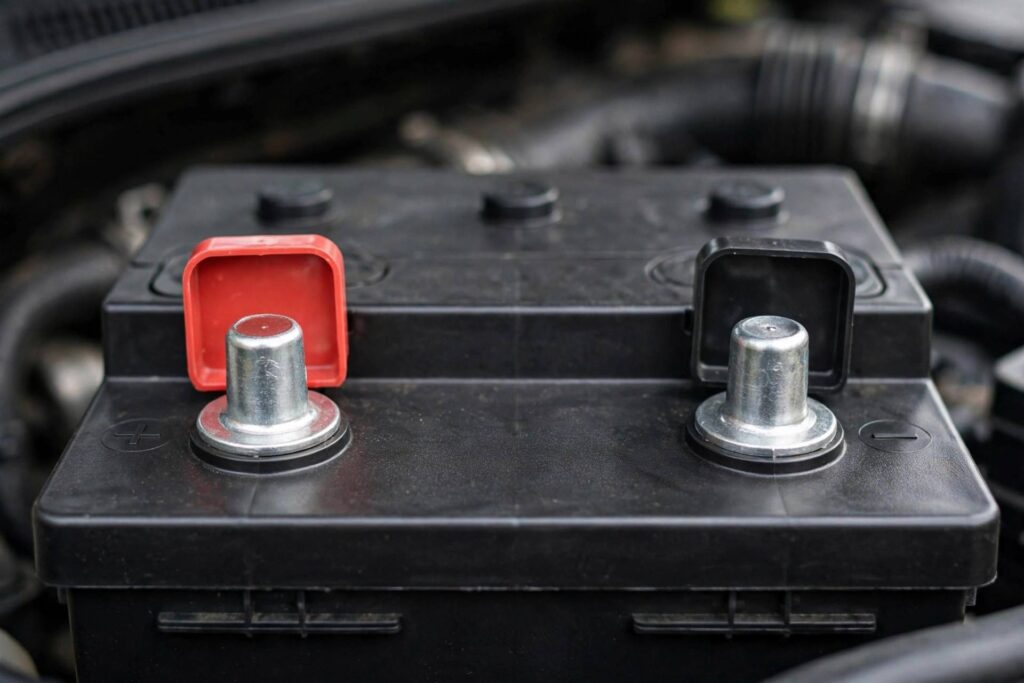
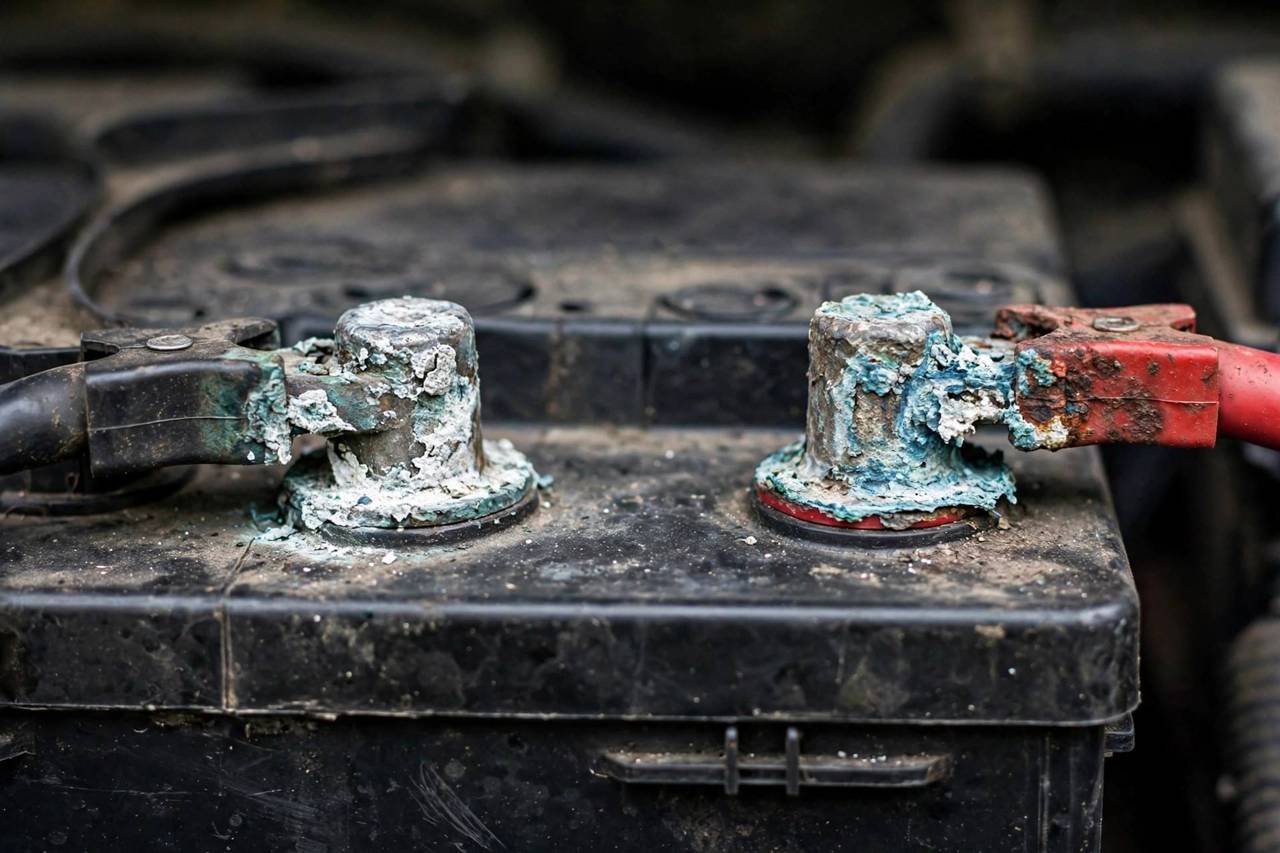
Pop your hood and look at your battery terminals. See that crusty white, blue, or green buildup around the connections? That’s corrosion — and it’s silently strangling your car’s electrical system. Corroded terminals cause slow cranking, dim lights, random electrical gremlins, and eventually a car that won’t start at all. The fix takes twenty minutes, costs almost nothing, and requires zero mechanical skill. Let me show you how to clean car battery terminals properly — and safely, because we’re dealing with electricity and acid here.
What That Corrosion Actually Is
Battery corrosion is typically a mix of lead sulfate and copper sulfate — the byproducts of a chemical reaction between battery acid vapors, the metal terminals, and moisture in the air. It usually appears as a white, powdery crust, sometimes with blue or green tints (that’s the copper from the cable clamps reacting).
A little corrosion is normal over time, especially on older batteries or in humid climates. But heavy buildup creates electrical resistance at the connection point. Think of it like trying to drink through a partially pinched straw — the power is there in the battery, but it can’t flow freely to your starter and electronics. That’s why a car with a healthy battery can still crank slowly: the terminals are choking the current.
Corrosion can also signal an underlying issue. Excessive buildup, especially if it returns quickly after cleaning, may mean the battery is overcharging (faulty voltage regulator), leaking acid around the posts, or simply nearing the end of its life. Learning how to clean car battery terminals is always step one; if corrosion comes back fast, investigate further.
Safety First: Non-Negotiable Precautions
Car batteries contain sulfuric acid and produce hydrogen gas. Respect that:
- Wear safety glasses and gloves. Battery acid in your eyes is a genuine emergency. Nitrile or rubber gloves protect your skin from acid and lead.
- No sparks or flames nearby. Hydrogen gas venting from the battery is flammable. No smoking, no lighters, no grinding sparks in the vicinity.
- Work in a ventilated area. Outdoors or with the garage door open.
- Remove metal jewelry. A wrench bridging the terminals, or a ring touching both posts, creates a short circuit with spectacular and dangerous results.
- Know the disconnect order: negative cable OFF first, negative cable ON last. This is the golden rule of battery work — it prevents accidental short circuits against the car’s metal body.
If battery acid contacts your skin, rinse immediately with plenty of water. In eyes: flush with water for at least 15 minutes and seek medical attention. These are rare events with basic precautions, but know the drill.
What You’ll Need
- Safety glasses and gloves
- Wrench or socket set (usually 10mm for terminal bolts, but check yours)
- Wire brush or battery terminal cleaning brush (the round ones made for this are a few dollars and perfect)
- Baking soda and water (for the cleaning solution)
- An old toothbrush or small brush
- Rags or paper towels
- Petroleum jelly or dielectric grease (for protection after cleaning)
- Optional: battery terminal protector spray
How to Clean Car Battery Terminals: Step by Step
Step 1: Disconnect the battery
With the engine OFF and keys out: loosen the bolt on the negative (-) terminal first (usually marked with a minus sign and black cable). Wiggle the cable clamp off the post and tuck it aside so it can’t spring back and touch the terminal. Then do the same for the positive (+) terminal (red cable). Negative off first — always.
Step 2: Inspect everything
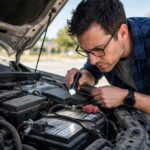
Look at the battery case for cracks, bulging, or leaking — if the case itself is damaged, cleaning won’t help; the battery needs replacement. Check the cables for fraying, cracked insulation, or green corrosion creeping up under the insulation. Damaged cables should be replaced, not just cleaned.
Step 3: Apply the baking soda solution
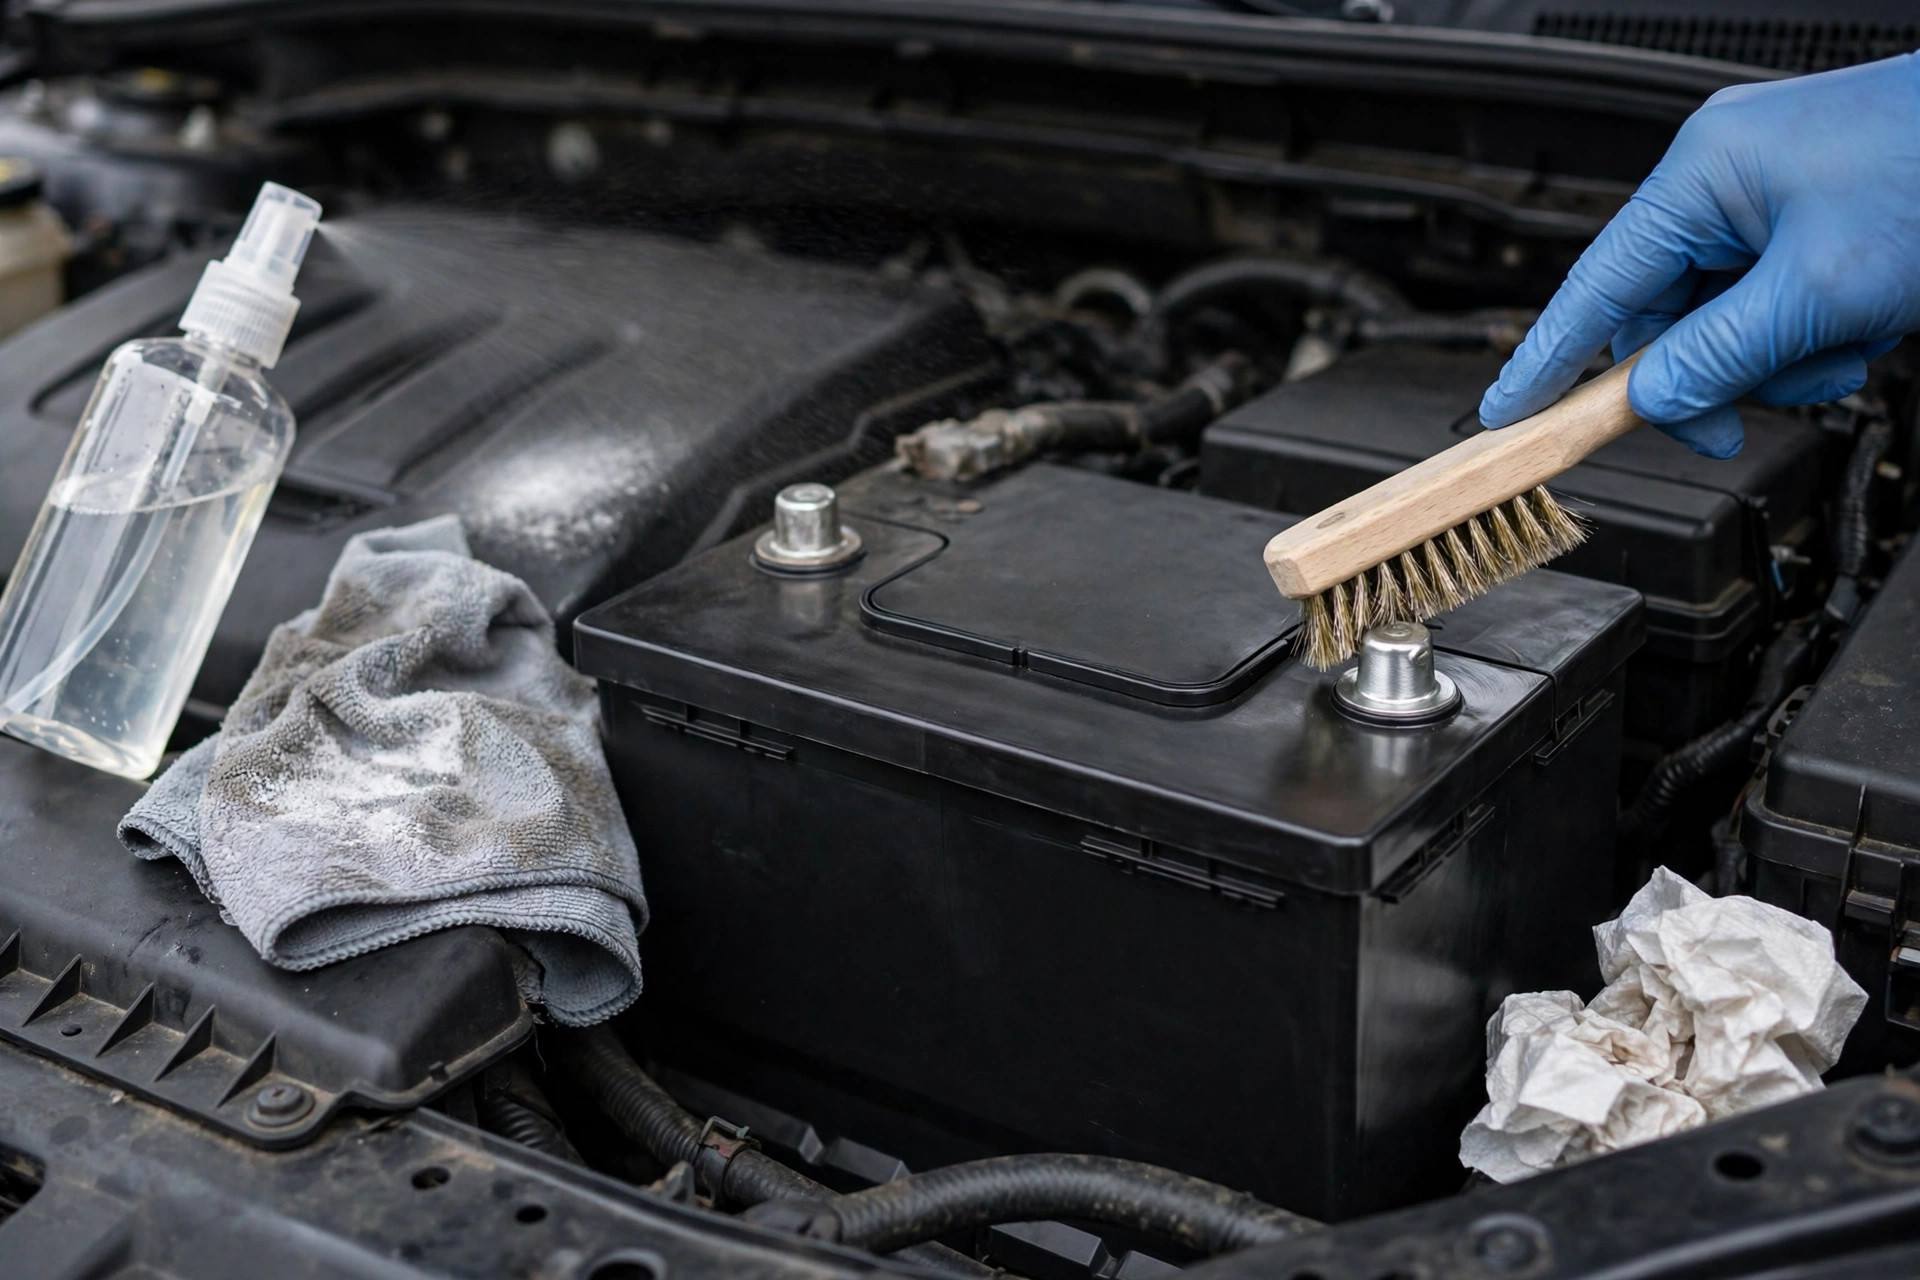
Mix a tablespoon or two of baking soda into a cup of water. The baking soda neutralizes the acidic corrosion. Pour or brush the solution over the terminals, cable clamps, and any corroded areas. You’ll see it fizz — that’s the neutralization working. Let it sit for a few minutes on heavy buildup.
Step 4: Scrub everything clean
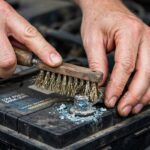
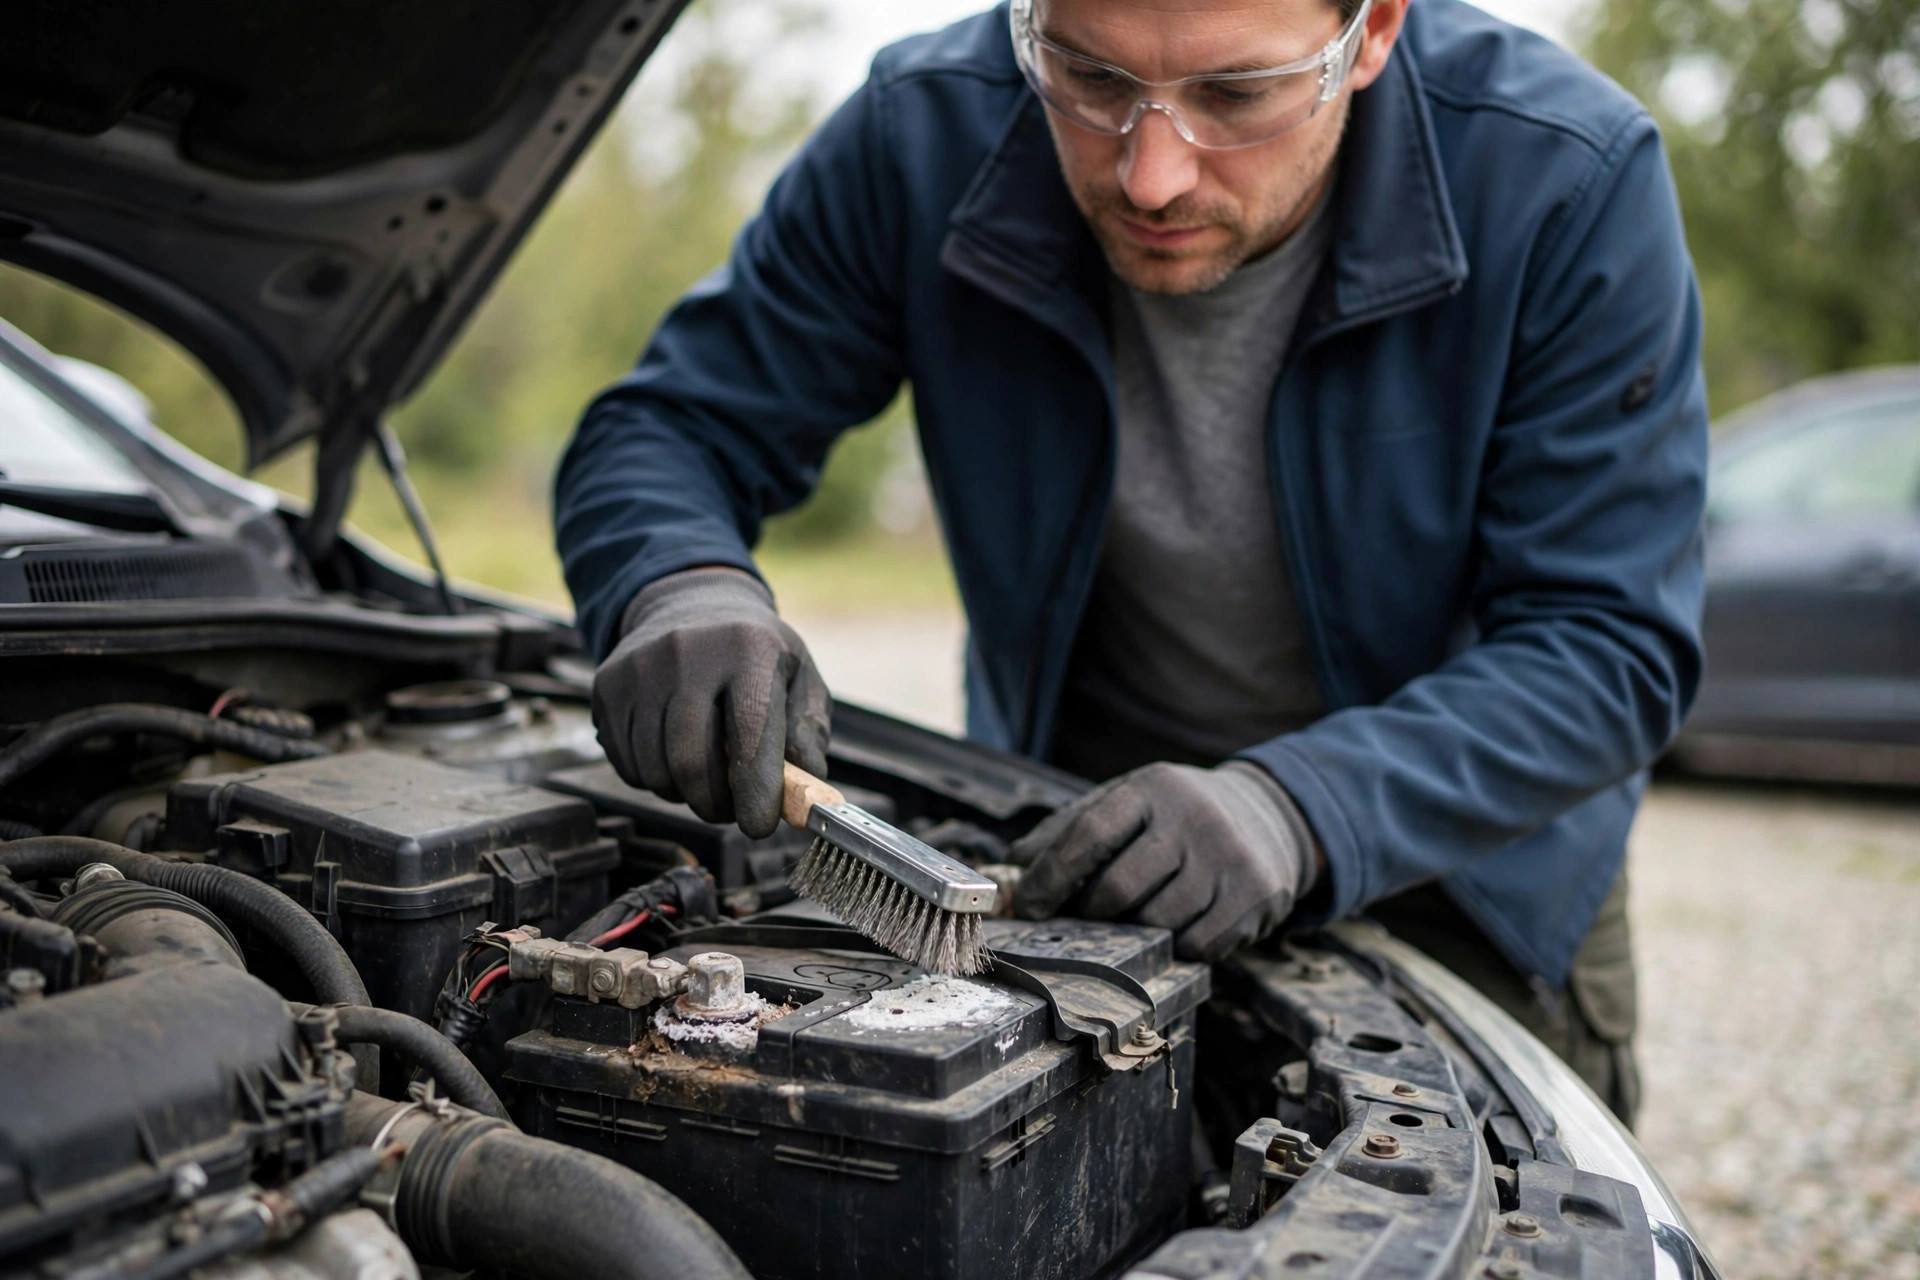
Use the wire brush on the terminal posts until you see bright, shiny metal. Use the round terminal brush (or the toothbrush for tight spots) inside the cable clamps — the inner surface of the clamp matters as much as the post, since that’s where the electrical contact happens. Be thorough: any remaining corrosion is future resistance.
Step 5: Rinse and dry completely
Wipe everything down with a damp rag to remove the baking soda residue, then dry thoroughly with a clean rag. Moisture left on the terminals invites new corrosion. Take your time here — completely dry is the goal. A quick blast with compressed air works great if you have it.
Step 6: Reconnect — positive first this time
Reconnect in reverse order: positive (+) cable ON first, then negative (-). Tighten the clamp bolts snugly — the clamp shouldn’t wiggle or rotate on the post, but don’t overtighten and crack anything. Give each clamp a firm tug to confirm it’s secure.
Step 7: Protect the clean terminals
Apply a thin coat of petroleum jelly or dielectric grease over the terminals and clamps. This seals out moisture and acid vapors — the two ingredients corrosion needs. Battery terminal protector spray works too and is purpose-made for this. This single step dramatically extends the time before corrosion returns.
How to Tell If Cleaning Isn’t Enough
Sometimes the terminals are clean and the problems persist. Here’s how to read the signs:
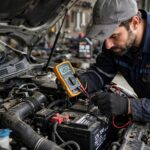
- Still cranks slowly after cleaning? The battery itself may be weak. Check your car battery health — there are simple no-tool tests that tell you a lot.
- Corrosion returns within weeks? Possible overcharging (have the charging system tested) or a battery leaking acid around the posts — both point toward replacement.
- Terminals are cracked, or clamps won’t tighten? Replace the cable ends or cables. A clamp that can’t grip tightly will always cause problems.
- Battery is 4+ years old with issues? Car batteries typically last 3-5 years. Know the signs your car battery is dying so a weak battery doesn’t strand you.
If the battery needs a charge rather than a replacement, my guide on how to charge a car battery walks through the safe way to do it.
Preventing Corrosion From Coming Back
- The grease coating from Step 7 is your primary defense. Reapply once a year or whenever you notice it wearing thin.
- Anti-corrosion washers (felt rings that sit around the posts) are cheap and effective — they absorb acid vapors before they reach the metal.
- Keep the battery secured. A loose battery vibrates, and vibration accelerates terminal wear and acid venting. The hold-down clamp should be snug.
- Check terminals every oil change. A 30-second visual inspection catches buildup early, when it’s a two-minute wipe rather than a twenty-minute scrub.
- Address overcharging. If corrosion keeps returning aggressively, have your alternator and voltage regulator tested. Chronic overcharging boils off electrolyte and accelerates corrosion — it’s a charging system problem wearing a battery disguise.
What NOT to Do (Common Mistakes)
- Don’t use a metal tool to pry off a stuck clamp while connected. If a clamp won’t budge, disconnect the other terminal first, then use a battery terminal puller tool (a few dollars) instead of a screwdriver. Prying with metal against a live terminal is asking for a short.
- Don’t skip the drying step. Reconnecting damp terminals traps moisture exactly where you don’t want it. Patience here pays off for months.
- Don’t use regular grease with unknown additives on terminals. Plain petroleum jelly or proper dielectric grease is what you want — some automotive greases contain metals or compounds that don’t belong on electrical connections.
- Don’t ignore a swollen or cracked battery case. No amount of terminal cleaning fixes a physically damaged battery. A bulging case means internal pressure buildup — replace it, and handle it carefully.
- Don’t forget your radio code. Disconnecting the battery resets the clock, radio presets, and sometimes the infotainment system. Some cars need a security code to reactivate the radio — check your manual or glovebox card before you disconnect.
When the Cables Themselves Need Replacing
Sometimes the terminals are fine but the cables are the problem. Replace battery cables (or just the terminal ends) if you see: cracked or brittle insulation, green corrosion creeping under the insulation away from the terminal, frayed copper strands, or clamps that are stretched, cracked, or won’t tighten no matter what. Cable replacement is a straightforward job — disconnect (negative first), unbolt the other end (usually at the starter or ground point), route the new cable the same way, and reconnect (positive first). Match the gauge (thickness) of the original cable; going thinner is never acceptable for battery cables. Quality replacement cables cost modestly and eliminate a whole category of intermittent electrical mysteries.
FAQ
Can I clean battery terminals without disconnecting the battery?
You can do a light surface wipe with the cables on, but a proper cleaning requires disconnecting. Working around connected terminals with metal tools risks short circuits. Disconnect (negative first), clean thoroughly, reconnect (positive first). The radio presets will reset — a small price for doing it safely.
What causes the white/blue buildup on battery terminals?
It’s corrosion from a reaction between battery acid vapors, the metal terminals, and moisture — typically lead sulfate (white) with copper sulfate tints (blue/green) from the cable clamps. It’s normal over time but excessive buildup indicates possible overcharging or a failing battery.
Is it safe to pour water on a car battery?
Yes, for external cleaning — water won’t hurt the battery case or terminals. Avoid getting water into the vent caps on serviceable batteries, and always dry everything thoroughly afterward. The baking soda solution followed by a wipe-down is the standard safe method.
How often should I clean my battery terminals?
Inspect them every few months (pair it with your oil change schedule) and clean when you see buildup. With protective grease applied after cleaning, most drivers only need a full cleaning once a year or so. Heavy corrosion returning quickly signals a deeper issue worth investigating.
Will cleaning terminals fix a car that won’t start?
It can — if corroded terminals were preventing current flow, cleaning often restores normal cranking immediately. But if the battery itself is dead or the starter has failed, cleaning won’t help. Clean first (it’s free), then test the battery if problems persist.