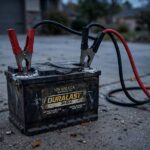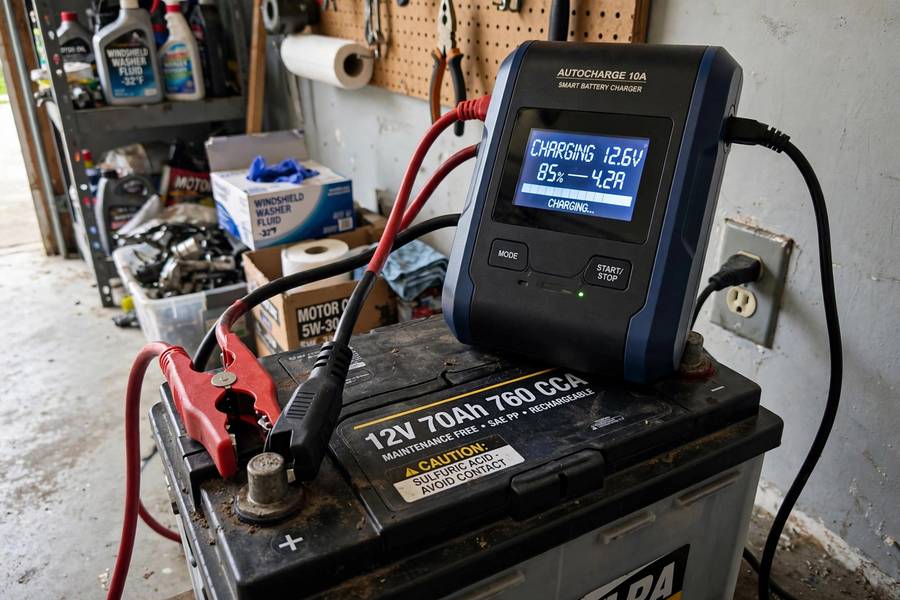
Charging a car battery looks simple — red to red, black to black, plug it in — and mostly it is. But the details matter: wrong amperage, wrong sequence, or charging a damaged battery can range from ineffective to genuinely dangerous. I’ve seen batteries boiled dry by oversized chargers and one that vented explosively because someone charged it in a sealed trunk (yes, really). Here’s the complete procedure: choosing a charger, connecting safely, picking the right settings, knowing when it’s done, and the mistakes to avoid. For why batteries need charging in the first place, see how long car batteries last.
Table of Contents
- When Charging Makes Sense (and When It Doesn’t)
- Choosing the Right Charger
- Safety Rules Before You Start
- Step-by-Step: Charging the Battery
- Amperage Settings and Charging Times
- Charging Without Removing the Battery
- Mistakes That Damage Batteries (or Worse)
- After Charging: What to Check
- Frequently Asked Questions
When Charging Makes Sense (and When It Doesn’t)
Charging makes sense when the battery is healthy but discharged: you left the lights on, the car sat for a month, the dome light stayed on overnight. A good battery in these situations takes a charge fully and holds it — one charging session and you’re back in business. If this describes your situation, charge away.
Charging doesn’t fix a worn-out battery. If the battery is 5+ years old, has a shorted cell (reads ~10.5V), has a swollen case, or won’t hold above 12.4V after a full charge and rest — charging is hospice care, not treatment. You’ll get a few more starts, maybe, and then you’re stranded somewhere less convenient than your driveway. Know the difference: charging restores charge; it doesn’t restore capacity. A battery that needed charging twice this month needs replacing, not a third charge.
The gray zone: a battery that tests marginal. A slow, full charge (not a jump start, not a 30-minute blast) sometimes recovers a sulfated battery enough to buy months — especially with a smart charger that has a desulfation/recondition mode. It’s worth trying once on a 3-4 year old battery. If it doesn’t hold, you’ve spent a day learning something definitive.
Choosing the Right Charger
The charger market has three tiers. Basic manual chargers ($30-$50): a transformer, a rectifier, clamps, and an ammeter. They work, but they don’t stop — leave one on too long and it’ll overcharge and boil the battery dry. Fine if you’re attentive; dangerous if you’re forgetful.
Smart/automatic chargers ($50-$100): the sweet spot for almost everyone. They monitor voltage and taper the charge automatically — bulk charge, absorption, then float maintenance. They won’t overcharge, most have desulfation modes, and many can stay connected indefinitely as maintainers. If you’re buying one charger, buy this kind. A 4-10 amp smart charger handles any car battery.
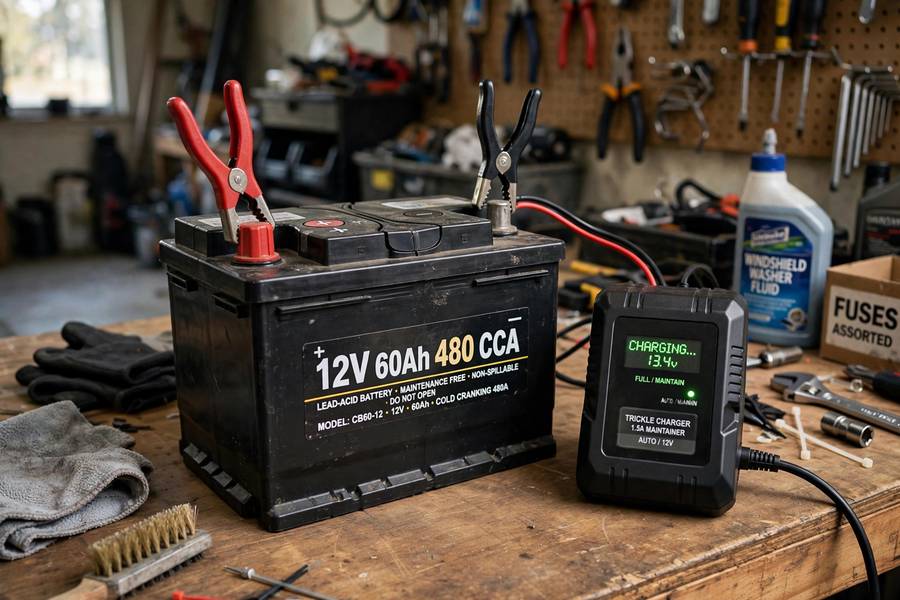
Maintainers/trickle chargers ($30-$60): low-amperage (1-2 amp) units designed for long-term storage — keeping a seasonal car, motorcycle, or boat battery healthy over months. They charge too slowly for a dead car battery (a fully dead 60Ah battery needs 30+ hours at 2 amps) but they’re perfect for their job. I keep one on my project car all winter.
Match the charger to your battery type too: standard flooded, AGM, and lithium batteries want different charge profiles. Most smart chargers have an AGM mode — use it if your battery is AGM (common in start-stop vehicles). Charging an AGM on a flooded profile won’t kill it immediately, but it’s not ideal long-term.
Safety Rules Before You Start
Non-negotiable, every time. Work in a ventilated area — charging produces hydrogen gas, which is explosive in enclosed spaces. No smoking, no open flames, no sparks near the battery. Wear eye protection and gloves; sulfuric acid is unforgiving.
Inspect the battery before connecting: if the case is cracked, leaking, swollen, or hot, do NOT charge it — replace it. A damaged battery under charge can vent violently or leak acid. Check the electrolyte level on non-sealed batteries; if plates are exposed, add distilled water to cover them before charging (never tap water — minerals contaminate the chemistry).
Disconnect or not? For modern smart chargers, you can usually charge with the battery connected — the charger’s voltage is controlled and safe for vehicle electronics. For old manual chargers, or if you’re unsure, disconnect the negative terminal first (this isolates the battery from the car’s electronics). If the battery is in the trunk or under a seat (common in BMWs, some Chryslers), use the under-hood jump-start terminals if provided — they’re designed for exactly this.
Step-by-Step: Charging the Battery
- Position the charger: place it on a stable surface near the battery, not on top of the battery. Ensure ventilation around both.
- Set the charger: select the correct battery type (flooded/AGM) and voltage (12V for virtually all cars). Start with the charger OFF or unplugged.
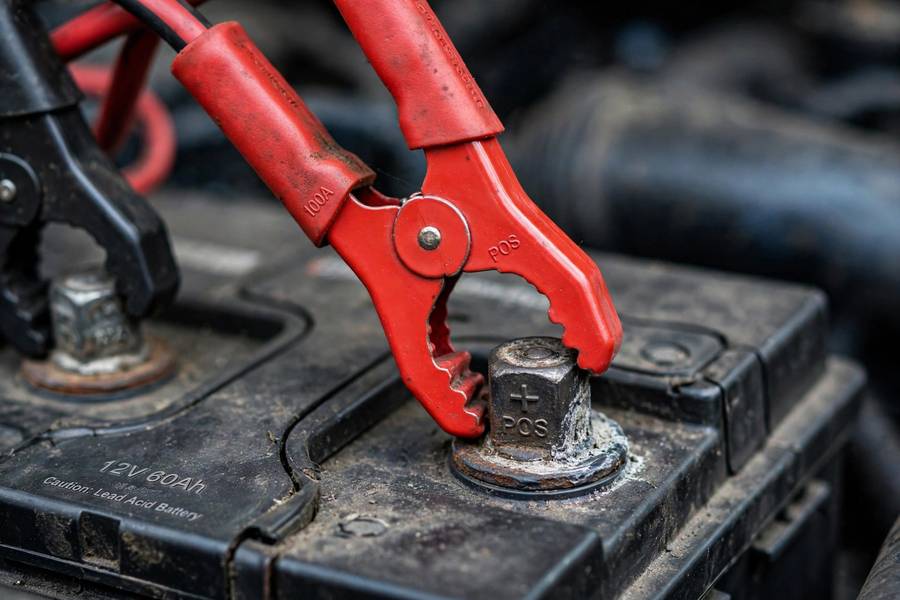
- Connect positive first: red clamp to the battery’s positive (+) terminal. Make sure it bites solid lead, not corrosion — wiggle it; it shouldn’t move.
- Connect negative: black clamp to the battery’s negative (−) terminal — or to an unpainted metal ground point on the chassis/engine block away from the battery. The chassis-ground method keeps any connection spark away from battery gases. (This is the same logic as safe jump starting.)
- Double-check: clamps secure, correct polarity, charger settings right, area ventilated.
- Power on: plug in / switch on the charger. Confirm it’s actually charging — smart chargers show a charging indicator; manual chargers show current on the ammeter.
- Wait: let it run. Don’t hover, but check periodically — feel for excessive heat on the battery case (warm is fine; hot is not), sniff for rotten-egg sulfur smell (stop immediately if present).
- Disconnect in reverse: power off/unplug the charger FIRST, then remove the black clamp, then the red. Power-off-first means no live sparks at the terminals during removal.
Amperage Settings and Charging Times
The rule of thumb: charge at about 10 percent of the battery’s amp-hour rating. A typical 60-70Ah car battery charges well at 6-10 amps. Lower amperage is always gentler — a 2-amp trickle charge is kindest to the battery but slowest; a 10-amp charge is the practical sweet spot; 20+ amps is fast-charging territory that generates heat and should be reserved for emergencies.
Charging times (approximate, for a fully discharged 60Ah battery): at 10 amps, 6-8 hours. At 6 amps, 10-12 hours. At 2 amps, 24-30 hours. At 40+ amp “boost” settings, 1-2 hours — but this is hard on the battery and I’d only do it to get a car running, followed by a proper slow charge or a good long drive.
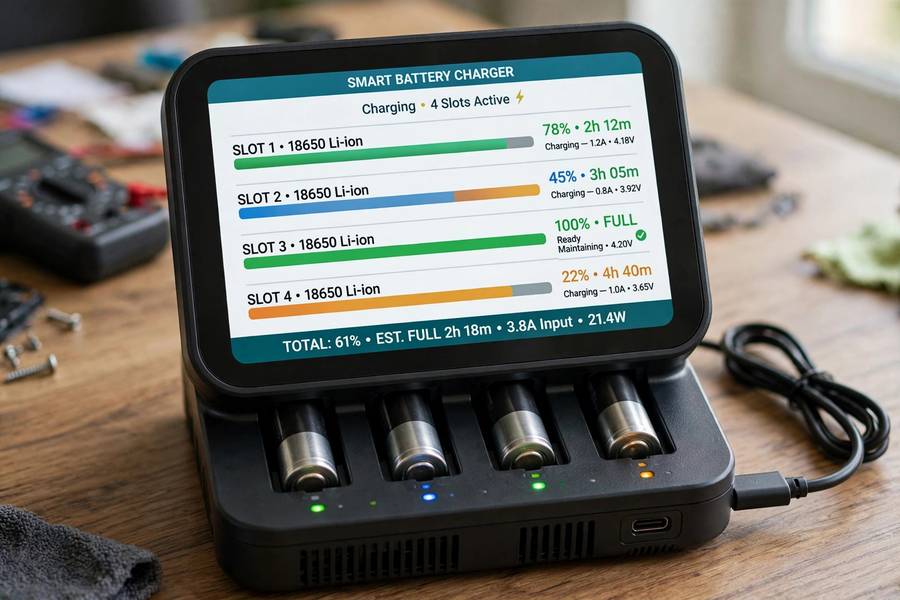
Smart chargers simplify this: set the battery type and let the charger manage amperage automatically. It’ll bulk-charge fast, then taper as the battery fills — the same way your phone charges. When the charger indicates full (or drops to float/maintain mode), you’re done. With a manual charger, monitor voltage: when it holds 12.6V+ after resting an hour off the charger, it’s charged. Don’t just go by time — a sulfated battery may never reach full no matter how long you wait.
Charging Without Removing the Battery
For most cars, there’s no need to remove the battery — charge it in place. Modern smart chargers are safe for connected vehicle electronics, and in-place charging saves the hassle of radio presets, clock resets, and the relearn procedures some cars need after a full disconnect.
Exceptions where removal (or at least disconnection) is smarter: old manual chargers with unregulated output can spike voltage and damage sensitive modules — disconnect the negative terminal first. If the battery is in the passenger compartment or trunk, ensure serious ventilation or remove it to charge in the garage — hydrogen in an enclosed cabin is a real hazard. And if the battery needs electrolyte service or the tray is corroded, removal lets you clean everything properly.
If you do disconnect: negative cable off first, negative on last. Have your radio code handy if your car needs one (check the manual or glovebox sticker). Some vehicles (certain BMWs, Mercedes) want new batteries “registered” to the computer — that’s a replacement procedure, not a charging concern, but worth knowing if charging reveals the battery is done.
Mistakes That Damage Batteries (or Worse)
The greatest hits from my years of watching DIY charging go wrong. Charging a frozen battery: a deeply discharged battery’s electrolyte can freeze; charging it frozen can crack the case or cause internal damage — thaw it first (room temperature, several hours) and inspect. Charging at too high amperage routinely: fast-charging generates heat that warps plates and boils off electrolyte — fine in an emergency, destructive as a habit.
Reverse polarity: red to negative, black to positive. On a manual charger this can damage the charger and the battery; smart chargers usually refuse and flash an error (one more reason to buy smart). Charging in a sealed space: hydrogen accumulation plus a spark equals a battery explosion — ventilate, always. Leaving a manual charger on indefinitely: the number one cause of boiled-dry batteries I see. If your charger isn’t automatic, set a timer and check it.
And the most common mistake of all: charging instead of replacing. A battery on its fifth charge this year isn’t being maintained — it’s being life-supported. Every charge buys less time than the last. Pull the plug (figuratively) and buy the new battery.
After Charging: What to Check
Once charged and rested an hour, test resting voltage: 12.6V+ means the charge took. Then the real test: does it hold? Check again the next morning before starting. If it’s still 12.4V+, the battery is holding charge and your discharge was likely incidental (lights left on, etc.). If it’s sagged back down overnight with nothing obviously left on, you have either a failing battery or a parasitic drain — and the battery needs a load test to split those.
Also verify the charging system while you’re at it: start the engine, check for 13.7-14.7V at the terminals. A battery that keeps “dying” is often a victim of an undercharging alternator — and no amount of external charging fixes that root cause. I always test the alternator when a customer comes in with a repeatedly dead battery; about a third of the time, the battery was innocent.
Finally, if the discharge cause was “car sat for a month,” consider a maintainer for storage periods. A $40 maintainer permanently connected during storage is cheaper than one replacement battery killed by sitting discharged — because a battery left discharged sulfates fast, and sulfation is permanent capacity loss.
Frequently Asked Questions
For a fully discharged 60Ah battery: 6-8 hours at 10 amps, 10-12 hours at 6 amps, or 24-30 hours at 2 amps (trickle). Smart chargers manage this automatically and switch to maintenance mode when done. Fast-charging at 20+ amps works in 1-2 hours but stresses the battery.
Yes — with a manual charger left on too long, overcharging boils off electrolyte, warps plates, and can cause dangerous hydrogen buildup. Smart/automatic chargers prevent this by tapering to a float charge. If you use a manual charger, monitor it and disconnect when the battery reaches 12.6V+ after resting.
With a modern smart charger, no — in-place charging is safe for vehicle electronics. Disconnect the negative terminal if using an old unregulated manual charger, if the battery is in an enclosed trunk/cabin with poor ventilation, or if you need to service the terminals and tray.
About 10% of the battery’s amp-hour rating — 6-10 amps for a typical 60-70Ah car battery. Lower is gentler; 2 amps is kindest but slowest. Avoid routine charging above 10-15 amps — high-amperage charging generates heat that shortens battery life.
Either the battery’s capacity is gone (sulfated plates, old age, shorted cell — replace it) or something is draining it (parasitic draw from a light, module, or accessory left on). Test: charge fully, check voltage next morning. If it sagged overnight with everything off, get a load test and check for parasitic drain.