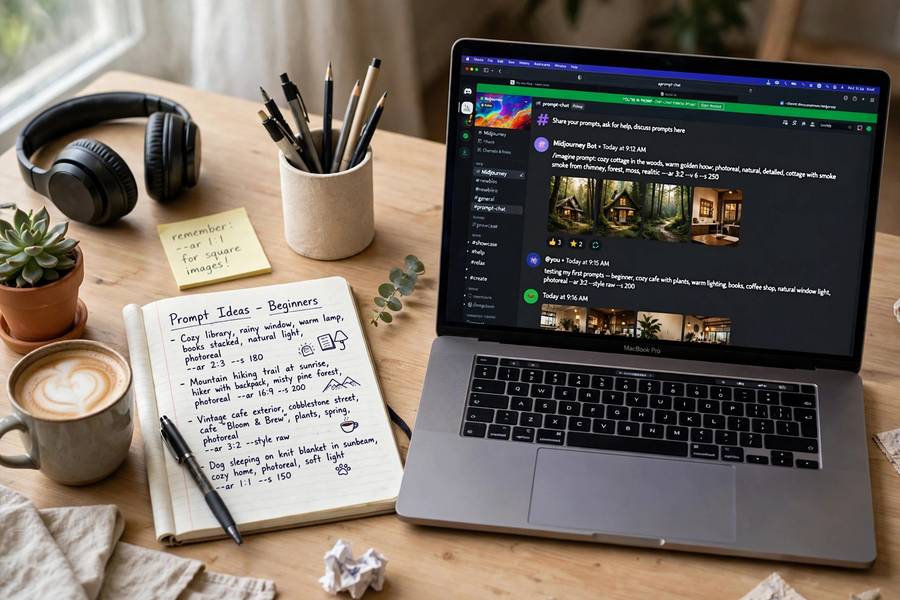
I ran an informal workshop for friends last spring — twelve people, zero AI experience, one shared Midjourney account. Within two hours, half of them were producing images that looked genuinely professional. The difference wasn’t talent. It was twelve small habits, the kind nobody writes down because they seem too obvious once you know them.
These Midjourney prompt tips for beginners are the workshop notes, refined by everything I’ve learned since. If you’re brand new, read how to use Midjourney first for setup, and how Midjourney works for the why. Then come back here for the how.
Table of Contents
- 1. Start Embarrassingly Simple
- 2. Describe, Don’t Command
- 3. One Idea Per Prompt
- 4. Steal Structure, Not Prompts
- 5. Learn Five Style Words by Heart
- 6. Always Specify Lighting
- 7. Use the V Buttons Religiously
- 8. Change One Thing at a Time
- 9. Embrace the Weird Results
- 10. Save Everything That Works
- 11. Study What Others Make
- 12. Know When to Stop
- Your First Week Plan
- Learn /settings Before You Need It
- Three Starter Prompts to Copy Today
- The 10-Minute Daily Drill
- Frequently Asked Questions
1. Start Embarrassingly Simple
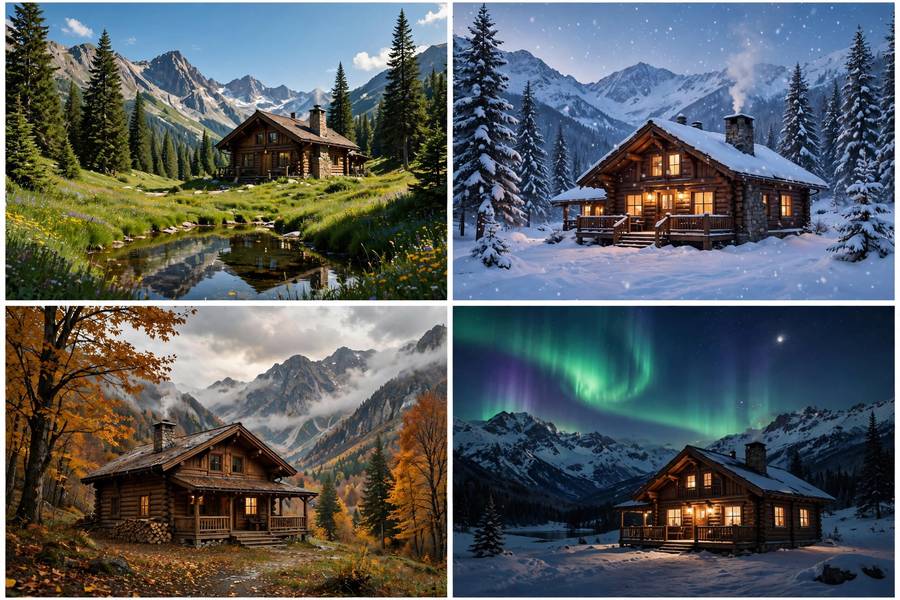
Your first ten prompts should be almost childishly basic: “red bicycle against a white wall.” “Cat sleeping in sunlight.” This isn’t about the images — it’s about calibrating your expectations. You’ll learn what the model does with minimal input, which teaches you what each added word actually contributes. Beginners who start with paragraph-long prompts can’t tell which words mattered; beginners who build up from simple can. A prompt engineering guide for beginners covers the advanced structure, but the simple-first habit is what makes it stick.
2. Describe, Don’t Command
Midjourney isn’t a person and doesn’t take orders well. “Make the sky more dramatic!!!” does less than “stormy sky with dramatic clouds.” Describe the finished image as if you’re writing a caption for it, not instructing an assistant. The model matches text to images it has seen — captions, not commands. Every exclamation mark you delete and replace with a descriptive phrase improves your results.
3. One Idea Per Prompt
“Cyberpunk samurai riding a dragon through a neon Tokyo street during a thunderstorm at sunset, oil painting style, with cherry blossoms” — that’s five prompts wearing a trench coat. The model will pick two or three elements and mangle the rest. Split ambitious visions into separate generations, then pick the best elements. One clear idea, fully realized, beats a crowded prompt every time. Complexity comes from iteration, not from stuffing.
4. Steal Structure, Not Prompts
When you see an image you love, don’t copy its prompt word-for-word — dissect its structure. Subject, details, style, lighting, camera, parameters. Then rebuild with your own subject. This is how you build prompting skill instead of a collection of copied prompts that break the moment you change one word. The structure is the transferable part; the specific words were tuned for someone else’s vision.
5. Learn Five Style Words by Heart
Memorize five style keywords that match your taste and use them constantly: maybe cinematic, watercolor, ukiyo-e, photorealistic, dark fantasy. Having a personal style vocabulary means you stop generating in “default Midjourney look” — which, let’s be honest, you can spot a mile away — and start generating in your look. Consistency is what separates a feed of random pretty images from a recognizable body of work.
6. Always Specify Lighting
I’ll keep saying this until it stops being true: lighting is the highest-ROI two words in any prompt. “Golden hour,” “moody,” “neon-lit,” “soft window light” — pick one, always. Beginners leave lighting to chance and wonder why their images feel flat. The fix takes four seconds of typing. There is no better effort-to-impact ratio in prompting.
7. Use the V Buttons Religiously
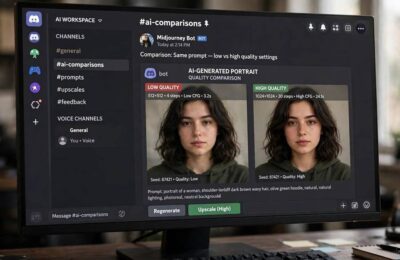
Under every generation are V1–V4 buttons: variations of each image. Beginners ignore them and re-roll from scratch; experienced users live on them. A near-miss image — right composition, wrong mood — is one variation away from perfect. Re-rolling discards everything the model got right; varying keeps the good and explores around it. Make V your default next step, always.
8. Change One Thing at a Time
When iterating, resist the urge to rewrite the whole prompt. Got the composition but hate the colors? Change only the color words. Right subject, wrong era? Change only the era. This is basic experimental discipline, and it’s the fastest way to learn cause and effect in prompting. Shotgun edits teach you nothing because you can’t tell which change fixed it.
9. Embrace the Weird Results
Midjourney will occasionally produce something gloriously wrong — six-fingered hands, impossible architecture, a cat with the bearing of a Roman emperor. Beginners delete these; experienced users study them. The weird outputs reveal how the model “thinks”: what it associates, where its training data has gaps, what surprises it can produce. Some of my favorite images started as mistakes I chose to develop instead of discard.
10. Save Everything That Works
Screenshot or copy every prompt that produces something you love, with the image attached. A simple folder or notes file. Within weeks you’ll have a personal library of proven combinations — your lighting pairings, your style stacks, your camera terms. This library becomes your unfair advantage: while others start from zero each session, you start from what already works. Professionals in every creative field keep swipe files; prompters should too.
11. Study What Others Make
Midjourney’s community galleries are a free education. Find images you admire, read their prompts, and notice the patterns: which lighting terms recur, how the best prompters order their words, what parameters they use. You’re not copying — you’re doing what art students have done forever, studying the masters. Pay special attention to prompts for images in styles you want to learn; the vocabulary is the lesson.
12. Know When to Stop
The final beginner trap: endless iteration. Twenty variations deep, you’ve lost perspective and every version looks the same. Set a rule — five iterations max per concept, then move on. Your taste improves faster by generating twenty different ideas than by perfecting one. Done is a feature; the image that’s 90% there today beats the 95% version you never finish.
Your First Week Plan
Day 1–2: simple prompts, learn the buttons, generate freely. Day 3–4: pick a subject you care about, add style and lighting words, practice the V-button workflow. Day 5–6: study community prompts, build your first five style keywords, start your saved-prompt file. Day 7: attempt one “real” project — a wallpaper, a gift illustration, a blog header. You’ll be shocked how far a week of deliberate practice takes you.
Learn /settings Before You Need It
Most beginners never open /settings, which is a shame because it’s a one-minute setup that improves everything after. The panel lets you choose your model version, set default stylize levels, pick quality settings, and toggle between fast and relax modes. Set these once according to your needs and stop thinking about them.
The two settings that matter most for beginners: model version (newer is usually better — don’t linger on old versions out of habit) and speed mode (relax for learning and experimenting, fast when you’re in a focused session). Everything else can wait. Think of /settings as arranging your desk before work: two minutes of setup that pays off every session. Revisit it whenever Midjourney announces a model update, because new versions sometimes reset or reinterpret your preferences.
Three Starter Prompts to Copy Today
Theory is nice; here are three prompts to run right now. Copy each exactly, generate, and observe what each part does.
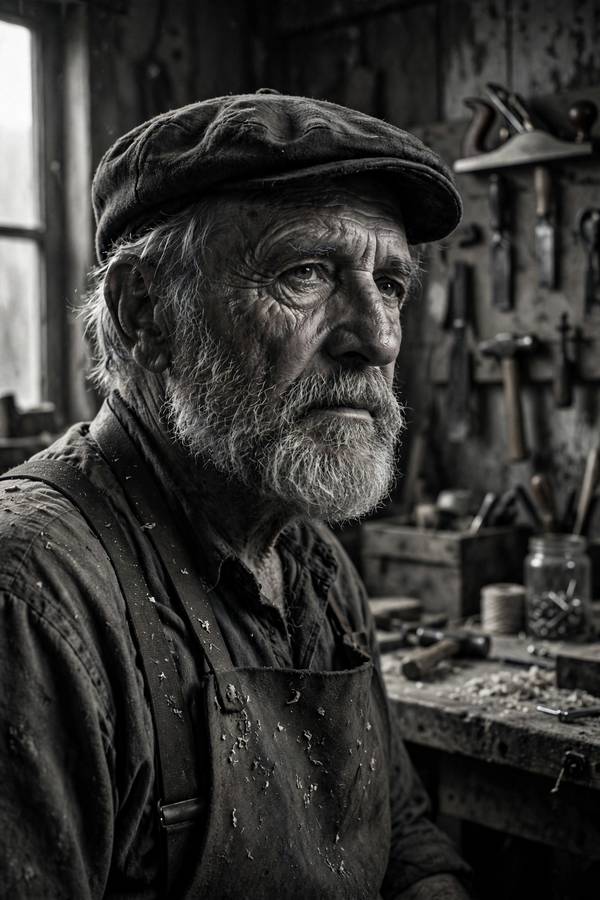
One — portraits: “/imagine prompt: elderly fisherman with weathered face and kind eyes, wool sweater, harbor background at dawn, photorealistic, golden hour light, 85mm portrait lens, shallow depth of field –ar 4:5”. Notice how the specific details and lighting carry the image.
Two — landscapes: “/imagine prompt: misty mountain valley at sunrise, layered ridges fading into fog, tiny cabin with warm glowing windows, cinematic, volumetric light –ar 16:9”. See how atmosphere words do the heavy lifting.
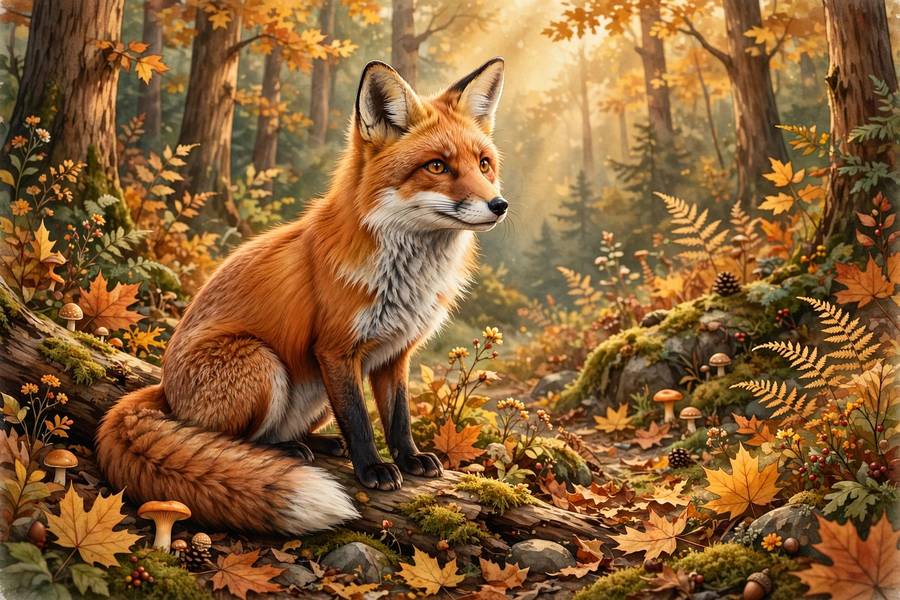
Three — stylized: “/imagine prompt: cozy fox curled up in autumn leaves, storybook illustration style, warm colors, soft textures –ar 1:1”. Observe how the style keyword transforms the same subject matter.
Run all three, then change one element in each and regenerate. That single exercise teaches more than an hour of reading.
The 10-Minute Daily Drill
If you do one thing from this guide, make it this drill: ten minutes a day, one subject, three variations. Day one: generate “lighthouse” three ways — photorealistic, watercolor, cyberpunk. Day two: same subject, three lighting setups — golden hour, moonlight, storm. Day three: three aspect ratios. You’re isolating variables, and each session teaches you exactly what one ingredient contributes.
After two weeks you’ll have generated forty-plus images and — more importantly — internalized how style, lighting, and composition words behave. That’s the foundation everything else builds on. Ten minutes is short enough to sustain and long enough to compound. Most people who “can’t get good results” simply haven’t done the reps; the drill fixes that mechanically, no talent required.
Frequently Asked Questions
Start with simple prompts, describe rather than command, use one idea per prompt, always specify lighting, use the V buttons for variations, change one thing at a time when iterating, and save every prompt that works.
Practice deliberately: generate daily, study community prompts, keep a file of successful prompts, and learn five style keywords by heart. A week of focused practice with these habits produces visibly professional results.
Start short — simple subjects with one style word and one lighting term. Add detail gradually as you learn what each element contributes. Long prompts too early make it impossible to tell which words mattered.
Re-rolling from scratch instead of using variations, and stuffing too many ideas into one prompt. The V buttons preserve what worked; single-idea prompts give the model a clear target.
Set a limit of about five iterations per concept. Beyond that you lose perspective. Your skills grow faster by generating many different ideas than by endlessly perfecting one image.
Keep reading: