Parents decide whether to trust you within about ninety seconds of walking through your door. Before they see your credentials, before they hear your philosophy, they absorb your space — is it clean, organized, cheerful, safe-feeling? Your setup is your first impression, your daily work environment, and your licensing inspection all in one. It deserves real thought.
I have toured hundreds of home daycares, from stunning to scary. The best ones share patterns: clear zones, everything at child height, visible organization, and a home that still feels like a home. Here is the room-by-room guide — what to set up, why it matters, and the details that separate professional operations from spare bedrooms with toys. (For the business side, see how to start a daycare.)
Table of Contents
- Setup Principles Before You Arrange Anything
- The Entryway: Your 90-Second Audition
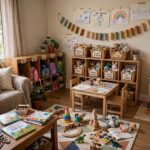
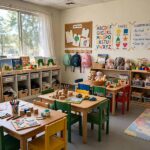
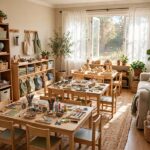
- The Main Play Area: Zones, Not Piles
- The Infant Area: Separate and Serene
- The Nap Space: Dark, Quiet, Consistent
- The Kitchen and Eating Area
- Bathrooms and Diapering
- The Outdoor Space
- Storage: The Invisible System
- Budget Setup Priorities
- Frequently Asked Questions
Setup Principles Before You Arrange Anything
Zone, don’t pile. Every area should have one clear purpose. Children play, clean up, and feel calmer in defined zones than in open rooms full of stuff. Use rugs, low shelves, and furniture arrangement to create visual boundaries.
Child height is the design height. If children cannot reach it independently, it creates dependence and frustration. Shelves, hooks, sinks (with step stools), and materials all at child level. The adult-height stuff — your supplies, records, cleaning products — goes up high and locked.
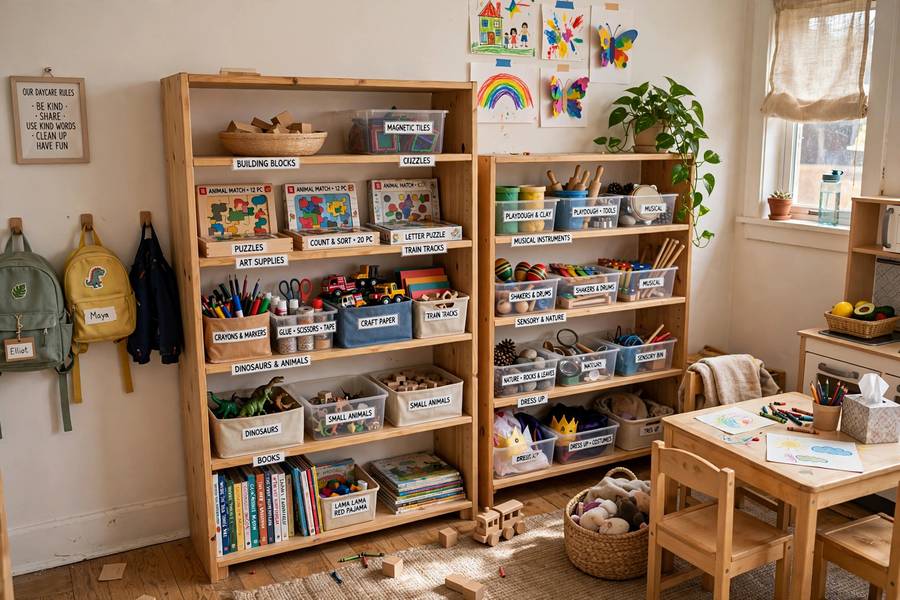
Everything has a home. Label shelves with pictures (so pre-readers can clean up). When every toy has a designated spot, cleanup becomes a game instead of a battle, and your space resets to beautiful every evening.
Inspection-ready is the baseline. Exceed your state’s requirements from day one — outlet covers, gated stairs, locked hazards, fire extinguisher, first aid. An inspector should find nothing; a parent should notice everything.
It must still feel like a home. The best home daycares do not feel like institutions shrunk down. Keep warmth: plants (non-toxic, out of reach), natural light, soft textures, family photos. Parents chose home daycare partly for the home feeling — honor that.
The Entryway: Your 90-Second Audition
The entry sets the emotional tone. Design it deliberately:
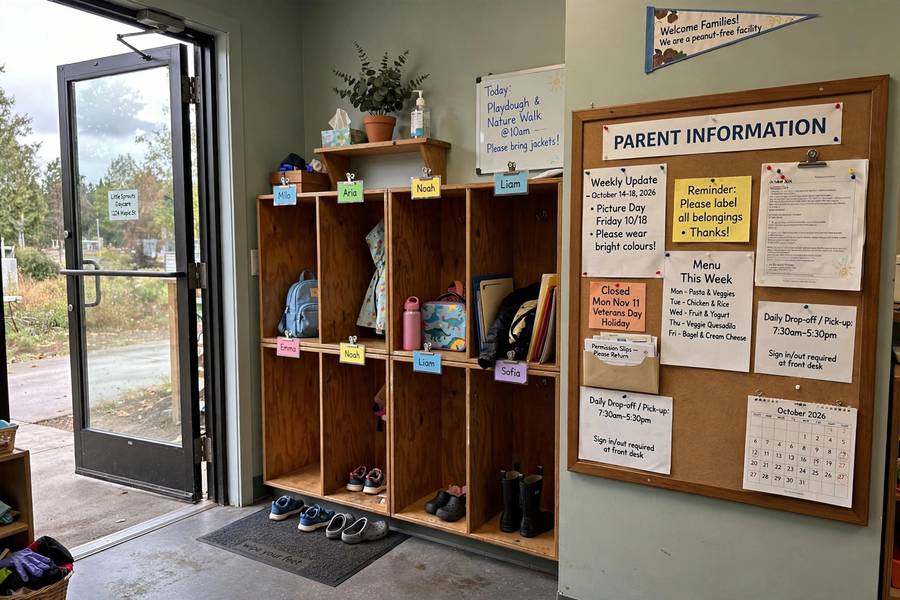
Cubby station. One labeled cubby per child — photo label for pre-readers, name for older kids. This is the first thing parents see, and organized cubbies scream “competent caregiver.” Include hooks for jackets and a small basket for shoes.
Parent communication board. Daily sheets, menu, upcoming events, your license displayed prominently. Transparency builds trust; the license on the wall answers questions before they are asked.
Sign-in station. A small table with the attendance binder or tablet, hand sanitizer, and a cheerful sign. The sign-in ritual marks the transition from home to daycare — for children and parents.
First-impression details. A clean doormat, a wreath or seasonal decoration, no clutter visible from the door. Smell matters too — the entry should smell like nothing or like baking, never like diapers or bleach. Ventilate the diapering area away from the entrance.
The Main Play Area: Zones, Not Piles
This is your largest space and your hardest-working room. Divide it into zones:
Dramatic play corner. Play kitchen, dress-up clothes, dolls, puppets. This zone develops language and social skills more than any other. Rotate the theme monthly — rotation is cheaper than new toys and more effective.
Building and construction zone. Blocks, magnetic tiles, train tracks on a low table or defined rug. Building toys develop spatial reasoning and sustained attention. Keep this zone slightly separate — builders need undisturbed space.
Art area. A washable table near the kitchen for easy cleanup, with supplies in labeled caddies: crayons, washable markers, paper, stickers, playdough. Smocks on hooks. The rule: art happens here, not everywhere.
Book nook. The most underrated zone. A cozy corner with beanbags, a low bookshelf with covers facing out, soft lighting — rotate 10–15 books weekly. Children who “don’t like books” usually have not met the right book nook.
Sensory table. Water, sand, rice, or seasonal materials in a contained table. Sensory play is developmental gold for under-fours — put a washable mat underneath and accept the mess.
The key insight: fewer toys, better organized, beats more toys in piles. Cap the visible toys and rotate the rest monthly. Children play more deeply with less, and your space looks twice as good — the cheapest upgrade in all of daycare setup.
The Infant Area: Separate and Serene
If you care for infants alongside older children, they need their own defined space — for safety (mobile toddlers + immobile infants is a real hazard) and for calm:
Physical separation. A low gate or play yard divider creating a distinct infant zone within sight of the main area. You must see all children at all times; separation cannot mean isolation.
Floor time space. A clean, padded area for tummy time and rolling — foam mats that wipe clean. Infants spend their day on the floor; the floor is their classroom.
Feeding station. A comfortable adult chair (you will spend hours here), within reach of bottle prep. If you do on-site bottle prep, keep it scrupulously organized — inspectors look here.
Safe sleep, done right. Bare cribs, firm mattresses, no blankets or bumpers — this is both licensing law and SIDS prevention. Each infant needs a designated crib. The sleep area should be the darkest, quietest corner you have.
The Nap Space: Dark, Quiet, Consistent
Nap time can make or break your day. The setup:
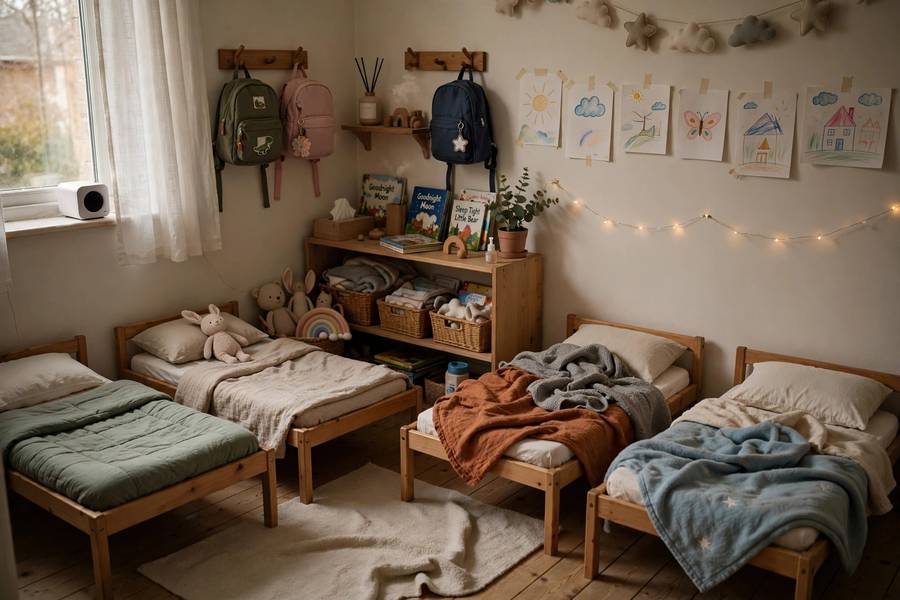
Darkness. Blackout curtains or shades on the nap room windows. Light is the enemy of group naps — one wakeful child in a bright room wakes everyone.
Individual sleep spots. Cots or mats spaced per your state’s requirements, each child’s bedding stored separately in labeled bags. Consistency matters: same spot, same routine, every day.
White noise. A white noise machine masks household sounds — the doorbell, the phone, the neighbor’s dog. It is the highest-ROI purchase in nap setup.
Your system. Stagger wind-down: infants first, then toddlers, then preschoolers. A visual schedule (“after lunch we rest”) helps older children accept the routine. Never skip rest time for non-nappers — quiet activities on cots preserve the room’s calm.
The Kitchen and Eating Area
Child-sized eating. Low table and chairs (or booster seats at a regular table for mixed ages). Children eat better and more independently at furniture that fits them.
The serving system. Family-style serving — food in the middle, children serving themselves with help — builds motor skills and autonomy. It is also less work than plating twelve individual meals once the routine is established.
Allergy management. Posted allergy list (with photos) where you prepare food, separate utensils for allergen-free meals, and a written protocol. Food allergies are increasingly common; your system must be airtight.
Cleanup design. Washable everything: tablecloth or wipeable table, washable floor mat under the eating area, bibs and smocks within reach. Mealtime with toddlers is gloriously messy — design for it instead of fighting it.
Bathrooms and Diapering
The diapering station. A dedicated changing area — never the kitchen counter, never the play table — with all supplies within arm’s reach (you never leave a child on the table). The setup: changing pad with washable cover, diapers, wipes, cream, gloves, lined step-pedal trash can, and a posted handwashing reminder.
The sanitation routine. Change pad disinfected between children, your hands washed before and after every change, soiled items bagged immediately. Inspectors check this process; parents should be able to observe it comfortably.
Toilet learning support. A child-sized potty or seat adapter, step stool at the sink, easy-on clothing encouraged. Coordinate with parents on timing and language — consistency between home and daycare accelerates the process enormously.
Handwashing station. Step stool, liquid soap, paper towels at child height near every bathroom and the eating area. Handwashing songs make it a ritual instead of a chore.
The Outdoor Space
Outdoor time is non-negotiable for quality care — aim for twice daily, weather permitting. The setup:
Fencing first. Required by every state: specified height, self-latching gates, no climbable horizontal rails. This is your first outdoor investment and your most important.
Surfacing. Impact-absorbing material under any climbing equipment — rubber mulch, engineered wood fiber, or poured rubber. Grass is lovely but does not meet fall-zone requirements under equipment.
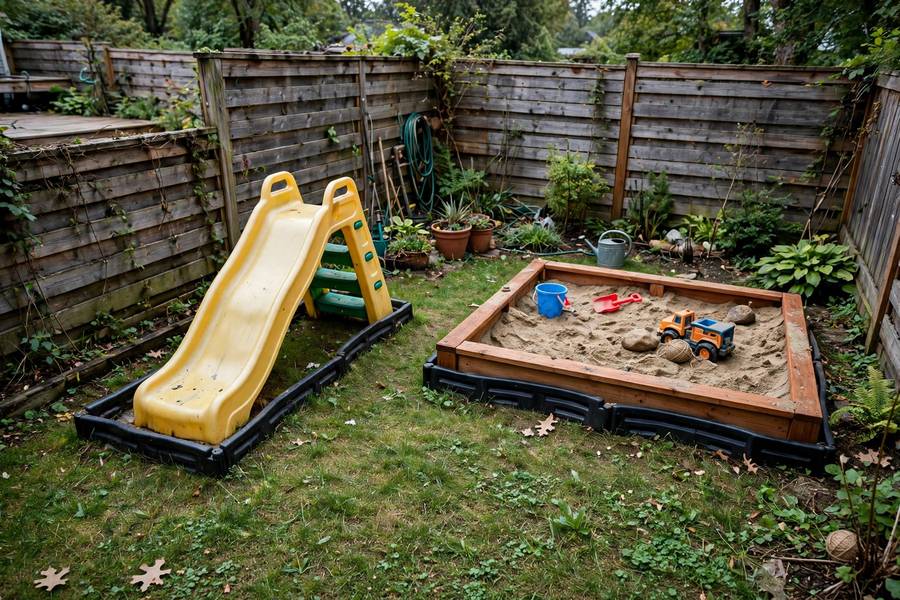
Age-appropriate equipment. A small slide and climber for toddlers, trikes and a riding path, a sandbox with a cover, balls of many sizes. You do not need a commercial playground — a well-chosen $2,000–$5,000 setup beats a neglected $20,000 one.
Shade and water. A shade sail or tree cover over part of the play area, and always-available drinking water. Sun and dehydration end outdoor time early.
Garden patch. Even a few containers of cherry tomatoes or herbs. Children who grow food eat more vegetables, tend living things gently, and learn patience. It is the cheapest enrichment you will ever buy.
Storage: The Invisible System
Great daycares look effortless because the storage works. The principles:
Rotate, don’t display. Keep 60–70% of toys in labeled bins in a closet or garage. Rotate monthly. Children greet “new” toys with genuine excitement, and your space stays uncluttered.
Adult supplies locked and high. Cleaning products, medications, office supplies, your personal items — locked cabinet, out of sight. This is licensing-critical and parent-reassuring.
Paperwork station. Enrollment files, daily sheets, incident reports, licensing documents — one locked file cabinet or fireproof box, organized by child and by category. When an inspector asks for a record, you produce it in under a minute.
The donation box. A permanent box by the door for outgrown toys and clothes. Children outgrow things constantly; a donation habit keeps the volume manageable and teaches generosity.
Budget Setup Priorities
If money is tight, spend in this order:
- Safety compliance (gates, locks, detectors, fire extinguisher) — non-negotiable, inspection-critical
- Sleep equipment (cribs, cots, bedding) — licensing-mandated
- Cubby/entry setup — first impressions drive enrollment
- Core play zones (books, blocks, art basics) — the developmental essentials
- Outdoor fencing and surfacing — required and expensive; do it right once
- Rotation stock and enrichment — build over time
You can open beautifully for $8,000–$15,000 in setup if you buy used commercial-grade furniture (retiring centers sell everything cheaply — watch for closure sales), prioritize safety and first impressions, and build the rest over your first year. And once the space is ready, how to market a new daycare turns your beautiful setup into enrolled families.
Frequently Asked Questions
Organize by zones: a welcoming entryway with cubbies, a main play area split into dramatic play, building, art, book nook, and sensory zones, a serene infant area, a dark quiet nap space, child-sized eating area, dedicated diapering station, and fenced outdoor space. Keep everything at child height and every toy in a labeled home.
The entryway — parents form their trust judgment within 90 seconds of walking in. Organized cubbies, a visible license, a parent board, and a clean entrance do more for enrollment than any other single setup element.
A professional setup runs $8,000–$15,000 prioritizing safety compliance first, then sleep equipment, entryway, core play zones, and outdoor fencing. Buying used commercial-grade furniture from closing centers cuts costs significantly.
Zone every area by purpose, label shelves with pictures so pre-readers can clean up, rotate 60–70% of toys monthly, and keep adult supplies locked away. Fewer visible toys, better organized, beats more toys in piles.
State-required fencing with self-latching gates, impact-absorbing surfacing under climbing equipment, age-appropriate equipment (slide, trikes, sandbox with cover), shade, drinking water, and ideally a small garden patch. Budget $2,000–$5,000 for a solid basic setup.