Everyone has a frisbee-throwing origin story, and mine is embarrassing. College intramural ultimate, first practice: my first throw wobbled like a dying helicopter, curved 30 degrees right, and landed in a bush. A freshman looked at me and said, “Dude, are you okay?”
I was not okay. But I got obsessed — because the frisbee is a physics puzzle disguised as a toy, and I’m a guy who loves what the numbers mean. Two seasons of ultimate later, I could throw a backhand 60 yards flat and a forehand that stayed on a line. Here’s everything I learned, taught the way I wish someone had taught me: mechanics first, drills second, no fluff.
Table of Contents
- Why Frisbees Wobble: The 30-Second Physics Lesson
- Picking the Right Disc
- The Backhand: Your Bread and Butter
- The Forehand (Flick): The Throw That Impresses People
- How to Throw Far: Distance Technique
- How to Throw Straight: Accuracy Technique
- Catching: The Other Half of the Game
- The 5 Throws Every Player Should Know
- Common Mistakes and Instant Fixes
- Frequently Asked Questions
Why Frisbees Wobble: The 30-Second Physics Lesson
A frisbee flies because of two things: lift (like an airplane wing) and spin (like a gyroscope). Spin is the stabilizer. No spin, no stability — that’s the wobble. Every wobbly throw you’ve ever made had the same cause: not enough spin, or spin applied unevenly at release.
This is the key insight: beginners think distance comes from arm strength. It doesn’t — it comes from spin plus a flat release. A relaxed wrist flick with spin outflies a full-body heave without it.
Remember this formula: flat release + fast spin = beautiful flight. Everything below is just details on how to produce those two things.
Picking the Right Disc
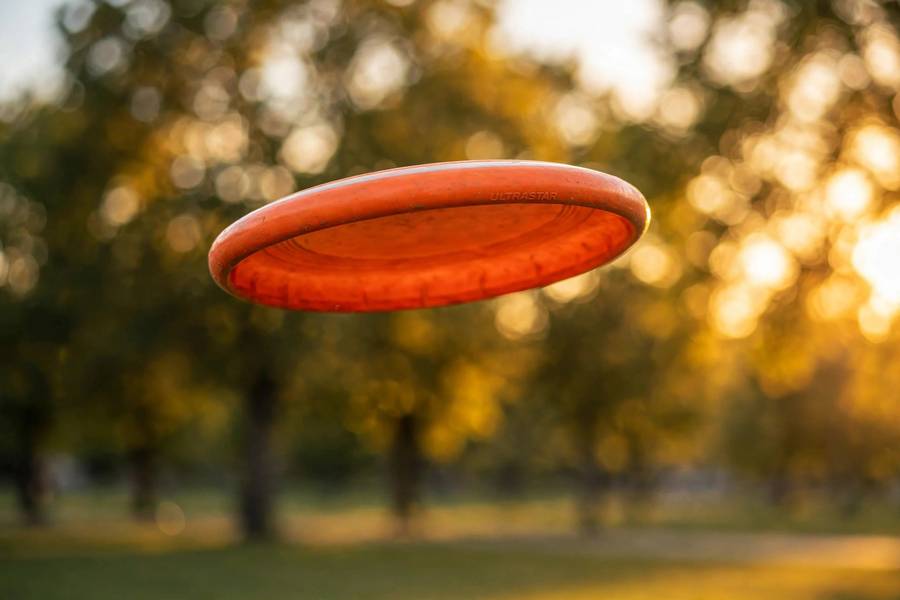
Not all discs are equal, and the wrong one will fight you. For learning, standard 175-gram ultimate disc (the classic Discraft UltraStar is the gold standard). Avoid the flimsy beach discs from the drugstore — they’re too light to hold a line in any wind, and they teach you to overcompensate. Avoid golf discs too; they’re a different sport entirely, like comparing a baseball to a shot put. One good 175g disc costs about fifteen bucks and will last you years. I still have my first one, covered in field scars, and I wouldn’t trade it.
The Backhand: Your Bread and Butter
The backhand is the throw you’ll use 80 percent of the time. Learn it first, learn it well.
The Grip
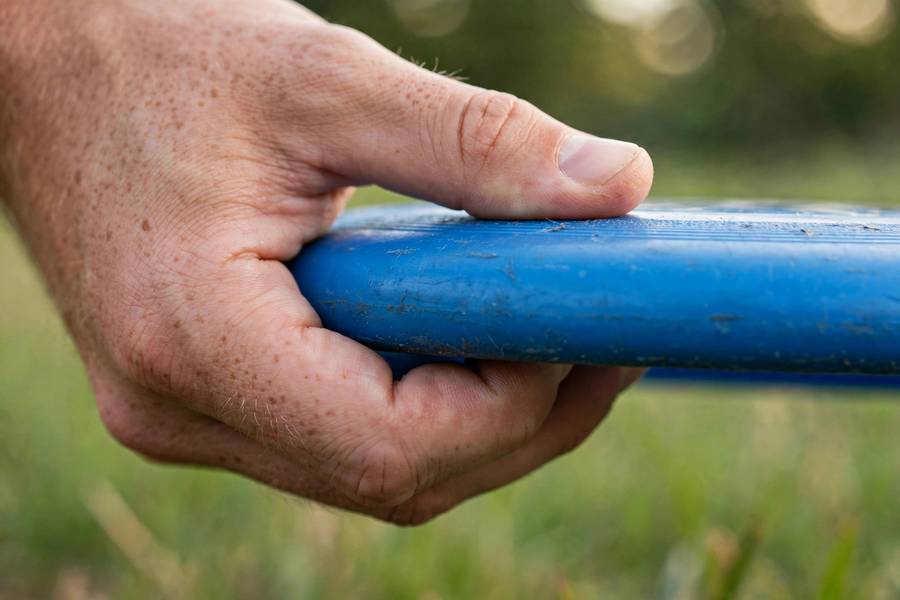
Curl your four fingers under the rim, thumb on top near the edge. The disc should sit in your fingers, not your palm. Your index finger can curl with the others (power grip) or point along the rim (control grip) — start with control; it’s more forgiving.
Squeeze firmly. A loose grip is the number one cause of early releases and wobble. I tell beginners: hold it like you’re annoyed at it.
The Stance and Motion
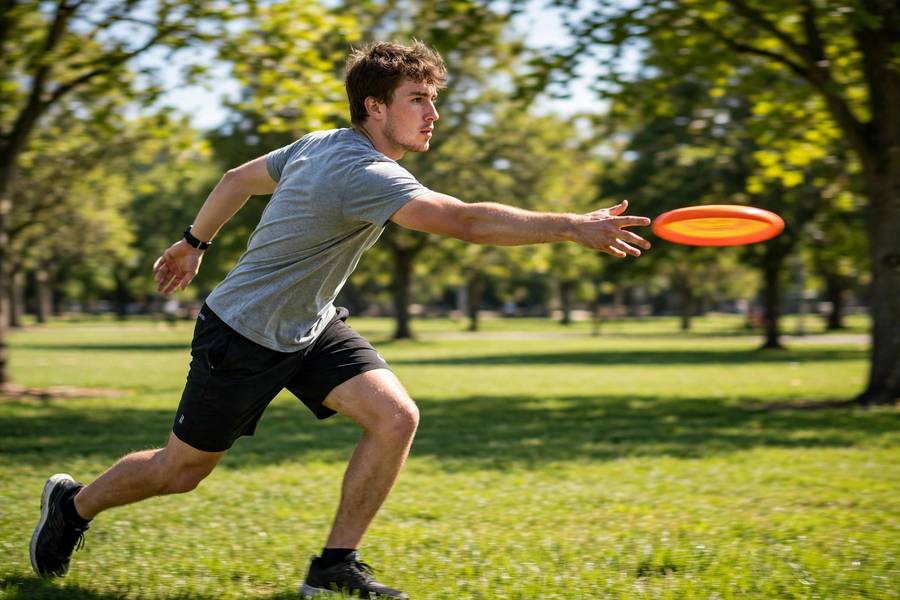
Stand sideways to your target, feet shoulder-width apart. The throw starts at your back hip and finishes at your front shoulder — it’s a pull across your chest, not a push forward. Think of starting a lawnmower: that rotational pull is the whole engine.
Here’s the sequence I drilled a hundred times: reach back, step, rotate, release. Reach the disc back behind you. Step toward your target with your front foot. Rotate your hips and shoulders through. Release the disc flat, letting it rip out of your grip — don’t open your hand early.
The Release
This is where throws are made or murdered. The disc must leave your hand FLAT — parallel to the ground. Tilted up, it climbs and stalls. Tilted down, it dives into the dirt. Tilted sideways, it curves.
My coach’s cue that finally clicked: “Pour the coffee.” At release, your hand should be flat like you’re pouring coffee off a table. I said it out loud for two weeks. It worked.
Snap your wrist at the end. That last-second wrist snap is where most of the spin comes from — more than the arm, more than the body. Practice the snap alone: hold the disc and flick it to a partner five feet away, wrist only. When those little throws fly flat, your wrist knows the motion.
The Forehand (Flick): The Throw That Impresses People
The forehand looks cool and opens up the whole field — in ultimate, backhand-only players are easy to defend. It took me longer to learn, but it’s worth it.
The Grip
Make a peace sign, then fold your middle finger against your index. Those two fingers press the inside rim; your thumb rests on top. The disc sits on your fingers like a waiter carrying a tray. It feels wrong for the first week — that’s normal.
The Motion
Unlike the backhand’s big windup, the forehand is compact. Stand facing your target, elbow up and out, disc near your ear. The power comes from a quick snap — elbow leads, wrist snaps at the end, like cracking a whip or skipping a stone.
Key detail: keep the disc flat. Beginners tilt it without realizing and the throw rolls over. Film yourself from the side once — the tilt you can’t feel is obvious on video.
The Most Common Forehand Problem
Forehands diving into the ground? You’re releasing nose-down or rolling your wrist. Fix: think “palm to the sky” at release — most people fix this in one session.
How to Throw Far: Distance Technique
Once your throws fly flat at 20 yards, distance is just scaling up the mechanics. Here’s what actually adds yards, in order of impact:
1. More spin, not more muscle. A faster wrist snap at release adds more distance than a harder arm pull. I measured this informally with a field and a patient friend: my relaxed throws with hard snap outdistanced my muscled throws by 15 yards.
2. The run-up. For big throws, take three to five steps into the throw, like a javelin approach. Your last step plants hard and your hips fire through. This adds 10 to 20 yards once your release is consistent. Don’t run up until your flat release is automatic — speed amplifies errors too.
3. Release angle for distance. For maximum distance, release slightly nose-up — about 10 degrees. The disc climbs, then glides. Too much angle and it stalls and falls; too little and it never gets the glide. This takes practice to feel, so start flat and add angle gradually.
4. Use the wind. Throwing downwind adds easy distance — the wind carries the glide. Throwing into the wind, keep it low and flat; high throws into wind get murdered. Crosswind? Aim upwind and let it drift back. Reading wind is a skill that separates good throwers from great ones.
My personal best backhand: 73 yards, measured on a football field, slight tailwind. Not a record by any means — competitive distance throwers clear 200 — but plenty for any game you’ll ever play.
How to Throw Straight: Accuracy Technique
Distance gets attention, but accuracy wins games. In ultimate, a 15-yard throw that hits your teammate in stride beats a 40-yard bomb into coverage every time.
The secret to accuracy is boring: repeatable mechanics and a consistent release point. Pick a target — not “over there,” but a specific spot: your partner’s chest, the tree trunk, the crack in the sidewalk. Throw at small targets and your misses get smaller too.
Lead your receiver. This is the number one accuracy mistake in casual games: throwing AT the person instead of WHERE they’re going. A jogging receiver needs the disc two to three steps ahead. Watch their speed, not their position. I missed a hundred throws before this clicked — every completion since has felt like a small victory.
Catching: The Other Half of the Game
Nobody asks how to catch a frisbee, and everyone should. The pancake catch — clap both hands on the disc like a sandwich, fingers on top, thumbs below — handles 90 percent of throws. For high throws, catch with thumbs together above your head. For low ones, pinkies together below the waist.
Watch the disc all the way in. I know that sounds obvious. It’s the most violated rule in casual frisbee — people look away at the last second and wear the disc on the forehead. Eyes on the rim until it’s in your hands.
The 5 Throws Every Player Should Know
Once the basics are solid, these specialty throws make you dangerous:
1. The Hammer: thrown overhead like a tomahawk; the disc flips and glides upside down, sailing over defenders. Grip like a forehand, release straight up.
2. The Scoober: an upside-down throw from the opposite shoulder. Short range, perfect for tight spaces.
3. The Blade: a forehand on a steep vertical angle — cuts through wind like nothing else. Advanced, but devastating on windy days.
4. The High-Release Backhand: release above your shoulder instead of across your chest. Useful when a defender crowds your normal release point.
5. The Around Backhand: curve around a defender with an outside-in release angle. Pure touch — practice against a tree before trying it in a game.
Common Mistakes and Instant Fixes
The wobble: not enough spin or uneven release. Fix: more wrist snap, firmer grip, flatter release. Drill wrist-only flicks at close range.
Curving right (for right-handed backhand): releasing with the outside edge down — what players call “outside-in” or OI. Fix: “pour the coffee,” keep the hand flat through release.
Nose-up stall: disc climbs, slows, and falls straight down. Fix: flatten the release, release slightly earlier in the motion.
Gripping too loosely: the disc slips out early with no spin. Fix: squeeze it. Your forearm should feel engaged.
Throwing with the arm only: no hip rotation, all arm. Fix: the lawnmower drill — practice the pull motion without a disc until your hips fire first.
Aiming with the eyes, not the body: looking at the target but shoulders pointing elsewhere. Fix: point your front shoulder at the target before every throw.
Pair your throwing practice with general athleticism — bodyweight exercises to build throwing power help, and I plan sessions around the best time of day to exercise. If you’re building a park-day rotation, pickleball rules for your next park game make a great second sport.

Frequently Asked Questions
Wobble comes from insufficient or uneven spin at release. Fix it with a firmer grip, a snappier wrist at the end of the throw, and a flat release. Practice wrist-only flicks to a partner five feet away — when those fly flat, scale the motion up.
Distance comes from spin and technique, not arm strength. Maximize wrist snap, add a three-to-five step run-up, release slightly nose-up (about 10 degrees), and throw with a tailwind when you can. Most players add 15 to 20 yards just by fixing their release angle.
The backhand is thrown across your body with a full grip under the rim — it’s the easiest to learn and the most powerful for most players. The forehand (flick) is thrown with a two-finger grip in a compact snapping motion, like skipping a stone. Learn backhand first, then add forehand to throw in both directions.
Most people throw flat, catchable backhands within two to three weeks of casual practice (a few sessions per week). A reliable forehand takes another month or two. Real consistency — hitting a moving target at 30 yards — takes a season of regular play, which is exactly how fun it should be.
Yes, with adjustments. Throwing downwind, let the disc glide and enjoy the free distance. Into the wind, keep throws low and flat with extra spin — high throws stall. In crosswind, aim upwind and let the disc drift back to your target. The blade (a steep forehand) cuts through wind best.
A standard 175-gram ultimate disc, like the Discraft UltraStar. It’s the official weight for ultimate frisbee, stable in light wind, and forgiving of small release errors. Avoid lightweight beach discs — they’re too unstable to learn proper technique on.