
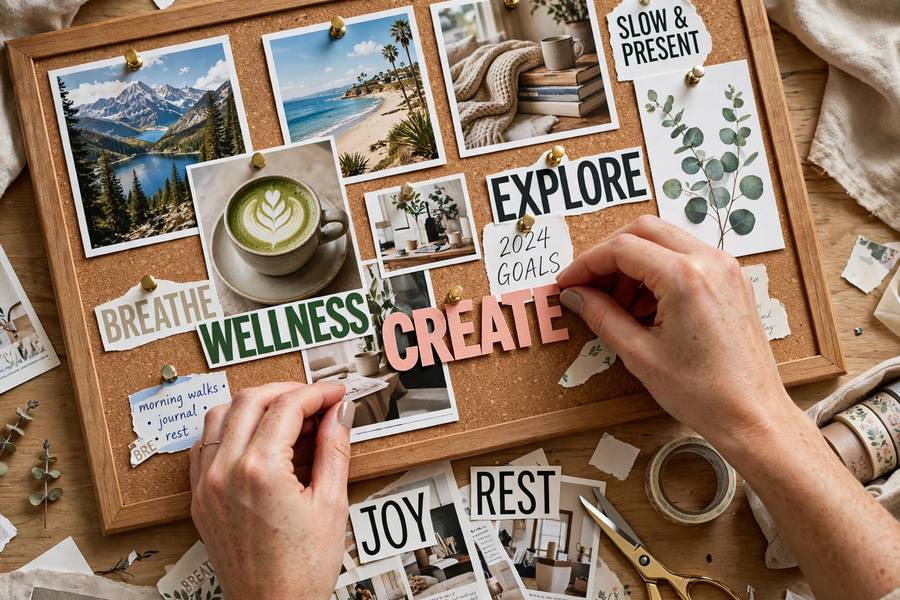
I’ll be honest with you: my first vision board was a mess. I cut out a mansion, a sports car, and a celebrity’s abs, glued them to poster board, and hung it where I’d see it every day. A year later, nothing had changed except that I felt vaguely guilty every time I walked past it. It turns out a board full of other people’s dreams doesn’t do much for yours.
Years later, I tried again — differently. I got quiet about what I actually wanted, chose images that made my chest tighten a little, and built something personal. That board lived on my closet door for two years, and an embarrassing number of things on it came true. Not because of magic. Because of clarity.
Here’s how to make a vision board that actually means something — the thoughtful version, not the magazine-collage cliché.
Table of Contents
- What a Vision Board Is (and Isn’t)
- Step 1: Get Clear Before You Get Crafty
- Step 2: Choose Physical or Digital
- Step 3: Gather Your Materials and Images
- Step 4: How to Make a Vision Board Layout With Intention
- Step 5: Place It Where Life Happens
- Step 6: Keep It Alive All Year
- Frequently Asked Questions

What a Vision Board Is (and Isn’t)
A vision board is a visual collection of images, words, and phrases representing the life you want to build — career, home, health, relationships, adventures, the feeling of your days. It’s a daily reminder of your direction, rendered in pictures instead of a to-do list.
What it isn’t: a manifestation vending machine. No board will deliver a beach house because you stared at it hard enough. What a good board does do is keep your goals visible in a world designed to distract you from them. Psychologists call the underlying mechanism selective attention and goal priming — you notice opportunities related to what you focus on, and you’re more likely to act on them. The board doesn’t do the work. It keeps you pointed at the work.
It also isn’t a one-time craft project. The best vision boards evolve — they’re living documents, not framed art. If yours looks identical in December to how it looked in January, it stopped working somewhere around March.
Step 1: Get Clear Before You Get Crafty
This is the step everyone skips, and it’s the entire game. Before touching scissors or opening Pinterest, spend real time — an unhurried hour, ideally — with these questions:
- What do I want more of? Not things — experiences, feelings, rhythms. Mornings that feel calm. Work that feels meaningful. Weekends with people I love.
- What do I want less of? The board can represent subtractions too: less rushing, less clutter, less saying yes when you mean no.
- What would a good ordinary Tuesday look like in two years? This question cuts through fantasy better than any other. Not the vacation — the Tuesday.
- Whose life am I actually picturing? If your board is full of influencer kitchens and you hate cooking, that’s someone else’s dream. Be ruthlessly honest.
Write your answers down. Aim for 5–8 themes — career, home, health, relationships, money, adventure, creativity, rest, whatever matters to you. These themes become the sections of your board, and they’ll keep it from becoming a random pile of pretty pictures.
One more piece of clarity work: decide what this board is for. A yearly overview? A specific goal (a career change, a move, a health reset)? A season of life? A board with a purpose beats a board with a vibe. If you’re in a season of simplifying, for instance, your board might pair beautifully with the mindset behind our capsule wardrobe guide — fewer, better, more intentional.
Step 2: Choose Physical or Digital
Both work. Choose based on how you live, not which looks better on the internet.
Physical boards — cork board, foam board, poster board, or a framed pinboard — are tactile and present. You see them without opening anything. The act of cutting and arranging by hand is itself reflective; something about physically handling images slows your thinking down in a useful way. Downsides: they take space, they’re harder to update, and a big poster board can feel like a dorm room if your aesthetic has moved on. (A framed pinboard or a board inside a closet door solves the aesthetic problem.)
Digital boards — Pinterest boards, Canva collages, a dedicated phone wallpaper — are portable and endlessly editable. Your board can live on your lock screen, which means you see it fifty times a day. Downsides: it’s one more thing on a screen, competing with notifications, and it lacks the ritual weight of the physical version.
My recommendation: if you’ve never made one, go physical. The slowness is the point. You can always photograph it and make the photo your phone background — best of both worlds. And there’s something quietly satisfying about the ritual that fits right into a slower, more intentional rhythm — the same spirit as the hygge lifestyle, where small deliberate comforts shape the whole day.
Step 3: Gather Your Materials and Images
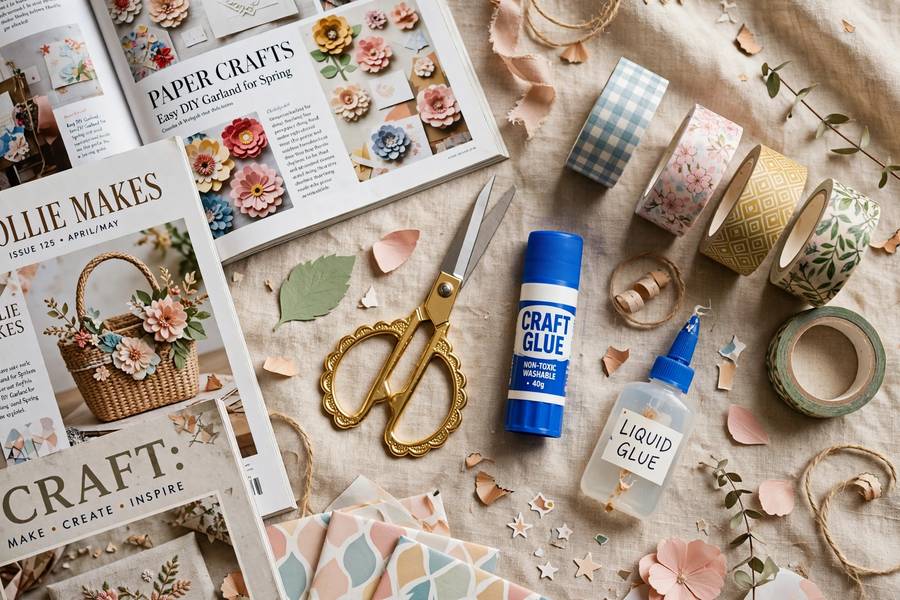
For a physical board, you’ll need:
- A board (cork, foam, or poster — 20×30 inches is a good size)
- Scissors, glue sticks or pins, washi tape for borders
- Old magazines, printed photos, postcards, fabric swatches — anything with texture
- Markers or printed words for phrases and affirmations
- Tea. This is a slow afternoon activity, not a task.
For images, think beyond the obvious. Yes, include the big goals — the home, the trip, the career milestone. But also include:
- Feelings, not just things. A misty forest path if you want more calm. A sunlit kitchen table if you want slower mornings. The feeling is the goal; the thing is just packaging.
- Words and phrases. A quote that steadies you. A single word — “enough,” “brave,” “unhurried” — in big letters. Words anchor images.
- Process images, not just outcomes. If you want to run a marathon, include the 6 a.m. training run, not just the finish line. Your brain needs to picture the doing, not just the having.
- Your own photos. A picture of you genuinely happy, or a place you love, roots the board in your real life instead of stock-photo fantasy.
Where to find images: old magazines (ask friends — everyone has a stack), your own photo library, free printable art, postcards, even fabric and paint chips for color and texture. Aim for 20–40 images and words total. Fewer than that feels sparse; more becomes visual noise.
Step 4: How to Make a Vision Board Layout With Intention
Lay everything out on the floor before gluing anything. Move pieces around. Live with the arrangement for an hour. Then commit.
A few arrangement principles that make boards work better:
- Group by theme, not by size. Cluster your career images together, your home images together, your wellness images together. Thematic grouping turns a collage into a map — you can read your priorities at a glance.
- Put the most important thing in the center. Whatever matters most this year goes dead center, biggest. Everything else orbits it. This one decision forces the clarity most boards lack.
- Leave breathing room. A board crammed edge-to-edge is overwhelming to look at daily. White space isn’t wasted space — it’s what lets the important images speak.
- Layer and overlap. Tuck smaller images behind larger ones, angle a few pieces, let it feel organic rather than gridded. Perfection isn’t the goal; aliveness is.
- Add your words last. Once the images are placed, you’ll see where a phrase or single word belongs — in a gap, across a section, anchoring the center.
Then glue, pin, or tape everything down. Step back. If something feels wrong, fix it now — you’ll be looking at this every day, and the thing that bugs you on day one will infuriate you by day sixty.
Step 5: Place It Where Life Happens
A vision board in a drawer is a craft project, not a practice. Placement is strategy:
- Bedroom or closet door: You see it first thing and last thing. Ideal for personal goals.
- Home office or desk: Perfect for career and creative goals — it’s in your eyeline during the workday.
- Bathroom mirror area: Surprisingly effective. You’re a captive audience twice a day.
- Phone lock screen: Photograph your physical board or build a digital version. Fifty glances a day adds up.
Wherever it goes, it should be somewhere you see it — not where guests will. This is for you, not for display. (And if you share your home, a quick “this is my thing, it’s going on my closet door” prevents all awkwardness.)
The placement rule of thumb: if you don’t notice it within the first week, move it. If you stop noticing it after a month, it’s time for step six.
Step 6: Keep It Alive All Year
Here’s what separates boards that work from boards that become wallpaper: maintenance.
Monthly glance, quarterly review. Once a month, actually look at it — really look — and notice what pulls at you. Once a quarter, sit down with it properly: what’s still true? What’s changed? What have you outgrown? Swap images, add new ones, remove what’s done. A board that evolves with you stays relevant; a static board becomes invisible.
Celebrate what’s arrived. When something on your board happens — the trip, the promotion, the habit that stuck — mark it. Star it, date it, move it to a “done” corner. This is crucial: it teaches your brain that the board is a record of becoming, not a catalog of wanting. Some people keep a small envelope on the back for “arrived” images. I love this ritual.
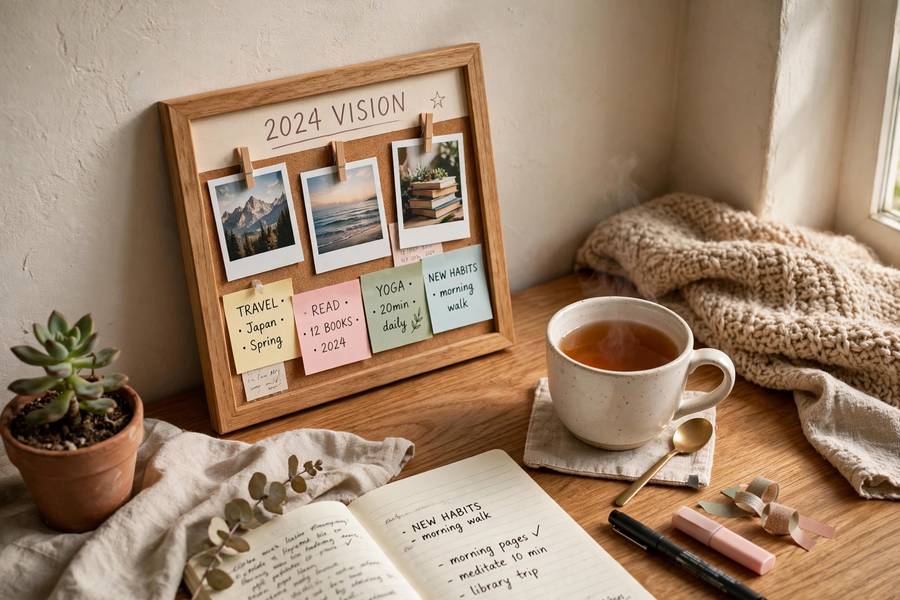
Pair it with action. The board is a compass, not an engine. Each quarter, pick one image and ask: “What’s one concrete step toward this in the next 30 days?” Write the step on a sticky note and put it on the board. Now your vision board and your to-do list are talking to each other.
Rebuild yearly. Every January (or on your birthday, or whenever your year turns), make a fresh one. Keep the old boards — stacked in a closet, photographed in a folder. Looking back through five years of boards is one of the most moving things you’ll ever do. You’ll see patterns you never noticed: the themes that kept returning, the dreams that quietly came true, the ones you outgrew without regret.
If your board includes big professional dreams — starting something of your own, changing fields — let it push you toward real planning too. A vision board got me dreaming about my own work; the practical roadmap came later, from resources like our guide on how to become an entrepreneur. Dream on the board. Plan on paper. Do in the world.
That’s the whole method. Not magic — just clarity, made visible, revisited often. Make it yours, keep it honest, and give it a year. You might surprise yourself.
Frequently Asked Questions
Images and words representing your goals across 5–8 life themes: career, home, health, relationships, adventure, and the feelings you want more of. Include process images (the doing) alongside outcome images (the having), plus your own photos and anchoring words.
They work as focus tools, not magic. Keeping goals visually present leverages selective attention and goal priming — you notice relevant opportunities and act on them more. The board keeps you pointed at the work; you still do the work.
Both work. Physical boards are tactile and present without opening anything, and the hands-on process aids reflection. Digital boards are portable and easy to update. First-timers usually benefit most from going physical.
Somewhere you’ll see it daily: a bedroom or closet door, your home office, near the bathroom mirror, or as your phone lock screen. If you stop noticing it, move it or refresh it.
Glance monthly, review properly each quarter (swapping out what’s changed or arrived), and rebuild fresh once a year. A board that evolves with you stays effective; a static one becomes invisible.
Skipping the clarity step — filling the board with generic aspirational images (mansions, sports cars) instead of reflecting on what they actually want. A board of other people’s dreams doesn’t motivate; a board of your own does.