How to Compost for Beginners: Black Gold Without the Smell

When I told my husband I wanted to start composting, he pictured a stinking heap of garbage attracting every raccoon in the county. Three years later, our compost bin smells like a forest floor, costs us nothing, and produces the dark, crumbly stuff that made my garden finally take off. How to compost for beginners comes down to one simple idea: you are not making garbage soup, you are running a tiny ecosystem, and ecosystems mostly take care of themselves if you give them the right ingredients. In this guide, I will show you the dead-simple bin method I use, the greens-and-browns ratio that prevents every common problem, what to put in and what to keep out, and how to know when your compost is done. It pairs perfectly with my full guide to composting at home, and it is the cheapest garden upgrade that exists, because the best fertilizer is the one you make from scraps.
What Composting Actually Is (No Science Degree Needed)
Composting is just controlled rotting. Billions of microorganisms, fungi, and helpful critters like worms break down your kitchen scraps and yard waste into humus, a dark, earthy material that is basically a multivitamin for soil. It adds nutrients slowly, improves soil structure whether you have sand or clay, and feeds the microbial life that helps plants absorb food. Bagged fertilizer feeds plants; compost feeds the soil that feeds the plants. That difference is why gardens with regular compost just look healthier.
Here is what surprised me most: a well-built compost pile does not smell bad. It smells like damp earth, like a forest after rain. Bad smells mean something is wrong, usually too much wet food waste and not enough dry carbon material, and the fix takes about two minutes. If your mental image of compost is a reeking garbage heap, you are picturing compost done wrong. Done right, your neighbors will never know it is there.
Greens and Browns: The Only Ratio You Need
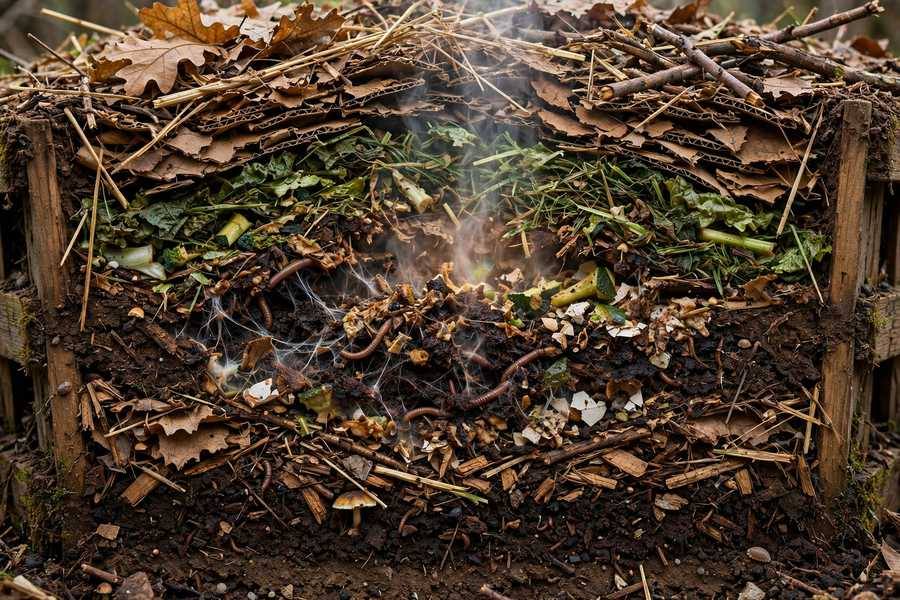
Every composting guide talks about the carbon-to-nitrogen ratio, which sounds like chemistry class. Here is the plain version. Greens are nitrogen-rich, wet materials: fruit and vegetable scraps, coffee grounds, fresh grass clippings, eggshells. Browns are carbon-rich, dry materials: fallen leaves, shredded cardboard, straw, newspaper, wood chips. Aim for roughly three parts browns to one part greens by volume, and you will almost never have problems.
The beginner pattern that works: every time you add kitchen scraps (greens), cover them with a generous handful of browns, like shredded leaves or torn cardboard. This one habit prevents smells, keeps flies away, and keeps the pile balanced without any measuring. I keep a bag of shredded leaves next to my bin all year for exactly this purpose. When in doubt, add more browns. Too many browns just slows things down; too many greens is what causes every smelly, slimy disaster.
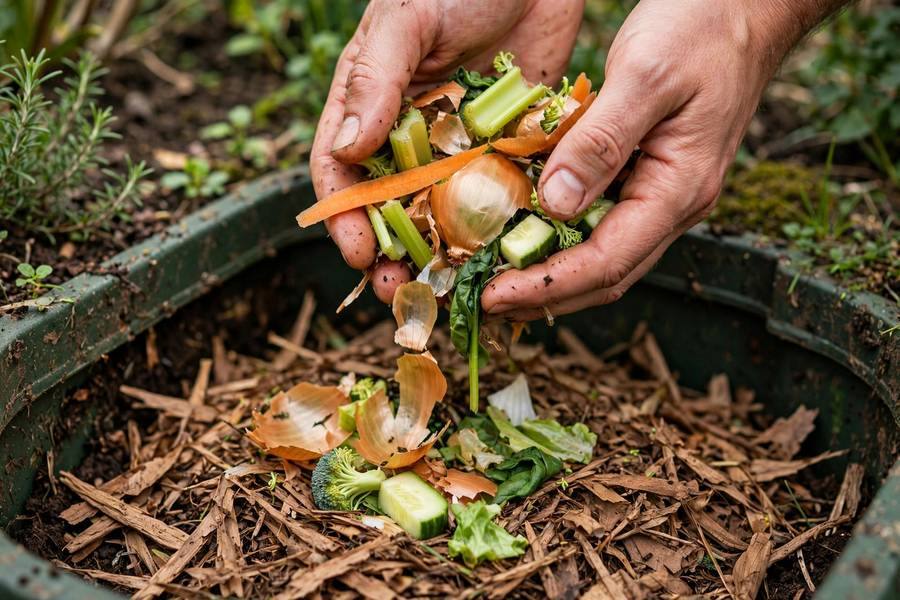
Coffee grounds deserve a special mention because they are a free, nitrogen-rich green that many beginners overlook. I collect them from a local cafe, and my compost pile loves them. Eggshells go in too; crush them first so they break down faster.
Choosing Your Bin: Simple Beats Fancy
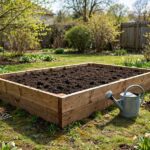
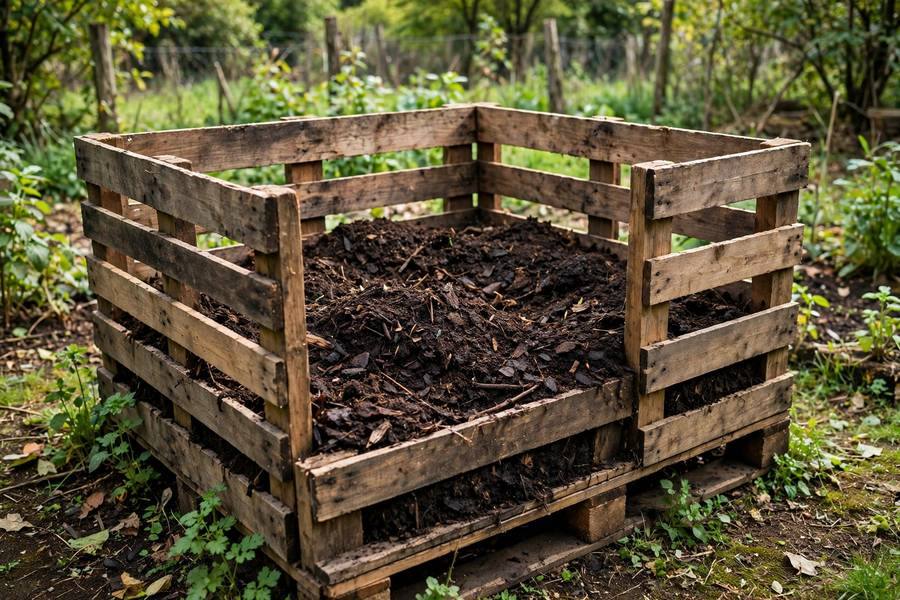
You can compost in a heap on the ground and it will work fine, but a bin keeps things tidy and is worth the small effort. My setup is almost embarrassingly simple: three wooden pallets wired into a U-shape, sitting directly on soil so worms can move in from below. It cost nothing and has lasted years. A single bin about three feet square is plenty for most households.
If you want something neater, a basic plastic compost bin with a lid works well and keeps the pile moist. Tumbler bins are popular and genuinely convenient for turning, but they are small, expensive for their volume, and in my experience they dry out faster than static bins. Whatever you choose, put it somewhere convenient, level, with good drainage, and close enough to the kitchen that you will actually use it in February. A compost bin at the far end of the yard in winter is a compost bin that does not get fed. For the full breakdown of setups, see my guide to composting at home.
What Goes In and What Stays Out
The yes list is long: fruit and vegetable scraps, coffee grounds and filters, tea bags (remove staples), eggshells, yard trimmings, grass clippings, fallen leaves, straw, shredded newspaper and cardboard, wood chips, and even dryer lint from natural fibers. Chop or tear big items smaller; the smaller the pieces, the faster they break down. I run cardboard boxes through a quick tear while watching TV, and it becomes perfect brown material.
The no list is short but important. No meat, dairy, or fats: they smell, attract pests, and break down slowly in a home pile. No diseased plants or weed seeds, because a home pile rarely gets hot enough to kill them. No pet waste from dogs or cats, no glossy or coated paper, and no charcoal ashes. When I started my first vegetable garden, keeping diseased tomato foliage out of the compost was the single best disease-prevention habit I built.
When you are unsure about an item, the safe question is: did it grow from the ground and is it free of chemicals? If yes, it probably composts fine.
The No-Turn, No-Fuss Method I Actually Use
Traditional advice says to turn your pile weekly with a fork. I did that exactly twice before deciding life is too short. Here is my lazy method that works: build the pile with mixed materials, keep it as damp as a wrung-out sponge, and leave it alone except for adding new material on top. The center still heats up and breaks down; it just takes a bit longer. My pile produces finished compost in about four to six months with almost no turning.
If you want faster compost, turn the pile every couple of weeks to add oxygen, and chop materials small. If you want zero effort, do what I do and just wait longer. The microbes do not care about your schedule. The only maintenance that truly matters is moisture: a pile that dries out stalls completely, and a soggy pile goes slimy. In dry spells I water the pile when I water the garden; in wet spells I cover it with a tarp. That is the entire maintenance routine.
Harvesting and Using Your Finished Compost
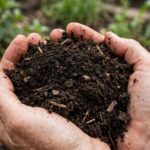
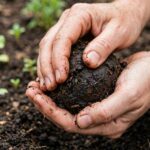
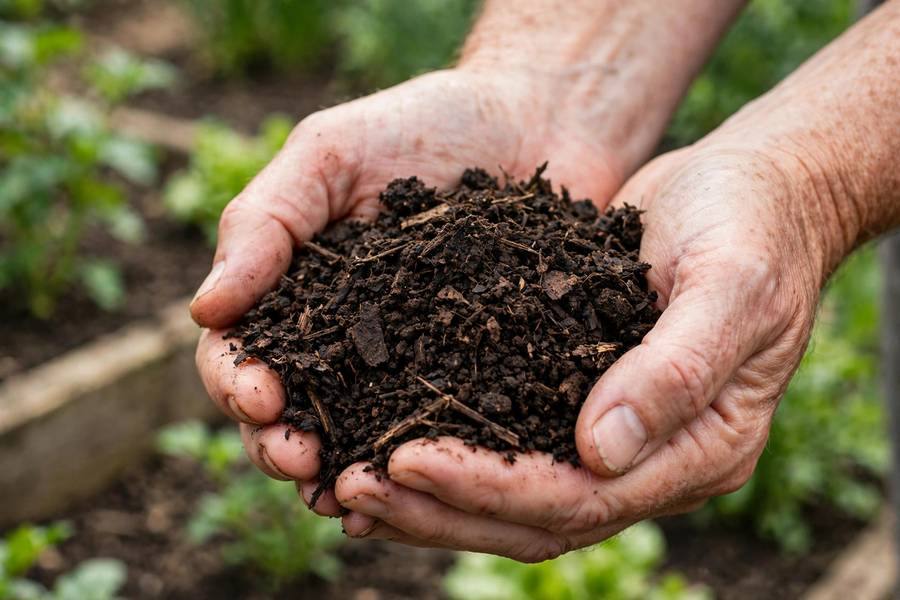
Finished compost is dark, crumbly, and smells like a forest floor. You should not be able to recognize the original ingredients, except maybe a few stubborn eggshell bits or twigs, which you can screen out or toss back into the new pile. Harvest from the bottom of the bin where the oldest material sits, and leave the unfinished top layer to keep working.
Use it generously: spread an inch or two over garden beds in spring and fall, mix a handful into each planting hole, top-dress containers mid-season, and side-dress heavy feeders like tomatoes when they start fruiting. There is no such thing as too much finished compost in a vegetable garden. That first batch you harvest, dark and sweet-smelling, made from things you were going to throw away, feels like actual magic. It is not magic, of course. It is just nature, given a bin and a little patience.
With minimal effort (no turning), expect finished compost in 4-6 months. Turning every couple of weeks and chopping materials small can speed it to 2-3 months in warm weather. Cold winter weather slows everything down; that is normal.
Bad smells almost always mean too many nitrogen-rich greens and not enough carbon-rich browns, often combined with excess moisture. Fix it by adding a generous layer of shredded leaves, cardboard, or straw, and fluff the pile to add air. A healthy pile smells like damp earth.
Keep out meat, dairy, fats/oils, diseased plants, weeds gone to seed, dog or cat waste, glossy coated paper, and charcoal ashes. These cause smells, attract pests, spread disease, or introduce toxins. Fruit and veggie scraps, coffee grounds, leaves, and plain cardboard are all great.
No, turning is optional. An unturned pile still composts, just more slowly (4-6 months vs 2-3). The truly essential maintenance is moisture: keep the pile as damp as a wrung-out sponge. Turning speeds things up by adding oxygen but is not required for success.
Yes. The pile will slow or stall in freezing weather, which is completely normal. Keep adding materials through winter; they will sit until spring warmth restarts the microbes. Insulating with extra leaves or straw around the bin helps retain some heat.