How to Paint a Room Like a Pro: The Complete Step-by-Step Guide


A fresh coat of paint is the single highest-impact, lowest-cost upgrade you can give a room. But there is a canyon between a slapdash DIY job — streaks, drips, visible roller marks — and a finish that looks like you hired someone. The difference is not talent. It is technique and preparation. Learn how to paint a room like a pro, and your walls will look like a magazine shoot.
I have painted more rooms than I can count, and I will tell you the trade secret upfront: professionals spend most of their time prepping, not painting. The painting itself is the easy part. Follow this guide in order, do not skip steps, and you will get pro results on your first try.
How to Paint a Room Like a Pro: The Toolkit
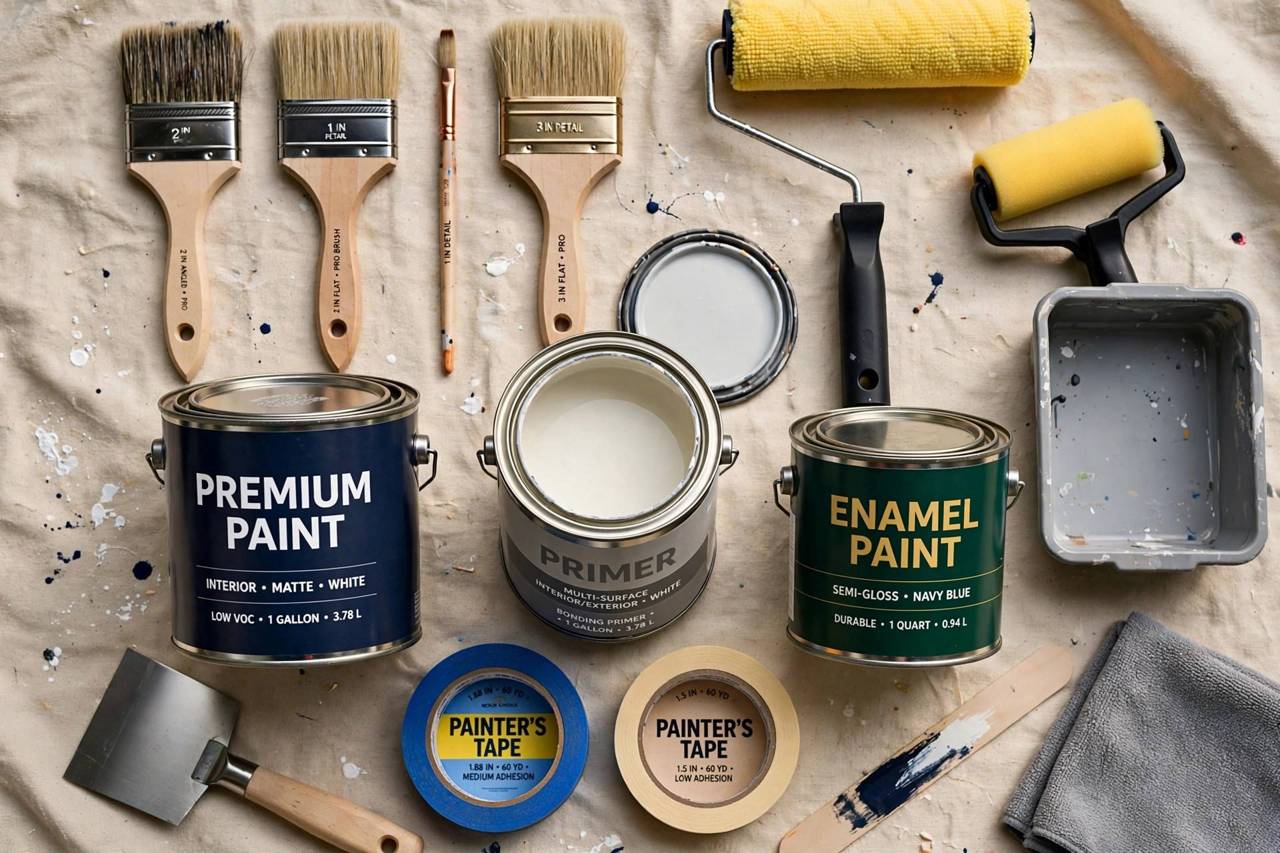
Cheap tools produce cheap results. You do not need the most expensive everything, but buy decent quality on the items that touch the wall:
- Paint: quality interior paint (more on choosing below). One gallon covers roughly 350–400 sq ft per coat.
- Rollers: 9-inch roller frame, plus 3/8-inch nap covers for smooth walls (1/2-inch for textured walls). Buy a few — a fresh cover per coat matters.
- Brushes: a 2.5-inch angled sash brush for cutting in (this is your precision instrument — do not cheap out here).
- Painter’s tape: for trim, windows, and ceilings — but note that pros often cut in freehand (more on that later).
- Drop cloths: canvas, not plastic. Plastic is slippery and paint pools on it; canvas absorbs drips and stays put.
- Paint tray with liner, extension pole, 5-in-1 tool, putty knife, spackle, sandpaper (120 and 220 grit), tack cloth, and a sturdy step ladder.
Step 1: Choose the Right Paint and Sheen
Paint quality genuinely matters — premium paint covers better, levels smoother, and lasts years longer. Here is how to choose:
Sheen guide
- Flat/matte: hides wall imperfections beautifully; best for ceilings and low-traffic bedrooms. Less washable.
- Eggshell: the all-rounder — subtle sheen, decent washability. My default for living rooms and bedrooms.
- Satin: slightly glossier, very washable. Great for kitchens, hallways, and kids’ rooms.
- Semi-gloss: for trim, doors, and cabinets — durable and wipeable. Too shiny for large wall areas.
Color tips
Always test before committing: paint large swatches (or use peel-and-stick samples) and observe them in morning, afternoon, and evening light. Colors shift dramatically with lighting. And buy all your paint at once, ideally from the same batch — or “box” multiple gallons together (mix them into one container) to eliminate slight color variations between cans.
Step 2: Prep the Room (The Step Everyone Skips)
Here is where amateurs lose. Proper prep takes half your total project time, and it is the entire difference between pro and amateur results:
- Clear the room. Move furniture to the center and cover with drop cloths, or move it out entirely. Remove wall hangings, curtain rods, and outlet/switch covers (tape the screws to the back of each cover so they do not vanish).
- Clean the walls. Wipe down with a damp cloth or mild TSP substitute solution. Paint does not bond to dust, grease, or grime — kitchen walls especially need degreasing.
- Repair imperfections. Fill nail holes and cracks with spackle using a putty knife, let dry, then sand smooth (120 grit, then 220 for a fine finish). For larger holes, use a patch kit.
- Sand glossy surfaces. If painting over semi-gloss or oil-based paint, scuff-sand the whole surface so the new paint adheres. Wipe away dust with a tack cloth.
- Caulk gaps. Run a thin bead of paintable caulk where trim meets wall — this one detail makes trim work look professionally finished.
- Tape (strategically). Tape off trim, windows, and ceiling lines. Press the tape edge firmly with a putty knife to prevent bleed-through. Pro tip: remove tape while the paint is still slightly tacky for the cleanest line.
- Lay drop cloths. Cover the entire floor. Paint finds a way onto anything unprotected — trust me on this.
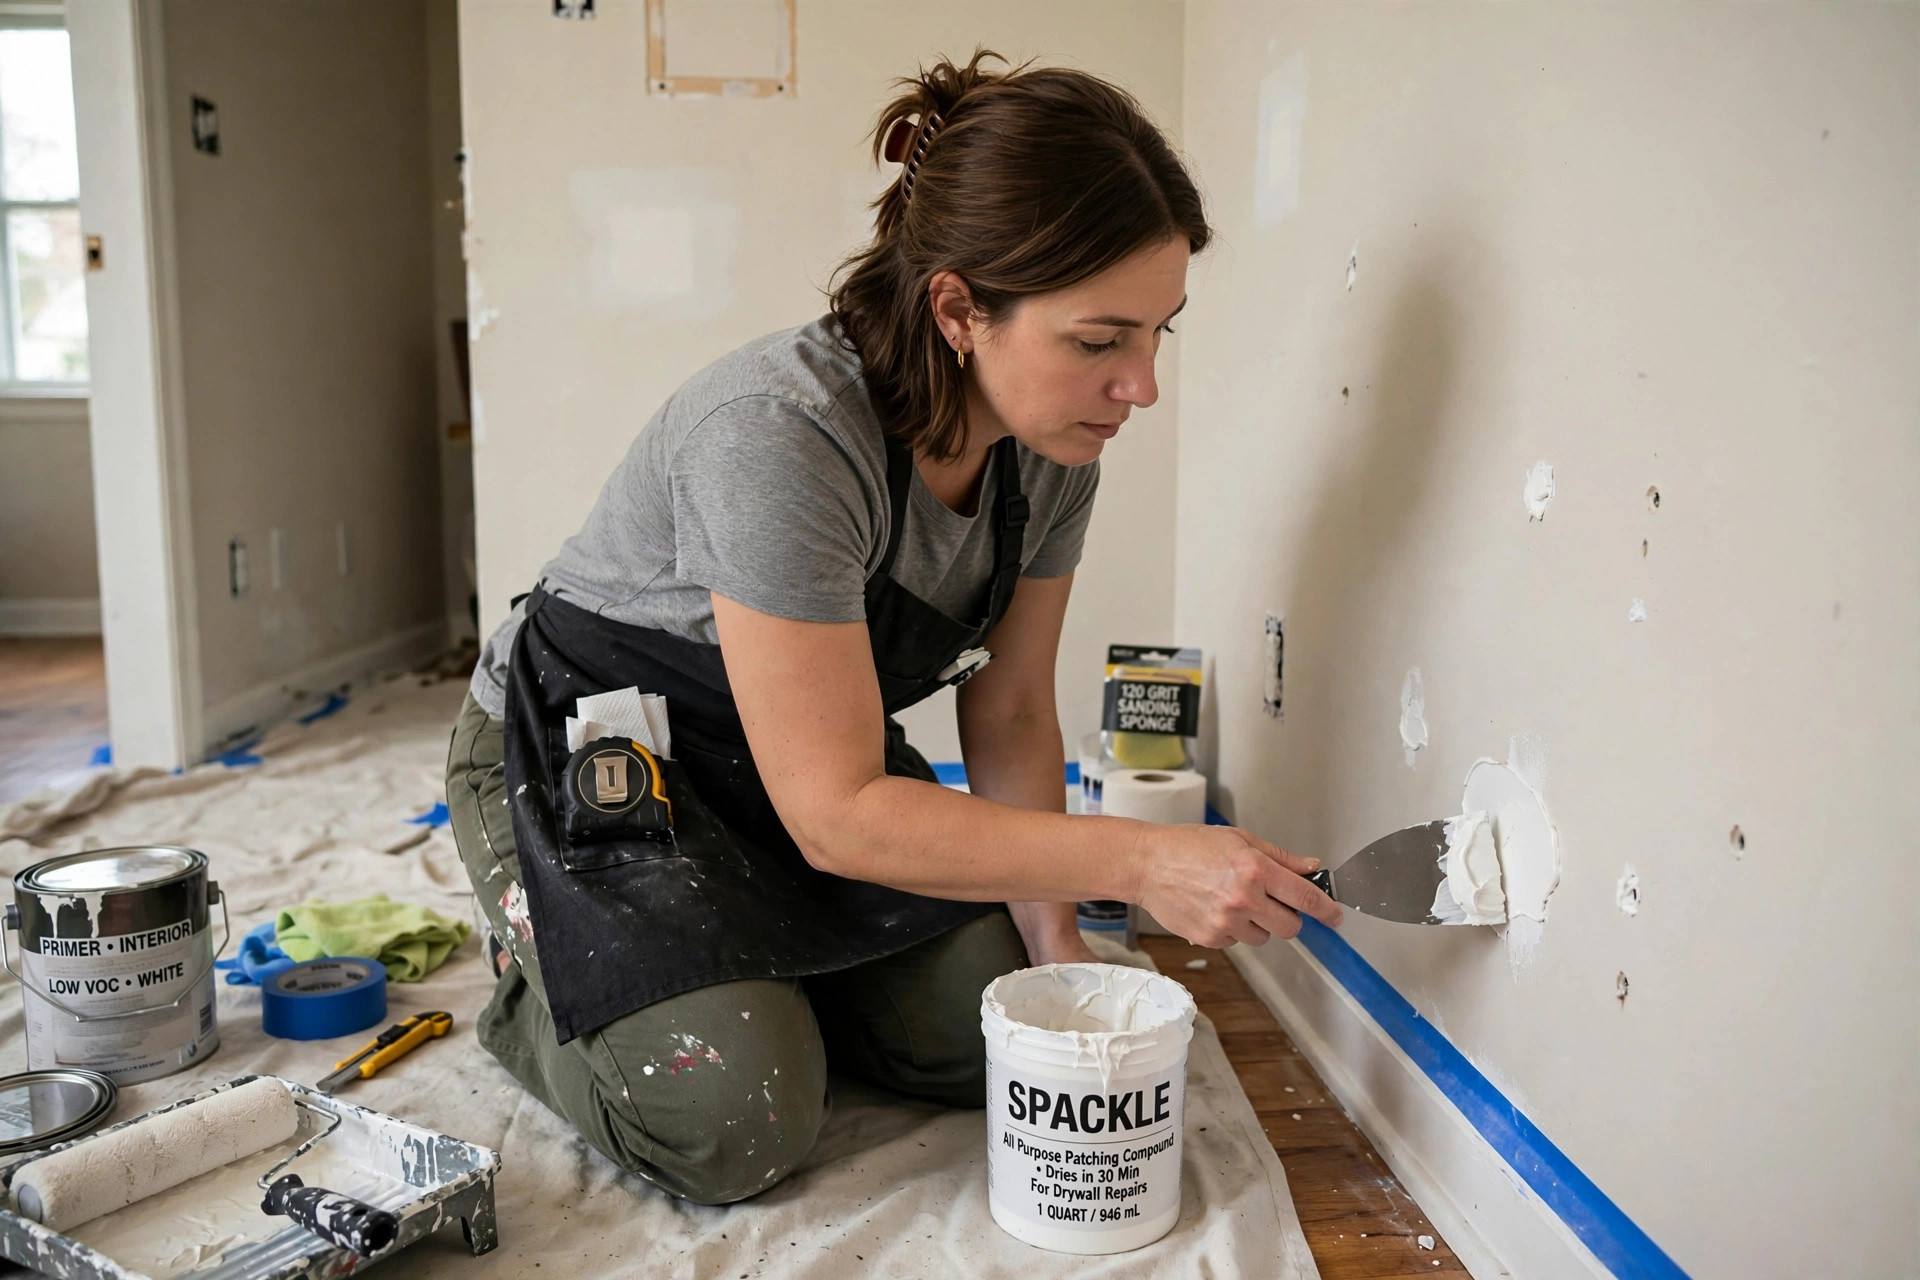
Step 3: Prime (When It Matters)
Primer is not always necessary, but it is essential in these cases:
- Painting over bare drywall or patched areas (prevents flashing — dull spots where paint absorbs unevenly)
- Dramatic color changes (dark to light especially)
- Covering stains (water damage, smoke — use a stain-blocking primer)
- Painting over glossy or oil-based paint
Many premium paints are “paint and primer in one,” which handles light-duty situations. But for the cases above, a dedicated primer coat is cheap insurance for a flawless finish. Tint your primer toward the topcoat color for better coverage.
Step 4: Cutting In Like a Pro
“Cutting in” means painting the edges — where walls meet ceiling, trim, and corners — with a brush before rolling. This is the skill that separates pros from everyone else:
- Load your angled brush with paint, then tap off the excess (do not wipe — wiping removes too much).
- Start about an inch from the edge, then draw the brush toward the edge in a smooth stroke, letting the angled bristles do the work.
- Use long, confident strokes. Short, choppy strokes create visible texture differences.
- Cut in a 2–3 inch band along all edges, then roll up to it while the brushed paint is still wet — this blends brush and roller texture seamlessly (“keeping a wet edge”).
Practice on a closet wall first if you are nervous. Within an hour, your hand steadies and the lines get crisp. Pros cut in freehand without tape on most edges — but there is zero shame in using tape while you learn.
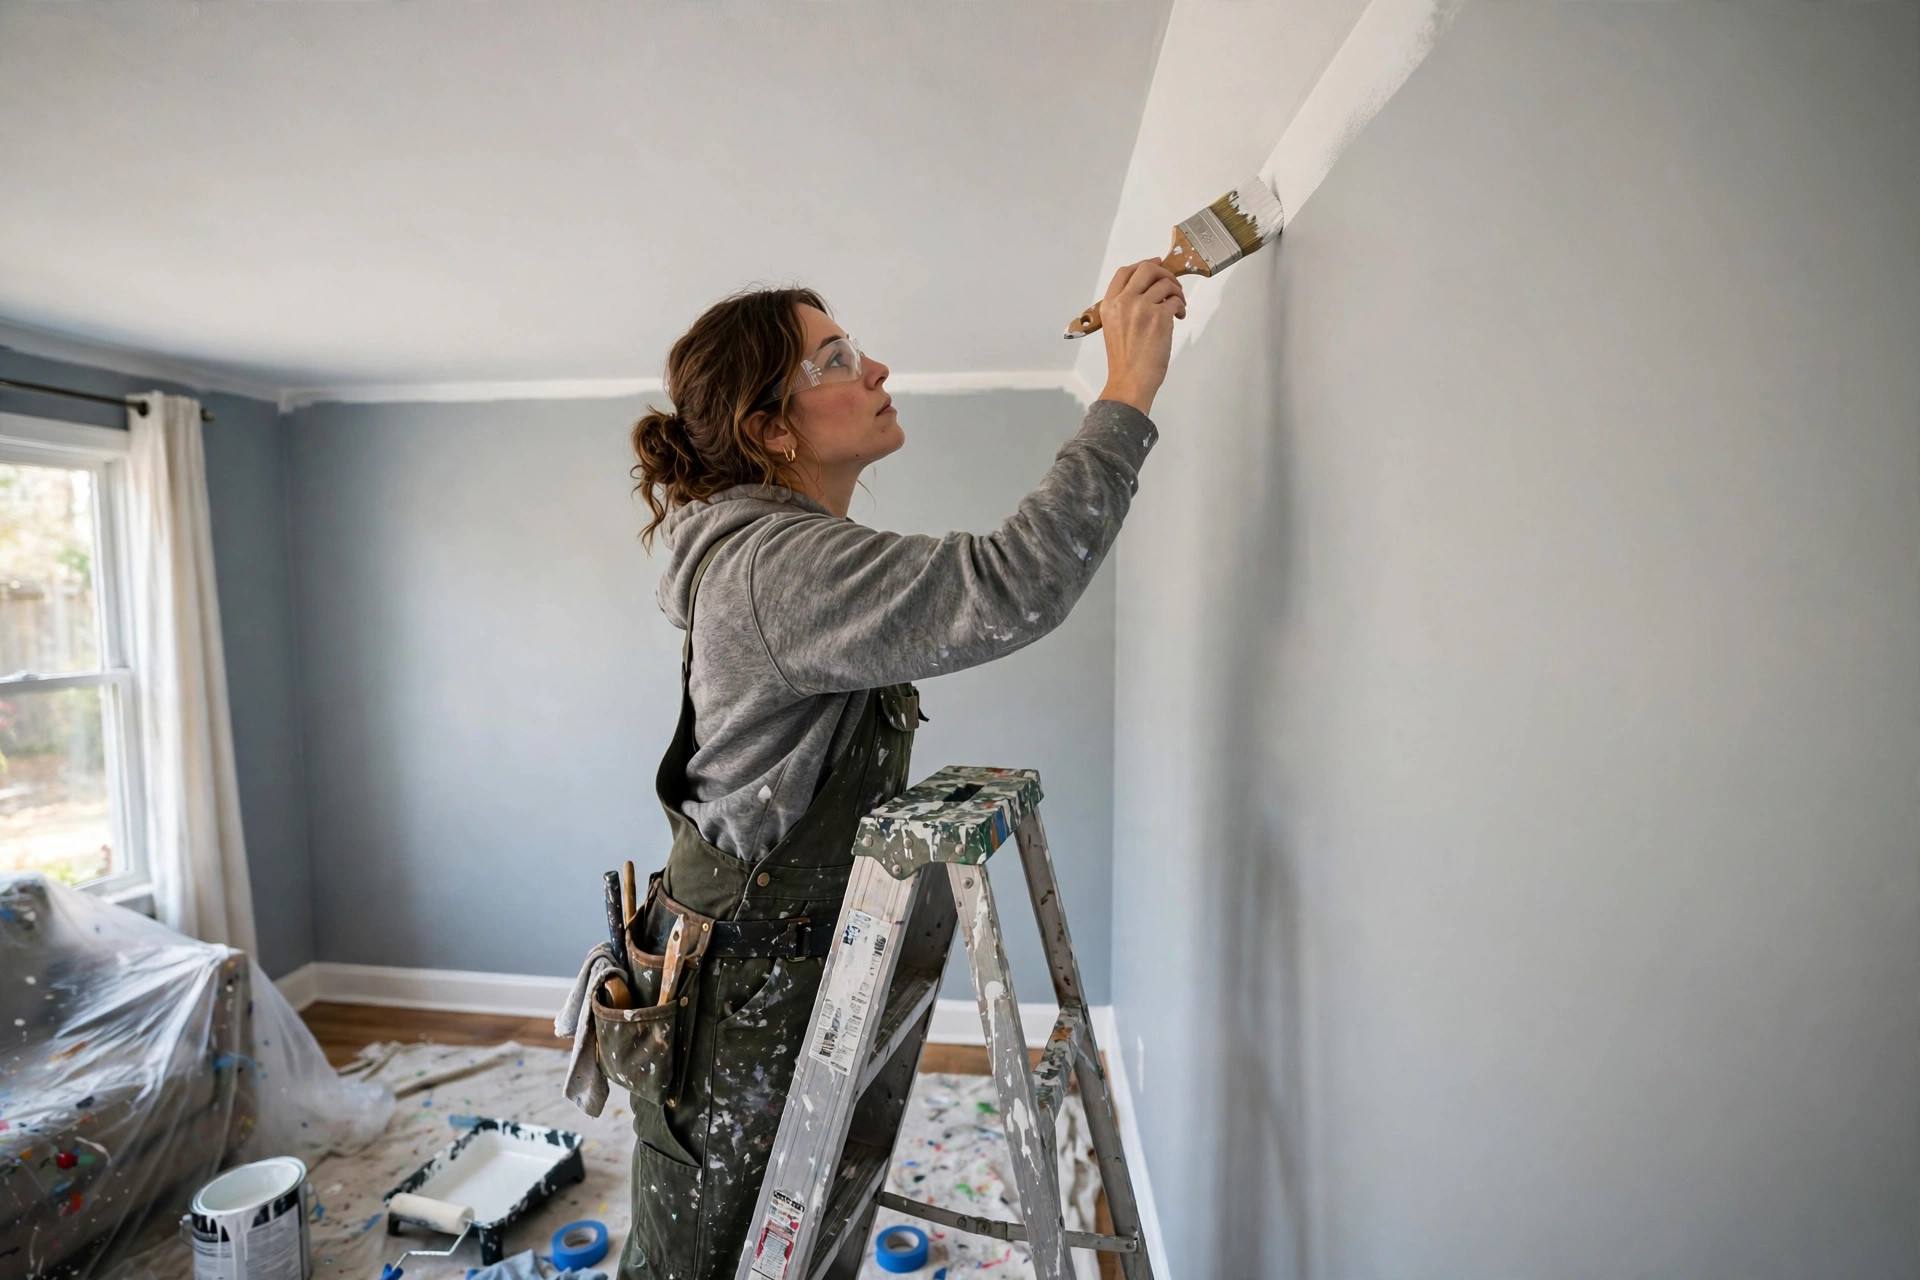
Step 5: Rolling Technique for Flawless Walls
Rolling looks simple; doing it well is technique:
- Load properly: dip the roller in the tray, then roll it on the tray’s ridges to distribute paint evenly. The cover should be saturated but not dripping.
- Use the W (or M) pattern: roll a 3×3 foot W on the wall, then fill it in with parallel strokes — without lifting the roller. This distributes paint evenly.
- Maintain a wet edge: always roll into the still-wet previously painted section. Letting edges dry creates visible “lap marks.”
- Finish with light, even strokes: your final pass over each section should be light, in one direction (top to bottom), to even out the texture.
- Do not over-roll: once the paint starts getting tacky, leave it alone. Overworking drying paint creates texture problems.
- Use an extension pole for walls and ceilings — it gives better leverage, more even pressure, and saves your back.
Step 6: The Second Coat (and Knowing When You Need It)
Two coats is the professional standard, full stop. The first coat seals and builds; the second delivers uniform color and durability. Wait the recoat time on the can (usually 2–4 hours) — recoating too soon can pull up the first coat.
Between coats, wrap your brush and roller covers tightly in plastic wrap or a plastic bag — they will stay fresh for hours without washing. Inspect the first coat in raking light (a work light held at an angle) to spot misses, drips, and thin areas before the second coat.
Step 7: The Pro Finish — Cleanup and Details
- Remove tape while the final coat is slightly tacky, pulling at a 45-degree angle away from the painted edge.
- Touch up any imperfections with a small brush. Keep a labeled jar of leftover paint for future touch-ups — store it properly and it lasts years.
- Reinstall outlet covers, curtain rods, and fixtures only after paint is fully cured (not just dry — curing takes up to 2–4 weeks for full hardness; be gentle with the walls meanwhile).
- Clean tools properly: latex paint washes with soap and water; do it thoroughly and quality brushes last for years.
Common Mistakes That Ruin Paint Jobs
- Skipping prep. The #1 amateur mistake, by a mile. Every shortcut in prep shows in the final result.
- Painting in bad conditions. Too humid, too cold, or too hot affects drying and finish. Aim for 50–85°F with moderate humidity, and ventilate well.
- Cheap brushes and rollers. They shed bristles, leave streaks, and hold paint unevenly. The $15 brush outperforms the $5 brush enormously.
- Overloading the brush/roller. More paint per stroke does not mean faster — it means drips, sags, and uneven coverage.
- Not boxing paint. Slight color differences between gallons create visible bands on the wall. Mix them.
- Rushing the recoat. Impatience between coats ruins more finishes than any other single error.
FAQ
How much paint do I need for one room?
One gallon covers about 350–400 square feet per coat. Measure your walls (length × height, minus large windows/doors), divide by 350, and round up — then double for two coats. A typical 12×12 bedroom needs about 2 gallons for two coats. Always buy a little extra for touch-ups.
Do I need to prime before painting?
Not always, but yes when painting bare drywall, covering dark colors with light ones, sealing stains, or painting over glossy/oil-based finishes. In those cases primer prevents uneven absorption, bleed-through, and adhesion failure. For simple color refreshes over similar existing paint, quality paint-and-primer combos usually suffice.
Should I use painter’s tape or cut in freehand?
Beginners should use tape on critical edges (it forgives shaky hands), while learning to cut in freehand on less visible areas. With practice, freehand cutting is faster and often yields cleaner lines than tape (which can bleed or pull paint). Either method works — the key is a steady hand and not overloading the brush.
How long should I wait between coats of paint?
Follow the can’s recoat time — typically 2–4 hours for latex paint under normal conditions. Humidity and cold extend drying time. The paint should feel dry to the touch and not tacky. Recoating too early can lift the first coat and ruin the finish.
What is the best roller nap for smooth walls?
Use 3/8-inch nap for smooth to lightly textured walls — it holds enough paint without creating excessive texture. Step up to 1/2-inch for moderately textured surfaces like orange-peel drywall. Thicker naps on smooth walls leave unwanted stipple texture. When in doubt, buy one of each – covers are inexpensive, and having the right tool for each surface is pure pro thinking.
Keep Reading
- Best Paint Colors for Small Rooms (Make Any Space Feel Bigger)
- How to Declutter Like a Minimalist: A Room-by-Room Plan
- Tire Wear Patterns Misalignment Guide (Read Your Tires Like a Mechanic)