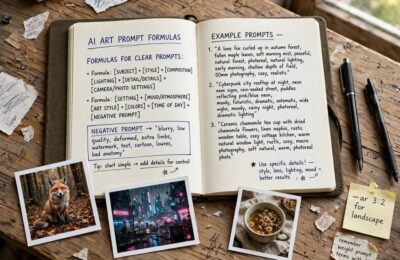
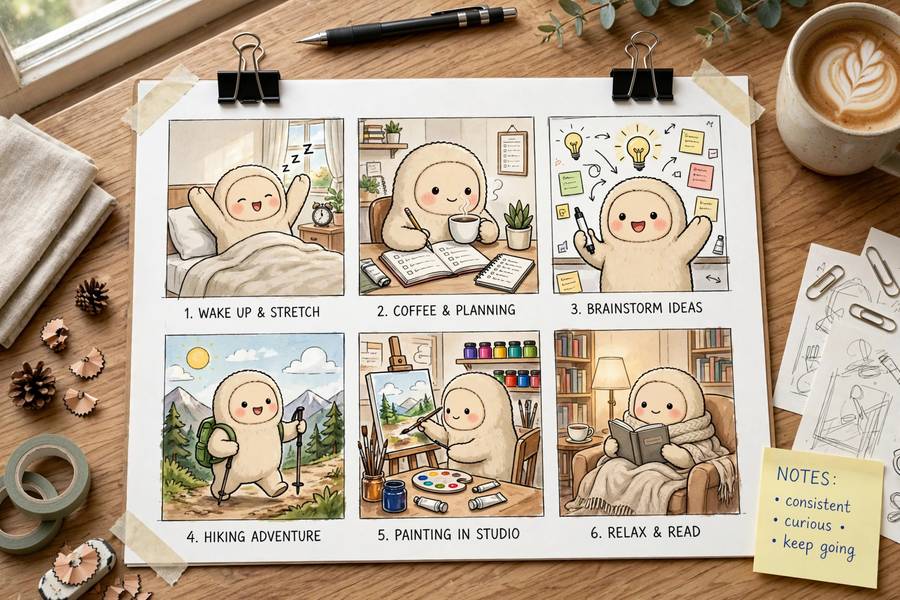
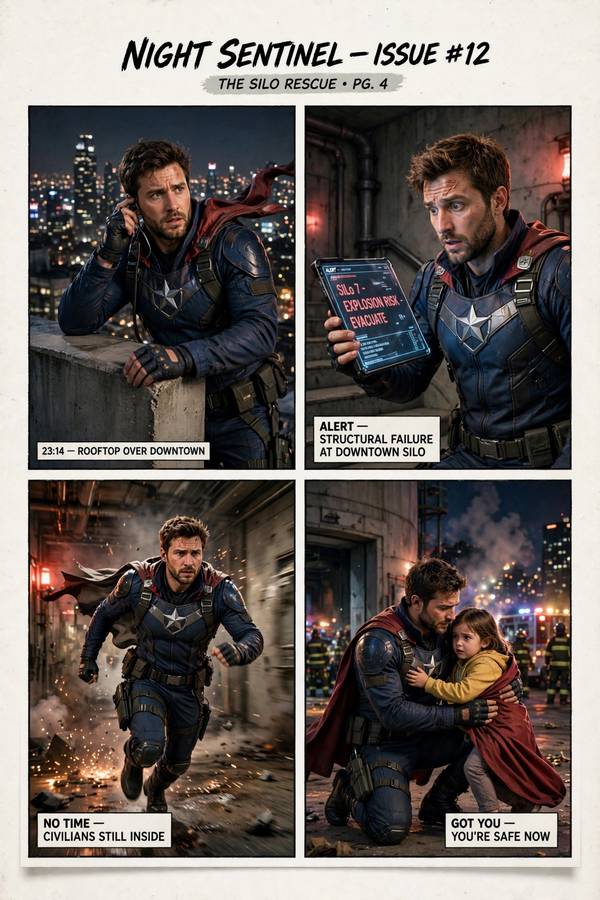
The first time I tried to make a short comic with Midjourney, my hero changed faces in every panel. Page one: a woman with sharp cheekbones and copper hair. Page two: a different woman entirely, now blonde-ish. By page five she had apparently been replaced by her cousin. It was unusable — and it taught me that character consistency was the missing piece in AI storytelling. Then --cref arrived, and the whole problem got dramatically easier. If you’re still getting oriented with the platform, read how Midjourney works first; this guide is the deep dive on keeping one character looking like themselves.
Table of Contents
- What –cref Actually Does
- How to Use –cref Step by Step
- Picking a Good Reference Image
- –cw: Character Weight, the Fine-Tuning Dial
- Pairing –cref With –sref
- Best Use Cases (and Where It Struggles)
- Common Failures and How I Fix Them
- Workflow: Building a Consistent Cast
- Frequently Asked Questions
What –cref Actually Does
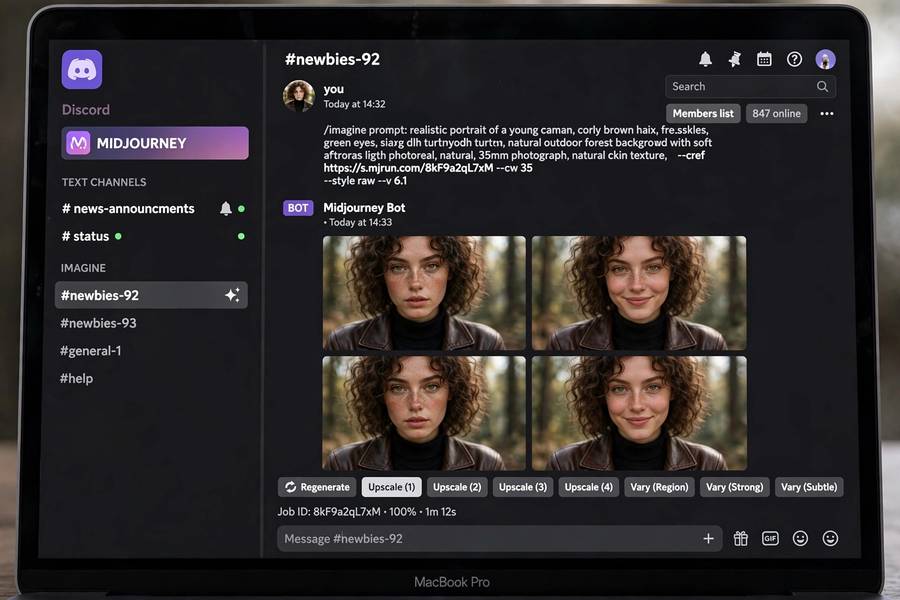
The --cref (character reference) parameter tells Midjourney: “make the character in this new image look like the character in this reference image.” You supply a URL to an image of your character, add --cref [URL] to your prompt, and the model biases the new generation toward the same face, hairstyle, and general appearance.
Under the hood, Midjourney extracts identity features from the reference — the geometry of the face, hair color and style, sometimes distinctive features like glasses or a beard — and carries them into the new image. The pose, clothing, background, lighting, and art style can all change according to your prompt. The identity stays.
This was a genuine breakthrough. Before --cref, the standard trick was seed-locking plus painstaking prompt repetition, and it still drifted. You could get “similar-ish” characters, never “same” characters. --cref moved the needle from similar-ish to recognizably-the-same-person, which is what comics, storyboards, brand mascots, and children’s books actually need.
One caveat up front: it works best on illustrated, stylized, and photorealistic human characters. Non-human characters, creatures, and objects are less reliable — the identity extraction is tuned for faces.
How to Use –cref Step by Step
The mechanics are simple. The craft is in the details.
Step 1: Generate or find your character’s “hero” image. This is the canonical look — the reference everything else will match. Generate a clean portrait: front-facing or three-quarter view, neutral expression, plain background. Something like: character portrait of a friendly female explorer, copper braided hair, freckles, green canvas jacket --ar 1:1. Pick the best one from the grid.
Step 2: Get the image URL. Upscale your chosen portrait, then right-click (or long-press) and copy the image URL. It needs to be a direct link to the image file — a Discord CDN link works fine.
Step 3: Write your new prompt with –cref. Example: the explorer crossing a rope bridge over a jungle canyon, dramatic lighting --cref [paste-your-image-URL-here]. The prompt describes the new scene; --cref carries the identity.
Step 4: Evaluate and iterate. The first attempt is usually 80% there. If the face drifted, strengthen the reference (see --cw below) or regenerate. If the scene ignored your prompt, the reference image may be overpowering it — lighten --cw.
Step 5: Chain references. Once you have two good images of the character, you can pass multiple URLs to --cref and Midjourney blends the identity cues. Two or three consistent references beat one.
That’s the whole loop. The learning curve is in steps 3 and 4 — balancing the reference against the prompt — which is where --cw comes in.
Picking a Good Reference Image
Your output is only as consistent as your reference. A bad reference poisons every image downstream, so choose carefully:
- Face clearly visible. Front or three-quarter view, face taking up a good portion of the frame. Profile shots and tiny distant faces give the model little to work with.
- Neutral expression. A laughing reference makes every subsequent image want to laugh. Neutral gives you range.
- Simple background. Busy backgrounds leak into the identity extraction — the model can latch onto background elements as “part of the character.” Plain is better.
- Distinctive features help. Glasses, a beard, a scar, unusual hair color — distinctive traits transfer more reliably than generic good looks. If your character is deliberately plain-faced, expect more drift.
- Match your target style. A photorealistic reference produces photorealistic-consistent results; an anime reference keeps anime consistency. Mixing styles across reference and prompt causes unpredictable blending.
I keep a “cast bible” — a folder with each character’s hero portrait plus two alternates. When I start a new scene, I grab from the bible instead of re-generating. Consistency compounds.
–cw: Character Weight, the Fine-Tuning Dial
--cw (character weight) controls how strongly the reference influences the result, on a scale from 0 to 100. Default is 100 — full identity transfer.
–cw 100 (default): Maximum fidelity to the reference. Face, hair, and distinctive features transfer strongly. Use this when the character must be instantly recognizable — returning cast members, brand mascots.
–cw 50–75: A balance. The face stays recognizable but the model has more freedom with the rest. I use --cw 60 for action scenes, where a rigid face match can look pasted-on.
–cw 0–30: Only the face transfers; hairstyle, clothing, and everything else follow the prompt freely. Useful when you want the same person in a totally different look — same actor, new costume.
–cw 0: Effectively just face-swaps the reference face onto the prompt’s character. Niche, but handy.
My rule: start at 100, and only lower it when the reference is fighting the prompt. If your explorer keeps wearing her green canvas jacket in a scene where she should be in a ballgown, drop to --cw 40 and describe the gown firmly in the prompt. The jacket is identity-adjacent (clothing often transfers at 100), and the weight dial is how you peel it off.
Pairing –cref With –sref
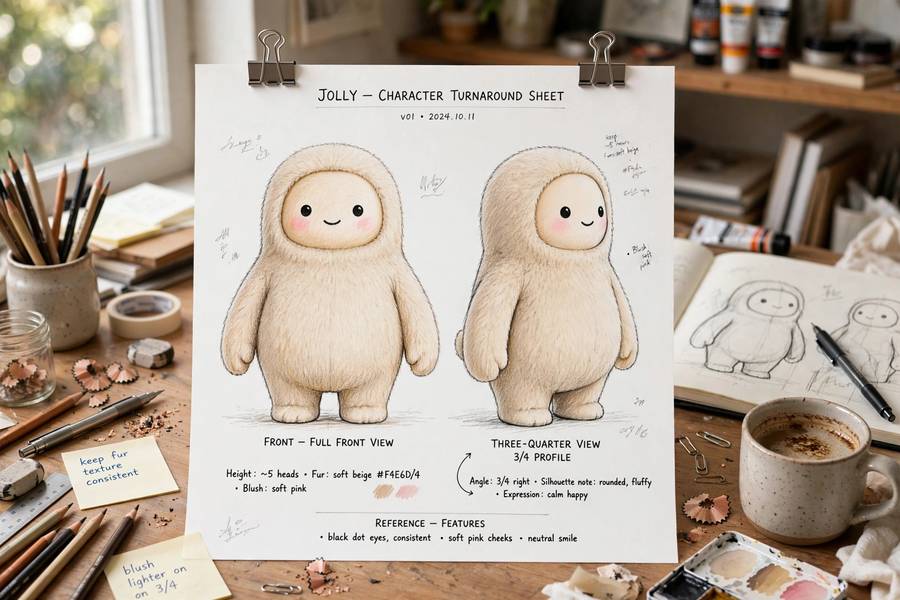
--cref handles who. --sref (style reference) handles how it looks. Used together, they solve the two-axis consistency problem: same character, same art style, different scenes.
The syntax stacks naturally: --cref [character URL] --sref [style URL]. Your character reference is a portrait of the person; your style reference is any image whose aesthetic you want — a watercolor painting, a pixel-art sprite, a cinematic still. The result: your character rendered in that style.
This combo is the closest thing Midjourney has to a production pipeline for illustrated storytelling. Character bible plus style guide, exactly like a real animation studio — except your studio fits in a Discord channel. A few practical notes:
- The style reference should be a strong, clear example of the style. Muddy style references produce muddy results.
- You can add
--sw(style weight) to tune the style strength, mirroring--cwfor character. - If the style reference contains a prominent face, it can interfere with
--cref. Pick style references without dominant faces, or crop them out.
Best Use Cases (and Where It Struggles)
Where –cref shines:
- Comics and graphic novels. The killer app. Same hero across 50 panels.
- Children’s books. Kids notice when the protagonist changes faces. They will tell you.
- Storyboards and previz. Consistent characters across shots make boards readable.
- Brand mascots. One mascot, infinite campaign images, same face.
- RPG and game art. NPC portraits that match their in-scene appearances.
Where it struggles:
- Extreme angles and poses. A hero portrait reference transfers poorly to a dramatic top-down action shot. The model has to invent too much. Generate an intermediate reference in a similar pose if you need extremes.
- Very young or very old faces. Age extremes drift more; the identity features are less stable in the model’s representation.
- Multiple characters in one reference. The model gets confused about which face is “the character.” One character per reference image.
- Non-human characters. Creatures, robots, and mascots work sometimes, but the feature is face-tuned. Results vary — test before committing to a pipeline.
- Photorealistic real people. You can use a photo of a real person as reference, but think carefully about consent and rights before generating images of real, identifiable people. Just because the tool allows it doesn’t mean every use is fine.
Common Failures and How I Fix Them
The face drifts after several generations. This is telephone-game decay — each generation is a copy of a copy. Fix: always reference back to the original hero portrait, never chain from the latest output. The bible stays canonical.
The reference overpowers the prompt. Your knight keeps appearing in modern clothes because the reference wore a t-shirt. Fix: lower --cw, and restate clothing explicitly in the prompt. Prompt words fight reference pixels; give the words more weight.
The prompt overpowers the reference. New image, stranger’s face. Fix: raise --cw back to 100, simplify the prompt (fewer competing details), or use a cleaner reference.
Inconsistent art style between panels. That’s not --cref‘s job — add --sref with a style reference, or lock a --style and --v version across the project.
Hands and anatomy still break. --cref fixes identity, not anatomy. Six fingers on your consistent hero are still six fingers. Regenerate, adjust the pose description, or accept that some panels need manual touch-up.
My debugging order is always: reference quality first, then --cw, then prompt simplification, then regeneration. In that order, because that’s the order of leverage.
Workflow: Building a Consistent Cast
Here’s the full workflow I use for a multi-character project, start to finish:
- Design each character’s hero portrait. One character at a time, front-facing, neutral, plain background. Iterate until each one is distinctive — distinct silhouettes, distinct hair, distinct features. Distinctiveness is consistency fuel.
- Build the cast bible. Save each hero portrait plus one alternate angle. Name files clearly:
mara-hero.png,mara-alt34.png. - Lock project settings. Same model version, same
--style, same--srefstyle reference, same aspect ratio for the whole project. Consistency is a system, not a parameter. - Generate scenes with –cref + –cw tuned per shot. Dialogue scenes at
--cw 100; action scenes at--cw 60. - Review in batches. Look at ten images together, not one at a time. Drift is visible in aggregate — the odd one out jumps off the page.
- Never chain from outputs. Every generation references the bible, not yesterday’s render.
It’s more setup than casual prompting, but it’s the difference between a pile of pretty pictures and an actual visual story. The tool went from “fun toy” to “production instrument” for me the week I started treating references as a system. If you’re comparing ecosystems, Stable Diffusion vs DALL-E is worth a read — each platform solves consistency differently, and the tradeoffs are instructive.
Frequently Asked Questions
The –cref (character reference) parameter makes new images feature the same character as a reference image you provide via URL. It transfers facial identity, hairstyle, and distinctive features while letting pose, clothing, background, and style follow your new prompt.
Copy the direct URL of a clear portrait of your character, then add –cref followed by the URL to your prompt, e.g. “a knight in a snowy forest –cref [your-portrait-URL]”. Use –cw 0-100 to control how strongly the reference influences the result.
–cw (character weight) sets how strongly the –cref reference affects the image, from 0 to 100 (default 100). At 100 the full appearance transfers; at lower values only the face transfers and clothing follows your prompt; at 0 only the face is used.
Yes. –cref controls who appears (character identity) while –sref controls the art style. Combining them — e.g. “–cref [character URL] –sref [style URL]” — gives you a consistent character rendered in a consistent style across scenes.
Face drift happens when each new image references the previous output instead of the original portrait (telephone-game decay). Always reference your original hero portrait, use –cw 100 for maximum fidelity, and keep project settings like model version and style locked.