Starting fresh or switching from Android? New iPhone day is the best day — until you’re staring at the setup screens wondering which options to pick. Here’s the optimal path through every screen: the key choices, Apple ID and Face ID, and the first-week settings that actually matter. (Moving everything from an old iPhone? Our guide to transferring to a new iPhone ranks every method by speed — start there, then come back for the setup screens.)
I’m Sophia, and I’ve set up more iPhones than I can count — mine, family members’, friends’. This is the exact sequence I use every time.
Table of Contents
- Before You Begin: The 5-Minute Prep
- Step 1: Power On and Quick Start
- Step 2: Transferring from an Old iPhone
- Step 3: Transferring from Android
- Step 4: Apple ID, Face ID & Passcode
- Step 5: Key Choices During Setup
- Settings to Change in the First Week
- Moving the Details: Photos, WhatsApp, Passwords
- Accessibility Quick Wins
- Frequently Asked Questions
Before You Begin: The 5-Minute Prep
- Back up your old phone. If coming from iPhone: Settings → [your name] → iCloud → iCloud Backup → Back Up Now. If coming from Android: make sure Google backup is current and photos are synced.
- Charge both phones (or keep them plugged in). Transfers stall on low battery.
- Have your Apple ID and password ready. If you’ve forgotten it, sort that out first — setup halts without it.
- Know your Wi-Fi password. You’ll need it in the first two minutes.
- Keep both phones close together and don’t use either during the transfer.
Step 1: Power On and Quick Start
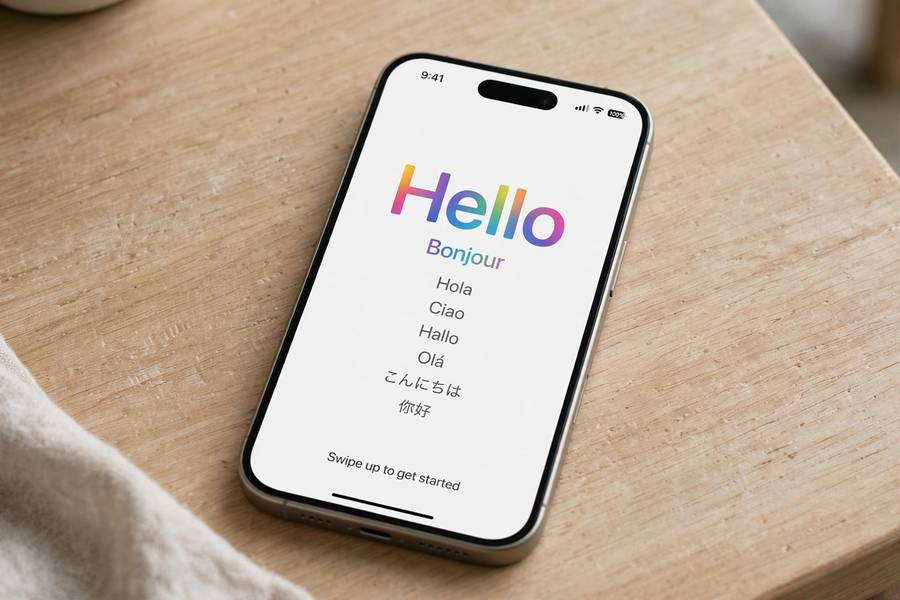
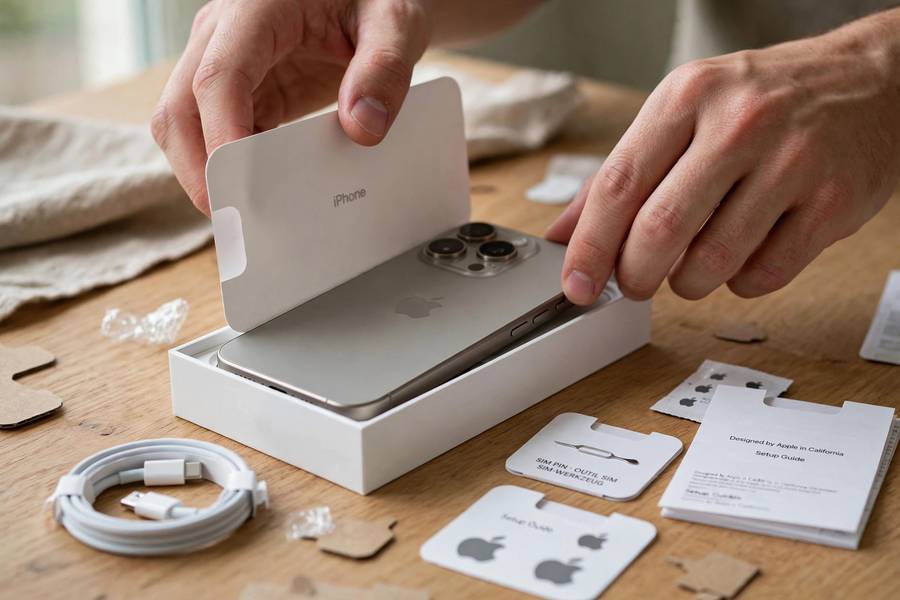
- Hold the side button until the Apple logo appears, then the “Hello” screen.
- Swipe up and choose your language and region.
- Connect to Wi-Fi.
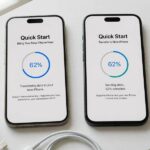
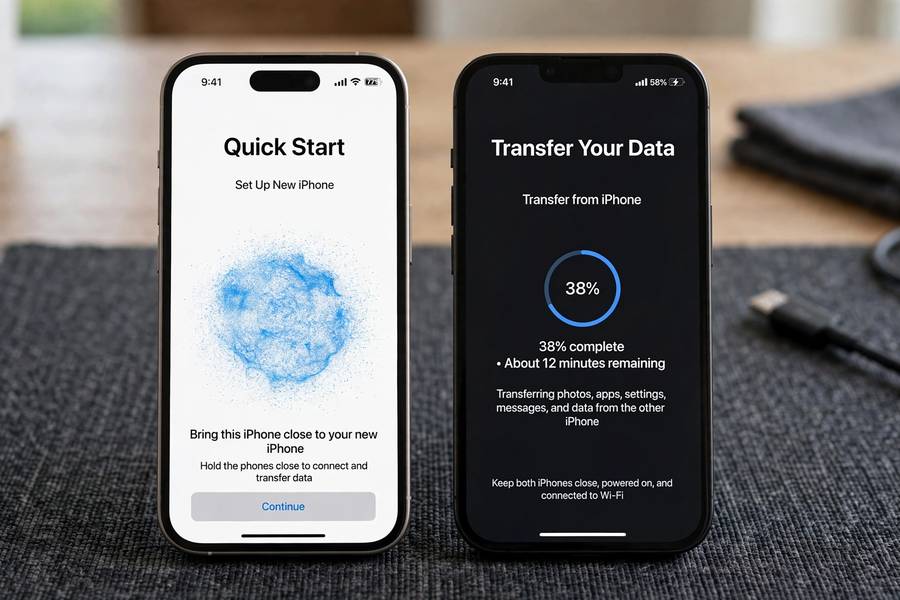
- If you have an old iPhone nearby running a recent iOS, the Quick Start screen appears — hold the old phone near the new one and an animation pairs them. This is the magic option: it transfers your Apple ID sign-in automatically and offers to move everything directly.
No old iPhone nearby? Tap Set Up Manually and continue — you can still restore from an iCloud backup a few screens later.
Step 2: Transferring from an Old iPhone
Coming from an old iPhone? Your data can move three ways — and the choice deserves its own guide. Our walkthrough of transferring to a new iPhone ranks every method by speed, with real timings and fixes for when things stall.
The short version: direct transfer (Quick Start → Transfer from iPhone) is the most complete for most people — 20–60 minutes over Wi-Fi. iCloud restore works when you don’t have the old phone handy. Computer restore (Finder/iTunes, encrypted) is fastest for huge libraries and carries passwords and Health data. Pick one there, then continue with the setup screens below.
Step 3: Transferring from Android
Apple’s Move to iOS app (free on the Play Store) handles the switch:
- On your Android phone, install Move to iOS.
- During iPhone setup, on the Apps & Data screen, tap Move Data from Android.
- A code appears on the iPhone — enter it in the Move to iOS app.
- Choose what to transfer: contacts, message history, photos/videos, mail accounts, calendars, and some free apps.
What transfers: Contacts, texts, photos, videos, mail, calendars, WhatsApp history (if you choose it). What doesn’t: Paid Android apps (rebuy iOS versions), some app data, and anything DRM-locked. Your Google account signs in separately afterward for Gmail, Google Photos, etc.
Step 4: Apple ID, Face ID & Passcode
Apple ID: Sign in with your existing Apple ID (recommended — keeps your purchases and iCloud). No Apple ID? Create one during setup — it takes a few minutes and needs an email and phone number.
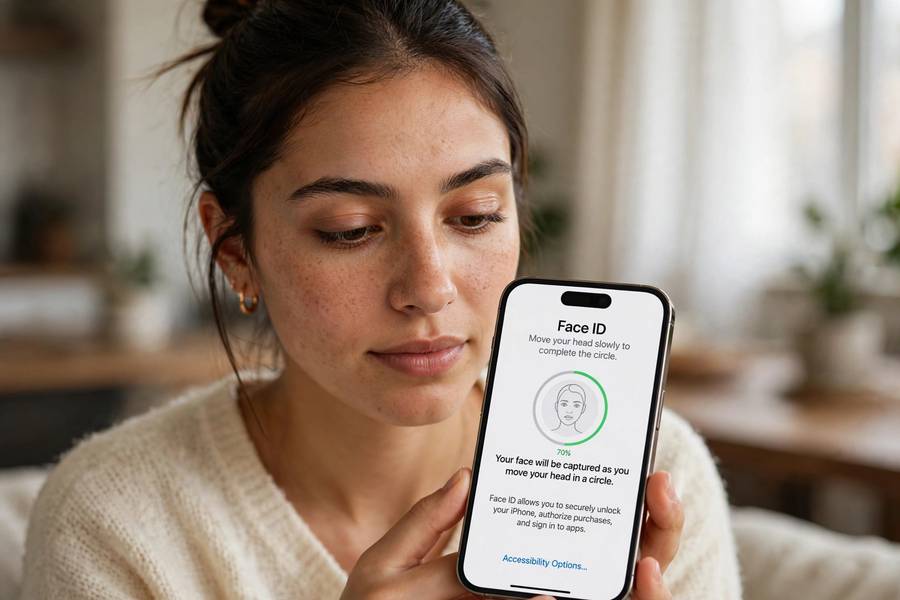
Face ID: When prompted, position your face in the frame and slowly rotate your head to complete the circle — twice. Do it in decent lighting. You can add an Alternate Appearance later (useful with glasses, masks, or dramatic haircuts).
Passcode: Set a 6-digit passcode (or alphanumeric for maximum security: Passcode Options → Custom Alphanumeric Code). This passcode encrypts the device — don’t use your birthday.
Step 5: Key Choices During Setup
You’ll face several decisions — here’s what to pick:
- Siri: Enable it. Even if you rarely use voice assistants, “Hey Siri” for timers and calls is genuinely useful.
- Screen Time: Set it up if the phone is for a child; skip for yourself (you can enable later).
- App Analytics / iPhone Analytics: Your call — sharing helps Apple improve products; declining is perfectly fine.
- True Tone / Display: Leave defaults; adjust later in Display & Brightness.
- Software Update: If an iOS update is offered during setup, install it — starting on the latest version avoids a second round of restarts.
Settings to Change in the First Week
Once you’re up and running, these five tweaks make the biggest difference:
- Enable iCloud Backup: Settings → [your name] → iCloud → iCloud Backup → on. Future-you will thank present-you.
- Turn on Find My: Settings → [your name] → Find My → on (plus Send Last Location). Non-negotiable for a $800+ device.
- Set up Apple Pay: Wallet app → add your cards. Double-click the side button to pay — you’ll wonder how you lived without it.
- Customize Control Center: Settings → Control Center — add the toggles you actually use (I add the flashlight, calculator, and screen recording).
- Review privacy permissions: Settings → Privacy & Security → go through Location Services and set apps to “While Using” instead of “Always” where possible. Your battery will thank you.
And pair your audio gear — if you’re setting up wireless earbuds, they connect through Bluetooth settings in seconds and the pairing carries across all your Apple devices via iCloud.
Moving the Details: Photos, WhatsApp, Passwords
The transfer moves most things, but a few categories need attention:
Photos: If you used iCloud Photos on your old iPhone, photos sync automatically once you sign in — they’ll download progressively over Wi-Fi. From Android, Google Photos carries them independently of the phone transfer; just install the app and sign in.
WhatsApp: Chats don’t move with the general transfer. iPhone-to-iPhone: WhatsApp → Settings → Chats → Move Chats to iOS handles it. Android-to-iPhone: use the Move to iOS app’s WhatsApp option during initial setup — it can’t be done afterward without third-party tools.
Passwords: iCloud Keychain syncs automatically when you sign in with your Apple ID and enable it (Settings → [your name] → iCloud → Passwords). From Android, export from your password manager and import — 1Password, Bitwarden, and others all support this.
Two-factor authentication: Authenticator apps are the trickiest. Most (Google Authenticator, Authy) have a built-in transfer/export feature — run it on the old phone before wiping it. Losing 2FA access is the most common post-setup headache; handle it deliberately.
Health data: Moves with encrypted backups and direct transfers, but not with unencrypted computer backups. Another reason to prefer direct transfer or encrypted backup.
Accessibility Quick Wins
While you’re in setup mode, these accessibility features improve the iPhone for everyone — not just those who need them:
- Larger text: Settings → Display & Brightness → Text Size — bump it one notch. Your eyes will thank you by evening.
- Bold text: Same screen — makes everything more legible, especially outdoors.
- Reduce motion: Settings → Accessibility → Motion → Reduce Motion — calms the animations; also saves a little battery.
- Back Tap: Settings → Accessibility → Touch → Back Tap — double-tap the back of the phone for screenshot, triple-tap for Control Center (or anything else). The most underrated iPhone feature.
- Live Captions / RTT as needed, and LED Flash for Alerts if you keep your phone silenced — the camera flash blinks for notifications.
None of these are “disability features” in practice — they’re quality-of-life settings that most users never discover. Set them now while you’re already in the menus.
Keep reading: if this helped, you’ll also like how noise cancelling headphones work — I wrote them in the same plain-English style.
Frequently Asked Questions
The setup screens take about 10 minutes; data transfer adds 20–60 minutes depending on how much you’re moving. iCloud restores let you use the phone while apps download in the background.
Direct iPhone-to-iPhone transfer via Quick Start is fastest and most complete — hold the phones together, choose Transfer from iPhone, and keep both plugged in. For large photo libraries, an encrypted computer backup restore is equally fast.
Yes — Apple’s Move to iOS app includes a WhatsApp transfer option. Your chat history moves over; you’ll need the same phone number on the new device.
Technically you can skip it, but the phone is severely limited without one — no App Store, no iCloud, no iMessage. Create a free Apple ID during setup; it takes a few minutes.
Restore from backup for continuity — everything comes over. Set up as new only if your old phone had persistent glitches you suspect came from corrupted settings, or if you want a deliberate fresh start.
Once you’ve confirmed everything transferred, sign out of iCloud (Settings → [your name] → Sign Out), then erase it (Settings → General → Transfer or Reset → Erase All Content). Only erase after verifying the new phone has everything.